
How to apply gel eyeliner
Mastering the art of applying gel eyeliner: Tips and tricks for a flawless look.

Founder & Beauty Director · 16 June 2023
Applying Base Eyeshadow
If you're going for a dramatic look with gel eyeliner, it's best to start by applying a base eyeshadow over your eyelid. This will give the liner something to adhere to and help prevent it from smudging or transferring. Choose a neutral eyeshadow shade that complements your skin tone – something in the beige or taupe family is usually a safe bet. Apply it over your entire eyelid using a small eyeshadow brush.
- Use a primer or concealer: If you're concerned about your eyeliner smudging or transferring, consider using an eyeshadow primer or concealer before applying your base eyeshadow. This will help create a smooth, even canvas for your eyeliner and provide an extra layer of protection against smudging.
- Blend well: Make sure to blend your base eyeshadow well, especially around the edges, to create a seamless transition between your eyelid and brow bone.
- Don't use too much product: It's easy to go overboard with eyeshadow, but using too much can create a cakey, unnatural look. Use a light hand when applying your base eyeshadow, and start with just a small amount of product.
Choosing the Right Brush
Choosing the right brush for applying gel eyeliner is key to achieving a smooth, precise line. Look for a brush with a small, tapered tip that allows you to control the thickness and angle of your line. Here are a few tips to keep in mind:
- Consider the bristles: Look for a brush with synthetic bristles, which tend to be stiffer and allow for better control. Natural bristles can be too soft for applying gel eyeliner effectively.
- Experiment with different shapes: There are several different brush shapes to choose from, including angled, flat, and pointed. Try a few different shapes to see which one works best for you.
- Clean your brush regularly: To keep your brush in good condition and prevent bacteria buildup, clean it regularly with a gentle brush cleaner or mild soap and water. Rinse thoroughly and let it air dry.
Creating the Winged Effect
The winged eyeliner look is a classic and timeless style that can elevate any makeup look. Here's how to create the winged effect using gel eyeliner:
- Start with a thin line: Begin by applying a thin line of gel eyeliner along your upper lash line using a small brush. Start at the inner corner of your eye and work your way outward, gradually increasing the thickness of the line as you go.
- Create a wing: To create the wing, angle your brush upward at the outer corner of your eye and draw a diagonal line toward the end of your eyebrow. Then, connect the end of the diagonal line with the rest of your eyeliner by drawing a straight line back to your lash line.
- Fill in the wing: Once you've created the wing shape, fill it in with gel eyeliner using small, short strokes. Make sure to blend the gel liner seamlessly with the rest of your lash line.
- Perfect the shape: Use a clean brush or a cotton swab dipped in makeup remover to clean up any mistakes or smudges, and to perfect the shape of your winged eyeliner.
Section 1: Applying the Gel Liner
Gel eyeliner has gained popularity in recent years due to its versatility and ease of use. It is perfect for creating a wide range of eye looks, from subtle everyday makeup to bold and dramatic designs. Before starting, make sure your gel liner is of good quality and the right consistency. Using a brush, dip it into the gel liner and remove any excess. Start by applying the liner in the middle of your eyelid and work your way outwards, using a steady hand and creating a smooth, even line. Take your time and build up the liner if necessary. For a more natural look, apply less pressure and create a thinner line, and for a more dramatic effect, increase the pressure and create a thicker line.
Section 2: Filling in Gaps and Smudging
If you notice any gaps or unevenness in your liner, don't worry. Using the same brush, gently glide it over the affected area, filling in any gaps and creating a smooth and even look. If you want to create a more smoky effect, use a smudging brush to blend out the liner. Start by using a gentle pressure and blend outwards, being careful not to overdo it. For a bold, defined look, apply a thin line of black liner to the lower lid and smudge it with the same brush. The key to smudging is to use a light hand and build up the intensity gradually until you achieve the desired effect.
Section 3: Finishing Touches
Once you have your desired look, finish it off with some extra touches. Use a highlighter on the inner corners of your eyes to brighten them up and make them appear bigger. You can also add some eyeliner to your lower lid to enhance your overall look. For a more dramatic effect, try winging your liner out for a cat-eye look. To do this, start by creating a small flick at the end of your eye and then connect it to the liner on your upper lid. This takes practice, so don't be discouraged if you don't get it right the first time. Finally, curl your lashes and apply mascara to complete the look.
Section 4: Removing the Gel Liner
Removing your gel eyeliner is just as important as applying it correctly. Ensure that you remove all traces of eyeliner every night before bedtime to prevent any eye irritation or infection. Use a gentle makeup remover on a cotton pad, and wipe it over your eyes, being careful not to rub too hard. If any liner is left behind, use a Q-tip dipped in the makeup remover to gently remove it. If you have sensitive eyes, use a fragrance-free makeup remover specially designed for sensitive skin. Remember to be gentle, as the skin around your eyelids is delicate and easily irritated.
Shop Gel Eye Liners
Discover our top picks for you
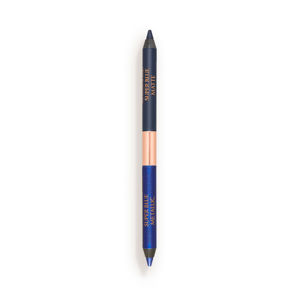
Eye Colour Magic Liner Duo
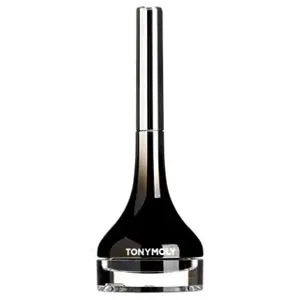
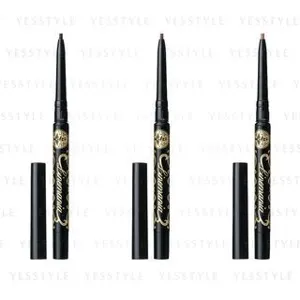

Killer Liner 36 Hour Waterproof Eyeliner


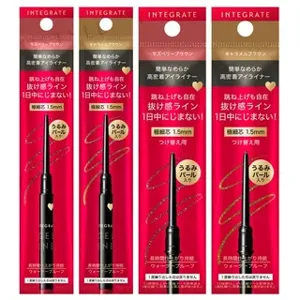
24H Waterproof Gel Eye Pencil

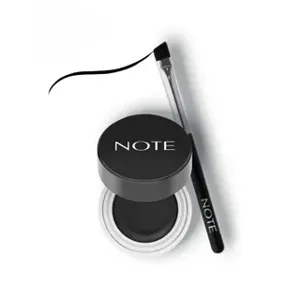
Tattoo Pencil Liner Waterproof Long-Wear Gel Eyeliner


Find the Best Gel Eye Liners for Your Type
More to Explore
Continue your beauty journey with these guides

Does Gradual Tan Wash Off? What Actually Happens in the Shower
"Unravelling the Reality: The Shower vs Gradual Tanning Lotion"

Do Anti Ageing Creams work?
Unveiling the Truth: The Efficacy of Anti-Ageing Creams Explored

At what age should you start using Anti Ageing Serums?
"Unlocking the Right Time: When Should You Begin Incorporating Anti-Ageing Serums into Your Skincare Routine?"

What is gel eyeliner?
Discover the Magic of Gel Eyeliner: A Guide for Smudge-Proof Perfection
How to apply gel eyeliner
Mastering the art of applying gel eyeliner: Tips and tricks for a flawless look.

Where to apply powder bronzer
The Ultimate Guide to Perfectly Applying Powder Bronzer for a Sun-Kissed Glow