
How to apply stick bronzer
Mastering the Art of Applying Stick Bronzer: A Step-by-Step Guide

Founder & Beauty Director · 20 June 2023
Choosing the Right Shade
When it comes to stick bronzer, choosing the right shade is crucial in achieving a natural-looking, sun-kissed glow. The first thing you need to do is determine your skin's undertone. This can either be warm or cool, and it will help guide you in selecting the right shade.
If you have warm undertones, opt for a bronzer with yellow or golden tones. This will enhance your natural warmth and create a seamless finish. For those with cool undertones, choose a bronzer with cooler tones, such as pink or red. This will help create a contrast and give you a natural-looking flush.
The next thing you need to consider is the intensity of the bronzer. If you are new to using stick bronzer or have fair skin, it is best to start with a lighter shade and build up the intensity gradually. Those with medium to dark skin tones can go for deeper shades that will create more depth and definition to their face.
- Determine your skin's undertone (warm or cool)
- Choose a bronzer with yellow or golden tones for warm undertones
- Choose a bronzer with cooler tones, such as pink or red, for cool undertones
- Start with a lighter shade if you have fair skin or are new to using stick bronzer
- Choose deeper shades for medium to dark skin tones
Prepping your Skin
Before applying stick bronzer, prepping your skin is key. This will help create a smooth base and ensure that the product blends seamlessly onto your skin. Start by cleansing your face and applying a moisturizer that works best for your skin type. Allow the moisturizer to fully absorb into your skin before applying the bronzer.
Next, apply a primer to your face. This will help create a smooth base and extend the wear time of your bronzer. Allow the primer to dry completely before applying the bronzer. If you have oily skin, opt for a mattifying primer to help control oil production and help the bronzer last longer.
When it comes to applying stick bronzer, you can either apply it directly onto your skin or use a brush. Using a brush can help create a more natural-looking finish and allow you to blend the product seamlessly. If you decide to apply the bronzer directly onto your skin, make sure to warm up the product by rubbing it onto the back of your hand before applying it to your face.
- Cleanse your face and apply a moisturizer that works best for your skin type
- Apply a primer to create a smooth base and extend wear time
- If you have oily skin, use a mattifying primer
- Use a brush to create a natural-looking finish
- If applying directly to skin, warm up the product before applying it to face
Applying the Bronzer Stick
When it comes to applying the bronzer stick, it is important to start with a light hand and build up the intensity gradually. This will help you avoid applying too much product at once and create a more natural-looking finish. Start by applying the bronzer to the hollows of your cheeks, the sides of your forehead, and along the jawline. These are the areas that the sun naturally hits and will give you a natural-looking glow.
When applying the bronzer, make sure to blend it out well to avoid harsh lines. You can do this with a brush or a sponge, depending on your preference. For a seamless finish, remember to blend the bronzer into your hairline and along the jawline to avoid any harsh lines. You can also apply a little bit of bronzer to your neck and chest to make sure everything looks even.
Finally, remember to set the bronzer with a setting spray to help it last longer throughout the day. This will also help create a seamless finish and prevent any transfer onto your clothes or other surfaces.
- Start with a light hand and build up the intensity gradually
- Apply to the hollows of cheeks, sides of forehead, and along jawline
- Blend well to avoid harsh lines
- Set with a setting spray to help it last longer and prevent transfer
Blending the Product
When it comes to applying stick bronzer, blending is key. The last thing you want is to have harsh lines or streaks on your face. To start, make sure your skin is cleansed and moisturized. This will ensure a smooth application. Next, apply the bronzer in small amounts to the areas you want to enhance. Use a dense brush, sponge, or your fingers to blend the product in a circular motion. Start with the center of your face and blend outwards towards your hairline. Be sure to blend in the product along your jawline and neck to avoid a harsh line. Keep blending until you’ve achieved your desired level of bronzing.
- Start with a freshly cleansed and moisturized face.
- Apply the bronzer in small amounts.
- Use a dense brush, sponge, or fingers to blend in a circular motion.
- Blend outwards towards your hairline.
- Blend along your jawline and neck to avoid a harsh line.
Target Areas to Apply
Now that you know how to blend the product, it’s important to know which areas to apply the bronzer to. While everyone’s face is unique, there are a few areas that are typically targeted for bronzing. These areas include:
- The forehead: Apply the bronzer in a “3” shape along the hairline, temples, and just above your eyebrows.
- The cheekbones: Apply the bronzer just below your cheekbones and blend towards your ears.
- The nose: Apply the bronzer on the sides of your nose, blending towards the center.
- The jawline: Apply the bronzer along your jawline and blend downwards towards your neck.
Remember, less is more when it comes to applying bronzer. It’s always easier to go back and add more product than it is to remove excess. Start with a small amount and build up the product until you’ve achieved your desired level of glow.
Layering the Product
If you’re looking for a more intense bronze, layering the product is key. Start by applying a small amount of bronzer to your target areas using the blending technique mentioned above. Then, apply another layer of bronzer on top of the first one. This will intensify the color and give you a more noticeable glow. Be sure to blend the product in between each layer to avoid harsh lines or streaks.
If you’re hesitant about layering, try starting with a cream or liquid bronzer first. These formulas are typically easier to build up and tend to blend more seamlessly.
- Apply a small amount of bronzer to your target areas.
- Apply another layer of bronzer on top of the first one.
- Be sure to blend in between each layer.
Finishing Touches
Once you’ve applied and blended your bronzer, the last step is to add a finishing touch. This can come in the form of a highlighter or blush. Apply a small amount of highlighter to the high points of your face – your cheekbones, nose, and cupid’s bow. This will give you a radiant glow and enhance the overall look of your bronzed complexion.
If you’re looking to add a pop of color, apply a small amount of blush to the apples of your cheeks. This will help balance out the bronze and give you a healthy flush.
- Add a highlighter to the high points of your face.
- Apply a small amount of blush to the apples of your cheeks.
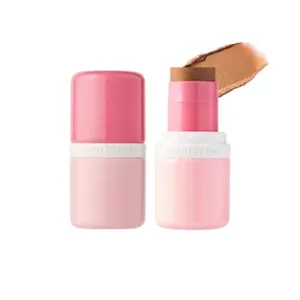
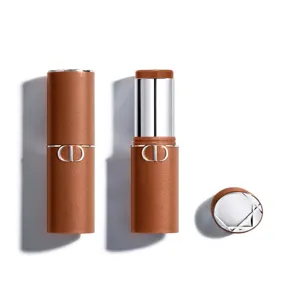
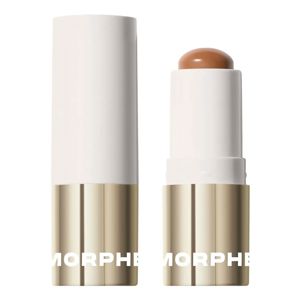
Shop Bronzing Sticks
Discover our top picks for you

Dripping Gold Bronze Bar Illuminating Bronzer Stick


Nudies Matte All Over Face Bronzerfarbe


Nudies Matte All Over Face Bronze Colour


Chocolate Soleil Melting Bronzing And Sculpting Stick

Find the Best Bronzing Sticks for Your Type
More to Explore
Continue your beauty journey with these guides

What is an instant tanner?
Unveiling the Magic of Instant Tanners: Your Quick Solution to a Sun-Kissed Glow

Where to apply liquid foundation
The Ultimate Guide to Applying Liquid Foundation Like a Pro

What is a bronzer stick?
Get Your Glow On: A Guide to Using Bronzer Sticks for Flawless Summer Skin.
How to apply stick bronzer
Mastering the Art of Applying Stick Bronzer: A Step-by-Step Guide

Cream vs Liquid Concealer: Which Covers Better?
Cream vs Liquid Concealers: Which is the Ultimate Concealer Champion?

How to apply Cream Blush
Get that Glow: A Guide to Applying Cream Blush.