A streak-free manicure comes down to three things: clean, dry nails, thin controlled coats, and giving each layer enough time to set before the next.
You don’t need salon tools to get that smooth, even finish. You do need the right technique, and a polish formula that behaves well when you work in thin layers.
Below, we lay out a reliable step-by-step method (prep → base → colour → top-style finish), the common mistakes that cause streaks and bubbles, and the nail polishes from our tracked Irish pricing feed that make the job easier.
Start with nail prep that prevents streaks (not just “clean nails”)
Most streaks start before the bottle opens. Any oil, hand cream residue, or water left on the nail plate makes polish drag, separate, or dry unevenly. That uneven drying shows up as brush marks and patchy shine.
So the goal of prep is simple: a smooth surface and a dry surface.
First, wash hands and dry thoroughly, then wait a few minutes so hidden moisture around the cuticle evaporates. Next, check the nail surface in side light. If you see ridges, that’s where pigment can settle and streaks look worse. You can still get a clean finish with careful coats, but ridges raise the difficulty level.
Finally, pick your “first layer” strategy. In this guide, we’re sticking to nail polishes only, which means we’ll lean on base-coat style and treatment-style polishes that act as a prep layer.
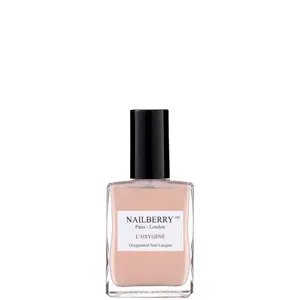
- If nails feel dry or prone to splitting: look at oxygenated prep options like NAILBERRY L'Oxygene Nail Lacquer (from €10.35). The bundle includes an oxygenated strengthening base coat and a glossy colour.
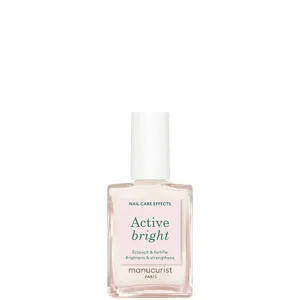
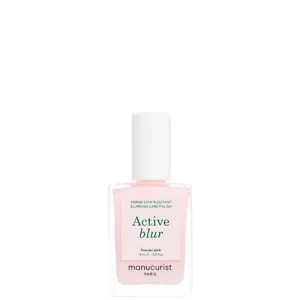
- If you want a “your nails but better” start: Manucurist Active Bright Treatment (from €18.40) works as a polish layer that brightens and strengthens, with citric acid called out in the formula notes.
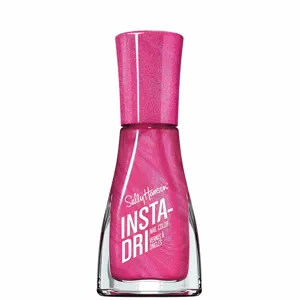
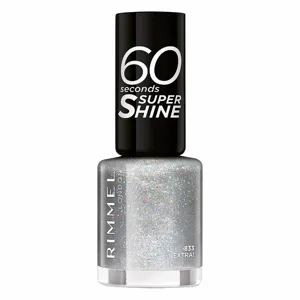
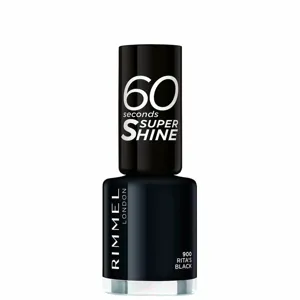
- If you want quicker, simpler layering: 3-in-1 formulas can reduce steps. Rimmel 60 Seconds Super Shine (from €2.51) and Sally Hansen Insta-Dri Nail Varnish (from €4.59) both position themselves as base + colour + top in one.
One more prep rule that saves manis in Irish bathrooms: avoid painting straight after a hot shower. Damp air slows solvent evaporation. That can keep the surface “open” for longer and invite dents, bubbles, and dull patches.
Choose a formula that behaves well in thin coats
Streaks often get blamed on the brush. In our price-and-product feeds, formula differences matter more. Pigment load, solvent balance, and how the polish levels as it dries decide whether you can get a smooth coat without overworking it.
As a rule, streak-free application gets easier when you can do two thin coats rather than one thick coat. Thick coats stay wet longer, which makes you go back over them. That re-brushing causes dragging and visible brush marks.
Here’s how we’d match polish types to what you’re trying to achieve:
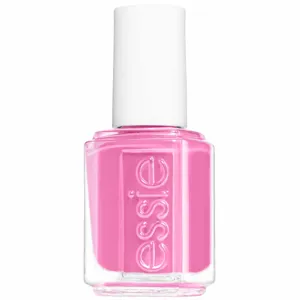
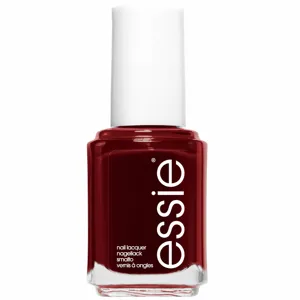
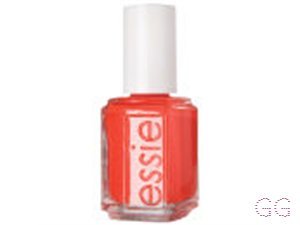
- Classic, salon-style colour with strong pigmentation: Essie Nail Polish (from €7.75) uses micro-milled pigments and a high-shine finish. That usually translates to smoother coverage when you keep coats thin.
- A bright statement shade with a known brush shape: Essie Lovie Dovie Nail Varnish (from €10.34) calls out an ergonomically designed brush for streak-free application. Brush control helps, but technique still leads.
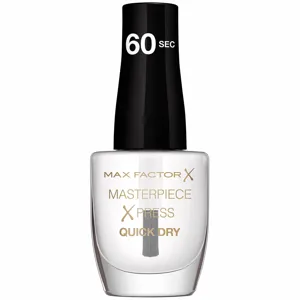
- Fast drying for impatient painters: Max Factor Masterpiece X-Press Nail Polish (from €5.16) specifies drying in as little as 60 seconds. Fast dry reduces the time you can accidentally drag a coat.
- Budget, quick and pigmented: Rimmel 60 Seconds Super Shine (from €2.51) and Rimmel 60 Seconds Rita Nail Polish (from €2.45) focus on quick drying. Rimmel’s “maxi brush” claim can make one-stroke coverage easier.
- Sheer/jelly looks that hide minor brush marks: Essie Original Nail Art Studio Pink Jelly Gloss (from €10.34) offers a sheer, buildable finish. Sheer layers are forgiving, because they don’t show hard edges as much.
And if your nails feel rough or peel easily, consider polish formulas that mention nail-care ingredients rather than only colour. Sally Hansen Good Kind Pure Nail Varnish (from €11.49) lists bamboo and algae in a plant-based formula and claims up to seven days of wear. Max Factor Miracle Pure Nail Polish Lacquer (from €6.89) highlights mineral clay and vitamin E in a vegan, plant-based formula.
Where to shop in Ireland? Our tracker often sees Essie at Boots Ireland, while brands like Nailberry and Manucurist more often show up via Lookfantastic Ireland or specialist beauty retailers. When you compare, watch delivery costs from UK-based sites shipping to Ireland, because that can erase a “lower headline” price.
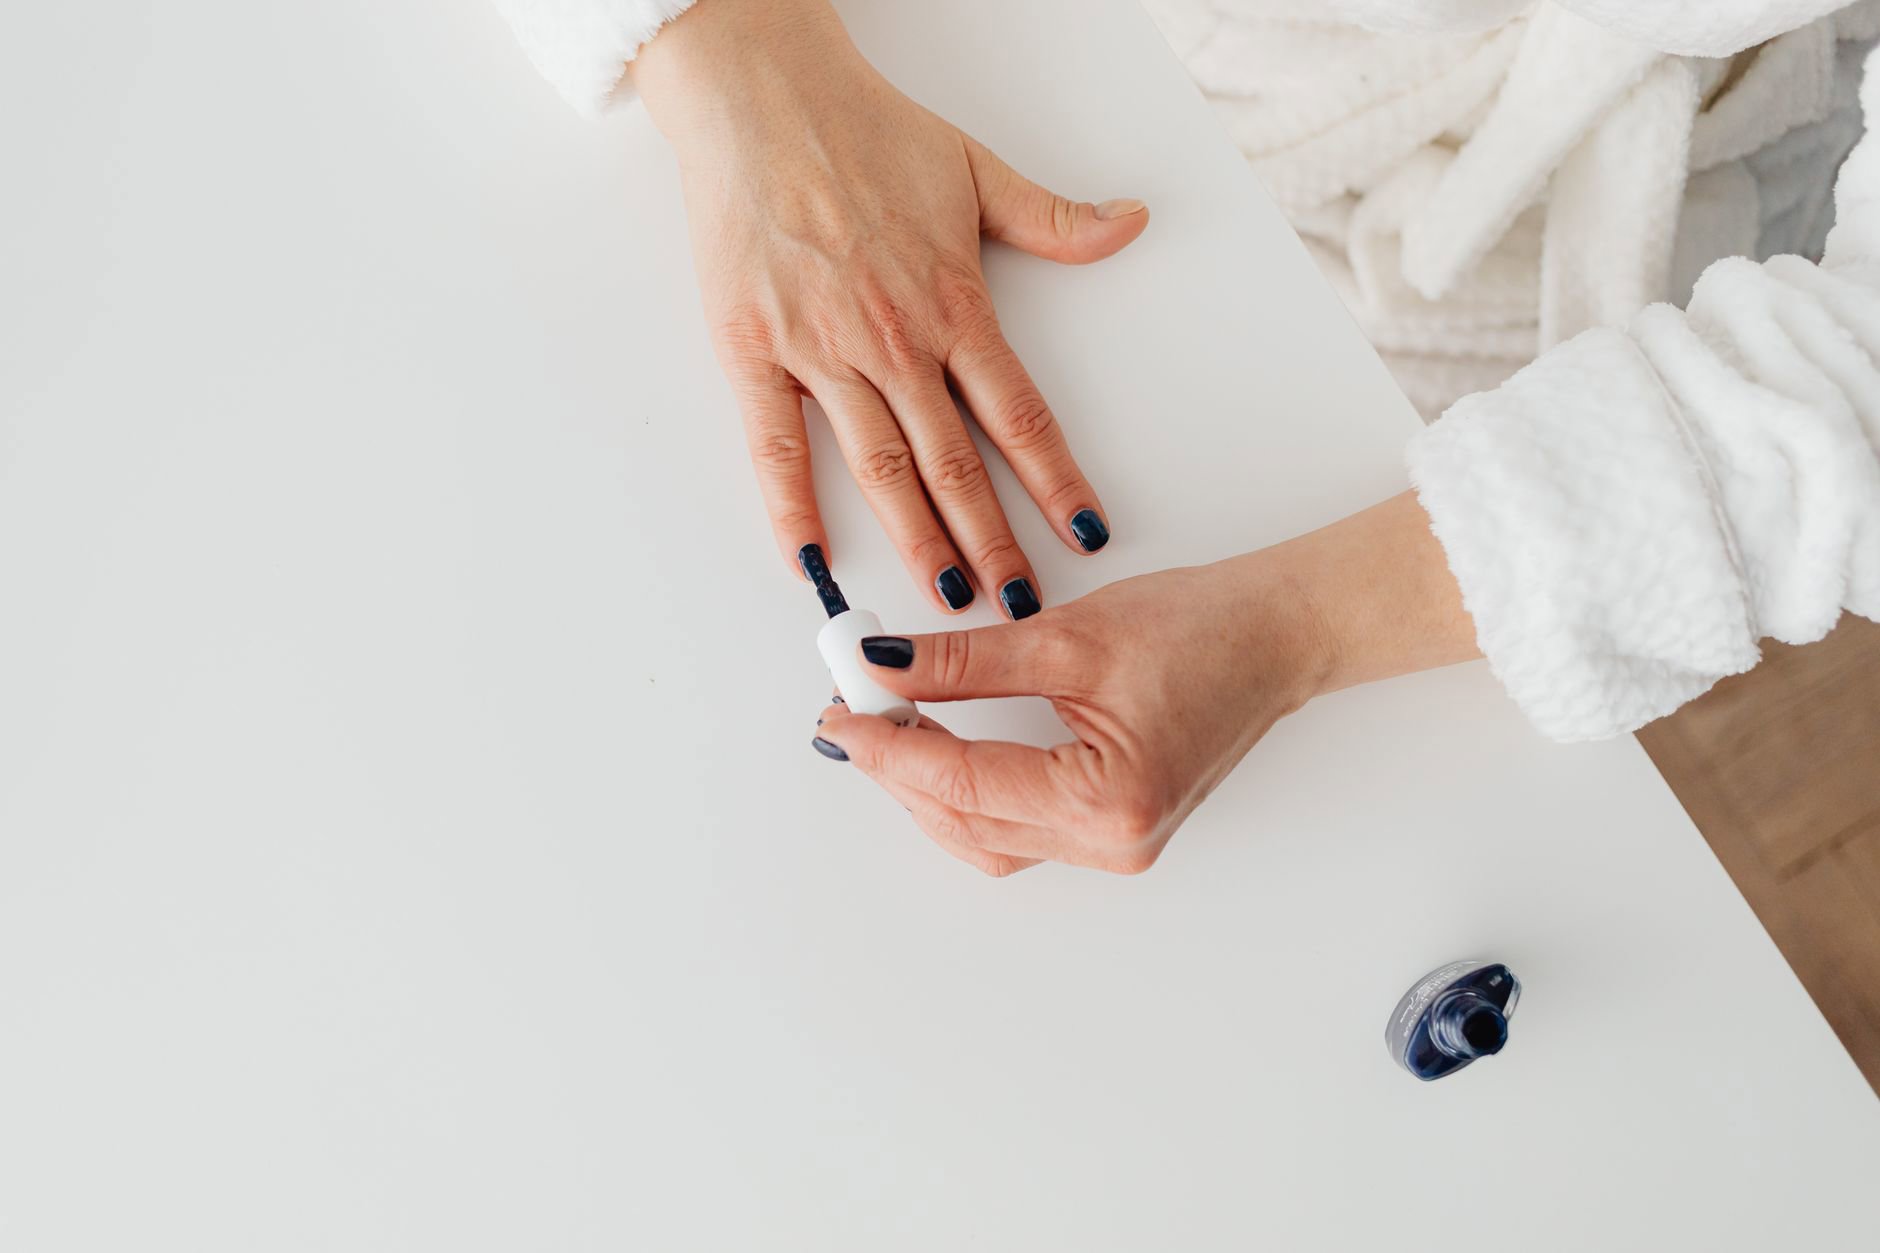
The no-streak method: brush loading, three-stroke placement, and timing
This is the technique that removes most streaks without buying anything extra.
Step 1: Mix, don’t shake. Roll the bottle between your palms for 10–15 seconds. Shaking whips in air. Air becomes bubbles. Bubbles become dents or pock marks once you top-layer.
Step 2: Load the brush correctly. Pull the brush out slowly. Wipe one side of the brush against the bottle neck, then leave a bead of polish on the other side. Too little product causes dragging. Too much floods the cuticle and forces you to overwork the coat.
Step 3: Float the brush. Place the brush a millimetre or two away from the cuticle, then gently push it back until the polish almost touches the cuticle line. Now pull forward.
Step 4: Use the “three-stroke” pattern.
- One stroke down the centre.
- One stroke down the left side.
- One stroke down the right side.
- If you need a fourth, keep it light and only where coverage gaps show.
Step 5: Stop re-brushing once it turns tacky. This is the biggest streak trigger. As solvent evaporates, the surface grabs the brush and you leave tracks. If you miss a spot, leave it and fix it in the second coat.
Step 6: Wait between coats. With most classic lacquers, two to three minutes between thin coats helps. With quick-dry ranges like Rimmel 60 Seconds Super Shine (from €2.51) or Sally Hansen Insta-Dri (from €4.59), you can often shorten that, but don’t rush if the surface still looks wet.
One sentence that saves time: thin coats dry faster than “fast-dry” thick coats.
Base, colour, “top”: building layers when you only have polish
A traditional manicure uses a dedicated base coat and top coat. This guide stays within nail polishes only, so we’ll show three ways to build layers using products that already sit in the nail-polish category.
Option A: Use a true prep layer + colour. If you buy the NAILBERRY L'Oxygene Nail Lacquer bundle (from €10.35), you get a strengthening base coat plus a glossy colour. Oxygenated formulas claim they won’t dry nails out with wear, and the “base then colour” structure mirrors salon steps.
Option B: Use a 3-in-1 formula as your full system. Rimmel 60 Seconds Super Shine (from €2.51) positions itself as base + top + colour. Sally Hansen Insta-Dri (from €4.59) does the same. For many readers, that means fewer layers to mess up and less chance of streaks from overworking.
Option C: Use a sheer polish as your “smoother”. Sheer, buildable finishes can blur minor surface texture. Essie Original Nail Art Studio Pink Jelly Gloss (from €10.34) gives a subtle glaze in one coat and more impact with layering. If streaks show up most on pale creams for you, a jelly layer can feel less stressful.
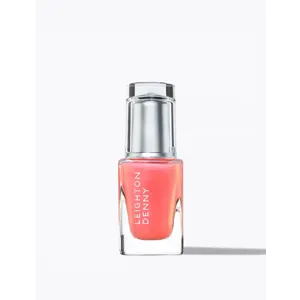
What about a glossy seal? Some “high performance” and “high shine” ranges aim for that look without a separate top step. Leighton Denny High Performance Nail Polish (from €18.00) describes high gloss shine with chip resistance, plus a formula free from formaldehyde, DBP, toluene, formaldehyde resin, and camphor. If you prefer to avoid those ingredients, that’s a clear label claim.
One more market note: on Irish shelves, Boots Ireland tends to cover mainstream shades, while premium “treatment colour” options show up more often at Brown Thomas or Arnotts, or via Lookfantastic Ireland. Price tracking helps because nail polish swings wildly during promos.
Fix the five most common problems: streaks, bubbles, dragging, bald patches, flooded cuticles
Most manicure fails look unique. They usually come from the same small set of causes.
1) Streaks in the first coat. This often means you didn’t load enough polish, so the brush scraped semi-dry pigment across the nail. Fix: make the first coat very thin but properly wet, then let the second coat do the “perfecting”. Pigment-rich formulas like Essie Nail Polish (from €7.75) can help because they spread evenly when you avoid over-brushing.
2) Bubbles. Shaking, blowing on nails, and painting in humid rooms cause bubbles. Fix: roll the bottle, avoid fans pointed at your hands, and use thin coats. Quick-dry options like Max Factor Masterpiece X-Press (from €5.16) reduce the time bubbles can form, but they won’t cancel out shaking.
3) Dragging and dents. You applied a second coat too soon, or you kept brushing after the surface started setting. Fix: wait longer than you think, especially in damp Irish weather. If you want speed, pick a fast-drying range like Rimmel 60 Seconds Super Shine (from €2.51).
4) Bald patches near the tip. This often comes from pressing too hard on the final stroke. Fix: lighten pressure on the last third of the nail and “cap” the free edge with the remaining polish on the brush.
5) Flooded cuticles. Too much polish on the brush, or you placed the brush too close to the cuticle. Fix: wipe one side of the brush, start slightly away from the cuticle, and push back gently before pulling forward. Wide brushes (like the “maxi brush” described on Rimmel 60 Seconds Rita Nail Polish, from €2.45) can help, but only when you use that push-then-pull placement.
Glitter adds its own complication. Glitter particles can sit unevenly if you re-stroke the same area. With Rimmel 60 Seconds Glitter Nail Polish Extra (from €4.59), aim for one confident coat, then leave it alone. If you need more sparkle, add a second thin coat rather than “scrubbing” the glitter around.
Polish style choices that naturally hide imperfections
If you keep getting streaks, switch the finish before you blame your hands. Certain styles make a pro-looking result more likely, even with basic technique.
Jelly and translucent finishes hide brush marks because they don’t rely on opaque, perfect coverage. That’s why sheer, buildable options like Essie Pink Jelly Gloss (from €10.34) feel forgiving. One coat looks glossy and intentional, even if you didn’t nail the edges.
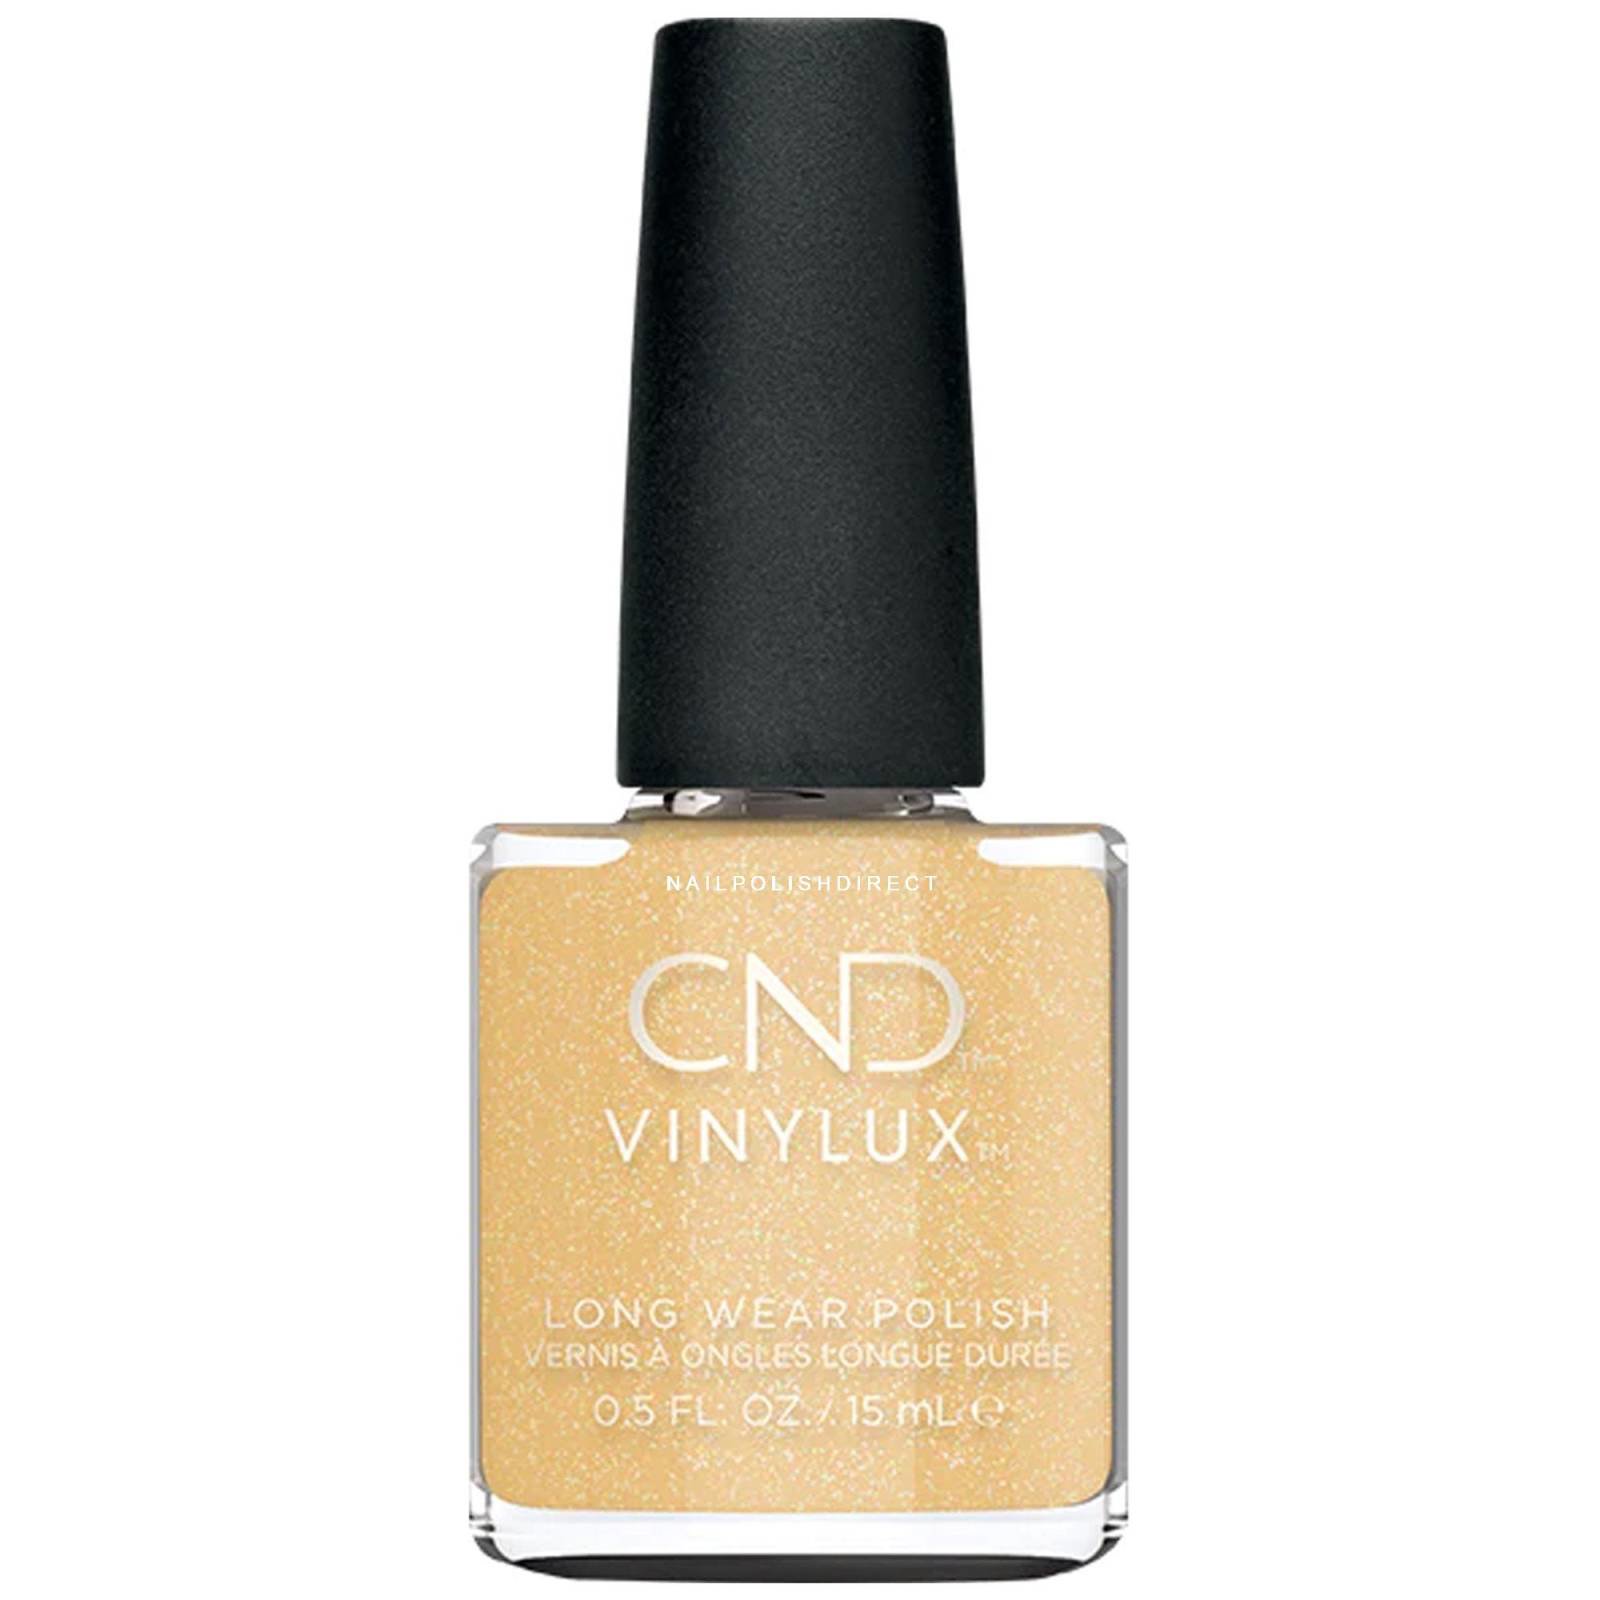
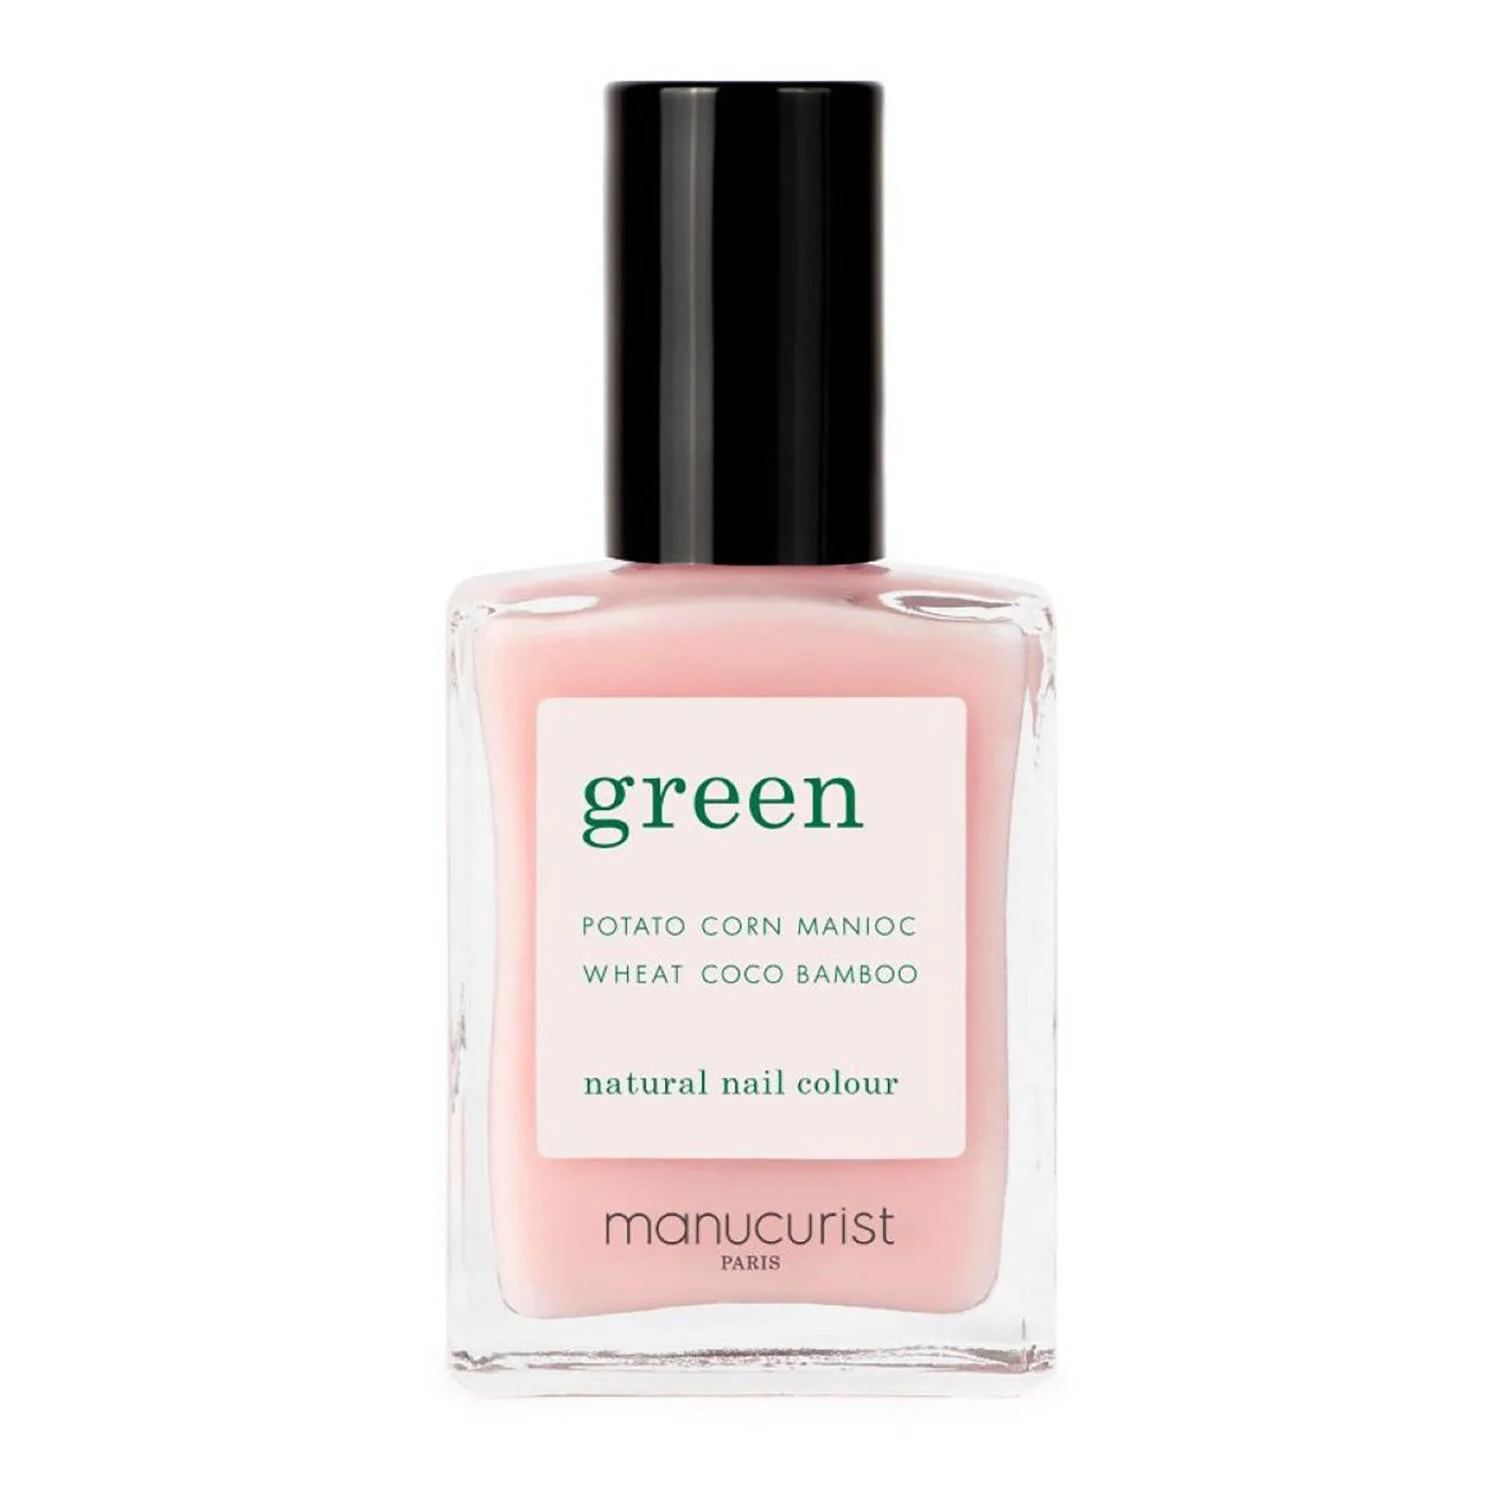
“Green” and treatment-leaning polishes can also suit low-maintenance routines. Manucurist Green Jelly Nail Polish (from €16.10) comes as a mini set with two ultra-glossy translucent shades, including ‘Sugar Plum’. Translucent colour plus high gloss can read very salon-like with less effort.
High-gloss classics give the most polished look, but they show mistakes more. If you love opaque brights, pick formulas that call out long-lasting wear and chip resistance, because they usually level better when they dry. Leighton Denny High Performance Nail Polish (from €18.00) sits in that camp. It also clearly states it’s vegan friendly and formulated without several traditional polish ingredients.
Dark shades can look smoother. If you struggle with streaks in pale nudes, try a deep shade first. A polish like Rimmel 60 Seconds Rita Shades of Black (from €2.45) can look even faster, because tiny coverage inconsistencies don’t stand out as much.
One more tip: if you want “done” nails without full colour, a brightening layer like Manucurist Active Bright Treatment (from €18.40) can suit breaks between manicures while still looking tidy.
What “pro” application actually means: control, not speed
Professional-looking nails usually follow a predictable rhythm. Prep. Paint. Pause. Paint. Pause. Then hands off.
If you tend to rush, set yourself up for slower success: paint in good light, rest the painting hand on a table, and do your dominant hand second. Keep remover wipes out of reach so you don’t “fix” edges mid-coat and create texture.
Also, watch your environment. Irish homes often run humid. That slows evaporation and makes polish stay soft. You can still paint well. Just add time between coats and avoid handling hot mugs or opening tight jars right after.
When readers ask us which polishes make the learning curve easiest, the data-led answer usually points to accessible pricing and consistent formulas. On value, Rimmel 60 Seconds Super Shine (from €2.51) and Sally Hansen Insta-Dri (from €4.59) let you practise without treating each manicure like an investment. If you want a classic salon brand, Essie Nail Polish starts from €7.75 in our feed.
For readers who shop across categories on GlamGeek, nail polish sits under makeup. If you also browse Lipsticks or SPF Protection Products, treat nail polish as its own system: your hands touch water, soap, and keys all day, so technique matters as much as shade.
Practical tips you can use today (quick checklist)
When you want a clean manicure in under 30 minutes, this checklist helps more than any trend.
- Roll the bottle. Don’t shake.
- Wipe one side of the brush, keep a bead on the other.
- Place, push back slightly, then pull forward.
- Three strokes per nail, then stop.
- Two thin coats beat one thick coat.
- Wait longer in humid rooms.
- Cap the free edge with leftover polish on the brush.
- If you keep getting streaks, switch to a jelly finish like Essie Pink Jelly Gloss (from €10.34) or a translucent set like Manucurist Green Jelly (from €16.10).
If you want the simplest product path, pick a 3-in-1 polish and practise technique. Sally Hansen Insta-Dri (from €4.59) or Rimmel 60 Seconds Super Shine (from €2.51) keeps layering straightforward. Once your strokes look even, you can move to richer opaque shades without fighting streaks.
And if you prefer a polish that nods to nail conditioning, the ingredient-led options stand out: bamboo and algae in Sally Hansen Good Kind Pure (from €11.49), or mineral clay and vitamin E in Max Factor Miracle Pure (from €6.89).
Which finish do you struggle with most—opaque creams, dark shades, or sheer jellies—and what’s the one problem you want to fix first: streaks, bubbles, or chipping?