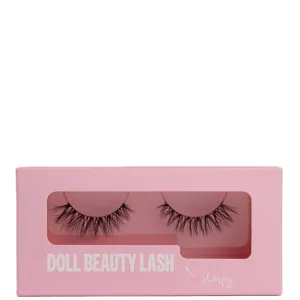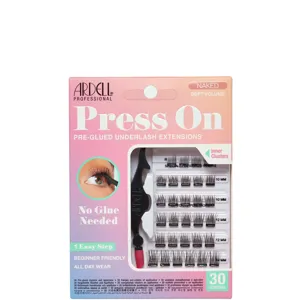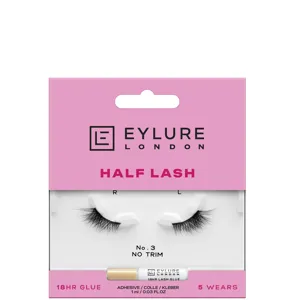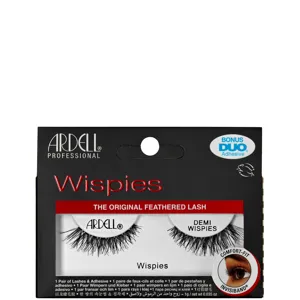
Our customer questions spike every Sunday night with one theme: how to take falsies off without taking your own lashes with them. The struggle tracks with our search data. Peak party times create peak lash-removal panic.
We rate a strong lash game. We also rate healthy natural lashes. Removal decides both. Yank, and you lose lashes. Soak and slide, and you keep them. The difference sits in five calm minutes and the right remover.
Since 2010, GlamGeek has tracked beauty pricing and product trends across Irish retailers. False lashes rise and fall with events, but one fact stays steady. Good removal costs less than lash rehab. This guide keeps your natural lashes intact and your strip or cluster sets ready for a second wear.
Context: why careful removal pays off
Your natural lashes follow a growth cycle of roughly 60–90 days. Each lash sheds on its own schedule. Force a strip off and you can pull out lashes that were nowhere near shedding. That sets your lash line back for weeks.
Most strip lashes last for 5–15 wears with good care. That range shrinks fast if you scrape or tug glue. It grows if you dissolve the adhesive first, then ease the band away. Cluster and segment styles use stronger bonds than classic strips. They need more patience and a targeted remover.
Our price tracker shows regular discounts on removers and lash tools across Boots Ireland, Brown Thomas, Arnotts, McCauley Pharmacy, Meaghers Pharmacy, and Lookfantastic Ireland. We often see bundle deals around bank holidays. It pays to keep a remover and a pack of micro swabs in your kit. Add your favourites to a GlamGeek wishlist and we’ll ping you when prices drop.
Irish weather stays damp and mild. Humidity softens many water-resistant bonds a touch, but it also swells cotton and skin. A gentle, oil-forward method works best here. It cushions the lash line and offsets soggy makeup remnants after a wet commute.
{{IMAGE:woman removing false lashes gently at home}}Know your lash type and your glue
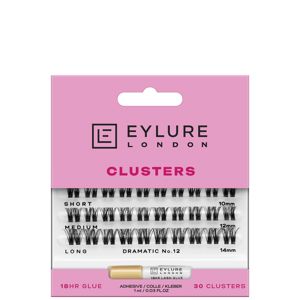
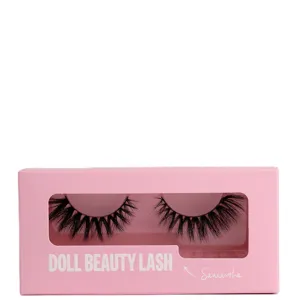
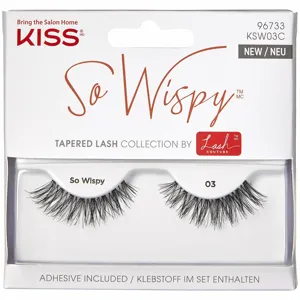
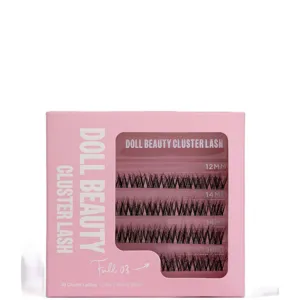
Start with the hardware. Strip lashes use a band. You apply one continuous line of glue along that band, then press it onto your lash line. Cluster or segment styles use small tufts or short segments. You anchor each piece with a dot or swipe of bond, often under the lashes.
Glue type matters. Many classic strip adhesives use latex for flexibility. Latex-free versions exist for sensitive eyes. Cluster systems often use stronger, long-wear bonds with polymers that grip harder than standard strip glue. They resist water and simple micellar formulas. You need oils or specific solvents to break them down.
Check the packaging. Look for terms like “latex”, “latex-free”, “bond and seal”, “extended wear”, and “waterproof”. If the label mentions isododecane or isopropyl myristate in the remover, you have a good sign. These solvents lift most lash adhesives fast. Brands that sell both lashes and removers usually match the chemistry. We see this across budget options like Revolution and mid-tier staples like L’Oréal and MAC.
Pro tip from our product database: dual-phase eye makeup removers often list water and oil layers. Shake, then use. Balm cleansers can also work, but they create slip that makes grasping segments tricky. Keep a tissue nearby if you choose a balm. You will want grip.
What to avoid when removing falsies
Skip dry yanking. A tiny pull test can check softness, but never peel from the outer corner without loosening the glue first. That habit snaps lash fibres and bends bands. It also inflames the eyelid margin. Redness today means flaky lids tomorrow.
Avoid harsh scraping with tweezers. Metal tips can split the band or cut natural lashes at the glue seam. Use tweezers to steady, not to dig. If glue clings, add more remover and wait 30 seconds. Patience saves lashes. Tools don’t.
Watch your cleanser choice. Micellar water lifts mascara and shadow, but many micellars bounce off modern lash bonds. You waste time and rub more. Oil-based removers break down adhesive faster with less friction. Sensitive eyes can still go gentle. Look for fragrance-free options from lines like Clinique. Patch test along the jaw or behind the ear first.
One more watch-out. If you wear salon extensions, keep oils away from those bonds. This guide covers strip and at-home clusters. Oil dissolves professional adhesive quickly. Protect your investment and use a lash-safe remover around extensions only if a tech approves it.
Step-by-step: safe strip lash removal
Set the scene. Tie hair back. Wash hands. Sit somewhere bright with a mirror at face level. Have cotton buds, micro swabs, a lint-free pad, and your remover ready. Remove contact lenses before you start.
Step 1: Soften the band. Close your eye. Press a remover-soaked pad over the lash line for 30–60 seconds. Hold the pad flat to prevent seepage into the eye. This soak allows solvents to creep under the band.
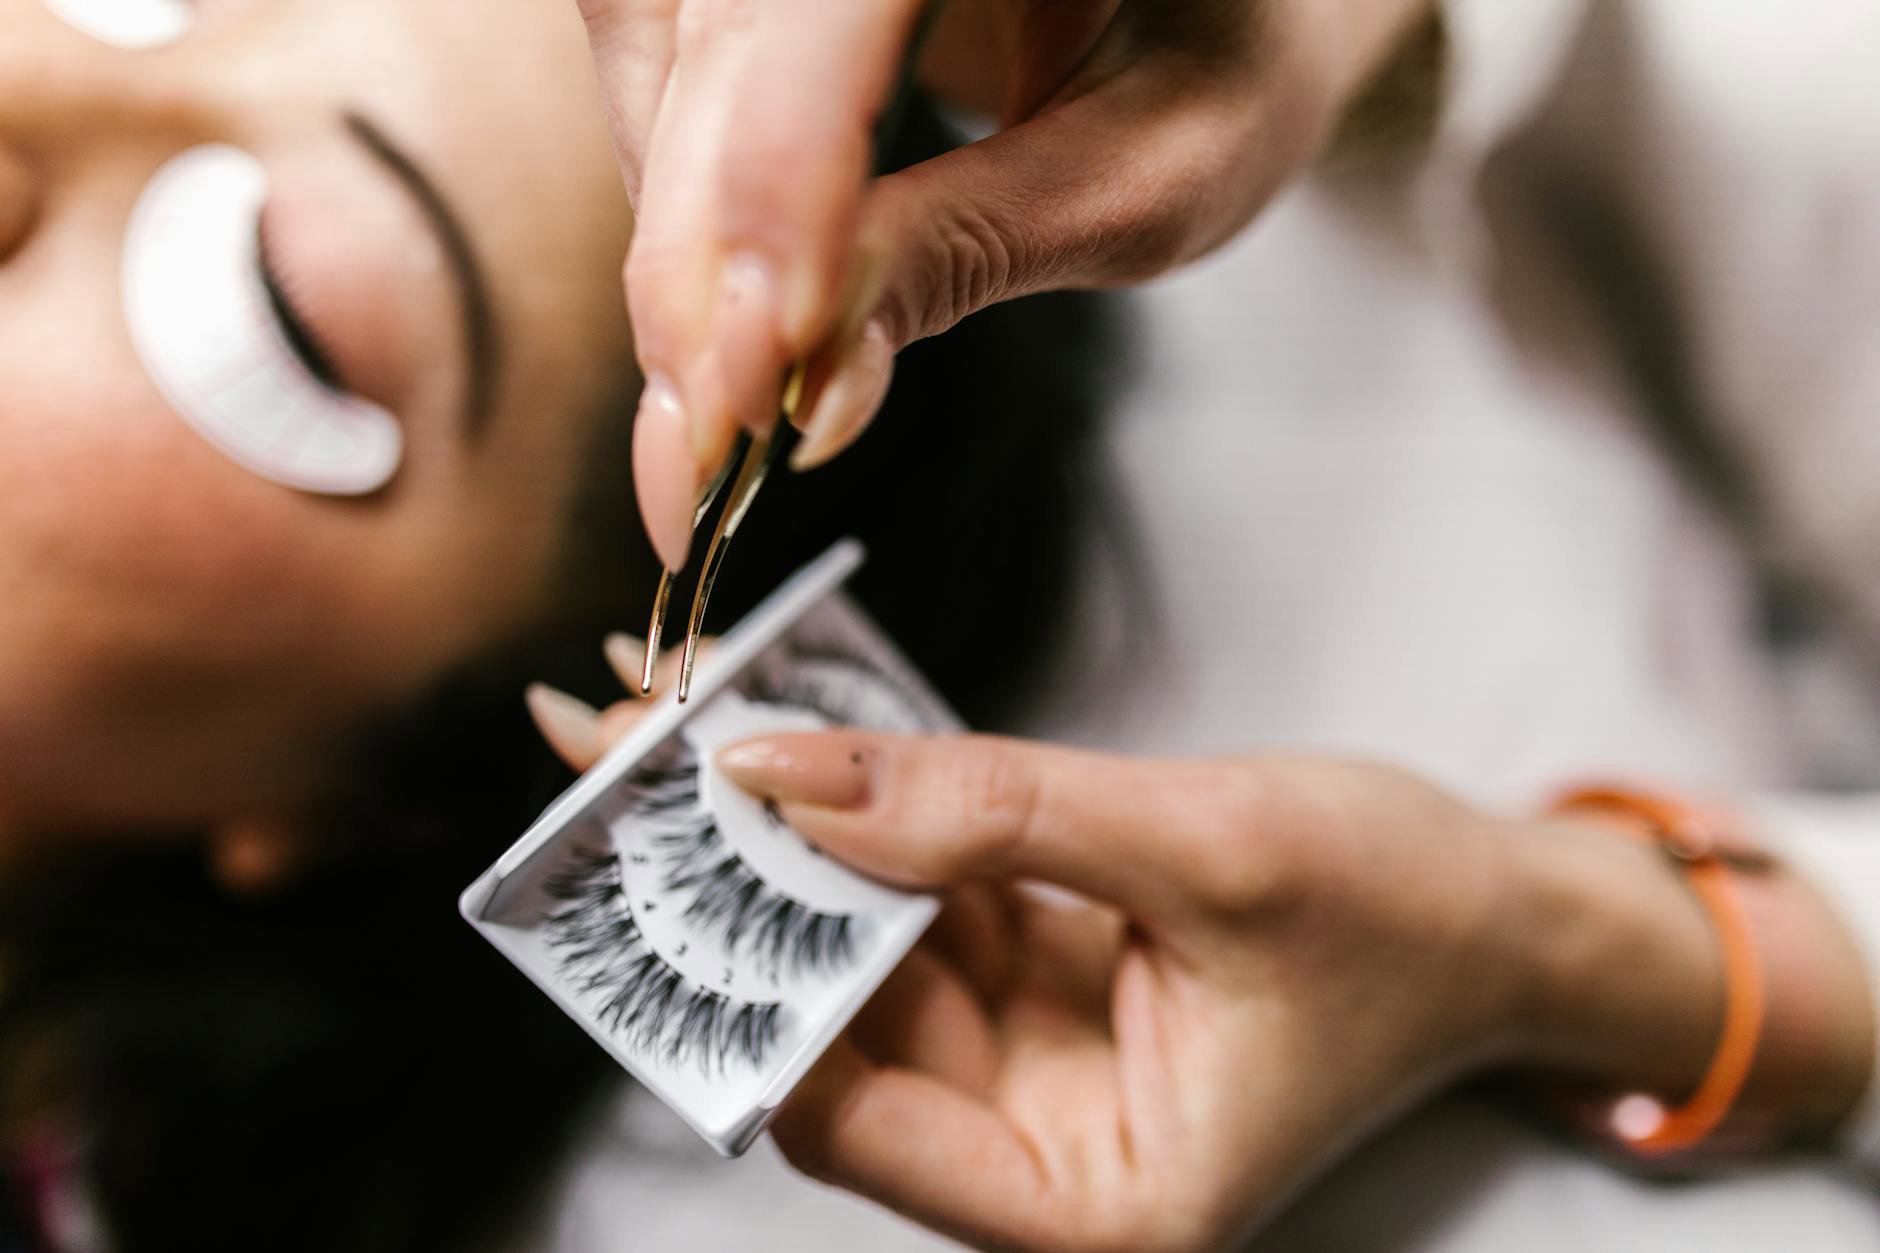
Step 2: Target the seam. Dip a micro swab in remover. Trace along the lash band at the skin seam. Work from inner to outer corner. Use light pressure. You loosen glue, not skin. Add more product as needed.
Step 3: Slide, don’t peel. Pinch the band’s outer edge with clean fingers or blunt tweezers. Gently roll the band away from the skin. If you meet resistance, stop. Re-soak for 20–30 seconds. Then try again. The band should ease off with almost no tug.
Step 4: Clean the band for reuse. Place the strip on a clean tissue. Wet a cotton bud with remover and roll it along the underside of the band. Glue will lift in strings. Avoid soaking the lash fibres. Too much oil can loosen their curl. Once clean, press the band between dry tissue to remove excess oil. Store the pair in its tray to keep shape.
Step 5: Clean your lash line. Use a gentle cleanser around the eyes. Our testers favour foam textures on a damp cotton bud for control. Browse Foam & Wash Cleansers to find options that suit sensitive skin. Follow with a light moisturiser under the brow bone, not on the lash roots.
We track frequent discounts on classic strips from mass brands and pro lines. Check False Lashes on GlamGeek, add your top styles to your wishlist, and let the price alerts do the legwork. We monitor Boots Ireland, Lookfantastic Ireland, and more so you don’t have to refresh five tabs.
Step-by-step: cluster and segment lash removal
Cluster systems stick harder. Many use a bond-and-seal combo that grips from below. Removal takes more remover and more time. Set aside 10 calm minutes. You save lashes and save the clusters for another wear.
Step 1: Protect the eye. Remove contact lenses. Place a thin layer of balm or petroleum jelly under the lower lashes. This catches drips and stops stinging. Keep tissues nearby.
Step 2: Saturate the roots. Use a micro swab dipped in a dedicated cluster remover or a solvent with isododecane or isopropyl myristate. Press the swab under the lash line where the segments sit. Wiggle gently. Work across the eye from inner to outer corner. Re-dip often. Allow 60–90 seconds for the bond to soften.
Step 3: Nudge, don’t pull. Pinch a segment with fingers for better feel. Rock it forward and back. It should slide off with almost no pull once the bond releases. Stubborn segments need more remover and another 30 seconds. Keep your touch light. Treat any resistance as a signal to add product, not force.
Step 4: Remove residual bond. After the last segment drops, sweep a clean swab along the lash roots. Roll, don’t scrub. Focus on any gummy spots. Follow with a gentle cleanse. Avoid strong acids or retinoids on the lash line that night. Give the skin a rest.
Step 5: Clean and store segments. Set each cluster on a dry tissue as you remove it. After the eye area feels clean, dampen a new swab with remover. Roll it under each cluster spine to lift old glue. Blot with a tissue. Pop them back into a tray to hold shape.
We see cluster systems from budget to premium across retailers. Some brands launch in the UK first. Ireland often lags by a few weeks. If you spot a remover out of stock locally, compare listings on GlamGeek. You may find a better price from a UK retailer that ships to Ireland, even after shipping. Check returns policies before you order a solvent across borders.
{{IMAGE:close-up woman dissolving lash glue with cotton bud}}The gentle kit: removers, tools, and cotton types
Build a small lash-removal kit and keep it together. You will remove faster and with less stress when everything sits within reach. We like a caddy with four essentials: a dual-phase eye makeup remover, micro swabs, lint-free pads, and a pair of blunt, slanted tweezers.
Removers: Look for oil-forward formulas. Isododecane dissolves bond fast and evaporates cleanly. Isopropyl myristate clings and melts stubborn glue. Mineral oil cushions and softens bands. Sensitive eyes often prefer fragrance-free options from brands like Clinique. Balm cleansers from brands such as Charlotte Tilbury can work in a pinch, but they need careful placement.
Tools: Micro swabs target glue without flooding the eye. Standard cotton buds work but shed lint. Lint-free pads keep fibres out of your tear film. Blunt tweezers give control without sharp tips near the eye. Keep a clean spoolie too. It helps when you need to comb out softened residue at the end.
Cotton choices matter. Thick cotton holds more solvent but can drip. Thin pads keep things neat on smaller eyes. Our team favours a hybrid: one lint-free pad for the first soak, then micro swabs for seam work. You use less product and touch the skin less.
Want to keep costs tidy? Compare remover options on GlamGeek before you buy. We track prices across Irish stockists and flag promos often. Add your preferred remover to your wishlist so you hear about drops before they sell through.
Aftercare that keeps natural lashes healthy
Post-removal care protects your lash line and the delicate lid skin. Start with a gentle cleanse. Use a low-foaming cleanser on a damp cotton bud to sweep along the roots. Avoid rubbing. Rinse with lukewarm water. Pat dry with a clean towel.
Next, condition the skin. Choose a light, fragrance-free moisturiser. Keep it above the lash roots to avoid residue in the eyes. If your lids run sensitive, stick with simple formulas for 24 hours. Consider hydrating serums for the orbital bone, not the lash margin. You can browse hydrating picks in Face Toners and layer a minimal moisturiser from our Day Face Moisturisers category.
A word on lash conditioners and oils. Castor oil and panthenol get frequent mentions. Evidence for faster growth stays mixed. Conditioning does reduce friction, which helps breakage. If you try an oil, use a tiny amount on the tips only. Keep it off the roots to protect follicles from clogging.
Mind mascara habits the day after removal. Use a tubing mascara if you want definition without heavy rubbing at night. See what suits in Mascaras. Tubing formulas slide off with warm water, which reduces lash stress. That matters over months, not days.
Irish weather brings drizzle and low UV most of the year. Still wear SPF in daylight, even on grey days. Eye-area SPFs exist, but keep them below the brow and above the cheek to avoid stinging. Explore our curated SPF Protection Products and pick textures that sit well under makeup.
Storage, sanitation, and when to retire a pair
Clean bands last. Dirty bands don’t. After each wear, remove glue strings from the band. Use a swab and a dab of remover. Pat dry. Place lashes back in their tray to preserve the curve. That curve makes the next application faster and cleaner.
Sanitise without soaking. Don’t dunk lashes in alcohol. It warps fibres and dries them out. Instead, spritz a tissue with 70% alcohol. Press the lash tips lightly into the tissue. Let them air dry. This quick step reduces bacteria from mascara back-combing and airborne lint.
Set a retire date. Synthetic strips can look crisp for 5–10 wears with good care. Mink and faux mink often stretch a little longer. Clusters give fewer repeats because short spines collect glue faster. If the band frays, the curl drops, or the fibres clump, retire them. You will spend more time fixing than wearing. A fresh pair saves time and liner.
Keep your kit clean. Wash tweezers with soap and water. Dry well. Replace micro swabs and pads often. Clean storage boxes stop dust from settling on fibres, which can irritate the eye next time.
Want another set ready to go at a fair price? Compare styles across our False Lashes section. We index Boots Ireland, Brown Thomas, Arnotts, McCauley Pharmacy, Meaghers Pharmacy, and Lookfantastic Ireland. Prices shift weekly. Add favourites to your wishlist to catch reductions.
Troubleshooting sticky situations
Glue won’t budge? Increase dwell time. Soak a lint-free pad. Hold it to the lash line for a full 90 seconds. Then switch to a fresh micro swab and track the seam again. Avoid scrubbing. Fresh remover solves most glue standoffs.
Band stuck in the centre only? Support both corners with fingers. Pulse remover at the centre seam in tiny drops with a swab. Wait 30 seconds. Slide the band away with a roll, not a pull. Liner can mask a small lift mid-wear, but removal still needs patience at home.
Stinging or watering eyes? Stop and flush with lukewarm water. Blot, then restart with less product and better aim. Keep your chin up and look down, so gravity keeps remover away from the eye. Sensitive users often prefer fragrance-free formulas. Browse gentle picks from brands like Clinique and KIKO on GlamGeek and compare reviews before you buy.
Clumps of glue trapped in natural lashes? Don’t pick. Coat the clump with remover using a micro swab. Wait 60 seconds. Pinch the clump between two clean fingers and slide it off the lash shaft. Follow with a warm water rinse and a gentle cleanse. If clumps persist, take a break from falsies for a week.
Band tore mid-removal? Save time and bin it. A split band loses shape and pokes the inner corner on the next wear. Grab a backup from your lash stash. Keeping one spare set avoids last-minute corner-lift drama before a dinner or event.
What this means: a calm, lash-safe routine
Removal sets the tone for every lash day that follows. Soften first. Target the seam. Slide away with almost no force. Clean the band and the skin. Store the pair properly. These small habits preserve natural lashes and extend the life of your falsies.
Build a kit that suits your eyes and your budget. Pick a remover that matches your glue. Stock micro swabs and lint-free pads. Keep blunt tweezers and a spoolie clean. Use GlamGeek to compare removers and lash styles across Irish retailers. Add favourites to a wishlist and let alerts find the price drops. Our tracker does the checking while you do the fun bit.
Consider your routine the day after. Go gentle with cleanser and moisturiser. Choose a mascara that comes off with warm water if you want a rest from heavy rubbing. Wear SPF in daylight. Keep acids and retinoids away from the lash line on removal nights. Small choices stack up to stronger lashes over time.
Before you buy: brand and product pointers
Not all removers feel equal. Dual-phase liquids remove classic strip glue fast. Look for that shake-to-activate label when you browse. Balm cleansers suit dry skin and help with eye makeup too. Use a tiny amount and keep a tissue ready, so your grip stays steady on segments. Some brands design removers to pair with their cluster bonds. If your clusters feel stubborn, match the remover to the system.
Budget lovers can start with Revolution. The range covers strips, adhesives, and tools. Mid-tier shoppers often check L’Oréal and MAC for removers and liners that play nicely with falsies. If you chase a soft-glam finish, explore lash-friendly liners from brands like Charlotte Tilbury. A smooth line hides any micro gaps after removal nights.
Keep one eye on stock. We see UK-first drops for certain lash systems. Ireland follows, but not always at the same price. If a remover runs hot on TikTok, Irish shelves can empty for a week. Use our comparison pages for a live view across Boots Ireland, Brown Thomas, Arnotts, McCauley Pharmacy, Meaghers Pharmacy, and Lookfantastic Ireland. If a UK site ships cheaper, weigh shipping and delivery times. Sign up for price alerts so you don’t overpay in a rush.
Still building your basic eye kit? Our Makeup Brushes & Applicators section lists tools that make lash removal easier. A good mirror, blunt tweezers, and micro swabs beat panic every time. If you want a mascara buffer for non-lash days, see our edit of Mascaras with tubing options for easy evenings.
And yes, finish lines matter. If you need to disguise a little redness or a faint glue shadow after removal, dab a tiny amount of concealer just under the outer corner. You can explore textures in Liquid & Cream Concealers. Keep product away from the lash roots. Clean skin heals faster than camouflaged glue.
Ready to streamline the whole cycle? Create a short wishlist of your lash staples: strips or clusters, a remover, micro swabs, and a gentle cleanser. GlamGeek will watch the prices and ping you when they fall. You get a calmer routine and a healthier lash line.
What still trips you up on lash-off nights? Tell us where the glue sticks, and we’ll refine this guide. Add your favourite lashes and removers to your GlamGeek wishlist today, and let our price alerts do the boring part.