How to brow tint at home
Get salon-worthy brows at home with these easy tips and tricks to tinting.
12 June 2023
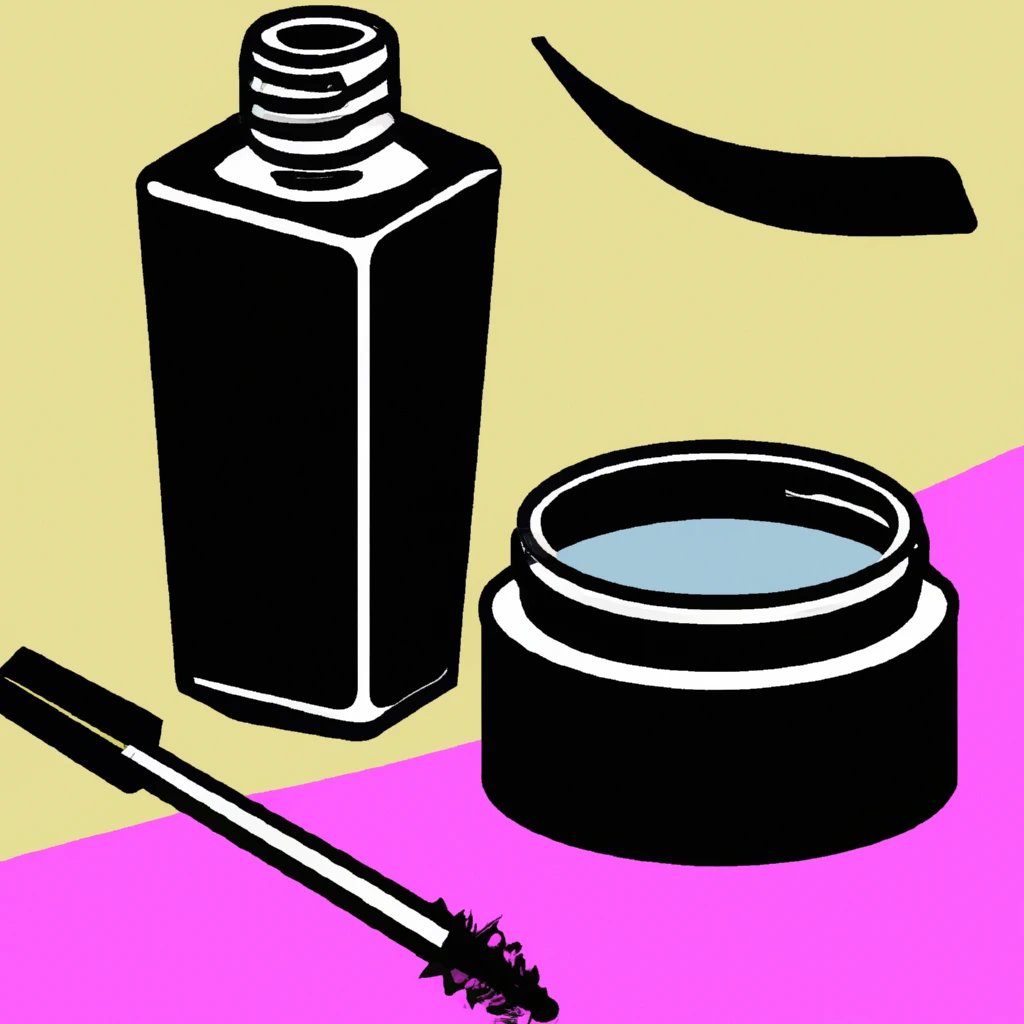
Applying the tint
Before starting, make sure your eyebrows are clean and free of any makeup or skincare products. Use a cleanser specifically designed for sensitive skin to remove any residue. Then, mix the tint according to the instructions on the packaging.
- Using a spoolie brush, comb your eyebrows upwards to reveal any sparse areas or gaps in your brows.
- Using a small angled brush, apply the tint to your eyebrows in short, gentle strokes, focusing on the sparse areas. Be careful not to get the tint on your skin.
- After you have applied the tint, use a clean spoolie brush to comb through the eyebrows to ensure the product is evenly distributed.
- Wait for the tint to set according to the instructions on the packaging, usually around 10-20 minutes.
Waiting for the tint to set
After applying the tint, it's important to wait for the product to set and develop.
- Do not touch or rub your eyebrows during the waiting period as this can cause the tint to fade or smudge.
- Avoid sweating or getting your eyebrows wet during this time as well.
- If you accidentally get tint on your skin, use a damp cotton bud to remove it immediately
- If you experience any itching or burning sensations during the waiting period, remove the tint immediately and rinse your eyebrows with cool water.
Removing the tint
After the waiting period is over, it's time to remove the tint.
- Use a damp cotton pad or cloth to wipe away the tint from your eyebrows. Start from the outer corners of the eyebrows and work your way towards the center.
- Be gentle, and avoid rubbing the tint off your skin.
- If you notice any areas that haven't been tinted properly, repeat the process and wait for the tint to develop again before removing.
- Once you have removed all the tint, rinse your eyebrows with cool water to ensure no residue remains.
Maintaining your tinted brows
To maintain your tinted brows, it's important to follow these tips:
- Avoid using any oil-based skincare or makeup products on your eyebrows as they can cause the tint to fade.
- Avoid rubbing, scratching or touching your eyebrows, as this can also cause the tint to fade or smudge.
- Avoid excessive sweating or getting your eyebrows wet for at least 24 hours after tinting.
- Avoid using any exfoliating products or treatments on your eyebrows, as they can cause the tint to fade.
- If you want to maintain your tinted brows for a longer period, touch up the tint every two weeks, or as necessary.
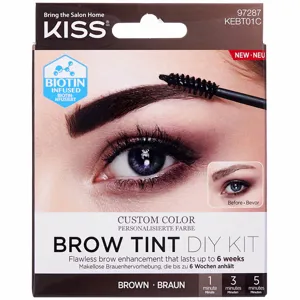
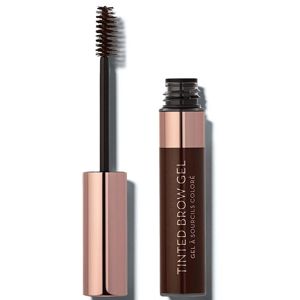
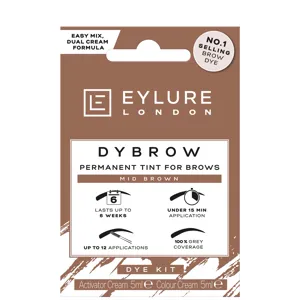

Find the Best Brow Tints for Your Type
More to Explore
Continue your beauty journey with these guides

How to use a Cream Contour Palette
Mastering the Art of Contouring: A Guide to Using a Cream Contour Palette

At what age should you start using Anti Ageing Serums?
"Unveiling the Ideal Age to Incorporate Anti-Ageing Serums into Your Skincare Regimen"

Why Use a Lip Kit? Liner + Lipstick That Match
The Beauty and Practicality of Lip Kits

Lip Crayon vs Lipstick: Which Is Better for You?
Lip Crayons: The Ultimate Game-Changer in Lipstick Trends

Are cream eyeshadows better for mature eyes?
Cream Eyeshadows: A Game-Changer for Mature Eyes
How to brow tint at home
Get salon-worthy brows at home with these easy tips and tricks to tinting.