A makeup sponge can give you the smoothest “skin-like” base you’ll get from a tool—if you use it the right way. The trick sits in three moves: choose a sponge shape that matches your face, dampen it correctly, and use a bounce-and-press motion instead of dragging product around.
Most “bad sponge results” come from predictable issues: too much product on the sponge, using it bone-dry, or rubbing instead of pressing. Fix those, and even medium-coverage base products can look lighter, more even, and less streaky.
We built this guide from what our price tracker consistently shows across major retailers (Sephora, Ulta, Target, Amazon, and more): you don’t need to overspend to get a great sponge, but you do need the right technique. We’ll walk through foundation, concealer, cream blush/bronzer, and powder step-by-step—plus the mistakes that quietly ruin a base.
Quick note on scope: this article stays strictly in Sponges & Blenders. If you’re looking for adjacent tools, our Makeup Brushes & Applicators hub covers that category, but we won’t mix those recommendations in here.
The basics: what a makeup sponge actually does
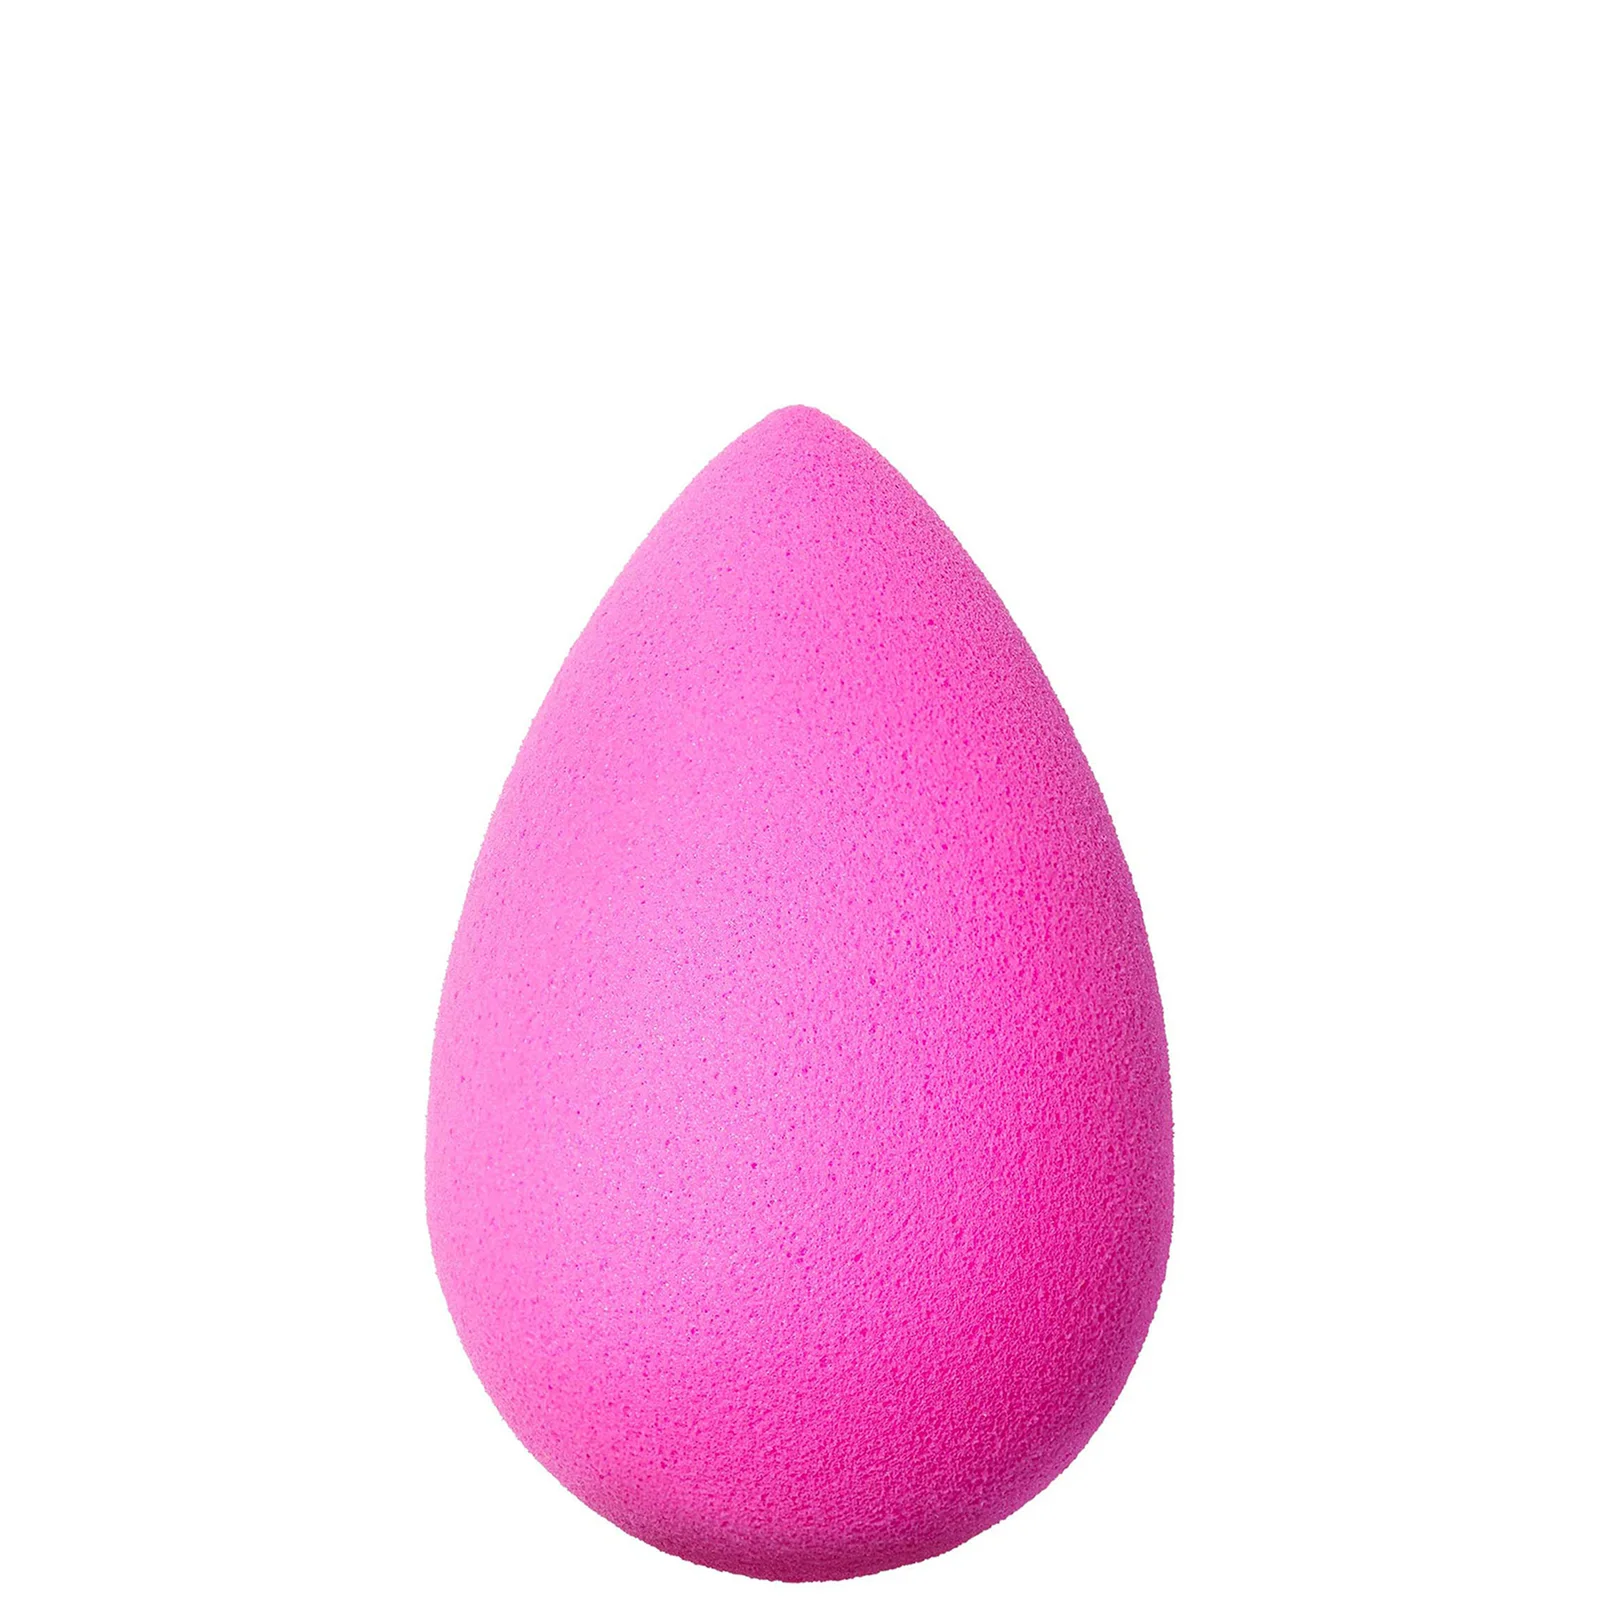
A makeup sponge works because it disperses product in tiny, repeated deposits. You don’t “paint” on coverage. You stamp it in. That stamping motion evens out edges, minimizes visible streaks, and helps creams and liquids sit more uniformly on texture.
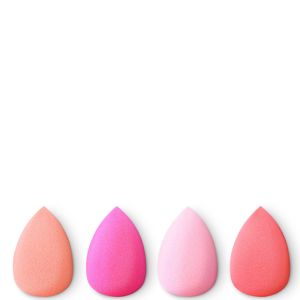
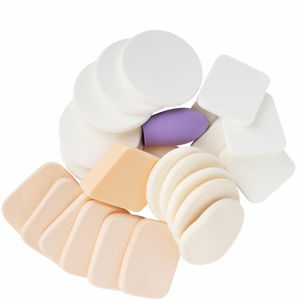
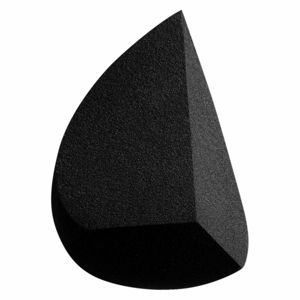
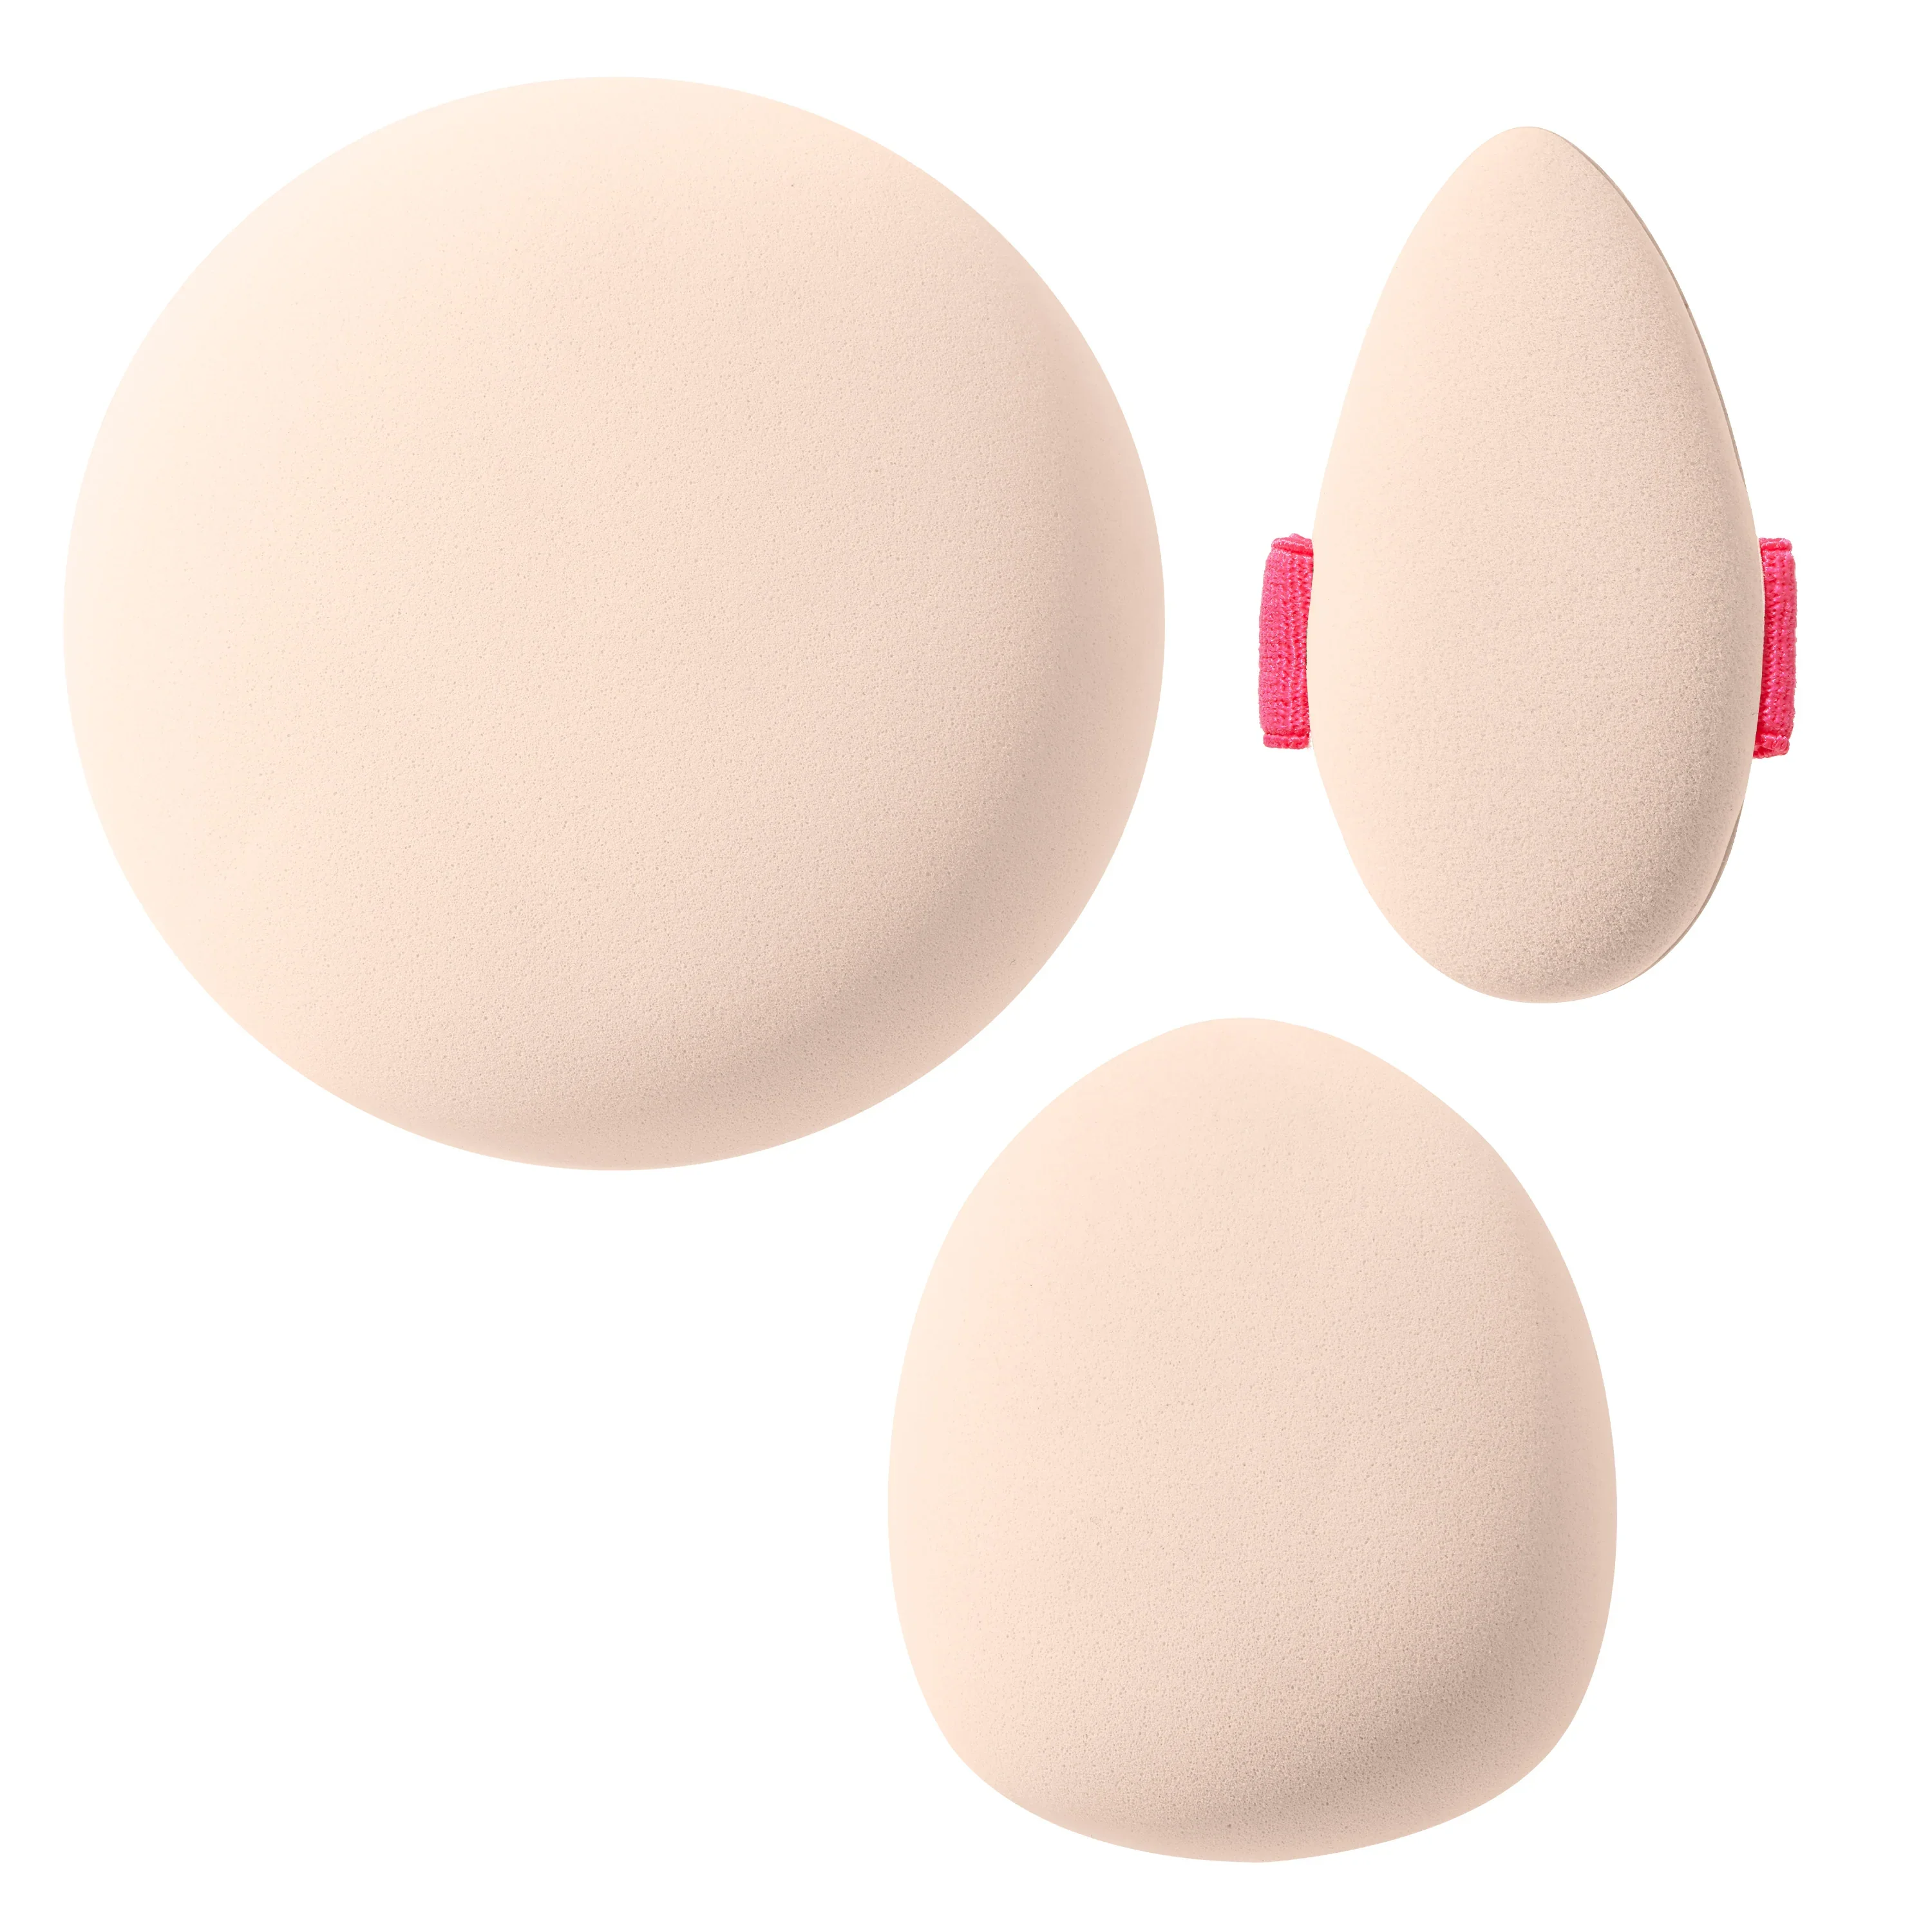
Most popular base sponges use an egg or teardrop silhouette. That shape gives you two working zones: a wider side for cheeks/forehead and a tapered tip for corners around the nose, mouth, and under-eyes. The beautyblender Blusher Cheeky Sponge (from $20.00) leans into that classic egg-like approach, and its shape helps you get into creases without leaving harsh lines.
Texture matters too. The Real Techniques Miracle Complexion Sponge (from $5.00) calls out micro-fine pores designed to blend liquid and cream products for a streak-free, luminous glow with light to medium coverage. Translation: it aims for a dewy, seamless base rather than heavy build-up.
Then you have sponges built for a different finish. The Real Techniques Miracle Complexion Sponge And Miracle Powder Sponge set (from $5.16) centers on a mattifying sponge designed to blend foundation without added shine, while still working for concealer and color corrector. If your biggest complaint reads “my base looks greasy by noon,” the finish a sponge supports can matter as much as the foundation you picked.
If you want more context on how sponges fit into the broader makeup tool ecosystem, think of them as finish-first tools: they excel at melting product into skin. They won’t replace your shade match, your skin prep, or your setting decisions. They simply make those choices look better.
Choosing the right sponge (and paying the right price)
Pick your sponge based on three realities: your finish preference (dewy vs matte), how precise you need to be (blemishes vs full face), and how often you replace tools. Price matters, but it isn’t the whole story.
For most shoppers, our pricing data shows the “sweet spot” lives under $10. The Wet N Wild Makeup Sponge (from $4.29) and Real Techniques Miracle Complexion Sponge (from $5.00) both sit in the budget range where you can replace sponges more often without wincing. That matters because sponges wear out: they can tear, lose bounce, or start to hold onto product.
If you prefer a less shiny finish, the Real Techniques Miracle Complexion Sponge And Miracle Powder Sponge (from $5.16) gives you a sponge specifically positioned for a more coverage-forward, less-glowy result. It’s a small shift, but in humid climates it can read as “my base lasts longer.” In dry climates, it can read as “my foundation looks tighter,” so the dampening step (next section) becomes even more important.
For smaller sizes and targeted placement, sets can make sense. The Real Techniques Sunrise To Sunset Miracle Complexion Sponge + Minis (from $10.80) includes four sponges, designed to blend foundation, concealer, and tinted moisturizer with light to medium coverage. Minis earn their keep around the nostrils and inner under-eye, where a full-size sponge can feel clumsy.
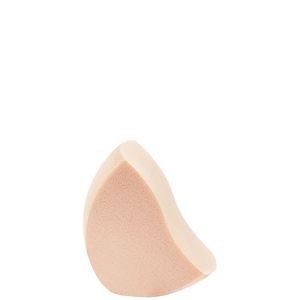
Luxury tools exist, and sometimes you buy them for shape engineering. Clé de Peau Beauté The Sponge (from $23.00) positions itself as a multi-purpose blending tool for liquid and cream products with a shape designed for wide and narrow contours. We won’t pretend a $23 sponge automatically makes skin look $23 better, but contour fit can reduce over-blending and over-application.
Also: beware novelty purchases unless you’ll actually use them. The Revolution X Fortnite Peely Banana Sponge (from $8.00) brings pop-culture appeal, and it can still function as a blending tool. Just make sure the shape works with your application style before you buy.
Side note for shoppers browsing by brand pages: you’ll see lots of tool options next to brands like Revolution, MAC, or Sephora Collection. That’s normal merchandising. This guide stays with the sponge picks listed above.
How to wet (dampen) a sponge the right way
Dampening decides your finish.
A properly damp sponge helps prevent two common problems: product soaking into the tool, and product sitting on top of skin in a thick layer. When a sponge holds some water, it stays springy and helps shear out product into a thinner, more even film.
Here’s the simplest method that works for almost everyone:
- Run the sponge under water until it expands and feels uniformly wet.
- Squeeze firmly to push out excess water.
- Towel-press once or twice until the surface feels damp, not dripping.
- Check your hand: tap the sponge on the back of your hand. If it leaves water spots, squeeze again.
From a technique standpoint, this dampness sweet spot helps tools like the Real Techniques Miracle Complexion Sponge (from $5.00) deliver the “luminous glow” finish it’s designed for, without leaving a watery slip that thins your base too far.
For a more matte-leaning sponge like the one highlighted in the Real Techniques Miracle Complexion Sponge And Miracle Powder Sponge set (from $5.16), dampening still matters. It keeps the application even. It also reduces the odds that you’ll keep layering product to “fix” patchiness.
Two exceptions:
- Powder pressing often works best with a dry puff or a barely damp sponge, depending on the finish you want.
- Spot concealing can benefit from a slightly drier sponge tip so you don’t over-sheer coverage.
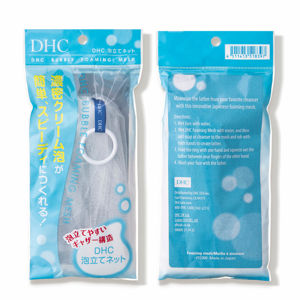
One more tool that confuses people: DHC Foaming Mesh (from $2.76) creates more lather from cleansers and you don’t use it directly on the face. It isn’t a makeup sponge, and it won’t help base application. Keep it in the “sink tools” lane.
Foundation with a sponge: the bounce-and-press method
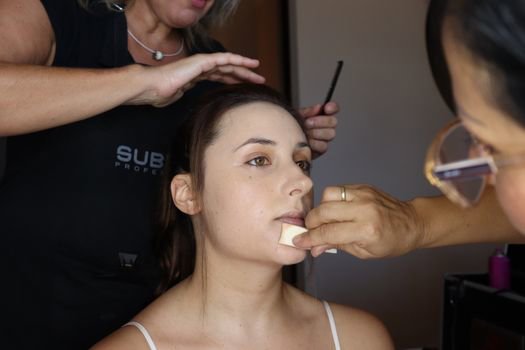
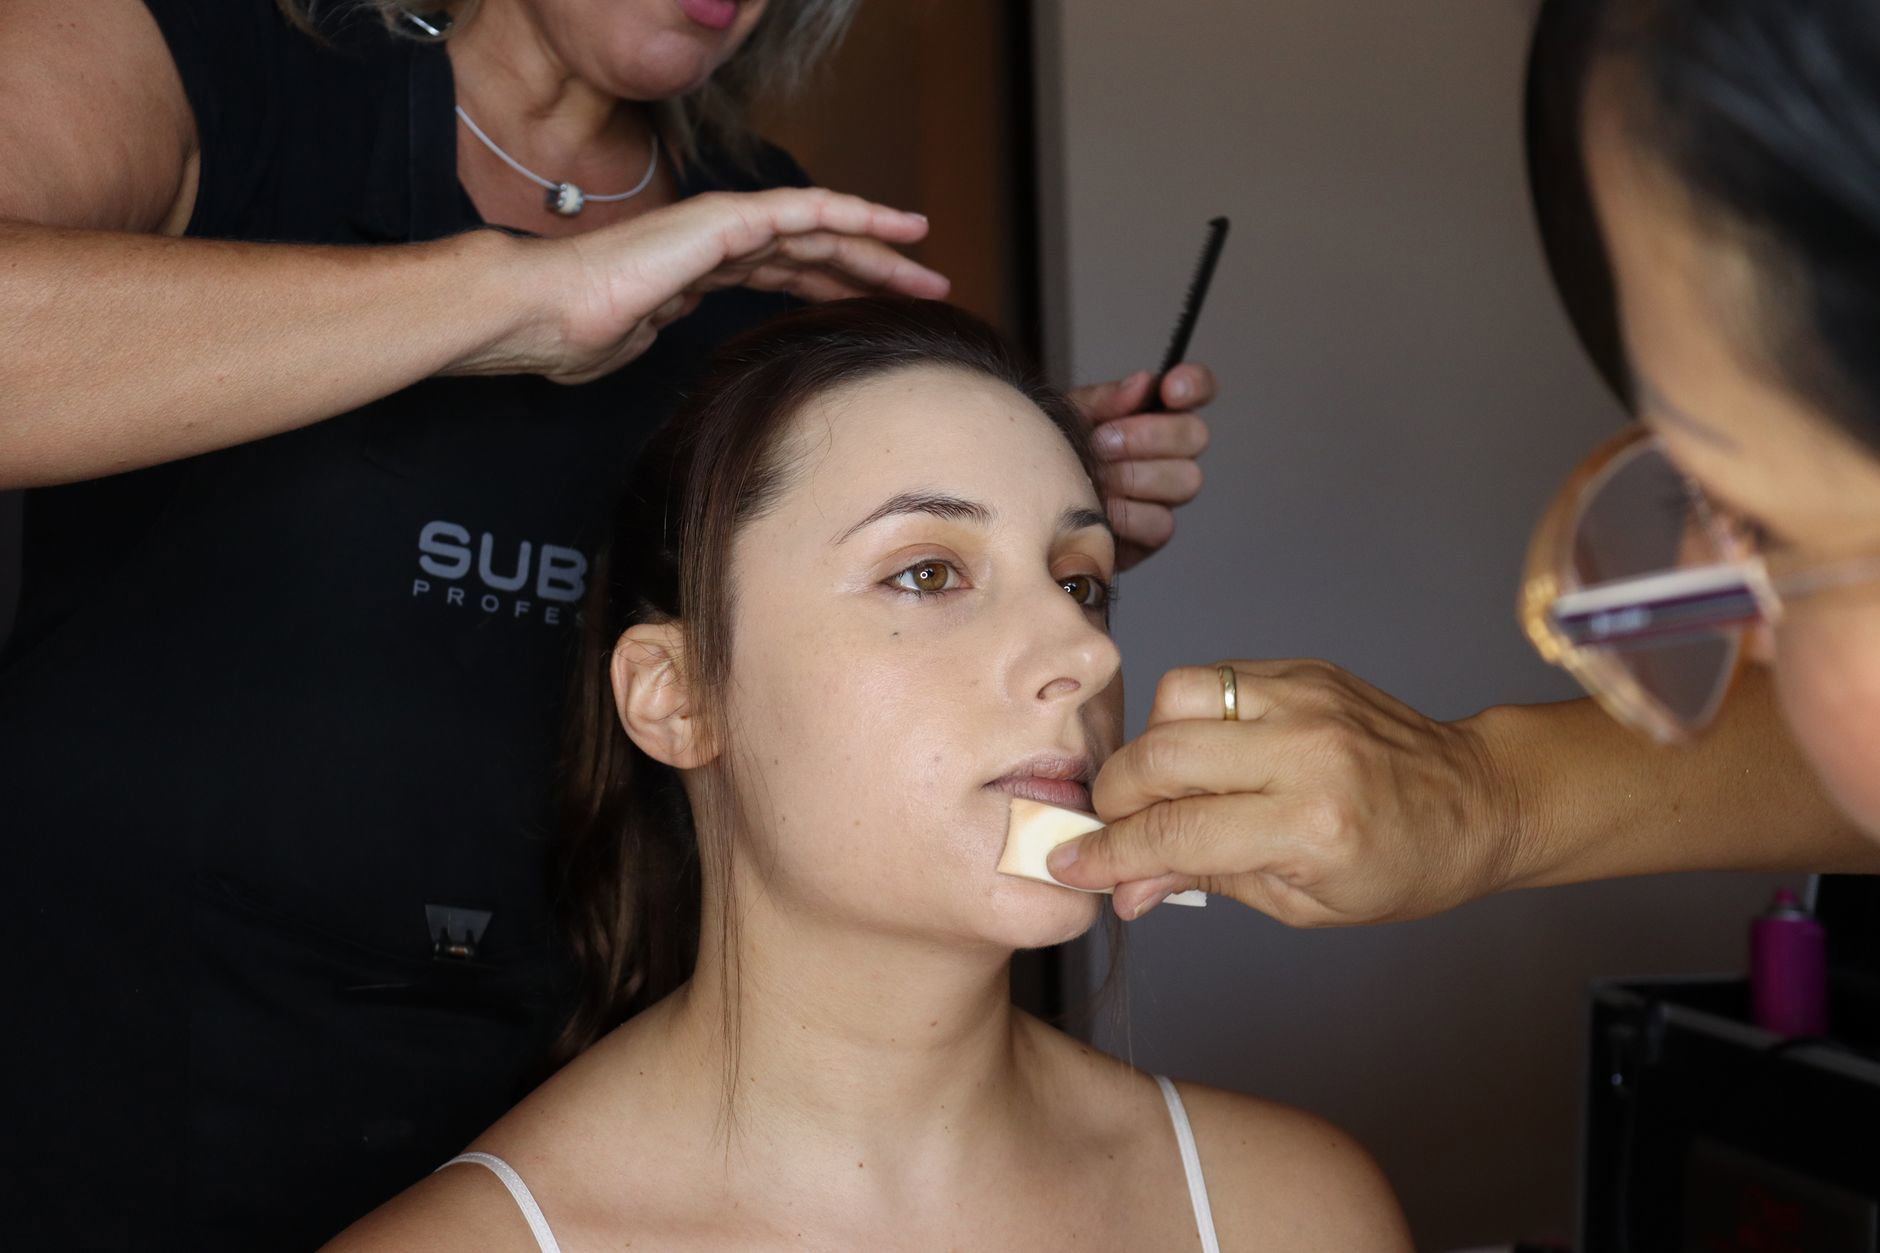
If you want a streak-free base, stop swiping. Sponges reward patience and repeated tapping. It looks slower at first, but it often saves time because you do fewer “fixing” passes.
Start with product placement. Put foundation where you need it most (often center face), then spread outward. You can place product on your face first, or lightly on the sponge—either way, use less than you think. A sponge can build coverage, but it can’t un-apply product once you overloaded a zone.
Step-by-step with a teardrop sponge like the beautyblender Blusher Cheeky Sponge (from $20.00) or the Real Techniques Miracle Complexion Sponge (from $5.00):
- Dampen to the “no-drips” point.
- Tap foundation on using the rounded side across cheeks, forehead, and jaw.
- Press, then micro-bounce in place to blur edges. Don’t drag.
- Use the tip around nostrils and between brows for an even transition.
- Finish with a clean side of the sponge to pick up excess and smooth texture.
Coverage control comes from how many passes you do, not from how much product you load initially. The Real Techniques description explicitly calls out light to medium coverage and a natural, dewy finish. That’s your cue to build in thin layers instead of trying to hit full coverage in one go.
Want less shine? Start with the sponge positioned for matte preferences in the Real Techniques Miracle Complexion Sponge And Miracle Powder Sponge set (from $5.16). Then keep your tapping focused on areas that separate first: sides of nose, chin, and between brows. In dry climates, keep the sponge slightly more damp to avoid clinging to flaky spots.
And if you struggle with tight corners, mini sponges can help. The Real Techniques Sunrise To Sunset Miracle Complexion Sponge + Minis (from $10.80) gives you smaller options for under-eye and nose work, where big sponges sometimes deposit too much at once.
Concealer and cream color: under-eyes, blush, and bronzer
Concealer looks best when it stays where you put it. Sponges can either perfect it—or spread it into nothing. Your pressure decides.
Under-eye concealer: Use the tapered tip of your sponge. Keep it only slightly damp. Then tap from the inner corner outward. Resist the instinct to “blend until it disappears.” You want the edge blended, not the entire layer erased. When you use a mini sponge (like those in the Real Techniques Sunrise To Sunset Miracle Complexion Sponge + Minis, from $10.80), you get more precision with less product migration.
Spot concealing: Don’t attack the blemish from above with huge bounces. Tap around the perimeter first, then lightly tap the center last. This approach preserves coverage where you need it and avoids a halo of bare skin.
Cream blush and bronzer: A sponge shines here because it softens edges fast. Use the rounded side and start where you want the most pigment. Then bounce upward and outward. If you go back and forth over the same spot with heavy pressure, you’ll lift foundation underneath. That’s the “my blush made a hole in my base” problem.
If you want a sponge that explicitly targets liquid and cream blending with a seamless base, the Clé de Peau Beauté The Sponge (from $23.00) sits in that multi-purpose lane. We’d mainly justify this spend for shoppers who value contour-fit and use creams daily.
For budget cream work, the Wet N Wild Seeing Green Makeup Sponge (from $5.99) and Wet N Wild Makeup Sponge (from $4.29) keep replacement costs low. That matters because cream pigments can stain sponges, and people often retire those tools earlier.
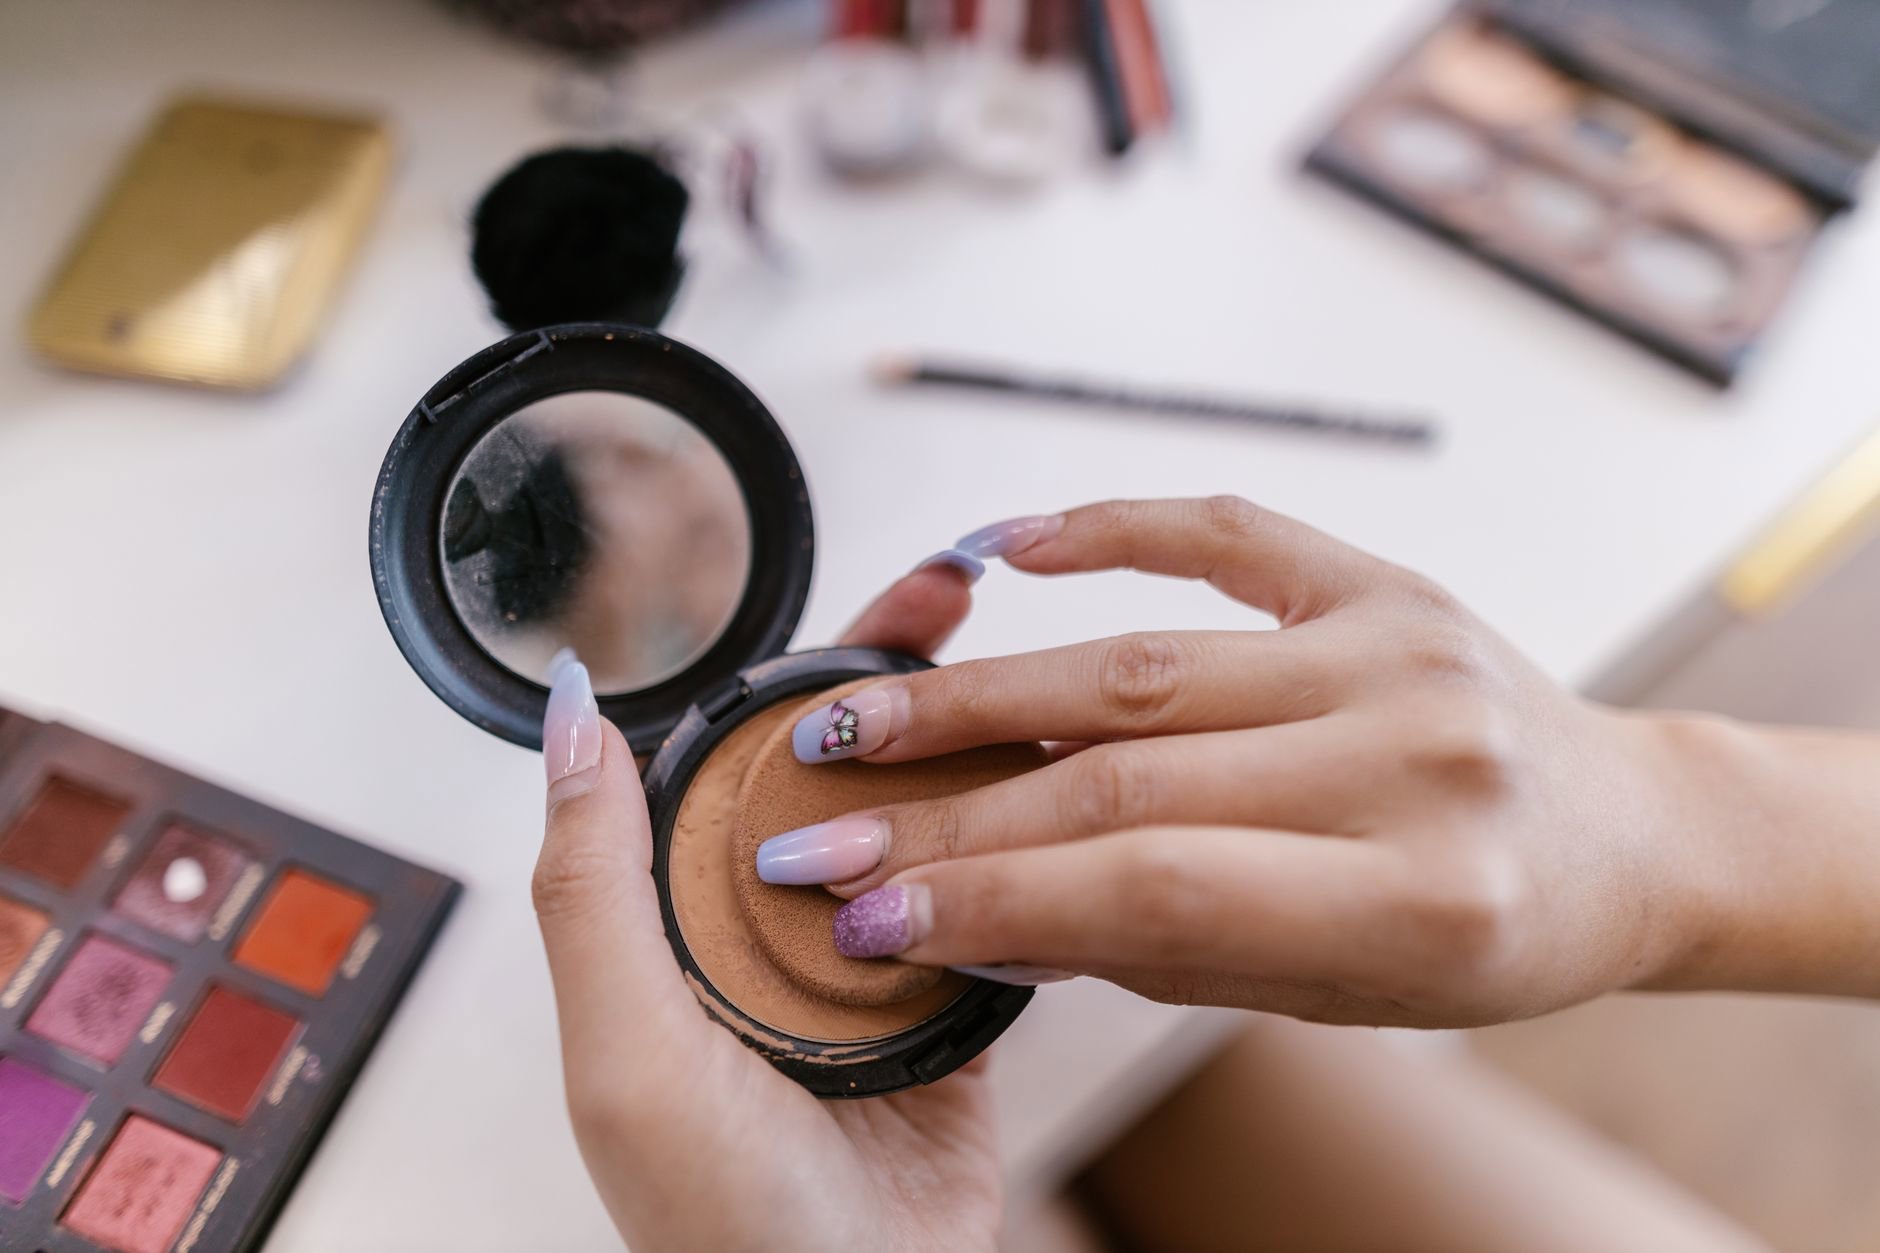
Powder with a sponge or puff: set without cakiness
Powder goes wrong when you treat it like paint. You don’t need to “cover” the face. You need to lock in the areas that crease or fade.
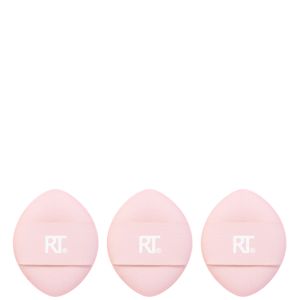
For powder, a puff often gives you cleaner placement than a sponge because it can press product into the surface without shifting your base. The beautyblender Power Pocket Puff (from $12.00) uses a dual-sided design: a soft pink side for setting and a tan suede side for gently reblending to smooth the finish. That “reblend” step matters when powder grabs in one spot.
If you prefer a classic luxe puff feel, Clé de Peau Beauté Powder Puff (from $14.95) positions itself as a partner for powder formulas, designed to bounce across skin to create a lightweight translucent veil and a soft-focus finish.
Here’s a setting method that minimizes cakiness:
- Pick up powder on the puff (or a sponge if that’s what you have).
- Work it in by folding and rubbing the puff against itself. This distributes powder evenly.
- Press, don’t sweep onto high-crease zones: under-eyes, around nostrils, chin.
- Reblend lightly with the clean side (the Power Pocket Puff makes this easy) to remove excess.
If you insist on using a sponge for powder, keep it almost dry. A very damp sponge can make powder grab and spot. When shoppers link “cakey” to sponges, powder technique usually caused the issue.
For readers building a whole routine, powder often sits next to steps like Face Primers or base products like Liquid Foundations. Those categories affect longevity, but the pressing motion remains the sponge-and-puff secret.
Common mistakes that sabotage a flawless base
Small errors compound fast with sponges. Here are the ones our editorial team sees most often in Q&A comments, along with the fix.
- Using a sponge dry for liquids. Dry sponges can drag product and leave streaks. Dampen to “no-drips” first, especially with dewy-leaning tools like the Real Techniques Miracle Complexion Sponge (from $5.00).
- Swiping like it’s a cloth. Swiping lifts product and creates texture. Tap and press.
- Overloading the sponge. If foundation disappears into the sponge, you used too much and too dry. Start with less product and build.
- Trying to fix texture by adding more layers. Sponges make layers look smoother, but they can’t hide flaking or pilling. When base breaks up, stop adding.
- Skipping a final “clean bounce.” Flip to a cleaner side and do a last pass. It picks up excess and blends edges.
- For powder: sweeping instead of pressing. Sweeping can move base and emphasize pores. Press to set, then reblend.
One more mistake shows up at checkout: buying one expensive sponge and keeping it forever. Our pricing feed shows you can buy reliable options at $4–$11 (Wet n Wild and Real Techniques ranges). Replacing tools on a sane cadence usually beats babying a single sponge.
If you like sets, the beautyblender Besties Starter Set (from $24.15) bundles an edgeless blending sponge with a sponge cleaner infused with charcoal. We won’t rehash cleaning schedules here (we keep that in our separate cleaning guide), but a set can reduce the “I never clean it because I don’t have cleanser” excuse.
Practical routines: quick base vs full-coverage base
Two people can use the same sponge and get totally different results because they choose different routines. Here are two templates that stay sponge-forward and predictable.
5-minute everyday base (light to medium coverage): Dampen a sponge like the Real Techniques Miracle Complexion Sponge (from $5.00). Tap a small amount of foundation in the center of the face. Bounce outward until edges disappear. Spot conceal only where needed with the tip. Add cream blush with the rounded side, using light pressure. Set only the crease zones with a puff like the beautyblender Power Pocket Puff (from $12.00), pressing powder precisely.
Long-wear, more perfected base (still not mask-like): Start with the more matte-leaning option from the Real Techniques Miracle Complexion Sponge And Miracle Powder Sponge set (from $5.16). Apply foundation in two thin layers, letting the first layer settle before tapping on the second. Use a mini sponge (from the Real Techniques Sunrise To Sunset Miracle Complexion Sponge + Minis, from $10.80) for under-eye concealer to avoid spreading. Press powder with a puff—either Clé de Peau Beauté Powder Puff (from $14.95) for a soft-focus veil effect or the Power Pocket Puff for set-then-reblend control.
Where climate fits in: humid environments push you toward thinner layers and more targeted setting. Dry environments push you toward careful dampening and minimal powder. Sponges can work in both. They just need different pressure and placement.
If you’re shopping across retailers, this is where GlamGeek price tracking helps: the same sponge can swing depending on whether you buy at Ulta vs Target vs Amazon. We’d rather see readers pick a sponge they’ll replace and use correctly than chase the highest-priced option.
Final checklist: sponge technique you can use today
Keep this short checklist in mind the next time your base looks streaky or heavy. It usually fixes the problem in one attempt.
- Dampen for liquids and creams. No dripping. No dryness.
- Tap, press, bounce. Never swipe.
- Build in layers. Two thin layers beat one thick one.
- Use the tip for corners. Minis help when you want control.
- Press powder with a puff. Then reblend lightly.
- Finish with a clean bounce. It smooths and removes excess.
Need a simple starter lineup from the products we track? For most shoppers: the Real Techniques Miracle Complexion Sponge (from $5.00) for liquids and creams, plus the beautyblender Power Pocket Puff (from $12.00) for setting gives you dependable results without fuss.
Which step gives you the most trouble—foundation streaks, under-eye creasing, or cream blush lifting your base? Tell us what you’re seeing, and we’ll point you toward the sponge shape and motion that usually fixes it.