How to use an eyebrow kit
Achieve Flawless Brows: A Comprehensive Guide on Using an Eyebrow Kit.
12 June 2023
Preparation
Using an eyebrow kit can seem like a daunting task, but with a little bit of preparation, you can achieve professional-looking results. Here are a few tips to help you prepare:
- Start by thoroughly cleansing your face. This will remove any makeup, dirt or oil that may interfere with your application.
- Make sure your eyebrows are trimmed to the desired length. Use scissors to carefully remove any long strands.
- Brush your eyebrows using a spoolie brush. This will help you see the shape of your eyebrows and remove any loose hairs.
- If you have any sparse areas in your eyebrows, consider using a clear eyebrow gel or pencil to fill them in before applying the kit. This will help give you a more defined look.
Once you have completed these steps, you're ready to move on to the next section to learn about the tools you'll need.
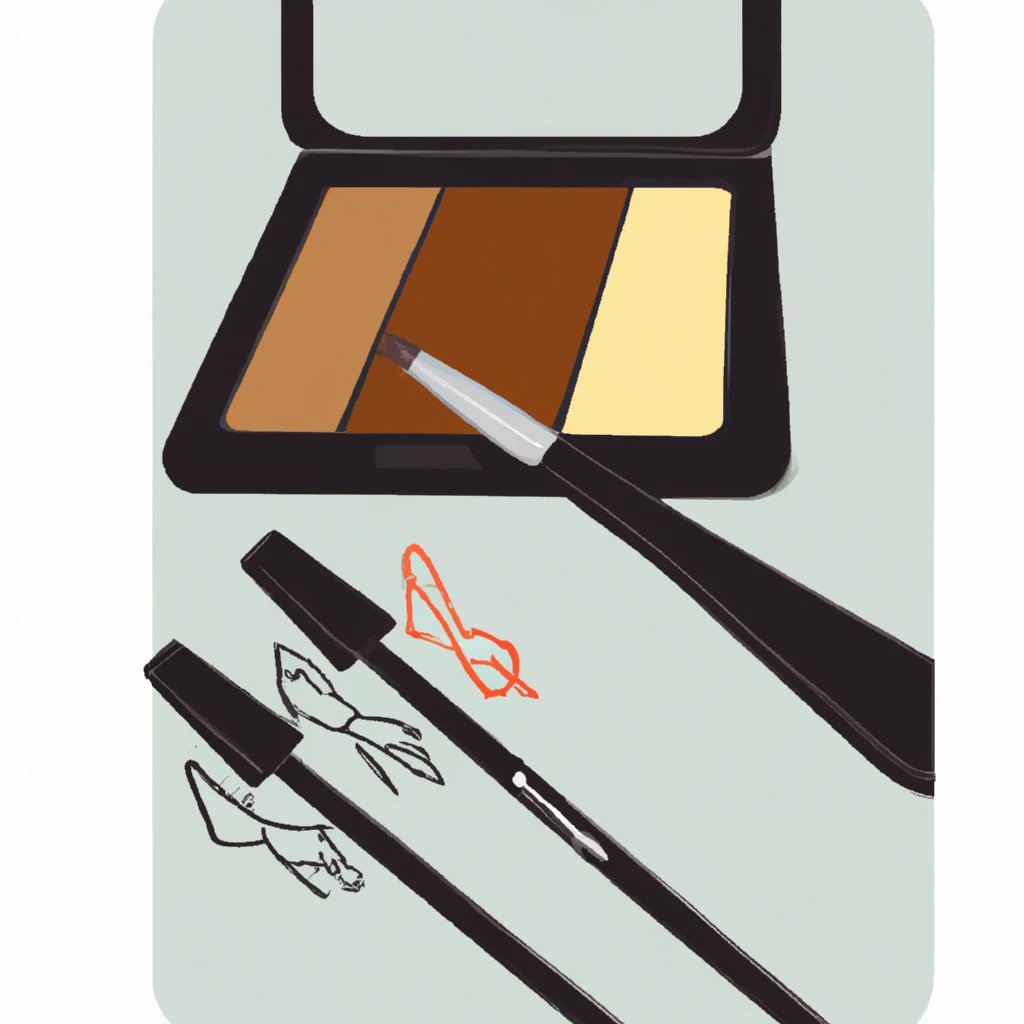
Tools
Choosing the right tools is essential for achieving a flawless eyebrow application. You will need:
- Eyebrow powder or pomade: Choose a shade that matches your hair color.
- Eyebrow brush: Use a firm, angled brush to apply the powder or pomade.
- Spoolie brush: Use this to blend out the powder or pomade and to remove any excess product.
- Concealer: Use a shade that matches your skin tone to clean up any mistakes or smudges.
- Tweezers: Use these to remove any stray hairs and to shape your eyebrows before applying the kit.
Once you have all of the necessary tools, you can move on to the next section to learn how to choose the right shade for your eyebrows.
Choosing the right shade
Choosing the right shade for your eyebrows can be tricky, but with a little bit of knowledge, you can achieve the perfect look. Here are some steps to follow when choosing the right shade:
- If you have dark hair, choose a shade that is one to two shades lighter than your hair color.
- If you have light hair, choose a shade that is one to two shades darker than your hair color.
- If you have red hair, choose a shade with a slight reddish undertone.
- If you have gray hair, choose a shade that matches your skin tone.
- If you have blonde hair, choose a shade that is close to your eyebrow hair color.
It's important to keep in mind that the shade you choose should enhance your natural features, rather than overpower them. Be sure to test out different shades before applying the kit to your entire eyebrow.
With these tips, you can confidently use an eyebrow kit to achieve professional-looking eyebrows. Remember to prepare your eyebrows beforehand, choose the right tools, and choose the right shade for your hair color. With a little bit of practice, you'll be an eyebrow application pro in no time.
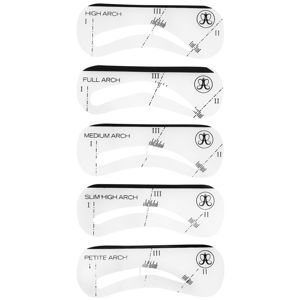
Mapping the Brow
Before you start filling in your brows, it's important to map out the shape you want to achieve. This will help guide you as you apply product and ensure that your brows are even and symmetrical. To map your brows, start by holding a brow pencil vertically against the side of your nose. This is where your brow should start. Next, pivot the pencil so that it runs from the side of your nose to the outer corner of your eye. This is where your brow should end. Finally, hold the pencil so that it runs from the center of your nose straight up to your brow bone. This is where your brow should arch.
- Use a brow pencil to map the shape of your brows.
- Start by holding the pencil vertically against the side of your nose.
- Pivot the pencil so that it runs from the side of your nose to the outer corner of your eye.
- Hold the pencil so that it runs from the center of your nose straight up to your brow bone to find your arch.
Filling in the Brow
Once you've mapped out the shape of your brows, it's time to start filling them in. Start by using short, feathery strokes to apply product to the sparsest areas of your brows. Be sure to use a light hand so that your brows don't look too harsh or heavy. Next, use a spoolie brush to blend the product through your brows and soften any harsh lines. If you're using a brow powder, you may want to use a slightly damp brush to help the product adhere to your skin.
- Use short, feathery strokes to apply product to sparse areas.
- Use a light hand to avoid a heavy or harsh look.
- Blend the product through your brows with a spoolie brush.
- A slightly damp brush can help brow powder adhere to your skin.
Highlighting and Blending
Highlighting and blending your brows can help give them a polished, finished look. To highlight your brows, use a matte highlighter pencil or shadow to draw a thin line underneath your brow, following the shape you've created. Use your finger or a small brush to blend the highlighter into your skin. This will help define the shape of your brows and make them stand out. Next, use a clean spoolie brush to blend the highlighter and the product you've used to fill in your brows, creating a seamless, natural look.
- Use a matte highlighter pencil or shadow to draw a thin line underneath your brow.
- Blend the highlighter into your skin with your finger or a small brush.
- Use a clean spoolie brush to blend the highlighter and your brow product together.
- This will help create a seamless, natural look.
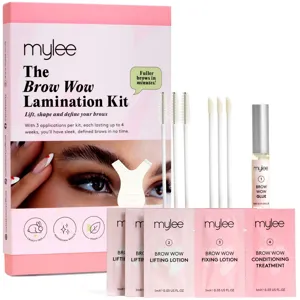
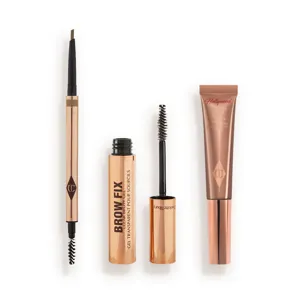
Finishing Touches
Once you've filled in and highlighted your brows, it's time for the finishing touches. Use a brow gel or wax to set your brows in place and keep them looking neat and tidy throughout the day. If you have any stray hairs, use a pair of tweezers to pluck them away. Be sure to step back and check your brows in natural light to make sure they look even and balanced. And remember, practice makes perfect! The more you work with your brow kit, the easier it will become to achieve the perfect shape and fill in your brows with ease.
- Use a brow gel or wax to set your brows in place.
- Use tweezers to pluck any stray hairs.
- Step back and check your brows in natural light to ensure they look even and balanced.
- Practice makes perfect! The more you work with your brow kit, the easier it will become.
Shop Brow Kits & Palettes
Discover our top picks for you


Mini Modern Renaissance - Kit For Brows And Eyes
Find the Best Brow Kits & Palettes for Your Type
More to Explore
Continue your beauty journey with these guides

Is liquid blusher better than powder blusher?
"Exploring the Pros and Cons of Liquid and Powder Blushers: A Beauty Breakdown"

Is gel nail polish bad for your nails?
Is Gel Nail Polish Damaging to Your Nails?

What is a lip palette?
Everything You Need to Know About Lip Palettes

How to apply powder highlighter
Get that Glow: A Guide to Applying Powder Highlighter

What are liquid bronzers?
Get Your Summer Glow on with Liquid Bronzers
How to use an eyebrow kit
Achieve Flawless Brows: A Comprehensive Guide on Using an Eyebrow Kit.