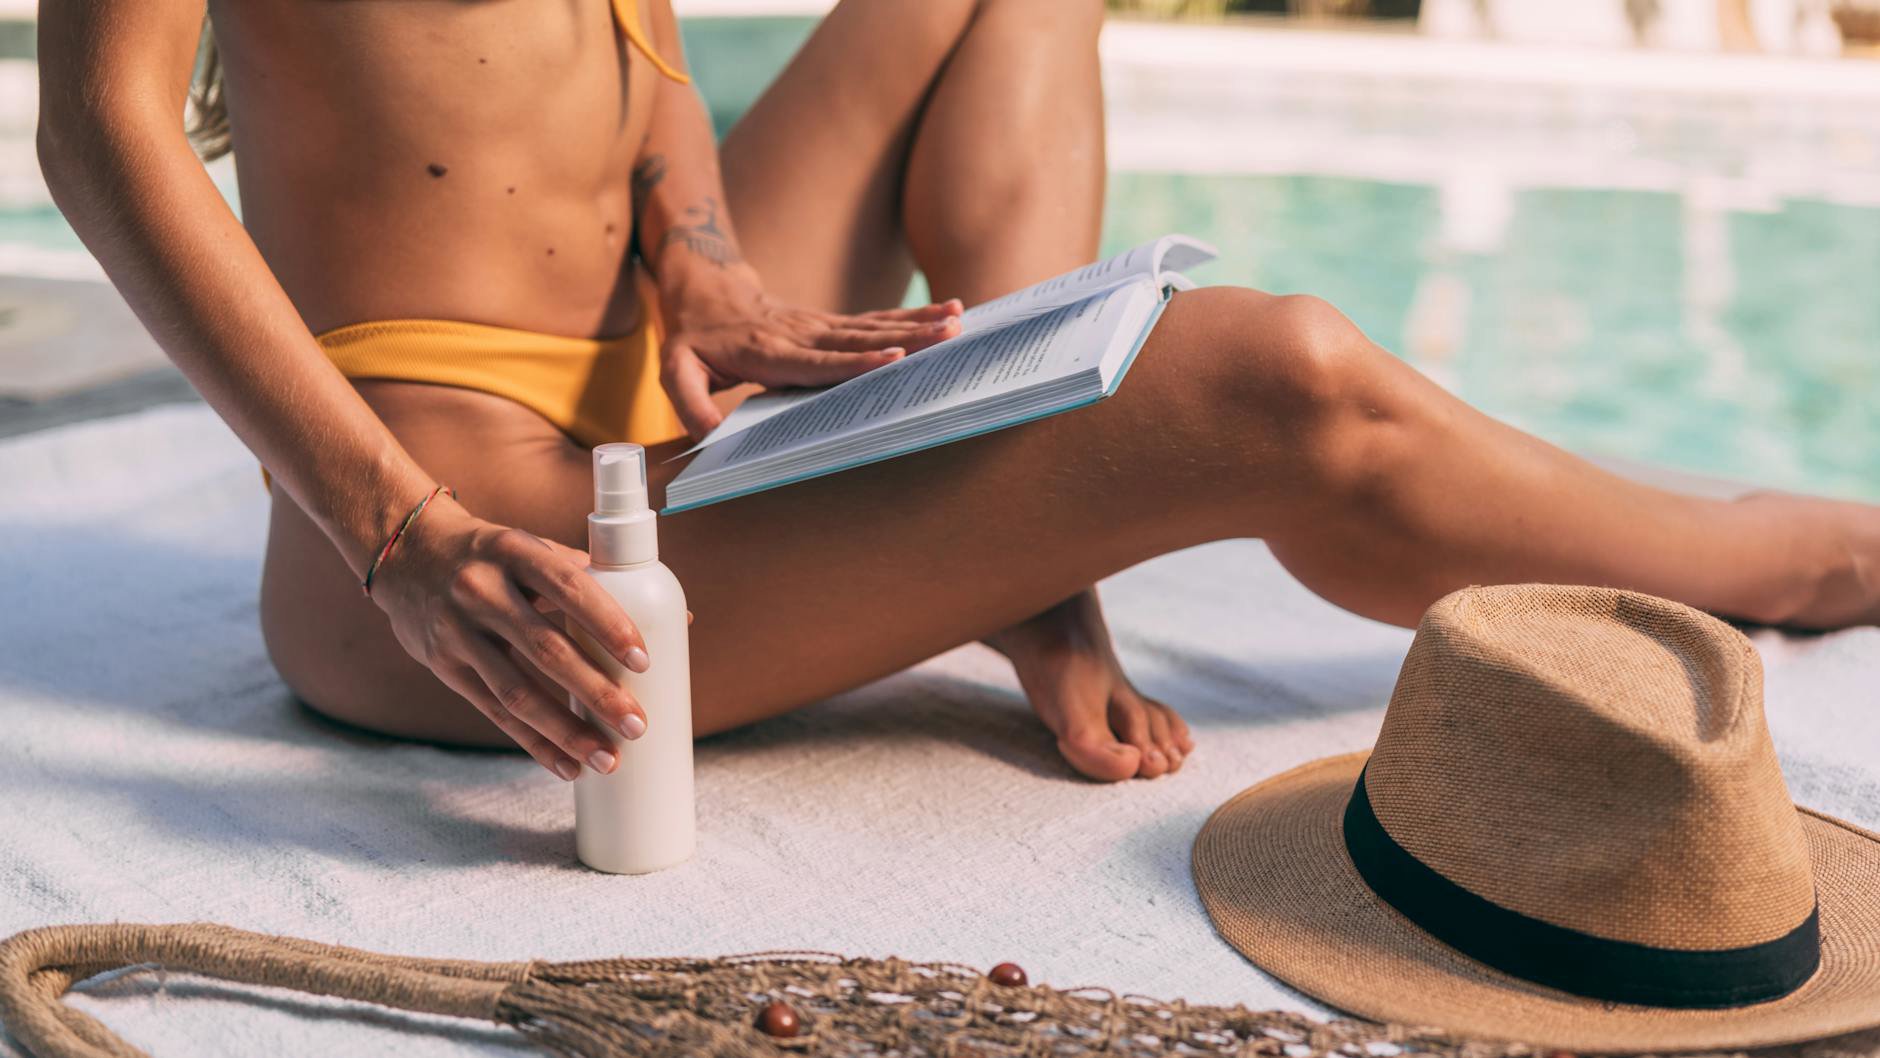
To get an even self tan that fades smoothly, the prep matters as much as the product. The goal stays simple: remove loose dead skin, reduce friction-prone texture, and avoid anything that blocks or grabs pigment.
Exfoliate at the right time, manage hair removal so pores can calm down, and moisturise strategically (not everywhere). Do those three things and most “patchy tan” problems never start.
Cold, dry Canadian winters make this harder. Indoor heating roughens elbows, knees, and ankles, and that dryness can pull self tanner darker in those zones.
The non-negotiables: what self tanner needs from your skin
Most self tanning products rely on DHA (dihydroxyacetone). DHA reacts with amino acids in the outermost skin layer to create colour. That reaction happens on the surface, so anything uneven on the surface shows up as uneven colour.
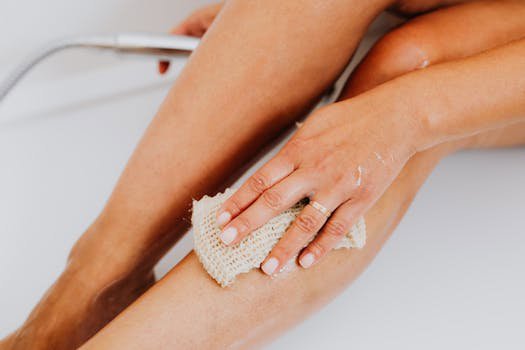
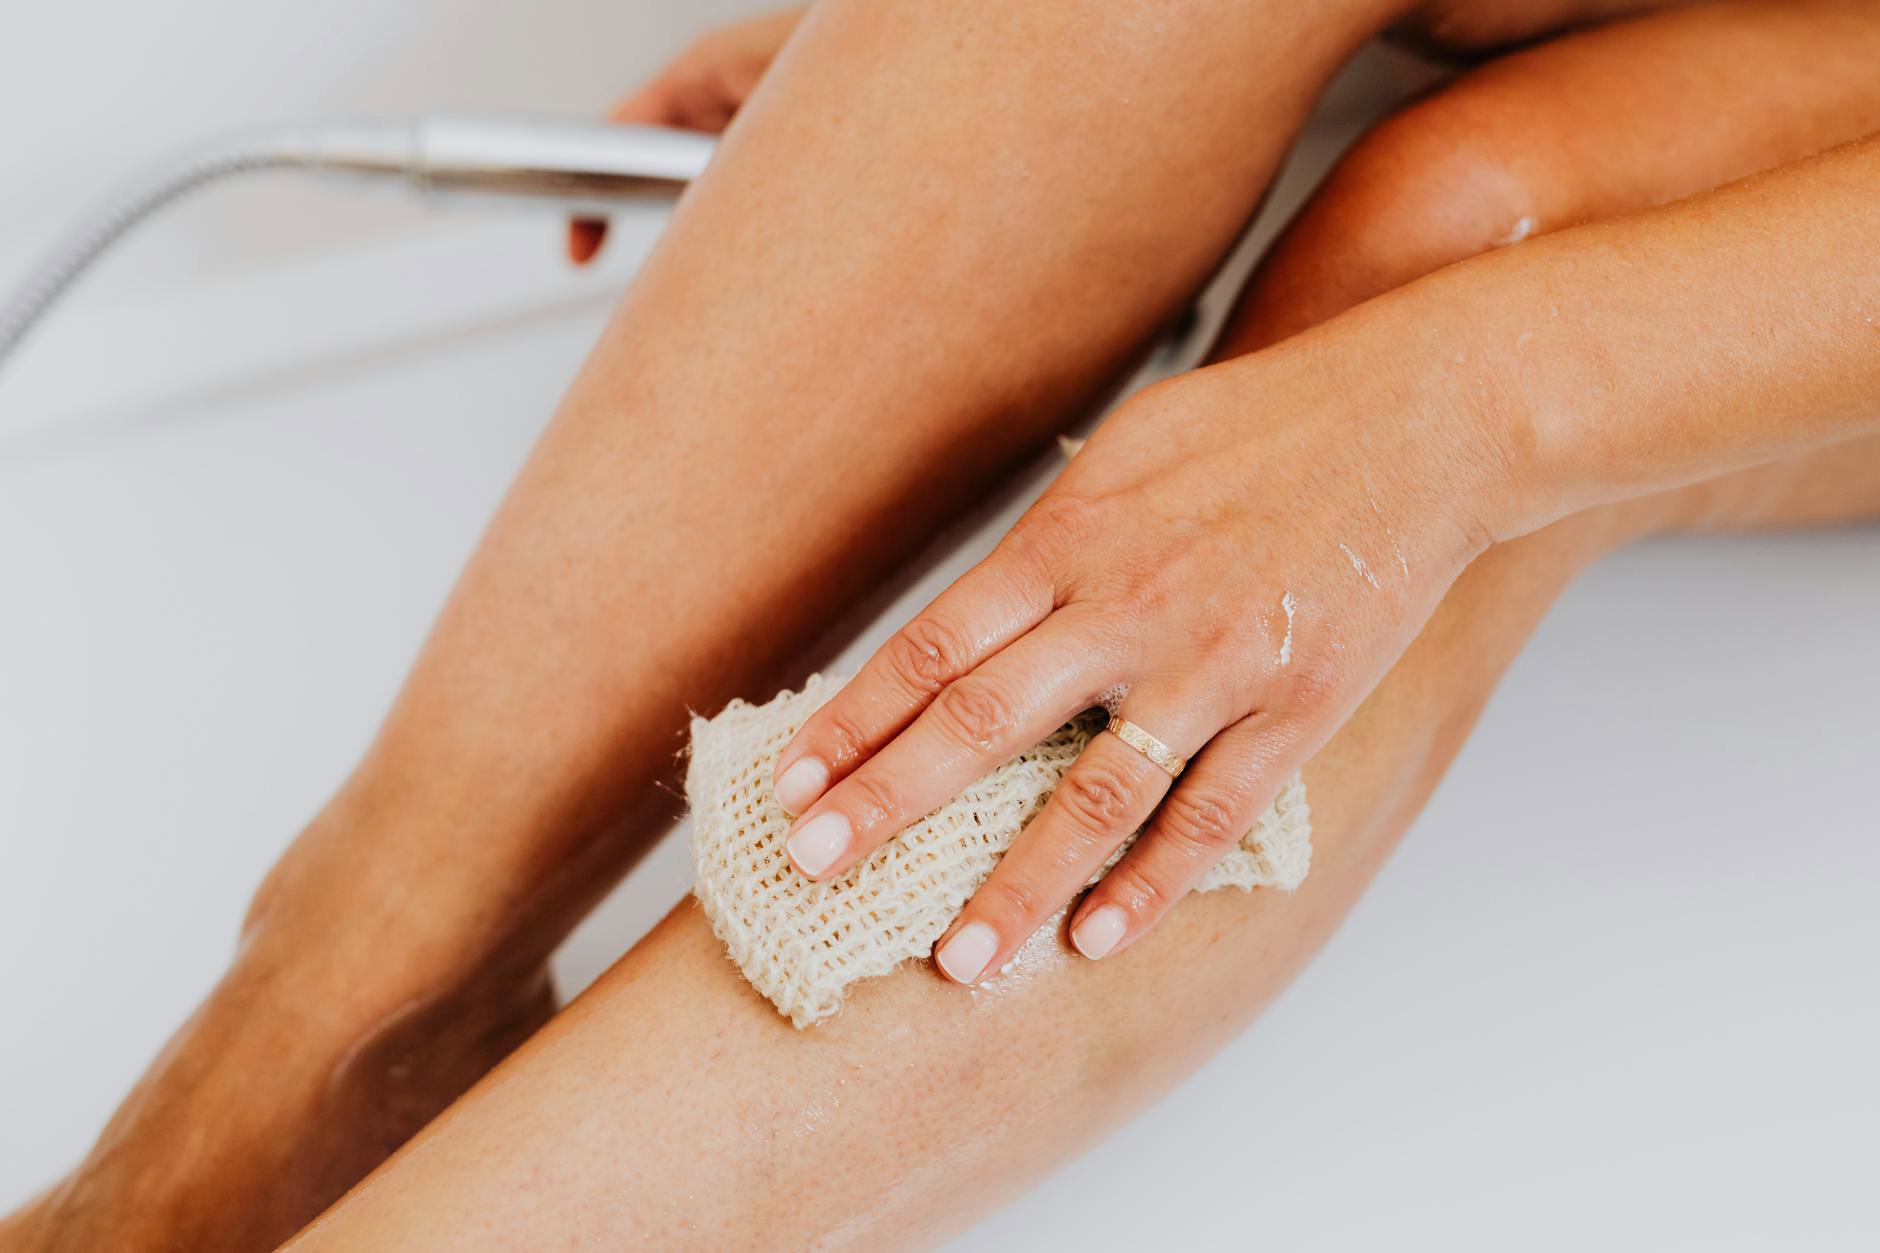
That means prep targets the stratum corneum: flaky patches, rough bumps, and thickened skin on joints. If those areas stay dry or scaly, they “drink” more colour and look darker.
It also means timing matters. If you exfoliate right before tanning, you can create micro-dryness and irritation that shows as blotches. If you shave too close to application, you can get visible dots at pores and hair follicles.
One more basic: self tanner likes a clean, product-free surface. Oils, heavy body butters, and some occlusive films can make the tan grab unevenly or slide.
We also see a consistent pattern in our price tracking across Canadian retailers: self tanning products sell in predictable waves (spring and early summer), but prep mistakes drive repeat buys year-round. Fix the routine first; then buy the formula you actually like.
Exfoliation timing: 24 hours beats “right before”
If you only change one habit, change this one: exfoliate the day before you self tan, not the hour before.
When you exfoliate, you remove loose cells but you also leave skin temporarily more reactive. Give it time to settle so the surface feels smooth, not squeaky-dry. In our climate, that “settling time” often makes the difference between a soft fade and a cracked, scaly fade around day three or four.
Use a gentle, consistent method. Over-scrubbing can create invisible irritation that turns into uneven colour. Under-scrubbing leaves texture that grabs pigment.
Here’s a practical schedule that works for most people:
- T-24 hours: exfoliate in the shower, then rinse well.
- After shower: moisturise normally, but go lighter on very dry zones so you don’t leave a thick film.
- T-0 (tan day): quick shower if needed, then apply self tanner on clean, dry skin.
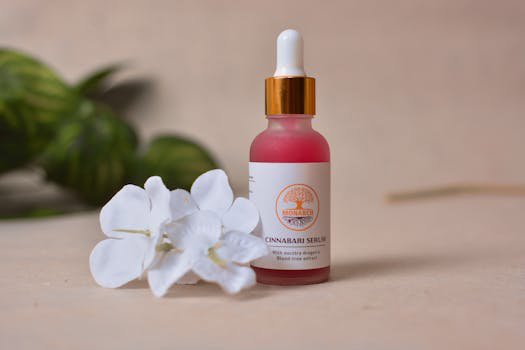
Want a “prep + tan” routine that stays simple? Pick a straightforward self tanner and focus on technique. From the self tanning products we track, St.Tropez Self Tan Classic Bronzing Mousse (C$64.00) suits people who want a traditional mousse format and predictable colour development.
If you prefer a gradual approach that feels lower-risk, Clarins Radiance-Plus Golden Glow Booster for Body (C$45.00) fits routines where you control depth by how often you apply. It can also help when winter dryness makes full-strength tans look harsh.
Shaving vs waxing: choose one, then respect the clock
Hair removal creates its own set of problems for self tanner: open follicles, transient redness, and little areas where colour can pool. You can manage all of that with timing.
Shaving: do it 12–24 hours before you apply self tanner. Shaving removes hair and lightly exfoliates, but it can also leave micro-nicks and freshly exposed follicles. Give pores time to calm down. If you shave right before tanning, you increase the odds of “strawberry legs” dots where colour settles.
Waxing or sugaring: plan for 24–48 hours before tanning. Waxing pulls hair from the root and can leave more pronounced sensitivity. Self tanner on freshly waxed skin can look uneven as the surface recovers.
Skip hair removal after you tan if you can. Shaving will speed up fade and can create lighter patches where the blade lifts pigmented cells. If you must shave, use a light touch and expect your tan to fade faster.
For people who want a fast, even-looking result on legs and arms after shaving day, a mousse tends to spread quickly. Loving Tan Deluxe Bronzing Mousse (C$55.00) sits in that “classic mousse” lane where you want coverage efficiency. If you’re new to tanning, keep your first attempt conservative on freshly shaved areas.
Prefer a more controlled, buildable option when your skin feels reactive after hair removal? Tan-Luxe The Gradual (C$64.00) fits the “slow and steady” approach, where you can stop once the colour looks right.
Moisturise dry areas (only) so joints don’t go too dark
Most patchy tans start at elbows, knees, ankles, knuckles, and the tops of feet. These areas run drier and thicker, so they grab more DHA and go darker.
The fix sounds obvious: moisturise. The trick involves where and how much.
Use a small amount on the driest zones only, and do it 10–20 minutes before tanning so the surface feels comfortable but not slippery. If skin feels slick, self tanner can slide, pool, or develop unevenly.
Also treat “hidden” dry zones: around the sides of the nostrils (if you tan the face), the crease where the butt meets the thigh, and the outer edge of the heel. These spots often look fine until they develop colour.
If your skin runs very dry in winter, consider a self tanner that suits frequent, lighter applications rather than one heavy coat. We often see fewer “joint disasters” when readers choose buildable products like Tan-Luxe The Gradual (C$64.00) or booster-style options like Clarins Radiance-Plus Golden Glow Booster for Body (C$45.00), because you can adjust without overloading the driest areas in one session.

What to avoid before tanning: oils, deodorant, and “barrier films”
Self tanner needs direct contact with skin proteins. Anything that forms a film can block it, or make it develop in a mottled way.
Avoid these on tan day:
- Body oils and oil-heavy lotions right before application.
- Deodorant on areas you plan to tan (it can react and turn colour odd, and it can create a patch where colour won’t take).
- Heavy occlusives on elbows, knees, and ankles right before tanning (they can cause “halo” edges).
- Fragrance mists sprayed on skin pre-tan (alcohol and fragrance can irritate, and the spray pattern can leave uneven residue).
Also watch for “in-shower residue.” If you use rich shower products, rinse longer than you think you need. A leftover slippery feel can interfere with even development.
On the flip side, do not over-correct with aggressive cleansing right before tanning. Stripping the skin can make it dehydrated, and dehydration often shows as darker, rougher colour on joints.
When you want a straightforward application window, a classic mousse plus clean skin tends to keep things predictable. St.Tropez Self Tan Classic Bronzing Mousse (C$64.00) remains a common pick in Canadian carts because it fits that simple workflow: prep the day before, apply, wait, rinse later.
For a lighter, more “everyday” approach that tolerates small routine mistakes, gradual formulas often look more forgiving. Tan-Luxe The Gradual (C$64.00) fits that pattern, especially if you apply in thinner layers and keep dry zones buffered.
Step-by-step: a clean pre-tan routine for even colour
Here’s the prep routine we’d recommend to most readers who want fewer surprises.
1) Two days before (optional, but helpful): if you plan to wax, do it now. If you plan to shave, you can wait until the next day.
2) One day before: exfoliate in the shower. Keep pressure moderate. Spend extra time on elbows, knees, ankles, and the backs of arms where texture hides.
3) Same day as exfoliation: shave if shaving. Rinse well. Pat dry. Moisturise normally, but don’t layer heavy product onto the driest joints.
4) Tan day: keep skin clean and dry. Apply a small amount of moisturiser to elbows, knees, ankles, knuckles, and heels. Wait 10–20 minutes. Then apply your self tanner.
If you want to keep product choice simple, pick one of these based on how you like to build colour:
- St.Tropez Self Tan Classic Bronzing Mousse (C$64.00): best for people who want a traditional, faster-looking result.
- Loving Tan Deluxe Bronzing Mousse (C$55.00): another mousse option when you want efficient body coverage.
- Tan-Luxe The Gradual (C$64.00): best for cautious tanners or anyone who prefers buildable depth.
- Clarins Radiance-Plus Golden Glow Booster for Body (C$45.00): best for mixing into a routine where you control intensity over time.
Canadian availability can vary by retailer. Sephora Canada often carries the big tanning brands, while Shoppers Drug Mart and The Bay can rotate selection. If a product shows out of stock, our price tracking often shows it reappears in seasonal cycles, but the prep advice stays the same.
Trouble spots and pro-level fixes (without overcomplicating)
Some body areas create problems even when you prep well. They move, crease, or stay dry no matter what.
Hands and feet: they go dark fast. Keep product minimal on knuckles and toes. Use whatever remains on your application mitt (or hands) rather than a fresh pump. Less wins.
Elbows and knees: bend and straighten a few times after moisturising so the product doesn’t sit in a thick ring. Then apply self tanner lightly and blend outward. If you see a hard edge while applying, you used too much.
Ankles and heels: these areas can look “dirty” if they catch too much colour. Moisturise first, then apply a very thin layer. If you use a mousse like Loving Tan Deluxe Bronzing Mousse (C$55.00) or St.Tropez Self Tan Classic Bronzing Mousse (C$64.00), pump less than you think for ankles.
Inner thighs and under-butt crease: friction fades tan faster and can create unevenness. Prep with gentle exfoliation and avoid heavy moisturiser right before tanning. These areas often look better with a gradual formula, since you can touch up without obvious lines. Tan-Luxe The Gradual (C$64.00) fits that “maintenance” style.
Dry winter skin: if your legs look ashy by day two, your tan will break up early. That’s not a self tanner failure; it’s a barrier issue. Consider lighter, more frequent applications using Clarins Radiance-Plus Golden Glow Booster for Body (C$45.00) rather than one heavy coat that clings to flakes.
Practical tips you can use today (and what to do if you’re short on time)
If you have 24 hours, do the full routine: exfoliate and shave the day before, tan the next day. It gives the calmest surface and the most even fade.
If you only have 2–6 hours, keep it conservative. Do a quick, gentle exfoliation, skip aggressive scrubbing, and avoid shaving right before tanning if you can. Moisturise dry joints lightly, then choose a formula that tolerates lighter layers. A gradual option like Tan-Luxe The Gradual (C$64.00) usually looks more forgiving than trying to force a deep tan in one go.
If you have zero time and you must tan now, do this: rinse skin, dry fully, moisturise only elbows/knees/ankles/heels, and apply a thin layer. Don’t chase darkness. You can always add another layer tomorrow.
One last reminder that gets missed: self tanner does not replace sun protection. If you need SPF, browse SPF Protection Products separately and apply it as directed once your tan has developed.
Sign-off: build a routine, not a rescue mission
Most streaks start before the bottle opens. When you treat exfoliation, hair removal, and targeted moisturising as a simple schedule, self tanner becomes predictable.
What’s your biggest trouble spot: ankles, knees, hands, or something else? Tell us what area gives you the most uneven colour, and we’ll point you to the most practical fix.
Related browsing on GlamGeek: explore brands like Clarins and other categories for context like skin care (no need to change your whole routine to get a better tan).