
How to apply cream highlighter
How to Achieve a Radiant Glow: Mastering the Art of Cream Highlighter

Founder & Beauty Director · 14 July 2023
Section 1: Preparing Your Skin
Before applying cream highlighter, it is essential to prepare your skin properly. Follow these steps to achieve a flawless base for your highlighter:
- Cleanse your face thoroughly to remove any dirt or impurities. Use a gentle cleanser suitable for your skin type.
- Exfoliate your skin to remove dead skin cells and ensure a smooth surface. Choose a mild exfoliator and gently massage it onto your skin in circular motions. Rinse off with lukewarm water.
- Apply a moisturizer to hydrate your skin. Look for a lightweight, non-greasy formula that suits your skin type.
- If you have oily skin, use a mattifying primer to control excess oil and prolong the wear of your highlighter.
- For dry or flaky skin, consider using a hydrating primer to create a smooth canvas for your highlighter.
Section 2: Choosing the Right Shade
Choosing the right shade of cream highlighter is essential to achieve a natural and flattering glow. Here are some tips to help you select the perfect shade:
- Determine your undertone: Whether you have a warm, cool, or neutral undertone can influence the shade of highlighter that suits you best. Warm undertones pair well with gold or peachy highlighters, while cool undertones complement pink or champagne tones.
- Consider your skin tone: Fair-skinned individuals may opt for lighter shades, such as pearl or soft champagne, while deeper complexions can experiment with richer tones like bronze or copper.
- Experiment: Don't be afraid to swatch multiple shades on your skin to find the one that enhances your features and complements your overall look. Natural lighting is best for accurate shade matching.
Section 3: Applying the Highlighter
Now that your skin is prepped and you've chosen the perfect shade, it's time to apply the cream highlighter. Follow these steps for a flawless application:
- Begin by using your fingers or a small, flat synthetic brush to pick up a small amount of highlighter.
- Lightly tap the highlighter onto the high points of your face, such as the cheekbones, brow bone, down the bridge of your nose, and on the cupid's bow.
- Gently blend the highlighter using your fingertips or a clean, damp makeup sponge. Make sure there are no harsh lines or visible demarcations.
- If you prefer a more intense glow, layer the highlighter gradually until you achieve your desired effect.
- Remember to blend the edges of the highlighter, so it seamlessly blends with your foundation or skin, giving a natural-looking radiance.
Section 4: Setting Your Highlighter
Setting your cream highlighter is crucial to ensure its longevity and prevent it from smudging or fading throughout the day. Follow these steps to set your highlighter:
- Using a small fluffy brush, lightly dust a translucent setting powder over the areas where you applied the cream highlighter.
- This will help lock the highlighter in place and prevent it from shifting or caking.
- Be careful not to apply too much powder, as it can dull the glow. A light dusting is all you need.
- If you prefer a dewy finish, you can skip this step and set your highlighter by spritzing a setting spray over your face.
Section 5: Additional Tips and Tricks
Here are a few additional tips and tricks to make the most out of your cream highlighter:
- For a subtle daytime glow, opt for a cream highlighter with a sheer finish.
- If you want to intensify the highlighter's glow, layer a powder highlighter on top of the cream formula.
- If you're using cream products for your whole makeup look, remember to apply your cream highlighter before setting your foundation with powder.
- Consider using a smaller brush or your fingers to apply highlighter to more detailed areas, such as the inner corners of your eyes or the center of your lips.
- To create a natural-looking radiance, blend the highlighter outwards towards the temples.
By following these steps and tips, you'll be able to achieve a beautiful and luminous glow with your cream highlighter. Experiment with different shades and techniques to find what works best for your individual features and personal style. Have fun and embrace your inner glow!
Choosing the Right Shade
Selecting the appropriate shade of cream highlighter is key to achieving a natural and flattering glow. Your choice should complement your skin tone and undertones.
Consider your skin's undertones when choosing a shade. If you have warm undertones, opt for highlighters with golden or peachy tones. For cool undertones, choose highlighters with pink or silvery hues. Neutral undertones can suit a wide range of shades.
It is advisable to test the shade on your skin before purchasing. Apply a small amount to the back of your hand or jawline and blend well. Check the shade under natural lighting to ensure it looks natural on your skin.
If you prefer a subtle highlight, go for a shade closer to your natural skin tone. For a more intense glow, opt for a shade that is one to two shades lighter than your skin tone.
Remember, it is better to start with a lighter shade and build it up gradually rather than applying too much product all at once.
Applying Foundation
Before applying cream highlighter, it is recommended to put on your foundation first. This helps create an even base and ensures that the highlighter stays in place throughout the day.
Choose a foundation that matches your skin tone and apply it to your face using clean fingers, a makeup brush, or a beauty sponge. Blend the foundation into your skin until it looks seamless and natural.
Make sure to cover any areas of concern, such as blemishes or redness, with additional concealer if needed.
Allow the foundation to set for a few minutes before proceeding to the next step, giving it time to fully adhere to your skin.
Using a Brush
When applying cream highlighter, using a brush can help achieve a more precise and controlled application.
It is recommended to use a small, fluffy brush with synthetic bristles. These types of brushes work well with cream products as they pick up the right amount of product and blend it seamlessly into the skin.
Start by swirling the brush in the cream highlighter to pick up a small amount of product. Then, lightly tap off any excess on the back of your hand or a tissue.
Apply the highlighter to the desired areas, such as the cheekbones, the bridge of the nose, and the cupid's bow. Use gentle strokes or circular motions to blend the highlighter into the skin.
Blending Techniques
To achieve a natural and seamless look, proper blending techniques are crucial when applying cream highlighter.
Avoid applying the highlighter in harsh lines or stripes. Instead, aim for a soft and diffused glow.
Using your fingertips, a beauty sponge, or a clean brush, gently blend the highlighter into your skin. Start with light pressure and build up the intensity as desired.
For a more natural look, try tapping or pressing the highlighter into the skin instead of rubbing or dragging it.
Target Areas and Placement
Identifying the right target areas and considering proper placement is essential for an effective cream highlighter application.
The most common areas to apply cream highlighter are the highest points of your face that naturally catch light, such as the cheekbones, the bridge of the nose, the brow bone, and the cupid's bow.
When applying to the cheekbones, start from the apples of your cheeks and blend upwards towards the temples. This technique helps to create a lifted and defined effect.
For the bridge of the nose, apply a small amount of highlighter along the center, blending it outwards towards the sides.
On the brow bone, focus the highlighter just below the arch of the eyebrow to add dimension and make the eyes appear more lifted.
Lastly, for the cupid's bow, place a tiny amount of highlighter on the center of the upper lip to make it appear more prominent and defined.
Setting the Highlighter
To ensure that your cream highlighter stays in place all day, it is recommended to set it with a powder highlighter.
Choose a powder highlighter that matches the shade of your cream highlighter. Apply it with a small, fluffy brush to the same areas where you applied the cream highlighter, using a gentle and light hand.
This additional step helps to intensify the glow and prolong the wear of your highlighter throughout the day or evening.
Remember to use a light hand when setting with powder to avoid a heavy or cakey appearance.
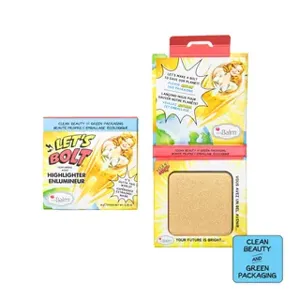
Shop Cream Highlighters
Discover our top picks for you
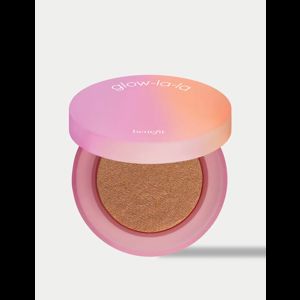
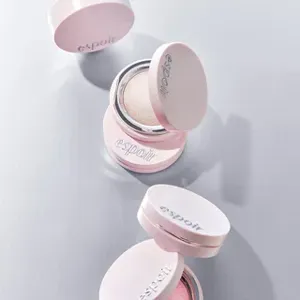
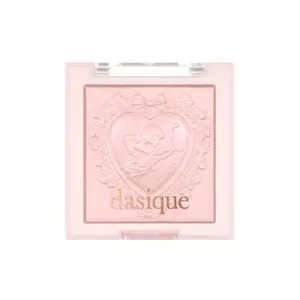
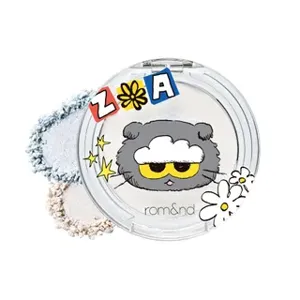


Find the Best Cream Highlighters for Your Type
More to Explore
Continue your beauty journey with these guides

Why should I use a night moisturiser?
"Unlocking the Benefits of Night Moisturisers for Your Skin"

What are face cleansing wipes?
"Unveiling the Magic of Face Cleansing Wipes: Your Skincare Routine Essential"
How to apply cream highlighter
How to Achieve a Radiant Glow: Mastering the Art of Cream Highlighter

Where to apply liquid foundation
The Ultimate Guide to Applying Liquid Foundation Like a Pro

Do eyelash curlers work?
"Unlocking the Truth behind Eyelash Curlers: Will They Truly Give You a Fluttery Finish?"

What are liquid bronzers?
Bronze Up: A Closer Look at Liquid Bronzers