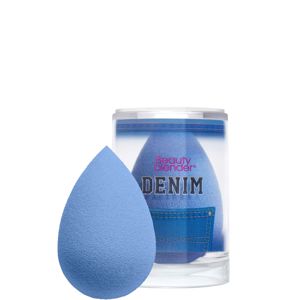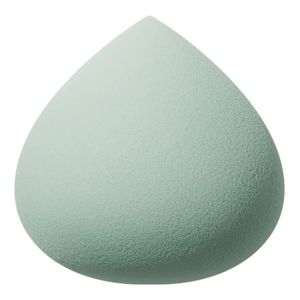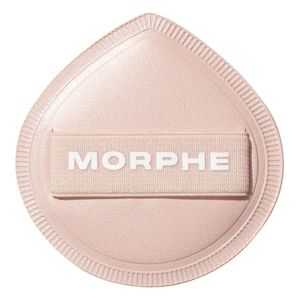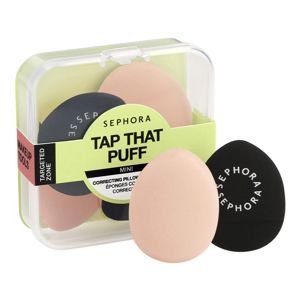
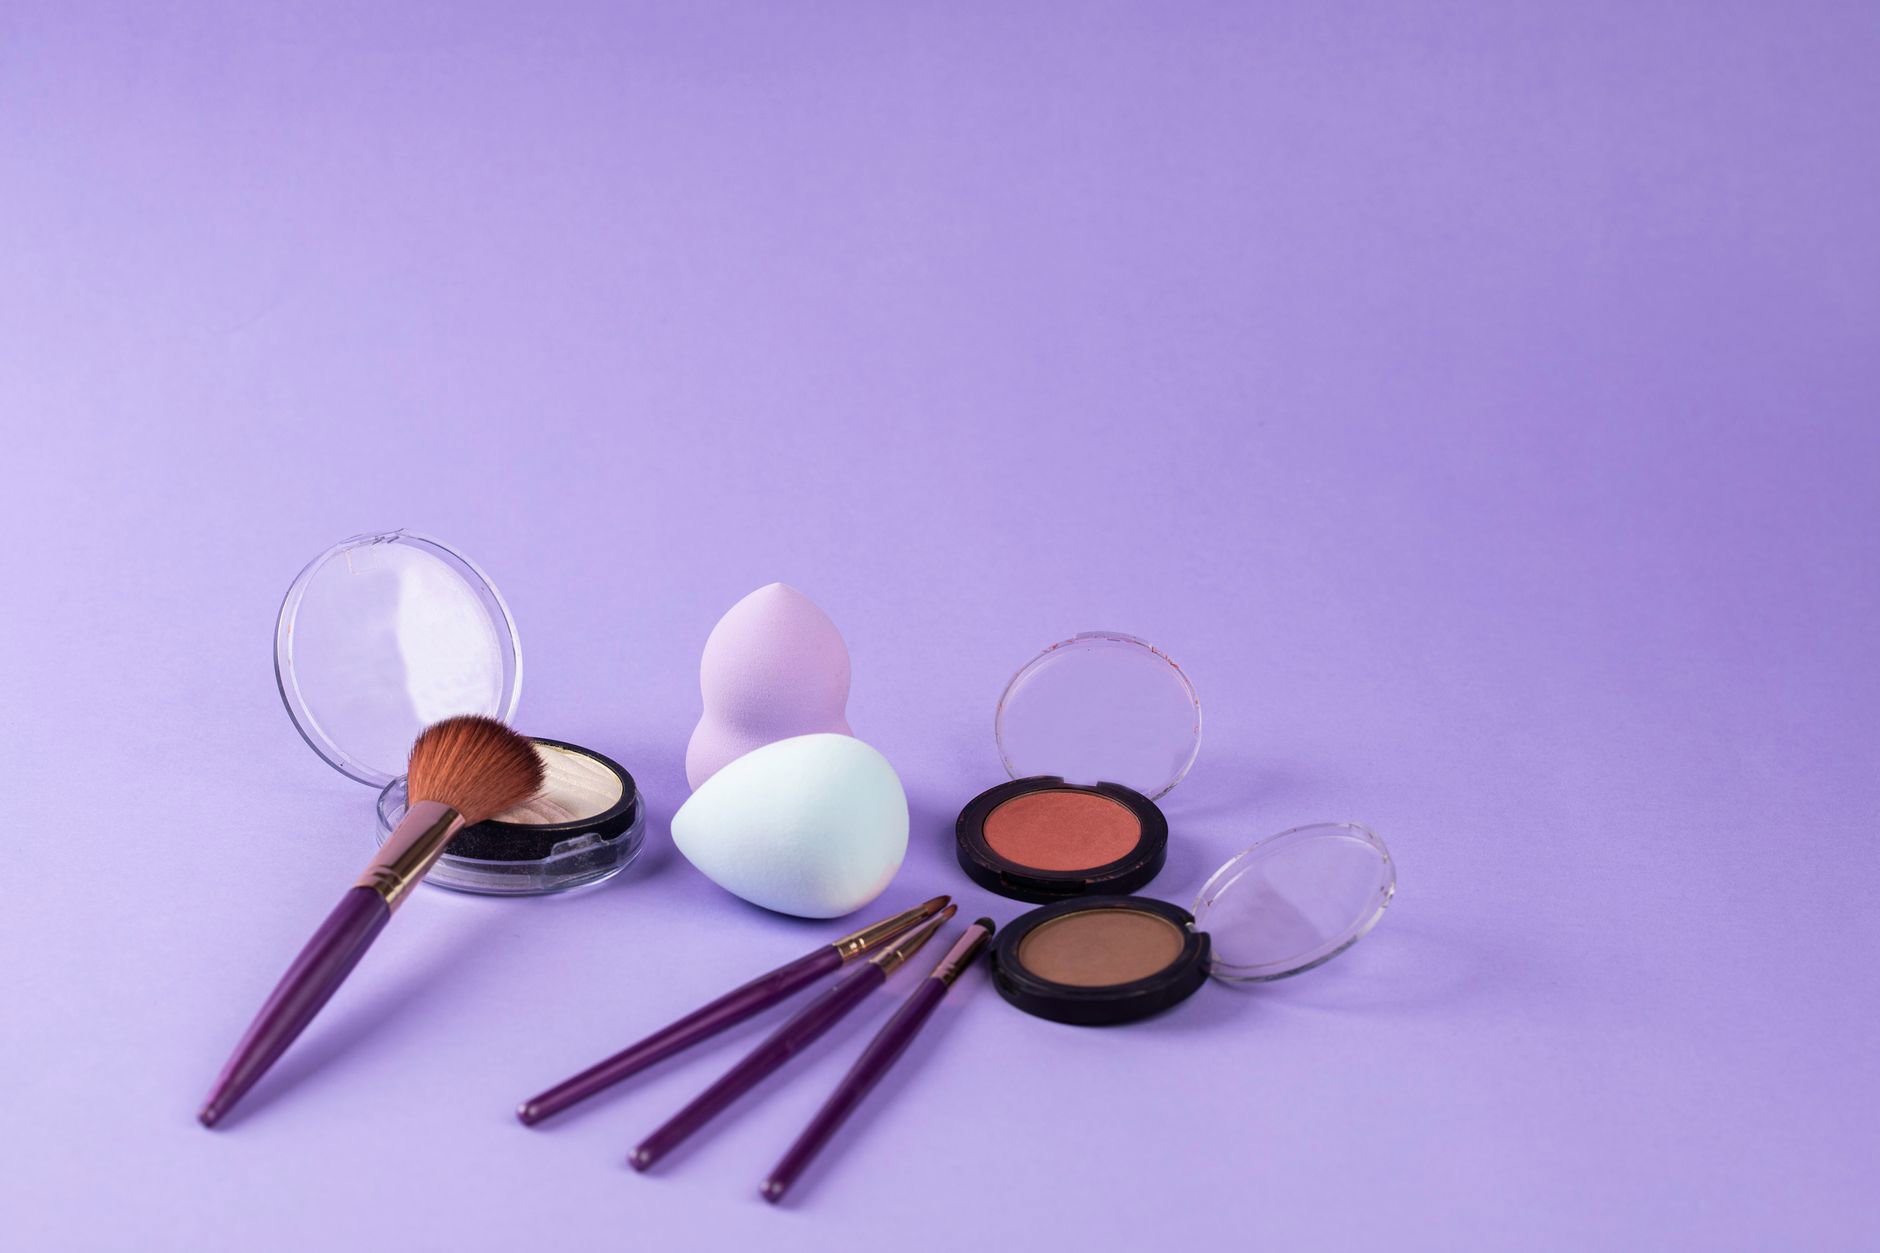
Clean makeup sponges give smoother base makeup and fewer skin surprises. Dirty ones can drag old product, oil and moisture back onto your face, and that mix can turn into a bacterial buffet.
The good news: you don’t need fancy kit, harsh chemicals, or an hour at the sink. You need a repeatable method, the right frequency, and a drying set-up that doesn’t undo your work.
We’ll cover exactly how often to wash and replace, how to deep-clean without wrecking the sponge, and which shortcuts tend to backfire.
Why sponge hygiene matters (and what “dirty” really means)
A makeup sponge does two things brilliantly: it holds water and it presses product into skin. That combo also makes it great at holding onto residue. Liquid and cream base products leave behind a mix of pigments, oils, waxes and film-formers that cling to the sponge’s pores.
Add warmth from hands, indoor heating in UK winters, and a damp sponge left on a bathroom shelf. You’ve created a stable habitat for microbes. Not every microbe causes breakouts, but more build-up usually means more risk of clogged pores, irritation, and that “my foundation looks patchy by lunchtime” effect.
Cleaning solves two separate problems:
- Removal: lifting out makeup residue and skin oils so the sponge performs properly.
- Hygiene: reducing the microbial load by cleaning thoroughly and drying fast.
- Longevity: preventing tearing, stiff patches, or that tacky feel that never quite goes away.
- Skin comfort: less friction and fewer irritant leftovers.
One more thing. “Sanitising” a sponge never means “sterile”. It means you reduce the load to a safer level, then keep it dry and clean enough that it stays that way.
How often to wash, sanitise, and replace your sponge
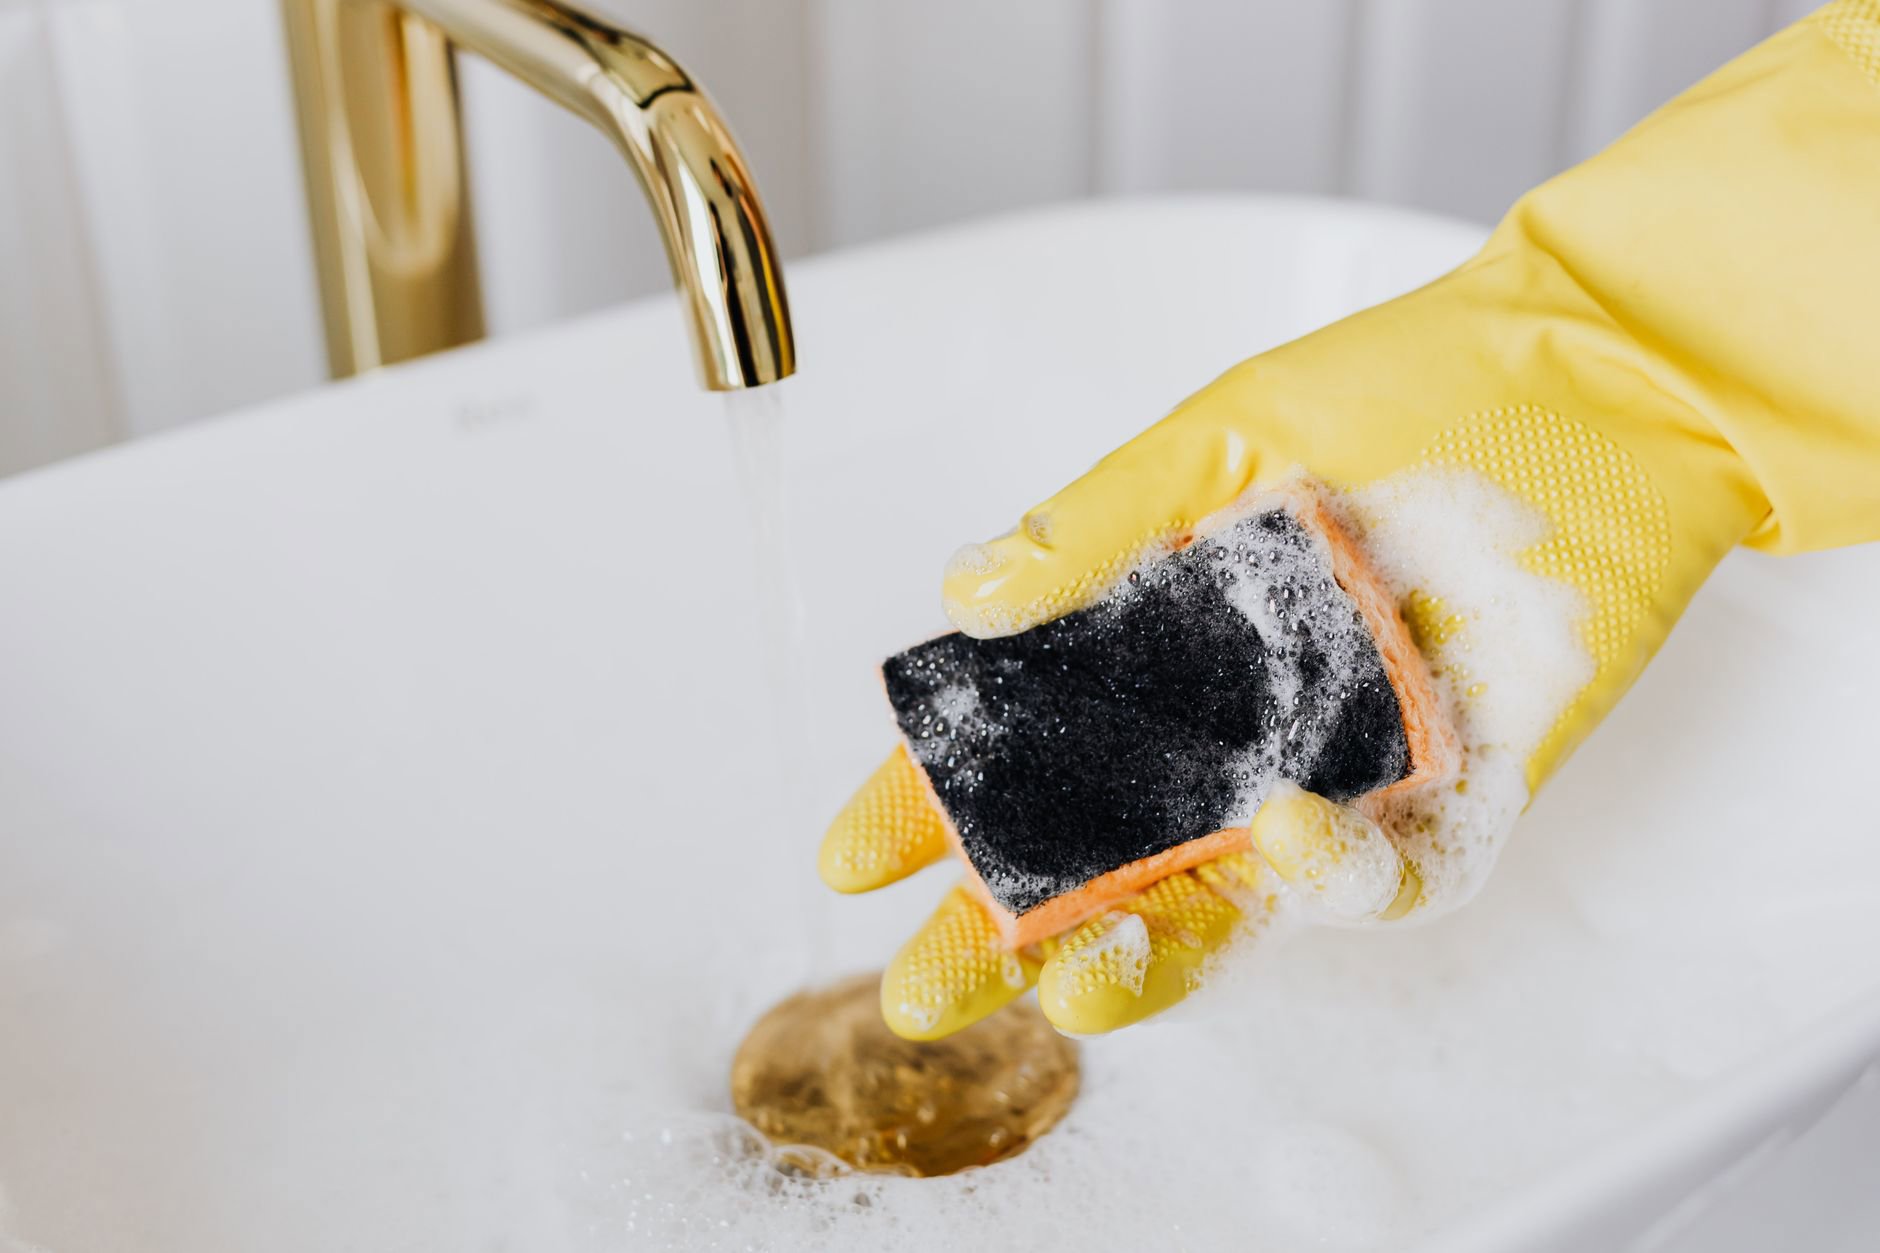
If you want the clearest rule: wash after every use for liquid and cream products. That sounds intense until you build a 60–90 second routine. Daily washing also makes deep cleans easier, because product never gets the chance to set into the centre.
If you use your sponge a few times a week, wash it every time you use it. If you rotate sponges, wash them all before they go back into storage. “I’ll clean it later” usually turns into “I found it under the tap a week later”.
Then there’s replacement. Most makeup sponges and blenders wear out through tiny tears, compressed foam, and stubborn staining that won’t shift even when the water runs clear. As a general guide, replace when the sponge starts to split, stays smelly, or keeps releasing tinted water after a proper deep clean.
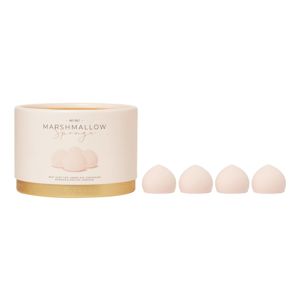
Our price tracking across UK merchant feeds shows why multi-packs make this easier. Clomana Beauty Marshmallow Sponge Shape starts from £7.90 for a set of four, which makes “one in use, one drying, one clean backup” genuinely practical. If you prefer a single classic shape, Real Techniques Miracle Complexion Sponge starts from £4.54, and Spectrum Wonder Makeup Sponge starts from £4.79.
Some shoppers also keep a dedicated sponge for different base categories. For example, one for Liquid Foundations and one for Liquid & Cream Concealers. It reduces cross-transfer and makes cleaning faster.
The safest everyday clean (the 90-second method)
A good daily wash focuses on two things: friction and rinse time. You want to loosen product from the sponge’s pores, then fully flush it out. Rushing the rinse leaves detergent and makeup behind, and that can irritate skin.
Here’s the routine we recommend for most sponges and blenders, including beautyblender Blusher Cheeky Sponge (from £14.00) and the budget-friendly Espoir Skinny Fix Blender (from £4.92). It works whether you used a full base or just tapped on a bit of coverage.
Step-by-step
- Wet thoroughly: Run the sponge under lukewarm water until it expands and feels evenly saturated.
- Add cleanser: Use a mild cleanser (avoid aggressive solvents and heavy fragrance). Work it into the surface.
- Massage, don’t tear: Squeeze and release repeatedly. Use your fingers to rub the sponge gently while it’s full of water.
- Target the “hot spots”: The rounded belly and the tip usually trap the most foundation and concealer. Spend extra time there.
- Rinse until clear: Keep squeezing under running water. Stop only when the water runs clear and no suds remain.
- Press out water: Use a clean towel to press (not twist) the sponge. Twisting can split seams and create tears.
One sentence that saves sponges: never wring them like a dishcloth.
If your sponge has a specific use instruction, follow it. For example, Shiseido Sponge Puff Sylphy Touch For Liquid Cream Type 117 (from £4.34) states you should use the sponge without getting it wet for application. You can still wash it afterwards, but treat the foam gently and avoid aggressive heat.
Deep cleaning a sponge (when stains and build-up won’t shift)
Even with daily washing, sponges pick up long-wear pigments and oils that cling. Deep cleaning fixes performance issues: dragging, patchiness, and that slightly sticky feel when you squeeze the sponge dry.
We suggest a deep clean weekly if you use sponges most days. If you only use one occasionally, deep clean before you store it for more than a few days. You want it clean and fully dry before it sits in a drawer.
Deep cleaning also matters for shapes designed to hug contours. Laura Mercier Luminous Foundation Sponge (from £14.40) uses an S-shaped edge and pointed areas, which can trap product along edges. Shu Uemura Unlimited Nude Mopo Foundation Sponge (from £6.23) has defined corners for contoured areas, which also means more creases for residue to hide in.
Two deep-clean options
- Soak + squeeze: Fill a bowl with warm water and mild cleanser. Soak 5–10 minutes, then squeeze repeatedly and rinse clear.
- Double cleanse: Do a normal wash, rinse, then repeat a second time. It sounds basic, but it works on stubborn residue.
- Spot treatment: Massage cleanser into the stained area, let it sit for 1–2 minutes, then rinse. Don’t leave cleanser on for ages.
- Edge work: For sponges with corners, pinch-clean the edges while water runs over them.
Staining doesn’t always mean “dirty”. Pigments can tint foam even after the oils wash out. What matters is whether water runs clear, the sponge smells neutral, and it feels supple rather than coated.
Sanitising vs cleaning: what actually helps (and what to avoid)
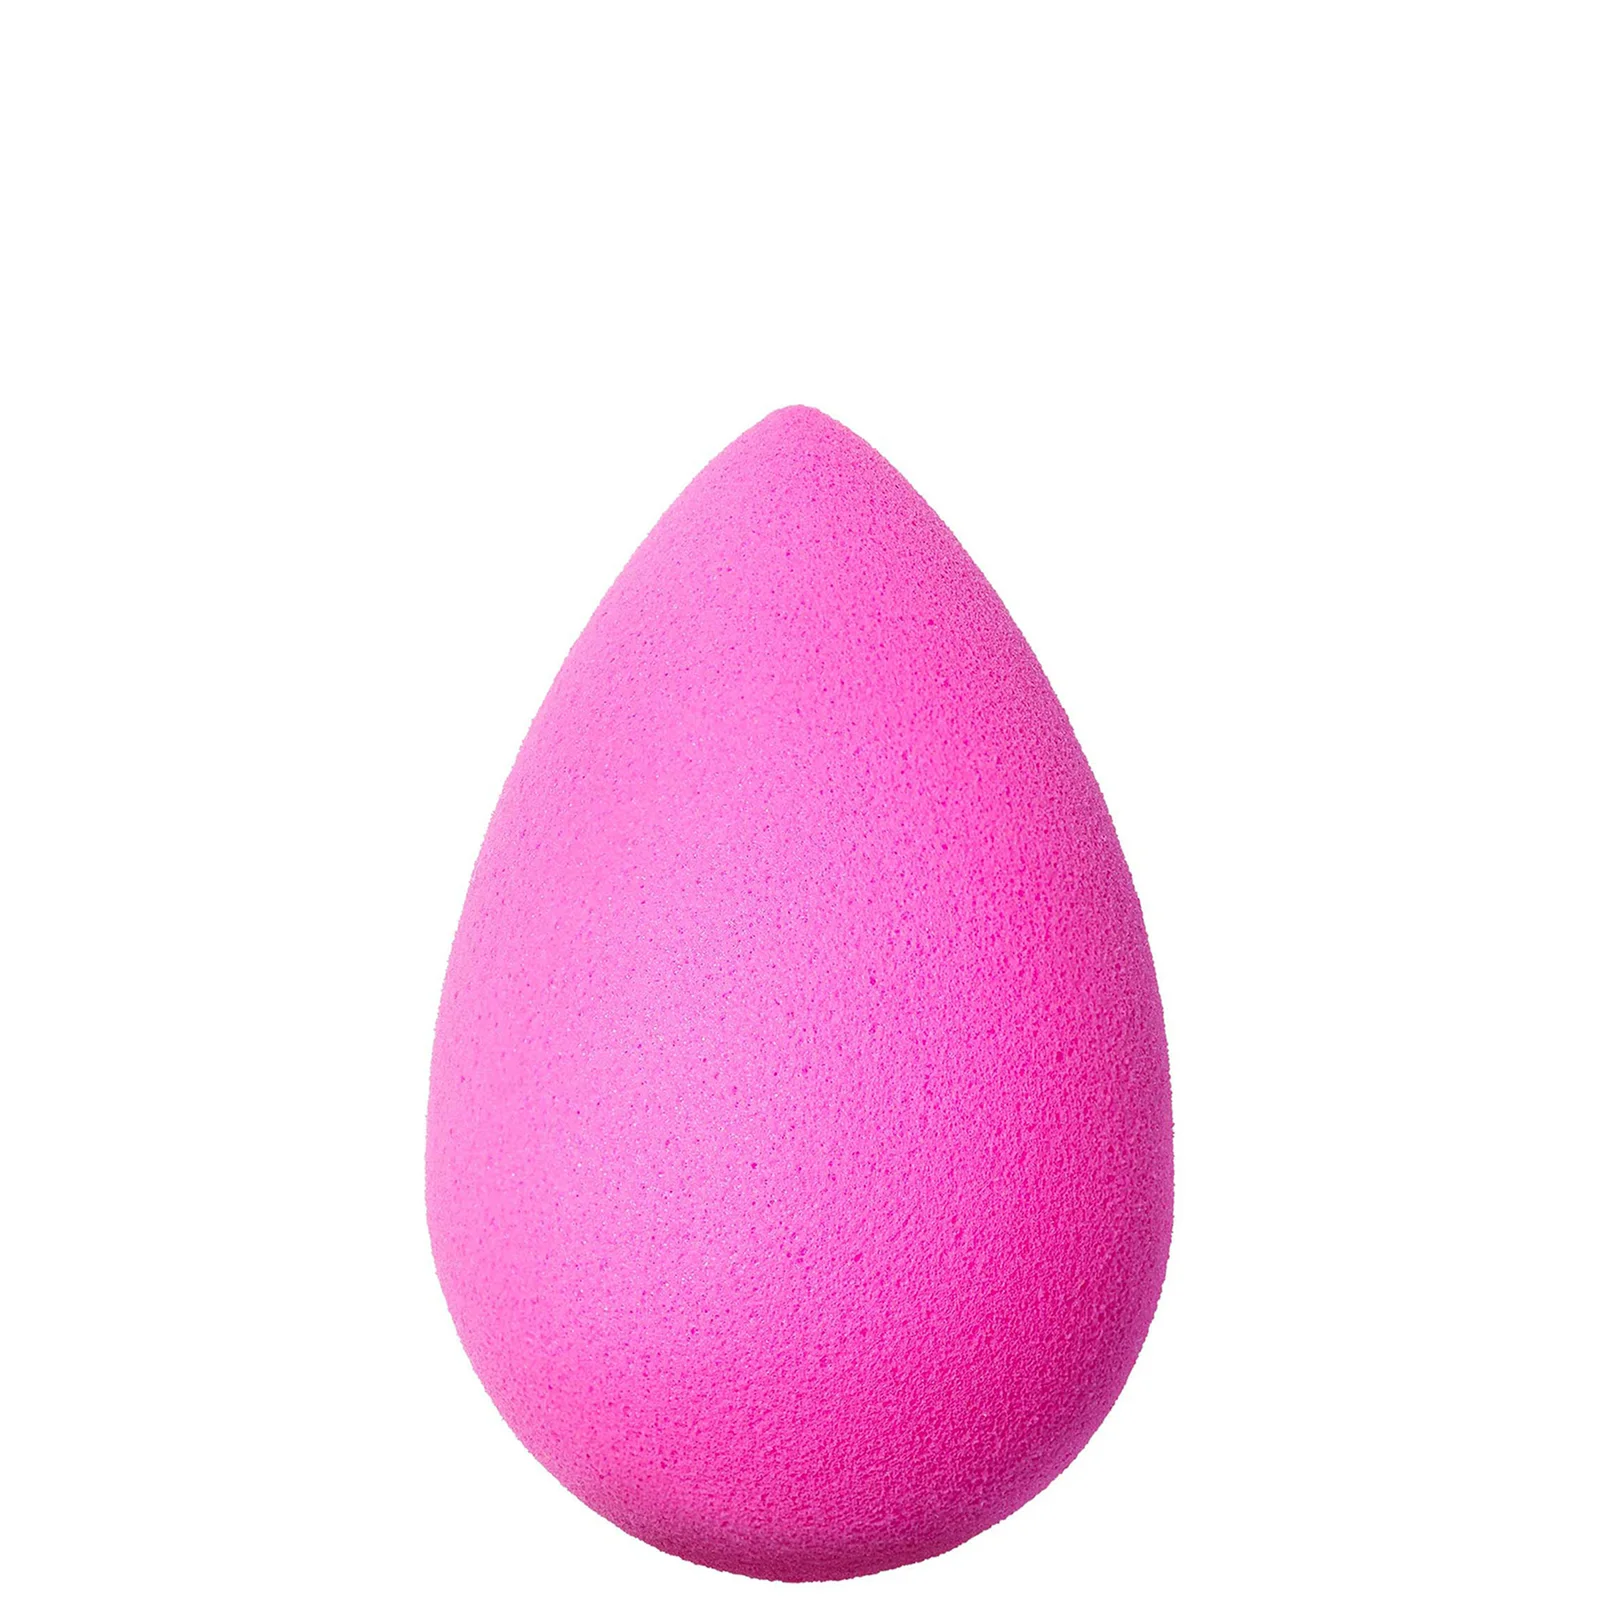
Most people say “sanitize” when they mean “I don’t want breakouts”. Fair. But harsh methods can damage sponges and still leave residue behind, which defeats the point.
Cleaning removes oils and product, which removes a lot of what microbes feed on. Drying reduces the damp environment microbes like. Those two steps do the heavy lifting.
So what should you avoid?
- Bleach: It can degrade foam and irritate skin if traces remain.
- Boiling water: Heat can warp foam, break down structure, and shorten lifespan.
- Microwaving: Hot spots can cook parts of the sponge while others stay dirty. It also risks melting or scorching.
- Very hot water: It can set some stains and weaken the sponge over time.
- Strong alcohol soaks: Alcohol can dry out and harden foam, and it doesn’t remove oily build-up as well as detergent.
If you want a “more hygienic” routine, focus on a thorough wash followed by a fast dry. That combination beats most gimmicks.
If you’re acne-prone, keep a tighter rotation. Multi-packs like Clomana Beauty Marshmallow Sponge Shape (from £7.90) make it easier to avoid reusing a sponge that never quite dried properly.
And if you spot visible mould, persistent odour, or the sponge sheds bits? Don’t negotiate with it. Replace it.
Drying and storage: the step most people get wrong
We see the same pattern in reader queries: people wash properly, then put a damp sponge into a makeup bag. That traps moisture, and the sponge stays damp for hours. Sometimes days.
Drying needs airflow. Lots of it. A clean sponge should dry in the open, in a cool area, away from direct heat sources that can stress foam.
Try this simple set-up:
- Press, don’t twist: Use a clean towel to press out water.
- Stand it up: Rest the sponge on a clean surface so the largest area gets air.
- Give it space: Don’t dry it under piles of other tools.
- Avoid closed containers: No zip pouches until fully dry.
- Rotate: Use a second sponge while the first dries.
Powder puffs need the same thinking. Laura Mercier Velour Puff (from £13.60) picks up powder and applies it smoothly for baking, smoothing, or setting. Clé de Peau Beauté Powder Puff (from £8.87) includes a direct reminder: keep it clean, and wash it with a mild detergent. Both need full drying to avoid musty smells and uneven pickup.
Also consider where you store. Bathrooms run humid, especially in UK winter when windows stay shut. A bedroom dresser with airflow often keeps tools drier. Boring advice. Useful advice.
Choosing the right sponge for easier cleaning (and fewer replacements)
Not all sponges feel the same to clean. Shape matters, density matters, and how you use it matters. A sponge that encourages heavy product load will always take longer to wash.
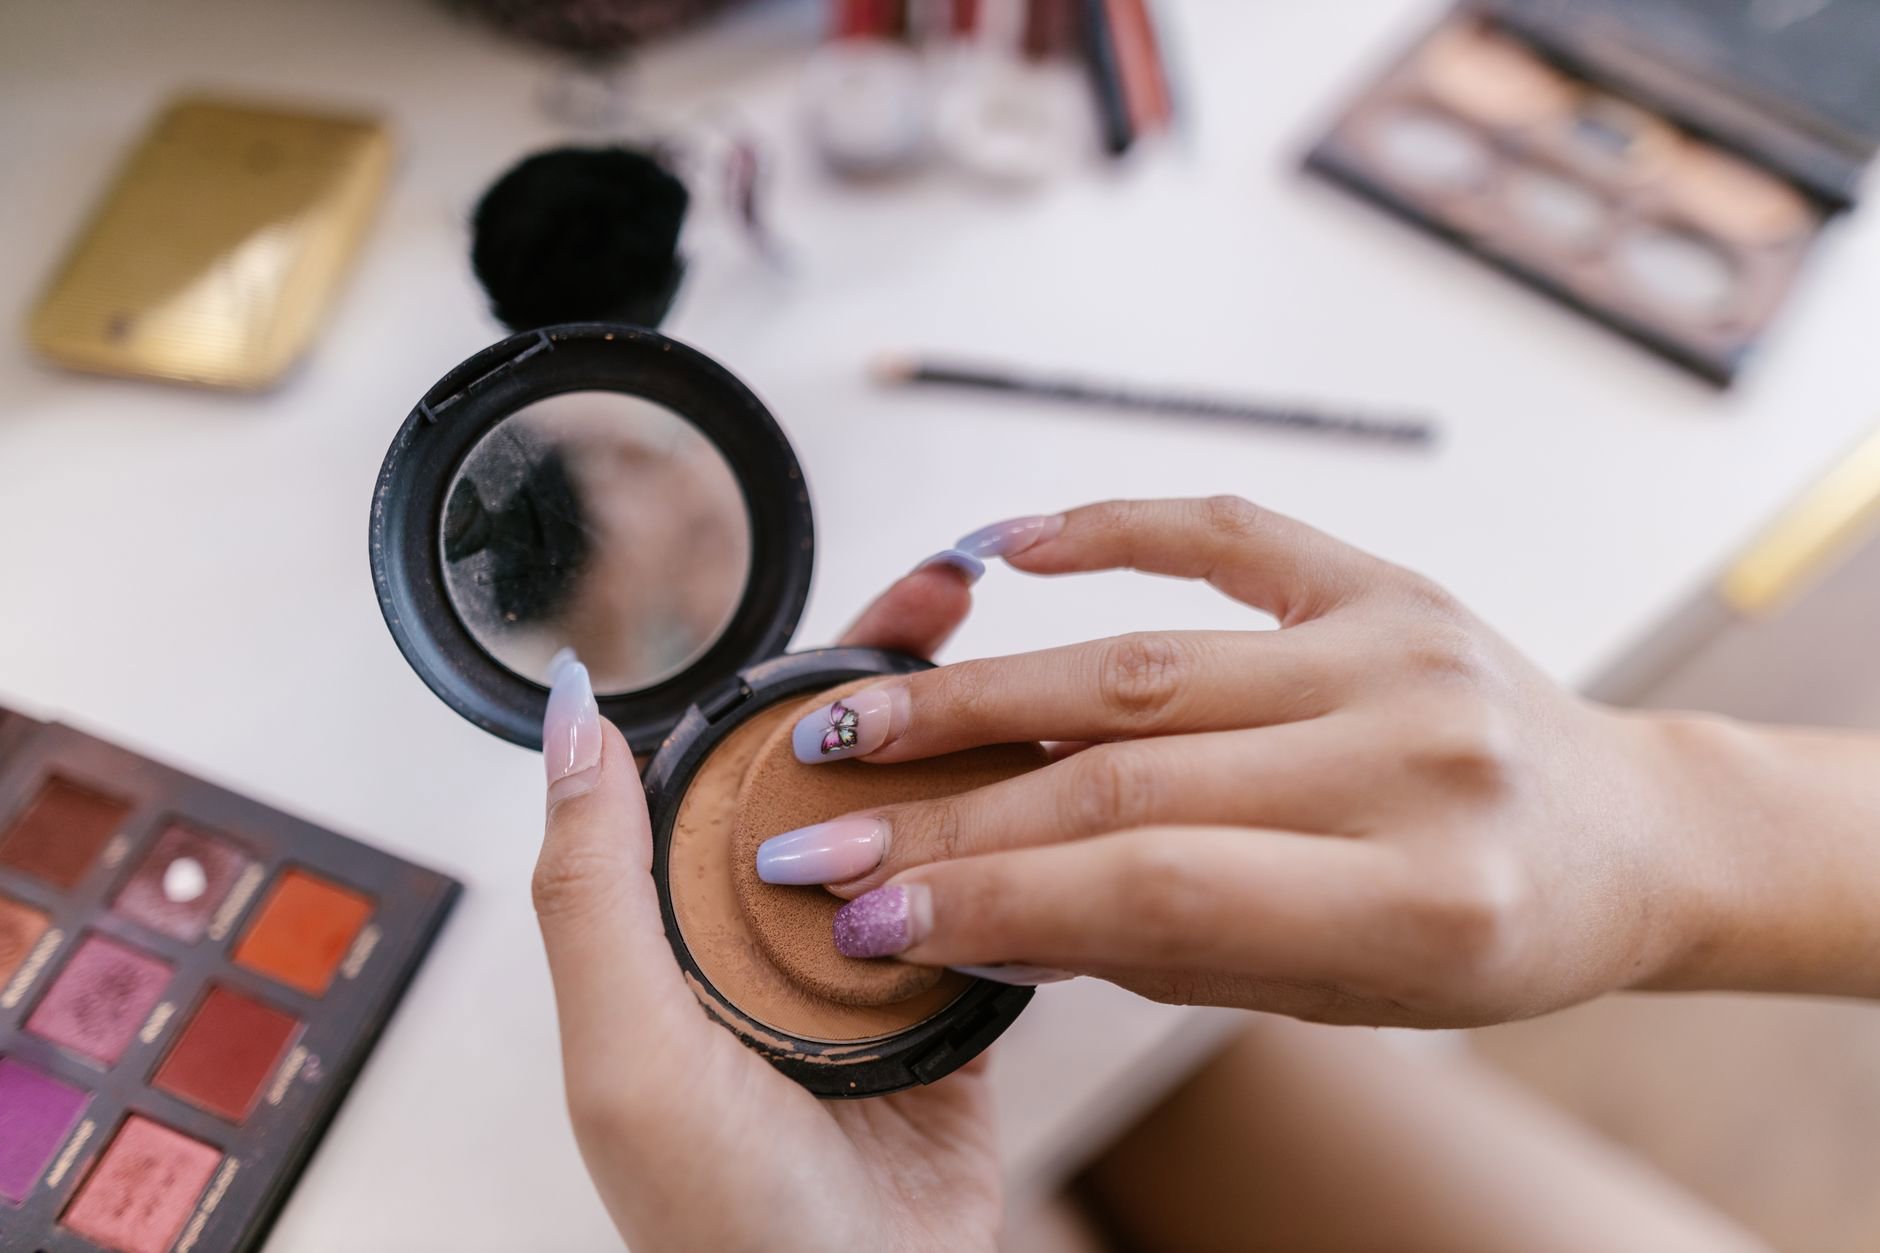
For straightforward, everyday base work, Real Techniques Miracle Complexion Sponge (from £4.54) targets liquid and cream products and aims for a streak-free, luminous glow with micro-fine pores. Micro-fine pores can also mean you need a patient rinse so cleanser doesn’t linger.
If you prefer a classic cult shape, beautyblender Blusher Cheeky Sponge (from £14.00) uses an elliptical shape and a strong sponge material designed for foundation, primer and BB/CC creams. Strong foam usually holds up better to daily squeezing, but only if you avoid wringing and high heat.
For face contours, curved designs can cut application time. Dose of Lashes Baddie Blender Curved (from £5.49) uses a curved and slanted design to cover all parts of the face. Espoir Skinny Fix Blender (from £4.92) also uses a curved shape for quick, even application and stronger adherence. These shapes can collect product in the “bend”, so pinch-clean that area during washes.
And if you want to reduce the temptation to “stretch” time between washes, buy multiples. That’s where sets win. Again, Clomana Beauty Marshmallow Sponge Shape (from £7.90) gives four sponges with a clear intended use pattern: one for foundation, one for contour, one for highlighter, plus a spare.
Shoppers browsing brands often start at makeup and then bounce into Makeup Brushes & Applicators. Stay focused: for cleaning routines, the sponge’s material and structure matter more than marketing claims.
Troubleshooting: smells, tearing, irritation, and “why won’t it get clean?”
When a sponge stays smelly, something usually went wrong in one of three places: you didn’t remove oils, you didn’t rinse well, or you didn’t dry fast enough.
Use this quick diagnostic list.
- It smells musty: Deep clean, then dry in open air. If the smell returns after one use, replace it.
- It feels coated or squeaky: You likely left detergent behind. Rinse longer with lukewarm water.
- It tears easily: You wrung it out or used heat. Switch to pressing with a towel and gentler squeezing.
- It irritates skin: Check for leftover cleanser, fragrance sensitivity, or an older sponge that never fully dries.
- It keeps releasing tinted water: You have deep-set residue. Soak briefly, then repeat wash and rinse.
- Powder puff looks flat: Wash with mild detergent, rinse, then reshape and dry fully before next use.
Some products come with specific care guidance. Shu Uemura Unlimited Nude Mopo Foundation Sponge (from £6.23) spells out a simple method: wash with mild detergent, press lightly, rinse well, remove excess moisture. That “press lightly” piece matters.
If your application looks worse over time, don’t assume your base product changed. A clogged sponge can sheer out coverage unevenly and leave texture behind, even when your Face Primers and base layers stayed the same.
Practical routines you can start today (by usage level)
Most people don’t fail at sponge cleaning because they don’t care. They fail because the routine feels vague. So here are three simple schedules that hold up in real life.
If you use a sponge most days
- Wash after every use (90 seconds).
- Deep clean once a week.
- Rotate at least two sponges, so one always dries fully.
- Replace at the first sign of persistent odour or splitting.
If you use a sponge 1–3 times a week
- Wash immediately after each use.
- Deep clean every 2–3 weeks, or before long storage.
- Store only when fully dry.
- Consider a multi-pack like Clomana Beauty Marshmallow Sponge Shape (from £7.90) so you never reuse a damp one.
- Budget option: Real Techniques Miracle Complexion Sponge (from £4.54) makes rotation affordable.
If you use powder puffs for setting
- Wash weekly if used daily, or after a few wears if used occasionally.
- Use mild detergent and rinse thoroughly.
- Dry flat, then fluff gently once dry.
If you shop around, UK availability varies. We often see these sponges and puffs move between mainstream and beauty-specialist retailers, including Boots, Superdrug, Space NK, John Lewis and Cult Beauty. Price tracking helps spot when a staple drops, especially for premium picks like beautyblender Blusher Cheeky Sponge (from £14.00) or Laura Mercier Velour Puff (from £13.60).
Want the simplest upgrade? Buy one extra sponge. Clean one, use one. Consistency becomes easier overnight.
Which sponge are you cleaning right now: a classic teardrop, a curved blender, or a powder puff? Tell us what you use and how often, and we’ll help you build the easiest routine around it.