
How to use an eyebrow kit
Eyebrow 101: Mastering the Art of Using an Eyebrow Kit

Founder & Beauty Director · 12 June 2023
Understanding Eyebrow Shapes
Knowing your eyebrow shape is the first step to achieving perfect eyebrows. Eyebrow shapes are not one size fits all; each face has its unique eyebrow shape that compliments it. To get started, you need to know your eyebrow shape so that you can work to define and enhance it. Below are eyebrow shapes and how to identify them.
- Round Eyebrow Shape: The round eyebrow shape has a soft curve that almost looks like a half circle. It works best with a high arch to add more definition to the face.
- Straight Eyebrow Shape: This eyebrow shape has little to no curve and tends to look flat. It works well on those with an angular face shape.
- Angled Eyebrow Shape: The angled eyebrow shape has a sharp point at the arch and looks like an inverted V shape. This shape is perfect for those with a round or oval face shape as it adds dimension to the brows.
- S-Shaped Eyebrow Shape: This eyebrow shape has a wave-like curve that adds a lovely softness to the face. It works for those with a square face shape as it softens the face's angles.
Once you have identified your eyebrow shape, you can move on to prepping your eyebrows for shaping.
Prepping Your Eyebrows
Before you start shaping your eyebrows, you need to clean them up. Below is a step-by-step guide on how to prep your eyebrows.
- Cleanse the eyebrow area using a gentle face wash or damp cotton wool to avoid infections. Gently pat dry.
- Use a spoolie brush to brush the hairs upwards and trim any excess length above the brow line.
- Comb the hairs again downwards and snip off any extra hairs that fall beneath the brow line.
- Pluck stray eyebrow hairs outside your desired hairline.
You can also apply aloe vera gel or petroleum jelly to soothe the skin after plucking to reduce redness and inflammation. Always use a high-quality pair of tweezers and cuticle scissors for precision trimming and plucking. Once you're done prepping your eyebrows, you can start choosing the best eyebrow shade for you.
Choosing the Right Shade
Choosing the correct eyebrow shade will depend on your hair color and skin tone. Here are some tips on selecting the appropriate eyebrow shade:
- Blonde Hair: Go for a shade that is slightly darker than your natural hair color. If you have fair skin, choose a taupe or light brown shade. If you have a medium skin tone, select a medium brown shade.
- Brunette Hair: Choose a shade that is closest to your natural hair color but still one or two shades darker. If you have light skin, opt for a soft brown shade. For dark skin, choose a dark- brown shade, which can add more depth to your brows.
- Red Hair: If you have red hair, don't opt for a reddish-brown shade. It can be too much and look unnatural. Instead, go for a warm blond or light brown shade that will complement your hair color and skin tone.
- Black Hair: Choosing a black shade of eyebrow pencil will make your face appear flat and one-dimensional. Instead, opt for a dark brown shade. For those with a medium-to-deep skin tone, try using a black-brown shade.
It's essential to get the shade right, so test the color before making a purchase. Test the color on the back of your hand or on your forearm to see if it matches your skin tone. Always choose high-quality eyebrow products that will not smear or smudge throughout the day.
In conclusion, achieving perfect eyebrows takes practice, patience, and attention to detail. By understanding your eyebrow shape, prepping them, and selecting the right shade, you can have the perfect eyebrows. Remember, eyebrows frame the face, and perfect eyebrows can transform your overall look.
Using the Powders
When it comes to using an eyebrow kit, the first step is usually to use the included powders to fill in and shape your brows. The key to using these powders effectively is to use a light hand and build up the colour gradually, rather than going in too heavy-handed from the start.
Start by using an angled brush to pick up a small amount of powder, tapping off any excess before applying it to your brows with light, feathery strokes. Work from the inner corners of your brows and gradually build up towards the outer edges, using the shape of your natural brows as a guide.
If your kit includes more than one shade of powder, you can mix them together to create a custom colour that matches your hair and skin tone perfectly. As a general rule, you'll want to use a lighter shade towards the inner corners of your brows and a slightly darker shade towards the outer edges for a natural-looking ombre effect.
- Use a light hand
- Build up the colour gradually
- Start from the inner corners of your brows
- Use a mix of shades for a custom colour
Applying the Wax
Many eyebrow kits also come with a wax or pomade that can be used to help shape and set your brows in place. This step is particularly important if you have unruly or sparse brows that need some extra hold.
To apply the wax, start by using the spoolie brush included in your kit to brush your brows upwards and outwards. This will help to define their shape and make it easier to see where you need to apply the wax. Once you've brushed your brows into place, use a small amount of wax on an angled brush to fill in any gaps and create a more defined shape.
Don't worry if the wax looks a bit heavy at first - you can always use a clean spoolie brush to blend it out and distribute it evenly. If you find that the wax is making your brows look too shiny or greasy, you can use a small amount of translucent powder on top to mattify the finish.
- Brush your brows into place
- Use a small amount of wax to fill in gaps
- Blend out any excess wax with a spoolie brush
- Use a translucent powder to mattify the finish
Filling in Sparse Areas
If your brows are particularly sparse or patchy, you may find that the powders and wax alone aren't enough to give you the full, defined brows you're after. In this case, it can be helpful to use a brow pencil or pen to fill in any remaining gaps.
Choose a product that matches the colour of your natural brows as closely as possible, and use light, feathery strokes to mimic the appearance of individual brow hairs. Don't be afraid to go in and brush through your brows with a spoolie brush as you go, to keep everything looking natural and well-blended.
If you have particularly sensitive skin or are prone to breakouts, be careful not to press too hard or use too much pressure when applying the pencil or pen. You don't want to damage the delicate skin around your brows or create any redness or inflammation.
- Use a brow pencil or pen to fill in gaps
- Choose a colour that matches your natural brows
- Use light, feathery strokes to mimic brow hairs
- Be gentle and avoid applying too much pressure
Setting Your Brows
Once you've used all of the powders, wax, and pencils to create your perfect brows, it's time to set everything in place to ensure it lasts all day long. This final step is particularly important if you have oily skin or live in a particularly humid climate, as it can help to prevent smudging or fading.
The easiest way to set your brows is to use a clear brow gel - simply brush it through your brows and up towards your hairline, being careful not to disturb the shape and definition you've already created. Alternatively, you can use a tinted brow gel to add a little extra colour and texture while still providing hold.
Some brow kits also include a fixative spray that can be applied over the entire brow area to lock everything into place. This can be particularly helpful if you're going to be out in the sun or engaging in any other activities that might cause you to sweat or wipe your forehead.
- Use a clear or tinted brow gel to set your brows
- Brush the gel through your brows and towards your hairline
- Apply a fixative spray for extra hold and protection
Shop Brow Kits & Palettes
Discover our top picks for you
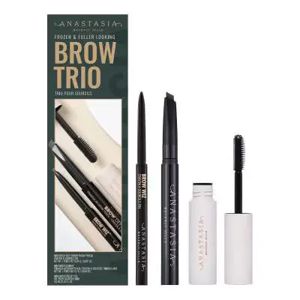
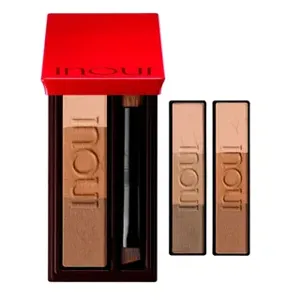

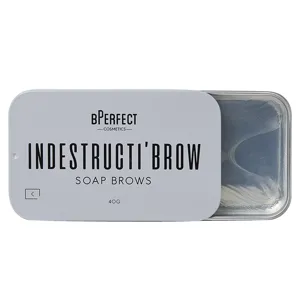
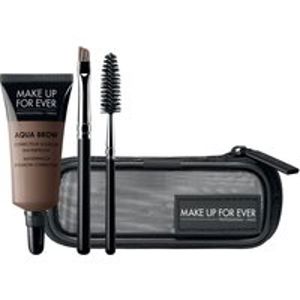

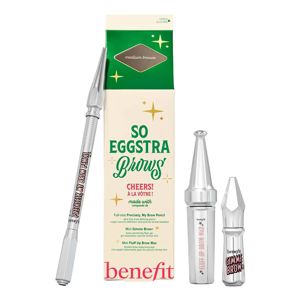


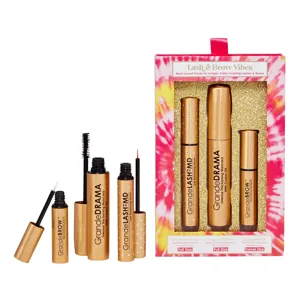
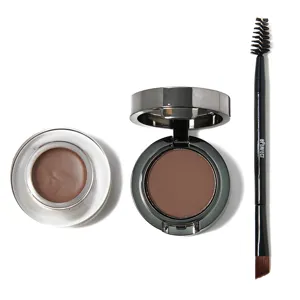
Find the Best Brow Kits & Palettes for Your Type
More to Explore
Continue your beauty journey with these guides

What is face exfoliator scrub?
Unveiling the Secrets of Face Exfoliator Scrub: Your Ultimate Guide

How long does instant tan last?
Unlocking the Longevity of Instant Tan: A Comprehensive Guide

Where to apply face toner
Where to Apply Face Toner: A Complete Guide for Flawless Skin

Does eye primer make a difference?
The Truth Behind Using Eye Primer: Does It Really Make a Difference?
How to use an eyebrow kit
Eyebrow 101: Mastering the Art of Using an Eyebrow Kit

Can Makeup Sponges Get Mouldy? Yes — Here's Why
Say Goodbye to Moldy Makeup Sponges: Here's How to Keep Them Clean and Hygienic