Concealer isn’t just a quick dab with a fingertip. A well-chosen brush can smooth texture, control coverage, and make your base look fresher with less product. Our data shows a spike in searches for concealer tools every winter in Ireland. Dark mornings, damp air, and central heating drive the interest. Brushes fix the very things that fingers often worsen: patchiness, creasing, and tell-tale edges.
We rate concealer brushes because they place product precisely. They also blend without stripping coverage. That means less tugging on the under-eye and better blemish camouflage. If your concealer looks heavy or slides off by lunch, the brush and technique usually cause it. The formula often gets the blame, unfairly.
Context: why tools matter, and why now
Concealer formulas have shifted over the past decade. Brands now push thin textures with strong pigments. Think of liquid creams with film-formers and soft-focus powders. These formulas need deliberate placement and quick blending. A brush gives that control. Fingers can add warmth, but fingers also add oil and sometimes remove product. Sponges can drink up thin liquids and sheer them out too much. A brush splits the difference.
Launch cycles influence technique. When Revolution popularised high-pigment liquid concealers in 2018, heavy-duty coverage got cheaper and more accessible. Around 2019, brightening correctors from Charlotte Tilbury caught on, and precise brushes followed. Retailers in Ireland, from Boots to Brown Thomas, stocked more brush shapes for pinpoint work. Our tracker still sees steady availability across Boots Ireland, Arnotts, McCauley Pharmacy, Meaghers Pharmacy, and Lookfantastic Ireland.
The Irish climate shapes base makeup choices. Humid air can disrupt thick concealer. Cold winds can accentuate dryness under the eyes. A brush lets you use less product and still get impact. That helps in damp weather. It also helps on days when you need SPF, which should still be daily here. The right tool spreads thin layers that last under sunscreen without pilling.
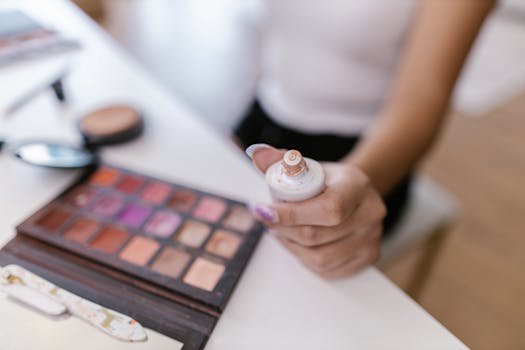
{{IMAGE:woman applying concealer with brush}}Choose the right concealer brush shape
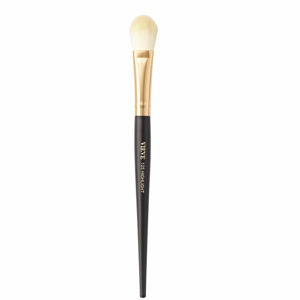
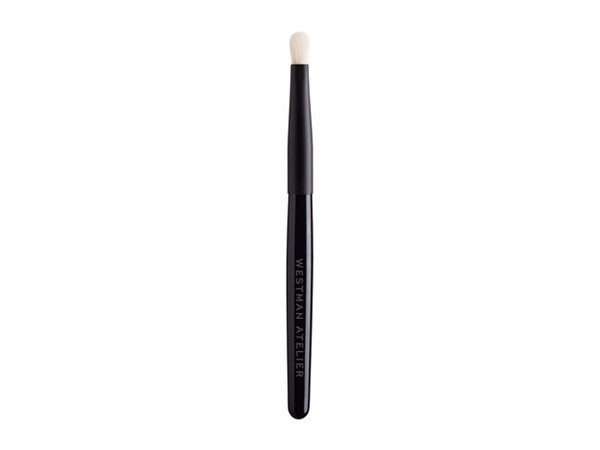
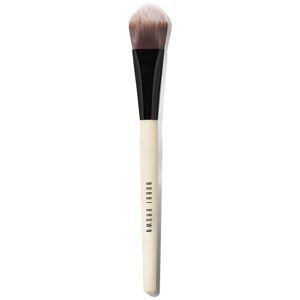
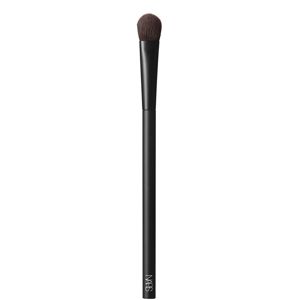
Start with the job, then pick the shape. You need two core styles for most routines. A flat, tapered brush lays down product with accuracy. A small fluffy dome blends edges without stealing coverage. Synthetic fibres suit liquids and creams. They don’t swell or hold as much product as natural fibres.
Under the eye, look for a small dome with a rounded tip. A head the size of a five-cent coin gives control. It will sit neatly in the inner corner and sweep along the orbital bone. A flatter, paddle style works well for placing corrector. It can stamp product into the hollow without overloading thin skin. For blemishes, use a tiny pointed brush. Think a pencil tip that can cover a pinpoint breakout without flooding the area.
Plenty of brands do strong options. Morphe offers affordable synthetic detailers in sets. MAC makes precise, firm concealer brushes that place product cleanly. Sephora Collection has soft domes that blur lines well. If you want to keep spend down, check KIKO and Revolution for budget tools with tidy ferrules and even fibres. We track regular offers across those ranges. Add picks to your wishlist on GlamGeek to catch price drops.
Browse concealer-friendly tools under Makeup Brushes & Applicators. We compare stock and pricing across the major Irish retailers so you don’t have to.
Under-eye prep and placement that never creases
Treat the under-eye like a delicate fabric. Hydration first. Use a light, fast-absorbing eye gel or a thin moisturiser. Wait 60 seconds. This settles the surface and prevents slip. Skip heavy balms by day. They push concealer into lines.
Next, prime if you crease easily. A pea of silicone-based primer smoothed just under the eye can help. Tap it on, don’t rub. Then reach for corrector only if you see purple or blue tone. Peach or bisque suits lighter to medium tones. Deeper skin loves orange or burnt peach. Charlotte Tilbury brightening correctors work for this step. Keep it thin. Emphasis on “thin”.
Use a flat brush to dot three tiny amounts along the inner half of the under-eye. One under the inner corner, one under the pupil, one toward the midline. Then switch to a small dome. Press and wiggle to blend. Avoid long sweeps. Those can streak and move product. Keep the outer eye almost bare unless you need coverage there. Lift what’s left on the brush toward the outer corner to brighten. This saves you from creasing at crow’s feet.
For fair to medium skin, choose a concealer that matches your foundation or sits half a shade lighter. For deeper skin, match exactly. Too-light concealer can look grey. We see this pattern in store returns and shade feedback across our feed. Thin layers win. One coat for brightening. A second micro-layer only where you still see shadow.
Want a simple starting point? Explore high-coverage liquids from Estée Lauder and Clinique. Budget options with strong pigment sit in Revolution and L'Oréal. Compare them under Liquid & Cream Concealers. We’ve seen price swings by retailer and shade. It pays to check.
Blemish and redness coverage with pinpoint control
Spots need calm placement. Prep the area with a non-greasy moisturiser. If a blemish looks inflamed, dab a thin film of a silicone primer over it. This smooths edges and stops concealer from catching on dry bits.
Use a tiny pointed brush. Pick up a dot of concealer. Touch just the centre of the spot. Don’t circle or smear. Let the fabric of your skin hold it. Then soften the edge with soft taps using a clean dome brush. Work around the spot, not across it. You want the core covered and the boundary feathered. If redness still shows, repeat with the smallest amount. Two thin passes beat one heavy pass.
Redness around the nose or on the chin needs a different path. Choose a flat brush and a thin, buildable liquid. Press into the creases beside the nostrils. Angle the brush to reach that fold. For diffuse redness, use a fluffy brush and a serum concealer. This looks like bare skin but tones down pink. If you treat breakouts with acids, check the concealer formula. Avoid high alcohol and heavy fragrance on active acne. Those can sting and peel.
Green corrector has a place, but not everywhere. Use it under makeup on very strong redness only. Tap a tiny amount with a flat brush, then cover it with your skin-tone concealer. Blend with a dome brush until the green fully disappears. If you still see green, you used too much.
Blending methods: stipple, sweep, and press
Match the motion to the formula. For thin liquids, press and wiggle. That locks pigment down before the water phase evaporates. For rich creams, use short, light sweeps to thin the layer. For dry or textured areas, stipple with the very tip. This keeps coverage while softening edges.
Work fast in cool weather. Many concealers set within 30 to 60 seconds. Apply in zones. Do the inner eye first, then the other eye, then blemishes. Don’t stripe your whole face and return later. You’ll fight drying lines. A brush lets you move product without pulling it away. Remember that goal. Keep the brush perpendicular for stamping. Angle it at 45 degrees for feathering edges.
Buff only where you need a soft fade into bare skin. Buffing over the centre of a blemish removes pigment. You then chase your tail with more product. Keep a tissue in hand. Wipe the brush between zones. This prevents colour transfer and muddiness.
If your under-eye creases as you blend, stop and reset. Press the pad of a clean finger once to pick up extra. Then return with the brush and re-press. This corrects over-application without tugging.
Layering with primer and foundation without caking
The order matters. Primer, then concealer in target zones, then foundation, then a final touch of concealer only where needed. This sequence avoids heavy stacks under the eye. It also keeps coverage on blemishes even after foundation passes over.
Use less foundation under the eyes. Let your concealer do that lift. Buff foundation around the edges with a small brush to blend the tones. This avoids a halo. If you prefer foundation first, apply a very thin layer. Then conceal only what shows through. You’ll use half the product and look twice as fresh.
Choose primer by concern. Blurring primer helps pores on cheeks and next to the nose. Hydrating primer helps dryness under the eye. Mattifying primer helps oily zones and active blemishes. You don’t need one primer for the whole face. Dot it where you need it.
Shopping notes for Irish readers: Boots Ireland runs frequent bundle deals on primers and base. Brown Thomas and Arnotts stock premium base kits from Estée Lauder and Charlotte Tilbury. Lookfantastic Ireland often lists brush sets from Morphe. We track these across our feed. Add items to your GlamGeek wishlist to get an alert when prices drop.
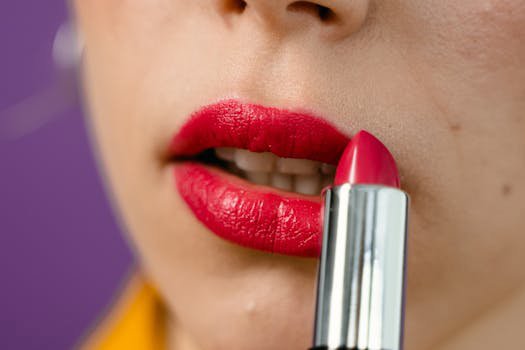
{{IMAGE:close-up of concealer brush and product}}Colour correction that still looks like skin
Correctors can help, but restraint wins. Use peach or bisque for blue and purple under the eyes. Use orange for deeper skin with strong blue tones. Use green for vivid red blemishes or cheek flushing. Keep corrector thin and localised. A rice-grain amount usually covers the whole inner corner.
Place corrector with a flat brush. Stamp it where the discolouration lives. Don’t chase it across good skin. Then blend the boundary with a small dome. You should still see skin. The goal is neutral, not pale. After that, use a skin-tone concealer sparingly. Press it over the corrector. Stop once the tone looks even.
Brands sell corrector and concealer pairs that work together. Check sets from Charlotte Tilbury and ranges by Clinique. For budget, scan Revolution for peach and green options. Compare across Liquid & Cream Concealers to find a match for your shade and undertone. We see frequent shade-specific offers. Some UK-based retailers ship to Ireland and sometimes undercut local prices. Check shipping and returns before you jump.
Set and extend wear without dryness
Only set where you crease or get shine. Under the eye, pick a very fine loose powder. Use a tiny tapered brush. Pick up a whisper of powder and tap off the excess. Look up, smooth any creases with a dome brush, then tap powder once to lock it. One or two taps should do it. If you see powder, you used too much.
On blemishes, avoid heavy baking. A micro-dust of powder helps the concealer resist oil. Press, don’t rub. If you want extra hold, use a setting spray. Mist once, let it settle, then do a final press with your clean brush. Sprays can relax powder texture and add back a skin finish.
On wet days in Dublin or Galway, humidity can soften base products. Choose long-wear liquids that mention film-formers or waterproof claims. Brands like Estée Lauder and Clinique offer that style. For a lower spend, check L'Oréal and Revolution. Compare finishes and claims on GlamGeek before you buy.
Don’t forget daily SPF. You still need it in Irish weather. Look for light textures that sit well under concealer. Gel lotions and milky fluids keep layers thin. Browse our edit of SPF Protection Products. Thin layers and a brush mean fewer pilling issues under sunscreen.
Hygiene, cleaning, and brush care
Clean brushes weekly for skin health and better blending. Concealer brushes collect oils and pigment quickly. Those can cause streaks and can aggravate breakouts. Use a gentle brush soap or a sulphate-free cleanser. Massage the bristles, rinse with lukewarm water, and squeeze with a towel.
Reshape the head and dry the brush flat with the bristles hanging off the edge of a counter. Don’t stand it upright while wet. Water can wick into the ferrule and loosen glue. Synthetic fibres dry faster and resist swelling. That’s another reason they suit creams and liquids.
On busy weeks, use a quick-dry brush cleaner between steps. Spray a tissue, sweep the brush through, and carry on. This prevents colour transfer from peach corrector to a blemish, for example. Replace concealers every 6 to 12 months once opened. That reduces the risk of irritation around eyes or on active spots.
Value tip: multi-use eye brushes can double as concealer tools. A small synthetic shader can place product neatly. A fluffy synthetic crease brush can blend edges under the eye. Check MAC and Morphe tool ranges. We often see sets priced lower per brush than singles.
Real-world brush-and-formula pairings that work
For dry under-eyes: choose a hydrating liquid concealer with hyaluronic acid. Use a soft dome brush to press and blur. Brands like Clinique and Charlotte Tilbury make brightening liquids that sit well. Set lightly, only at the inner corner.
For oily or long days: pick a high-pigment, self-setting liquid. Use a firm, small dome for quick press-and-blend. Lock the inner corner and smile line with the thinnest dusting of powder. A setting spray can help in humid Irish afternoons.
For raised blemishes: take a full-coverage cream concealer that isn’t too dry. Stipple with a tiny pointed brush right on the blemish. Feather edges with a clean dome. Micro-set with powder and avoid more layers.
For redness around the nose: use a thin, flexible liquid. Press with a flat concealer brush into the crease beside the nostril. Blend outward with a fluffy brush so the fade looks natural. A touch of green corrector under the liquid can help on very red days.
For budget kits: build a small trio. One flat synthetic concealer brush, one tiny pointed detailer, one small fluffy dome. Check Revolution, KIKO, and Sephora Collection for sets. Add a mid-coverage liquid concealer that matches your skin and a peach corrector if you need it. Keep all three on your GlamGeek wishlist. We’ll ping you when a deal lands.
Common mistakes and quick fixes
Using too much product ranks first. Fix it by switching to tiny dots and a press-and-wiggle motion. Let your brush do the work. Avoid stripes.
Putting concealer too close to the lower lash line causes instant creasing. Leave a 2 to 3 mm gap. Blend up only with what remains on the brush. This keeps lines clean.
Wrong undertone turns circles grey. If your concealer looks ashy, add a touch of peach corrector first. Then layer a matching concealer. Choose half a shade lighter at most for brightening on light to medium skin. Match exact for deeper complexions.
Over-powdering dries the eye area. Switch to a finer powder. Use a tiny tapered brush. Tap once and stop. If you see texture, mist a setting spray and press with the brush to re-mesh the layers.
Dirty brushes streak and clog pores. Clean weekly. Between shades, wipe on a tissue with a small amount of quick cleaner. This one change improves finish fast.
What this means for your kit and your budget
You don’t need a drawer of tools. Two or three well-chosen brushes change your base. A flat synthetic brush for placement. A small fluffy dome for blending. A micro-point for blemishes. Pair those with a concealer that matches your skin and a corrector if you see blue or purple. That small kit handles most days.
Spend where it counts. A solid brush set lasts for years if you clean it. You can then rotate through concealer formulas as seasons change. In Ireland’s damp chill, thin layers work best. They hold up under drizzle, scarves, and SPF. Use our price comparison to check stock across Boots Ireland, Brown Thomas, Arnotts, McCauley Pharmacy, Meaghers Pharmacy, and Lookfantastic Ireland. We often spot savings on brush sets and base bundles. Add favourites to your GlamGeek wishlist and we’ll alert you when the price drops.
If you want to upgrade formulas later, start with finish. Go brighter under the eye and more matte on blemishes. Keep coverage flexible. Compare textures and reviews under Liquid & Cream Concealers, then pick tools from Makeup Brushes & Applicators. Test shade matches in-store at Boots or Brown Thomas when you can. Light in Irish pharmacies can skew warm. Step outside if possible.
Your turn
Which brush shape changed your concealer the most? Do you swear by a tiny detailer for spots or a soft dome for under-eyes? Add your go-to tools and formulas to your GlamGeek wishlist and watch the price graph. We track the deals so you can focus on the finish.
Need shade help or a routine for Irish weather? Ask us in the comments. Tell us your skin type and your current base. We’ll suggest a brush-and-concealer pairing you can buy easily in Ireland, with links to the best prices we see right now.