
Where to apply pencil eye liner
Mastering the Art of Applying Pencil Eye Liner: Tips and Tricks.
16 June 2023
Section 1: Choosing the right type of eye liner
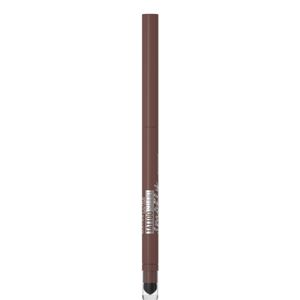
When it comes to applying pencil eye liner, selecting the right type of liner is crucial. There are different formulas to choose from, including waterproof, smudge-proof, and matte finishes. Waterproof liners are ideal for those with oily skin and for those who need their makeup to last throughout the day. Smudge-proof liners are great for creating a smoky eye look while matte formulas provide a natural finish.
- For those opting for a more natural look, a light brown or nude pencil liner is the way to go.
- If you want a classic black liner, make sure to pick one with a softer texture so that it can glide on smoothly without dragging on delicate skin.
- If you prefer a pop of color, try experimenting with shades like deep blue, green, or purple.
Ultimately, the choice of the pencil eye liner all depends on your personal preferences and the look you want to achieve. You can always try different formulas and shades until you find the perfect match for your eyes.
Section 2: Preparing your eyes for pencil eye liner application
Before applying pencil eye liner, it is essential to prep your eyes properly. Start by using a gentle cleanser to remove any dirt or oil from your facial skin. After cleansing, use a light moisturizer around your eye area. This will ensure that your skin remains hydrated and fresh throughout the day.
If you have oily eyelids, you should use an eye primer. Eye primer helps absorb any excess oil on your eyelids, which can cause the pencil liner to smudge or fade away. It's also important to curl your lashes and apply mascara to enhance your eye shape.
- If you want to make your eyes appear larger, use a white or nude eyeliner pencil on your waterline.
- If you're going for a smoky eye look, blend out the liner using a smudging brush or even your fingers.
- Remember to sharpen your pencil regularly to ensure precision and avoid causing damage to your eyes.
Lastly, take your time, and be gentle while applying the liner. Avoid any sudden movements that can cause the liner to smudge or create an uneven line.
Section 3: How to hold the pencil for precise application
The key to achieving a perfect eye liner application is all in how you hold the pencil. There are a few techniques you can use to hold the pencil and create precise lines.
- Hold it like a pen: This is the most common way of holding an eye liner pencil. Hold the pencil between your fingers, the way you would hold a pen, and use small strokes to create the line.
- Hold it at the base: Hold the pencil at the base for a better grip and more control. This technique is ideal for creating thin or thick lines, depending on how much pressure you apply.
- Use your pinky finger: For those who are new to using eye liner pencils, using your pinky finger to stabilize your hand can help create a smoother and steadier line.
When applying the pencil, start from the inner corner of your eye and work your way outwards towards the outer corner. For a more dramatic look, you can widen the line as you get towards the outside of your eye.
The application of pencil eye liner may take some practice but with patience and the right technique, you can achieve a perfect look in no time. Remember to choose the right formula depending on the look you want to achieve, prep your eyes correctly, and hold the pencil correctly for precise application.
Creating a natural look with pencil eye liner
When it comes to creating a natural look with pencil eye liner, less is definitely more. Start by choosing a shade that is one to two shades darker than your natural lash line color. Using a light hand, gently line your top lash line, starting from the inner corner and working your way to the outer corner.
Avoid lining all the way to the inner corner, as this can make your eyes appear smaller. Instead, stop just short of the tear duct and use a cotton swab or your finger to smudge the liner slightly for a softer look. Repeat the same process on your bottom lash line if desired, taking care not to go too far down and create a raccoon eye effect.
If you want to really make your eyes pop, try tightlining your upper lash line by applying pencil liner to the inner rim of your upper eyelid. This technique will make your lashes appear fuller and thicker without looking like you're wearing any liner at all.
- Choose a natural shade that complements your eye color
- Line your upper lash line from inner to outer corner
- Avoid lining all the way to the inner corner
- Smudge for a softer look
- Tightline your upper lash line for added definition
Creating a bold and dramatic look with pencil eye liner
If you want to make a statement with your eye makeup, using pencil eye liner is a great way to go. Start by choosing a bold color, such as a deep navy or emerald green. Begin by lining your upper lash line with a light hand, gradually building up the thickness and intensity of the line as desired.
Next, create a winged effect by extending the liner slightly past your outer corner and angling it upwards towards the end of your eyebrow. For added drama, try smudging the liner slightly with a cotton swab or your finger and layering a darker shade on top.
If you're feeling really adventurous, you can also try lining your lower lash line with a coordinating shade and using a blending brush to soften the edges. Just be sure to keep the rest of your makeup neutral and understated to avoid overdoing it.
- Choose a bold color that compliments your eye color
- Line your upper lash line, gradually building up thickness and intensity
- Create a winged effect by angling the liner up towards eyebrow
- Smudge for added drama
- Add a coordinating lower lash line with a blending brush
Applying pencil eye liner to your lower lash line
If you're looking to enhance your lower lash line with pencil eye liner, there are a few things you should keep in mind. Firstly, avoid using a black liner, which can look harsh and create a "closed off" effect. Instead, opt for a softer shade, such as a deep brown or charcoal gray.
To apply the liner, start at the outer corner and work your way towards the inner corner, using a light hand and short strokes to create a subtle, smudgy effect. Be sure to stop before you reach the tear duct, as lining all the way in can make your eyes look smaller.
If you want to add even more definition, try using a small, angled brush to apply eyeshadow or liner underneath your lower lash line, blending it slightly for a softer effect. This will give the illusion of fuller lashes without looking too heavy.
- Avoid using black liner on lower lash line
- Start at outer corner and work towards inner corner
- Use a light hand and short strokes for subtle, smudgy effect
- Stop before reaching tear duct
- Use small, angled brush to apply shadow or liner for added definition
Fixing mistakes and cleaning up your lines
We've all been there - you're trying to achieve the perfect winged liner, only to have it go horribly wrong. But don't worry - with a little know-how, you can fix mistakes and clean up your lines in no time.
If you've made a mistake with your liner, the first thing you should do is resist the urge to wipe it away with your fingers. Not only can this smudge your makeup even further, it can also transfer oils and bacteria from your hands onto your face. Instead, reach for a cotton swab or a makeup remover pen to gently clean up the mistake.
If you're struggling with uneven liner, try using a piece of scotch tape to create a guide for your wing. Simply place the tape in the desired location and apply your liner, then remove the tape to reveal a clean, crisp line.
Finally, if you're dealing with smudges or messy lines, try using a small, angled brush dipped in makeup remover to gently clean up the edges. This will help to create a smooth, polished look without removing too much of your makeup.
- Use a cotton swab or makeup remover pen to fix mistakes
- Don't use your fingers to wipe away mistakes
- Use scotch tape as a guide for winged liner
- Use a small, angled brush dipped in makeup remover to clean up messy edges


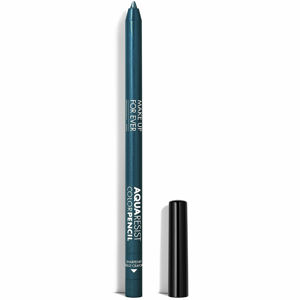
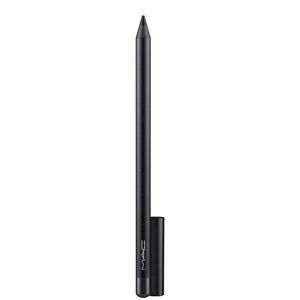
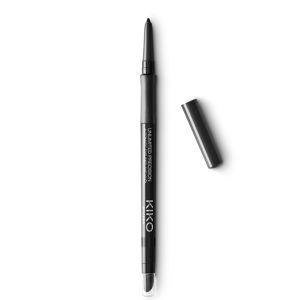
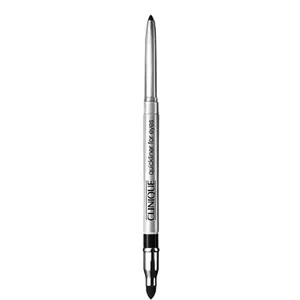
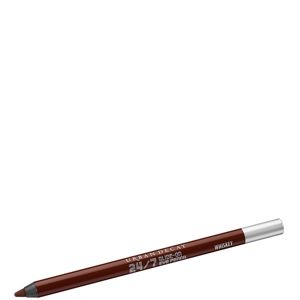
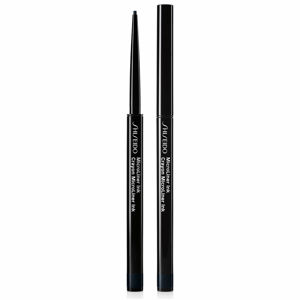
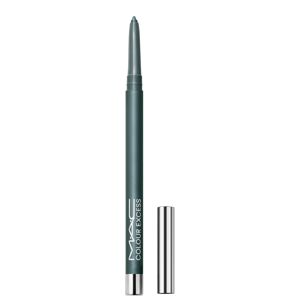
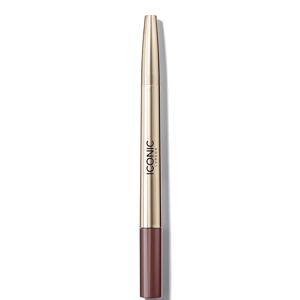
Find the Best Pencil Liners for Your Type
More to Explore
Continue your beauty journey with these guides
How to Stop Pencil Eyeliner From Smudging
Prep, placement, and the right pencil liner formulas for oily lids, hooded eyes, and waterlines.

How to apply anti ageing eye serum
Unveiling the Secrets: Mastering the Art of Applying Anti-Ageing Eye Serum

What is Sonic Cleansing?
"Unveiling the Secrets of Sonic Cleansing: Your Ultimate Guide to Flawless Skin"

Pressed vs Loose Powder: Which Is Better?
Pressed vs. Loose Powder: Which One Reigns Supreme in the Beauty World?

What is cream eyeliner?
Mastering the Art of Cream Eyeliner: Everything You Need to Know
Where to apply pencil eye liner
Mastering the Art of Applying Pencil Eye Liner: Tips and Tricks.