A flawless liquid foundation finish comes down to three things: the right skin prep for your skin type, the right amount of product, and the right application method for the finish you want.
Most “bad foundation days” come from preventable issues: too much product too fast, applying over dry texture, or choosing a formula that fights your skin’s oil and sweat patterns. In Australia, heat, humidity (hello, north), and high UV year-round make this even more obvious on the face.
Below, we lay out a step-by-step routine you can follow with fingers, a brush, or a sponge—plus the fixes for streaks, caking, patchiness, and oxidation. We also point to liquid foundations our price tracker sees Australians buy repeatedly across retailers like Mecca, Sephora Australia, Adore Beauty, and department stores.
Start with skin prep that matches your finish goal
Liquid foundation sits on top of whatever your skin feels like in that moment. If your skin feels tight and flaky, foundation clings. If your T-zone gets slick by lunch, foundation can separate. Prep should target that behaviour, not chase a generic “glass skin” look.
Keep the prep simple. Over-layering makes many liquid foundations skid around, especially in warm weather. If you use skin care, give it time to settle before foundation. If you rush straight from a slippery base to foundation, you invite pilling and streaking.
Here’s the practical rule we use: prep for grip and even texture, then let your liquid foundation do the coverage work.
- Dry or dehydrated skin: aim for comfort and a smooth surface. A radiant, breathable liquid often looks more skin-like, such as Nars Light Reflecting Foundation (from A$80.36), which offers buildable medium coverage with a breathable, skin-like finish.
- Combination skin: prep the perimeter (cheeks) more than the centre (T-zone). A balanced satin finish helps, like Nars Sheer Glow Foundation (from A$76.44), described as luminous with sheer-to-medium coverage and a satin finish.
- Oily skin or long days: reduce slip and choose wear claims that match sweat and movement. Shiseido Synchro Skin Self Refreshing Foundation (from A$90.16) offers breathable, buildable medium-to-full coverage with up to 24 hours of natural, semi-matte wear and resistance to heat/sweat style stressors through its wear tech.
One more Australia-specific note. If you rely on foundation SPF alone, you will under-apply. Foundation with SPF can help, but for real protection, pair it with dedicated sun protection from the SPF Protection Products category and let it set before makeup.
How much foundation to use (and where to place it)
Most people use too much liquid foundation, then try to blend it into submission.
Instead, start small and place product only where you need coverage. You can always add a second thin layer. You can’t “un-cake” a thick first layer once it sets.
We suggest measuring by drops or pumps rather than “one full pump because that’s what the ad showed”. For medium coverage liquids, start with roughly a half-pump to one pump total. For full coverage liquids, start with less than you think you need.
Placement map: the easiest way to avoid a mask
Use this placement approach no matter which tool you choose:
- Centre-out: apply the first touch of product to the centre of the face (around nose, inner cheeks, chin) where redness and uneven tone usually live.
- Feather the edges: use whatever remains on your tool to sheer out toward the jaw, hairline, and temples.
- Keep the perimeter thin: heavy coverage around the hairline and jaw makes foundation look obvious in daylight.
- Micro-correct, don’t blanket: add tiny dots only on areas that still show through after the first blend.
This method pairs well with long-wear, higher-coverage liquids because it reduces product build-up. That matters with formulas like Nars Soft Matte Complete Foundation (from A$66.64), which provides up to 16 hours of colour-true wear with a full-coverage finish and includes a botanical-based Anti-Oxidation Complex to help prevent colour shift.
It also helps “foundation + concealer in one” style formulas look natural. Clinique Beyond Perfecting Foundation And Concealer (from A$57.60) targets a natural, beyond perfected look with 24-hour wear and colour that stays true, even through sweat and humidity. That claim only works when you apply it in thin layers.
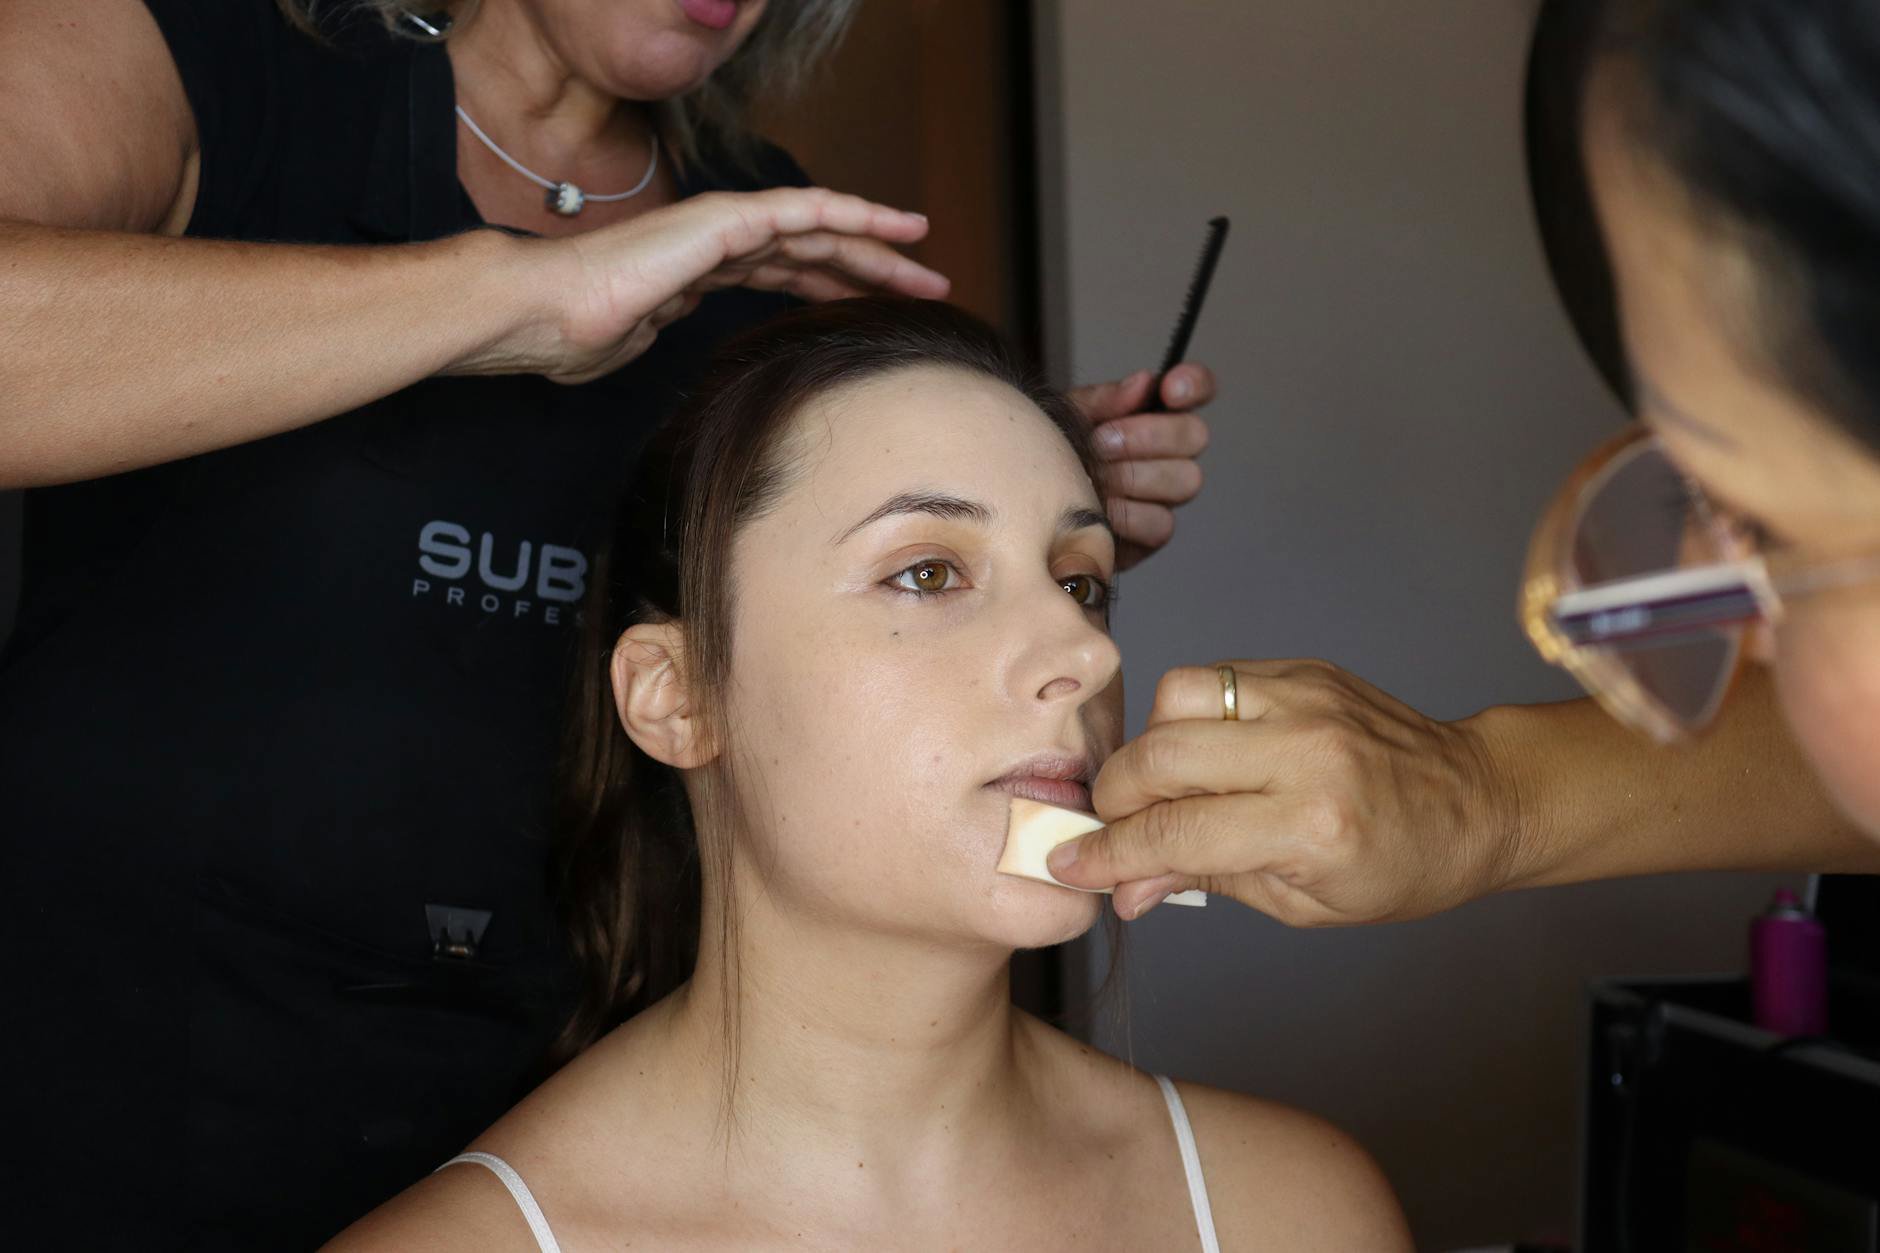
Applying with fingers: fastest, most skin-like (when done right)
Fingers can give the most natural finish because you can feel where the product grabs and where it slips.
They also add warmth, which can help some liquid foundations melt into the skin. The downside: fingers can leave uneven patches if you swipe instead of press.
Step-by-step: finger application that doesn’t streak
- Dispense a small amount onto the back of your hand. This stops you from over-applying straight onto the face.
- Dot strategically on the centre of the face: inner cheeks, sides of nose, chin, and a little on the forehead.
- Press and spread with two fingers, using short tapping motions. Avoid long swipes.
- Feather outward until you hit the hairline and jaw, then stop. Let the edges stay sheer.
- Second layer only where needed after 30–60 seconds. Build coverage in small zones rather than everywhere.
Finger application suits breathable, skin-finish liquids. Nars Light Reflecting Foundation (from A$80.36) fits this style with buildable medium coverage and a skin-like finish. Keep your first layer thin, then add a touch more only where tone still peeks through.
Prefer a luminous look but still want control? Nars Sheer Glow Foundation (from A$76.44) works well with finger-pressing because it aims for a satin finish and sheer-to-medium coverage. The pressing motion helps it look even instead of shiny in patches.
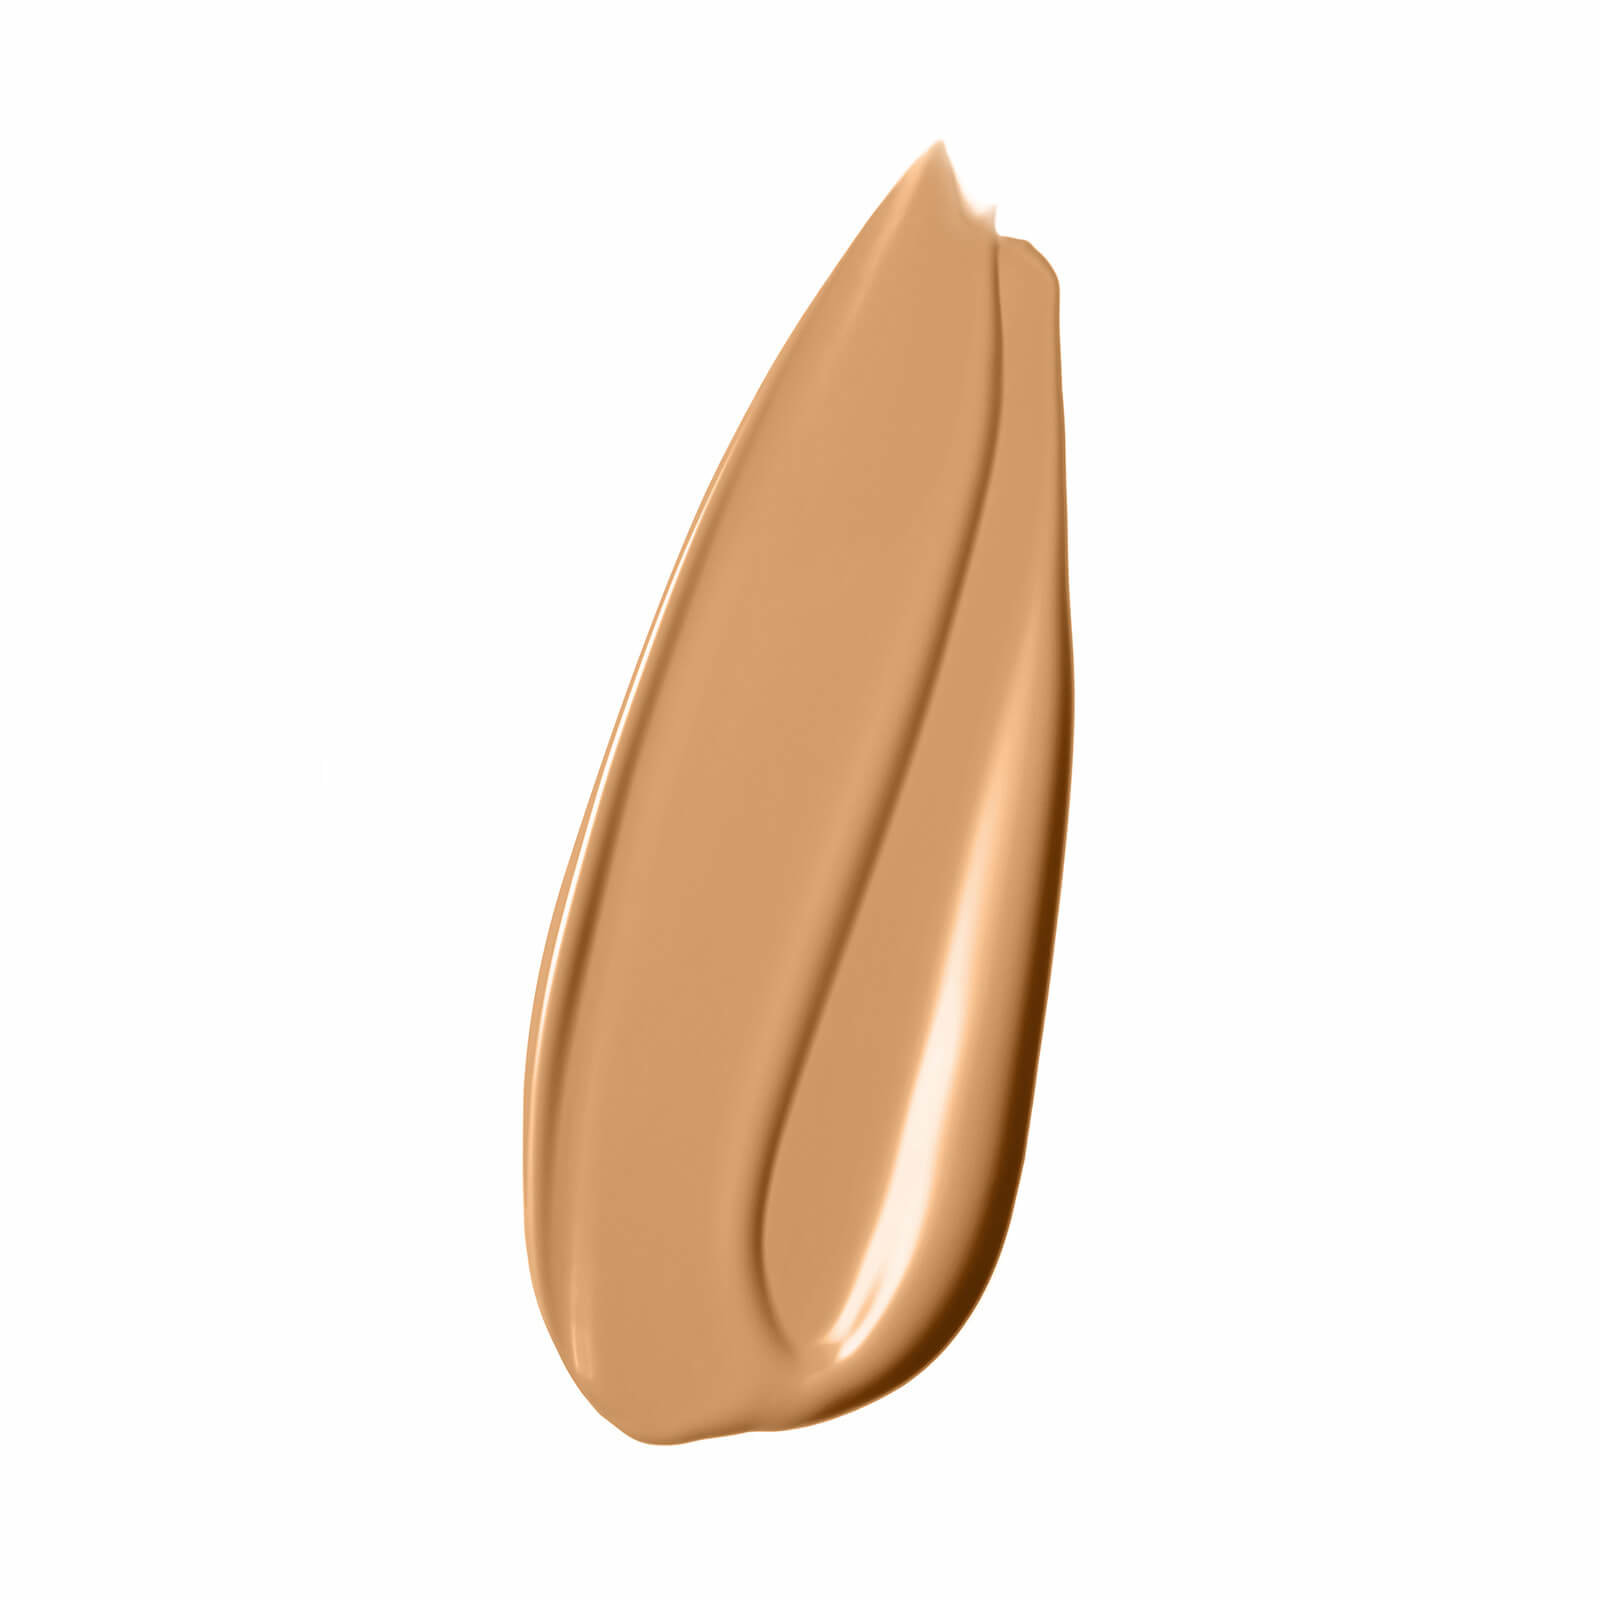
Applying with a brush: maximum smoothness and coverage control
A brush gives the most even distribution when you use the right motion. It also helps you keep coverage where you want it, rather than soaking product up.
But brush technique makes or breaks the finish. Buffing too aggressively can lift foundation off the skin. Painting strokes can leave stripes. The goal sits in the middle: place, then buff lightly.
Step-by-step: brush application without stripes
We keep it simple:
- Load the brush lightly from the back of your hand, not straight from the bottle.
- Stamp first on the centre of the face to place product. Think of it as “pressing” foundation onto the skin.
- Buff second using small circles or short back-and-forth motions only where needed.
- Use the brush edge around the nose and under-eye area for precision.
- Check in natural light before adding more. Indoor lighting hides texture.
Brush application often suits medium-to-full coverage liquids because you can keep layers thin. Nars Natural Radiant Longwear Foundation (from A$82.32) offers up to 16 hours of medium-full coverage with a soft-focus finish and buildable blendability. A brush helps you build that “soft focus” without piling product into pores.
For a natural matte look, a brush can also prevent over-application. Bobbi Brown Weightless Skin Foundation Spf15 (from A$84.28) offers medium coverage with a natural matte finish plus SPF 15. Stamp-and-buff application keeps it weightless, which matches the product’s positioning.
If you want to explore tools, the Makeup Brushes & Applicators section on GlamGeek helps you compare what’s available locally. This guide stays focused on liquid foundation technique, but the right brush shape can make the steps above easier.
Applying with a sponge: the safest fix for texture and over-application
A sponge can rescue a heavy hand.
It sheers out product and presses it into the skin, which helps reduce the look of pores and fine texture. The trade-off: sponges can absorb foundation, so you may use more product overall.
Step-by-step: sponge application that lasts
- Dampen the sponge so it feels cool and springy, then squeeze out excess water. A dripping sponge dilutes foundation unevenly.
- Apply foundation to the face or hand in small amounts, then bounce the sponge. Don’t drag.
- Use the pointed tip around the nose and inner cheek where foundation often breaks apart.
- Press extra on the T-zone if you get midday shine. Pressing helps foundation grip.
Sponge application pairs well with long-wear and humidity-resistant formulas because it presses pigment into place. Clinique Even Better Clinical Serum Foundation SPF 20 (from A$54.40) offers waterproof, 24-hour wear in an oil-free formula. A sponge bounce helps keep the finish even when your skin warms up.
For a radiant look that still needs longevity, Shiseido Synchro Skin Radiant Lifting Foundation (from A$90.16) offers medium-to-full coverage with long-wearing luminosity and up to 24 hours of hydration. A sponge can keep that glow looking smooth instead of shiny around texture.
One more detail. If your foundation looks patchy with a sponge, you likely used too much product too fast. Apply in two thin passes instead of one thick one.
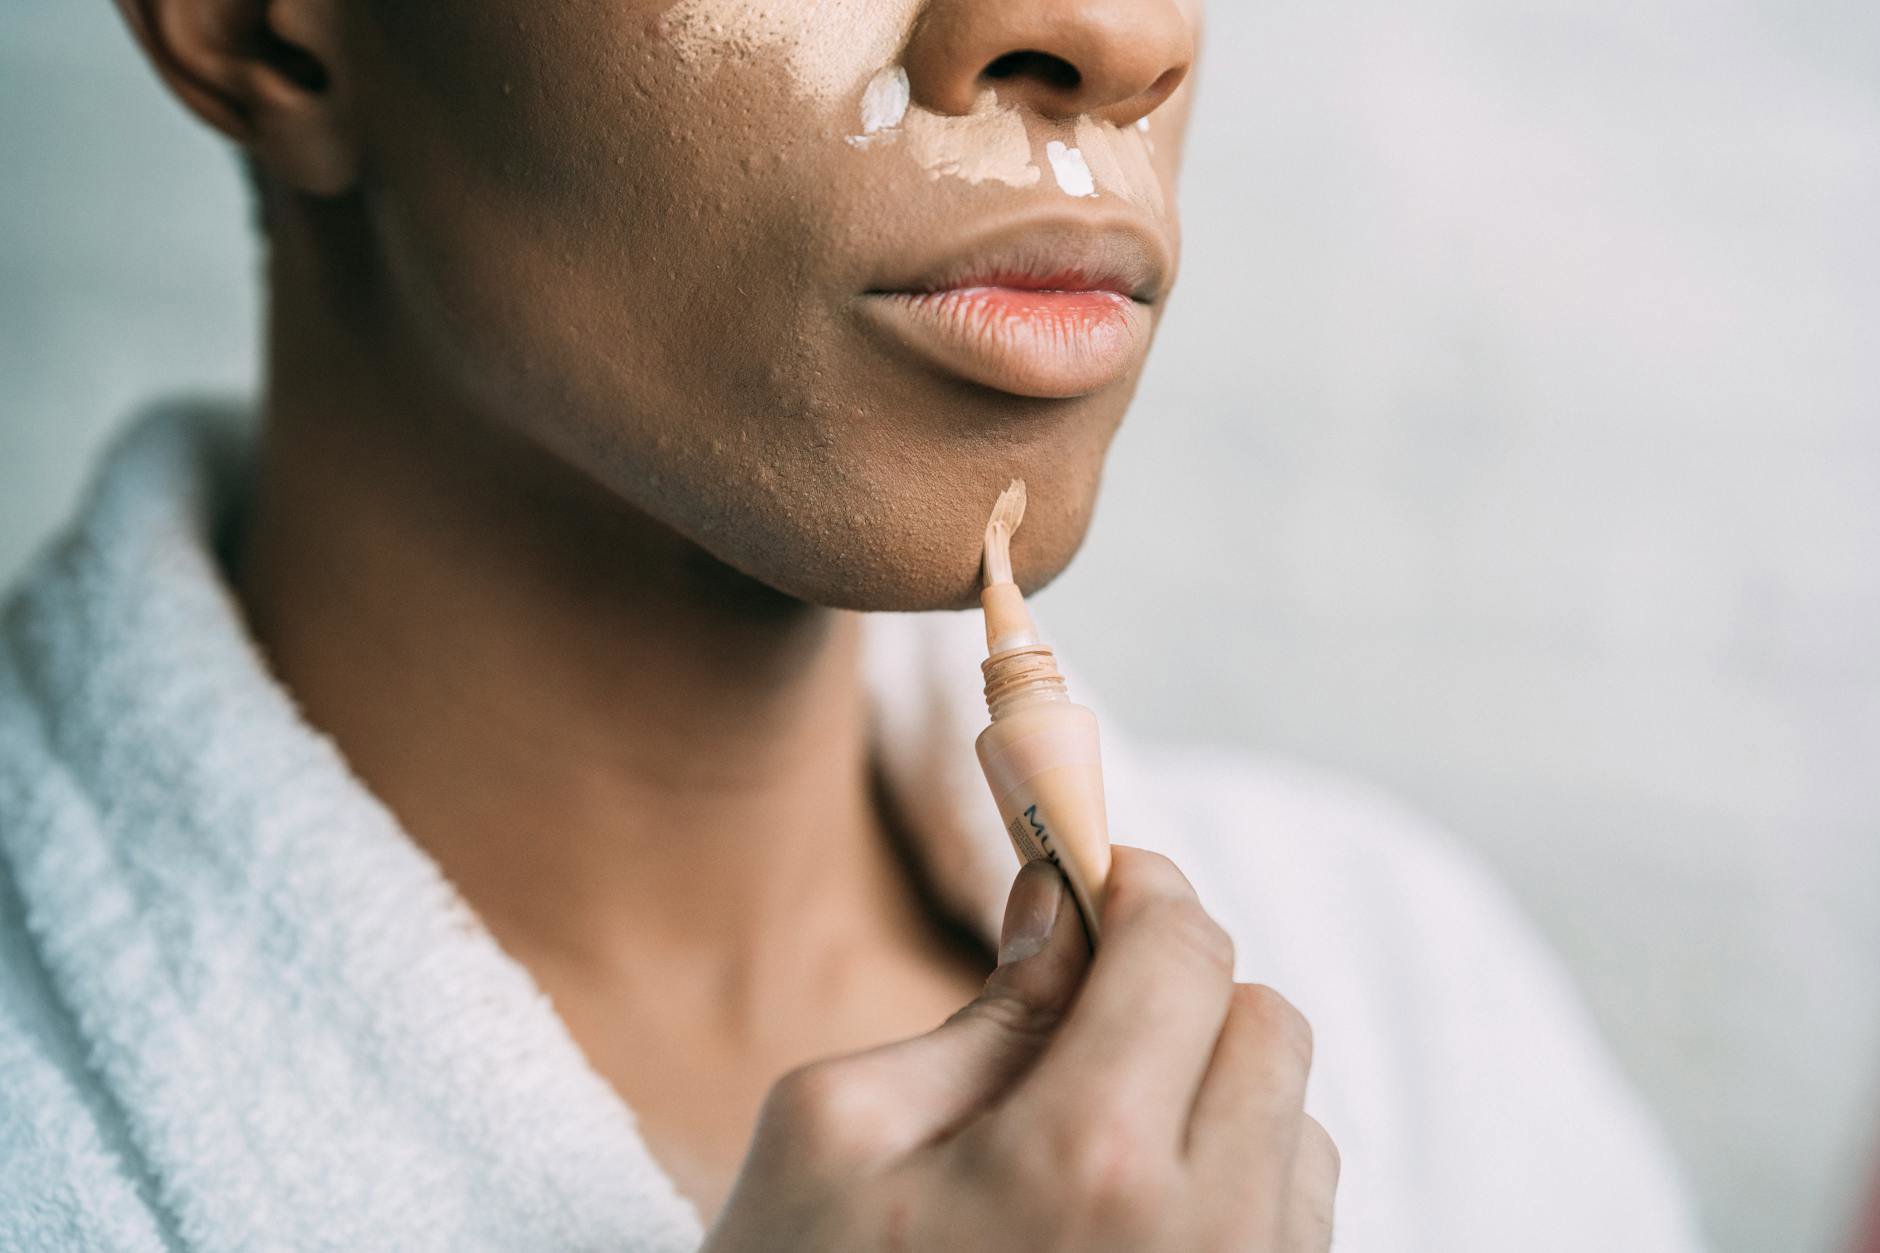
Fix the big three: caking, streaks, and oxidation
When liquid foundation fails, it usually fails in predictable ways. The fix often involves less product, more pressing, and a formula that matches your wear needs.
Caking (looks thick, emphasises lines)
Caking comes from build-up. It often shows up around the nose, smile lines, and chin.
- Use thinner layers: choose buildable liquids and apply twice lightly. Nars Light Reflecting Foundation (from A$80.36) suits this because it offers buildable medium coverage.
- Press, don’t sweep: sweeping moves product off high points and into creases.
- Avoid “extra” coverage where skin moves: keep the area beside the nostrils and the corners of the mouth lighter.
Streaks (visible brush lines or uneven patches)
Streaks usually come from one of two issues: you used a painting motion, or your base has too much slip.
- Switch to stamp-and-buff: it works especially well with medium coverage liquids like Bobbi Brown Weightless Skin Foundation Spf15 (from A$84.28).
- Let skin care settle: give it a few minutes so foundation sits on skin, not on a wet layer.
- Finish with a sponge press: even if you applied with a brush, a quick sponge bounce can erase lines.
Oxidation (foundation turns darker or warmer)
Oxidation can happen when oils mix with pigments, or when a formula shifts as it dries down. You can’t always prevent it, but you can reduce it.
- Use colour-true wear formulas: Nars Soft Matte Complete Foundation (from A$66.64) claims colour-true wear up to 16 hours and includes an Anti-Oxidation Complex to help prevent colour shift.
- Apply thinly: thick layers oxidise more obviously because you see more pigment on the surface.
- Wait before judging the shade: check your face after 10–15 minutes in daylight before committing to more product.
If oxidation keeps happening across multiple formulas, it may also relate to your skin’s oil level that day. A semi-matte, long-wear option like Shiseido Synchro Skin Self Refreshing Foundation (from A$90.16) can help because it targets long wear and resistance to environmental stressors.
Choose the right liquid foundation for your skin type and climate
Application technique matters, but formula choice sets the ceiling. If your skin runs dry and you choose a full-coverage matte, technique can only do so much. Same goes for oily skin and a very dewy finish.
Australia’s climate adds another layer. A foundation that looks perfect in an air-conditioned shop can break down on a humid commute. Our price tracking often shows shoppers gravitate to long-wear claims for exactly that reason.
Quick comparison: what each liquid foundation does best
- Natural, skin-like medium coverage: Nars Light Reflecting Foundation (from A$80.36). Breathable, buildable medium coverage with a skin-like finish.
- Satin glow, sheer-to-medium: Nars Sheer Glow Foundation (from A$76.44). Luminous with a satin finish and a wide shade range.
- Long-wear radiance, medium-to-full: Nars Natural Radiant Longwear Foundation (from A$82.32). Up to 16 hours, soft-focus finish, buildable.
- Full coverage matte with colour-true wear: Nars Soft Matte Complete Foundation (from A$66.64). Up to 16 hours, full-coverage finish, Anti-Oxidation Complex.
- Heat and long-day performance, semi-matte: Shiseido Synchro Skin Self Refreshing Foundation (from A$90.16). Up to 24 hours, breathable buildable coverage, ActiveForce+™ Technology.
- Hydrating luminous wear, medium-to-full: Shiseido Synchro Skin Radiant Lifting Foundation (from A$90.16). Long-wearing luminosity and up to 24 hours hydration with Light-Adjusting™ Technology.
- Natural matte with SPF 15: Bobbi Brown Weightless Skin Foundation Spf15 (from A$84.28). Medium coverage, natural matte finish, all-day hydration.
- All-in-one coverage for combo skin types: Clinique Beyond Perfecting Foundation And Concealer (from A$57.60). Foundation-and-concealer in one, 24-hour wear, colour stays true through sweat and humidity.
- Everyday coverage + SPF 15: Clinique Even Better Makeup Spf15 (from A$50.40). Coverage that helps even the look of discolouration with SPF 15.
- Waterproof, oil-free long wear + SPF 20: Clinique Even Better Clinical Serum Foundation SPF 20 (from A$54.40). Waterproof, 24-hour wear in an oil-free formula.
If you want to browse by brand, GlamGeek’s brand pages for Shiseido and Clinique can help you compare pricing across Australian retailers. For broader browsing, the makeup hub shows categories, but we’d keep your shortlist tight for foundation.
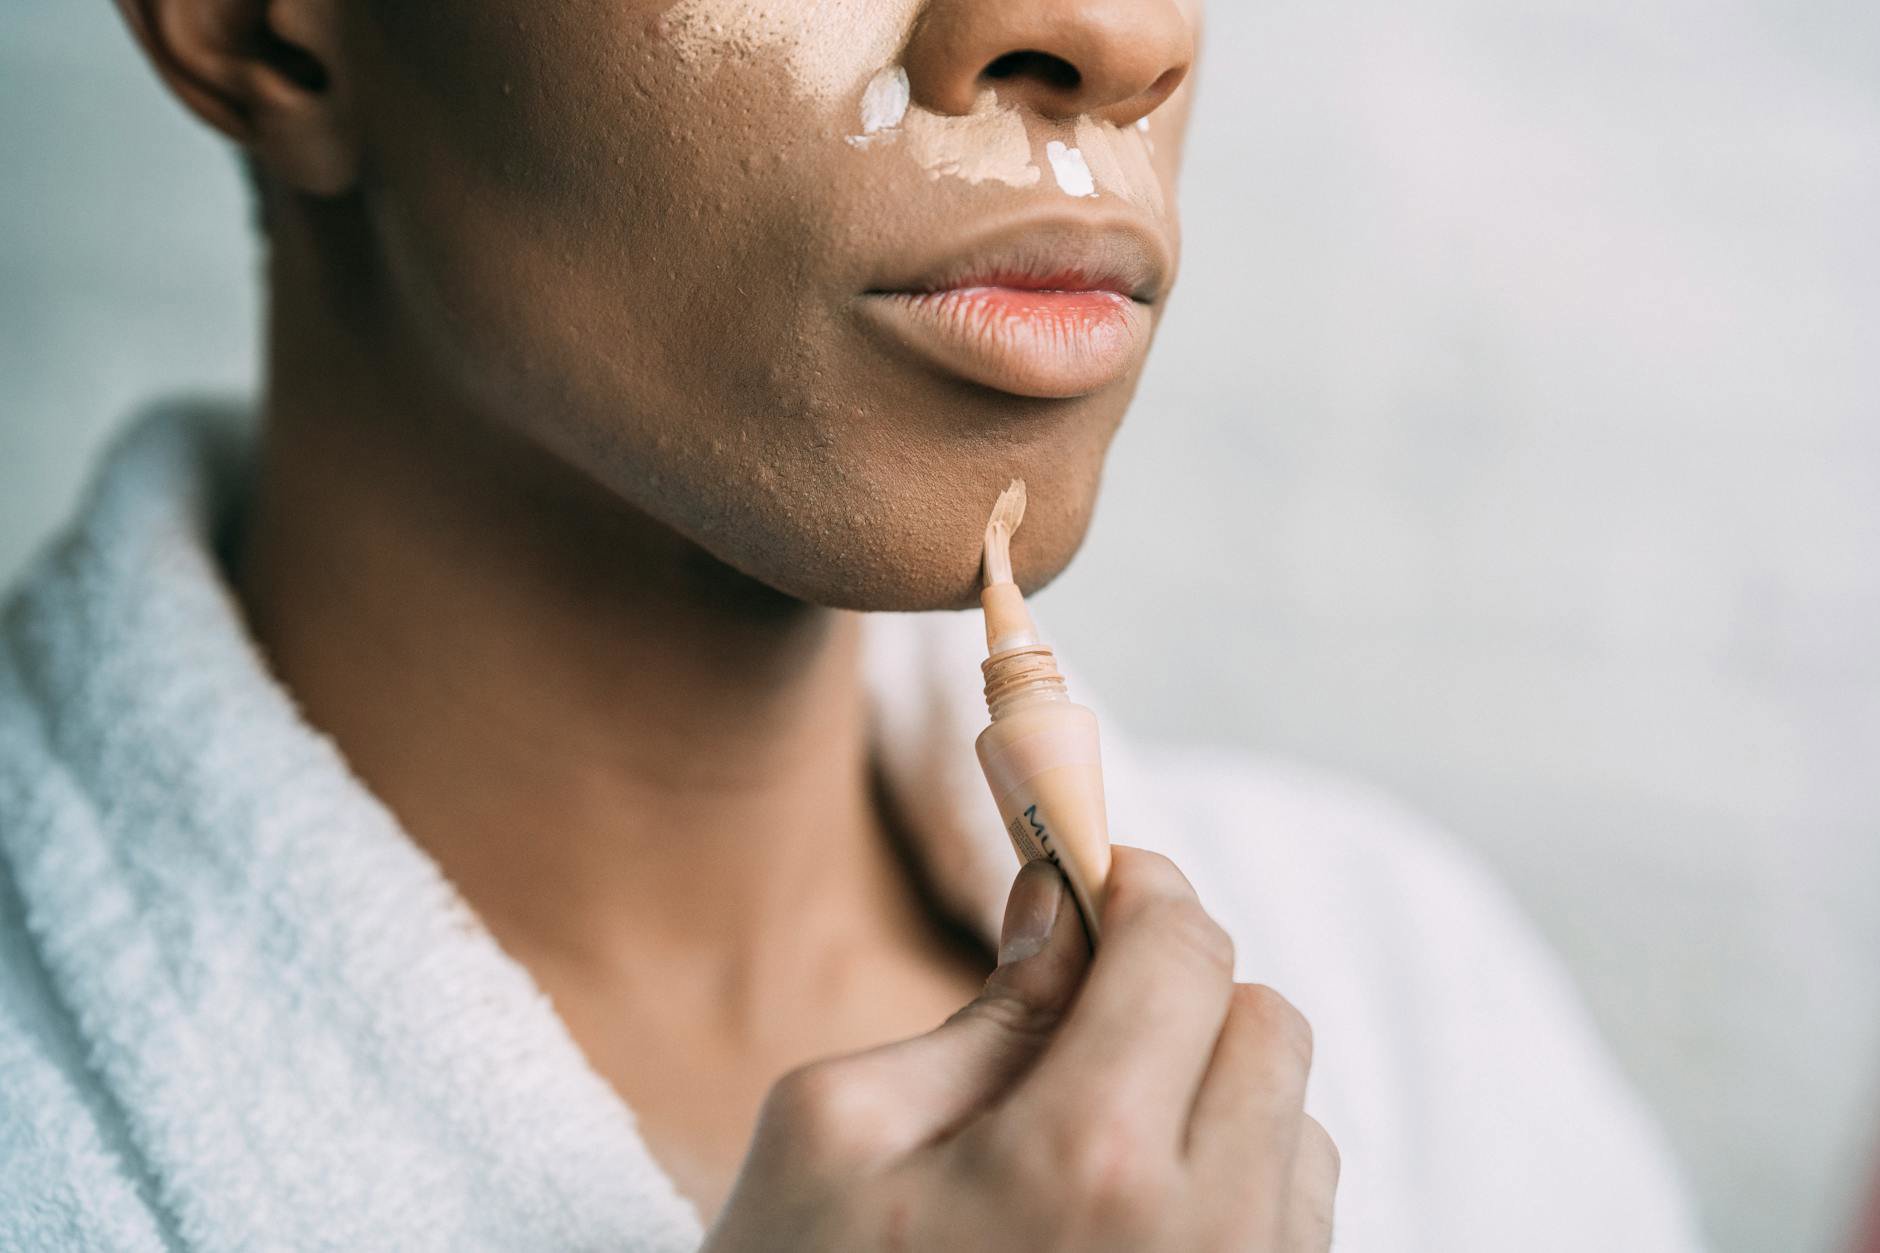
Practical tips you can use today (quick troubleshooting)
Use these fixes as a checklist the next time your foundation looks “off”. Small changes usually beat buying a new bottle.
- If it looks dry or flaky: apply a thinner first layer and press it in with fingers or a sponge. Consider a more breathable, skin-like liquid such as Nars Light Reflecting Foundation (from A$80.36) or a hydrating luminous option like Shiseido Synchro Skin Radiant Lifting Foundation (from A$90.16).
- If it separates around the nose: use less product there and press longer with a sponge tip. A long-wear semi-matte liquid like Shiseido Synchro Skin Self Refreshing Foundation (from A$90.16) often suits this wear pattern.
- If it looks too heavy: start with half the amount and build only in the centre. Full coverage liquids like Nars Soft Matte Complete Foundation (from A$66.64) reward a light hand.
- If it goes shiny fast: press foundation in rather than sweeping it on. Choose a natural matte finish such as Bobbi Brown Weightless Skin Foundation Spf15 (from A$84.28) or a semi-matte long-wear option from Shiseido.
- If it looks flat: keep coverage lighter on the outer face and choose a satin or radiant finish like Nars Sheer Glow Foundation (from A$76.44) or Nars Natural Radiant Longwear Foundation (from A$82.32).
One last reminder. Foundation application starts before you pick up the bottle. If you use supporting steps from skin care, keep them consistent so you can tell what changes your finish. If you switch everything at once, troubleshooting becomes guesswork.
Want a shortcut? Pick one liquid foundation from the list above, then practice one method for a week. Fingers, brush, or sponge. Consistency makes technique click.
Which finish are you chasing right now—natural skin-like, soft matte, or long-wear radiance—and what’s the one issue you want to fix first?