Pressed powder should make makeup look smoother, not heavier. If you keep ending up with a dry, textured, “mask” finish, the problem usually isn’t the powder itself—it’s how you’re placing it, how much you’re using, and what’s sitting underneath it.
Our price tracker has followed pressed powders across retailers like Mecca, Sephora Australia, Priceline and Adore Beauty for years, and the pattern stays consistent: most people over-apply, apply too early (before SPF or base has set), or press product onto the wrong zones.
This guide breaks down a reliable, repeatable method for applying pressed powder without caking—plus targeted fixes when things go wrong.
What “cakey” actually means (and why pressed powder shows it fast)
“Cakey” usually comes from one of three things: too much powder, powder sitting on wet layers, or powder building up around texture. Pressed powders often look worse than expected because they deposit more product per tap than many people realise.
Powder also changes the way light hits the face. When you add a matte layer over dewy sunscreen or foundation, you can end up with uneven reflectivity—shiny in some areas, flat in others—and that contrast reads as texture.
Another culprit: oil and sweat. They don’t always break powder down evenly. If you powder heavily in the morning, then produce oil through the day, the oil can push through in patches. The result looks like clumps, not glow.
One more: Australia’s climate. High UV means people wear more sunscreen, and heat and humidity (especially up north) add slip. Powder layered over a tacky SPF film can grab and clump.
Prep that prevents caking: timing, sunscreen, and letting layers settle
Smooth powder starts before the compact opens. Your base layers need time to settle so powder sits on a stable surface instead of mixing into a creamy layer and forming paste.
Step 1: Give sunscreen time. If you use a high-protection product from the SPF Protection Products category, apply it, then wait. Aim for a few minutes until it feels less tacky. If it stays very tacky, you will need a lighter powder hand later.
Step 2: Keep moisturising targeted. Dryness makes powder cling, but heavy emollients everywhere make powder slip. If you use a product from Day Face Moisturisers, focus it where you get tightness (often cheeks) and keep the centre of the face lighter if you get shine.
Step 3: Let foundation settle. If you wear base makeup from Liquid Foundations, apply it, then pause. The goal: it should feel “set” to a gentle tap, not wet. Powder on top of damp foundation almost always cakes.
Quick sanity check: if you press a clean fingertip lightly onto your base and it lifts or smears, it’s too early to powder.
Brush vs sponge vs puff: which tool avoids the heavy look?
Tools decide your finish. A lot. The same powder can look airbrushed with one tool and chalky with another.
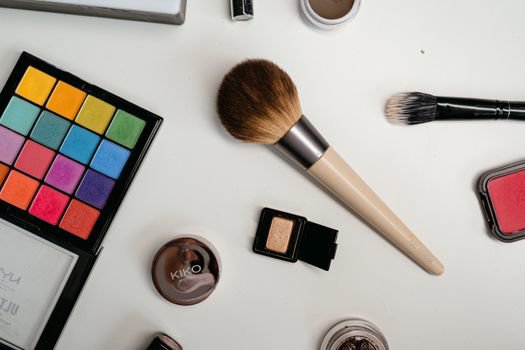
A brush gives the least cakey result most of the time. It spreads a thin veil and lets you build slowly. If you always look over-powdered, switch to a brush first. For context, browse options under Makeup Brushes & Applicators (we won’t recommend a specific brush here, because this guide stays strictly on pressed powders).
A sponge increases coverage and grip. That helps on oily areas, but it also makes it easier to apply too much. If you use a sponge, treat it like a precision tool: press lightly, and only where you need longevity.
A puff gives the strongest set. Great for long wear, risky for texture. If you want a puff finish without cake, you need two habits: pick up less powder than you think, then press and roll instead of stamping repeatedly.
Our general rule: brush for all-over, sponge or puff for targeted zones. No one wins every category.
The no-cake method: a step-by-step way to apply pressed powder
This is the routine we’d tell anyone to follow when they want a natural finish. It works because it controls dose, placement, and layering.
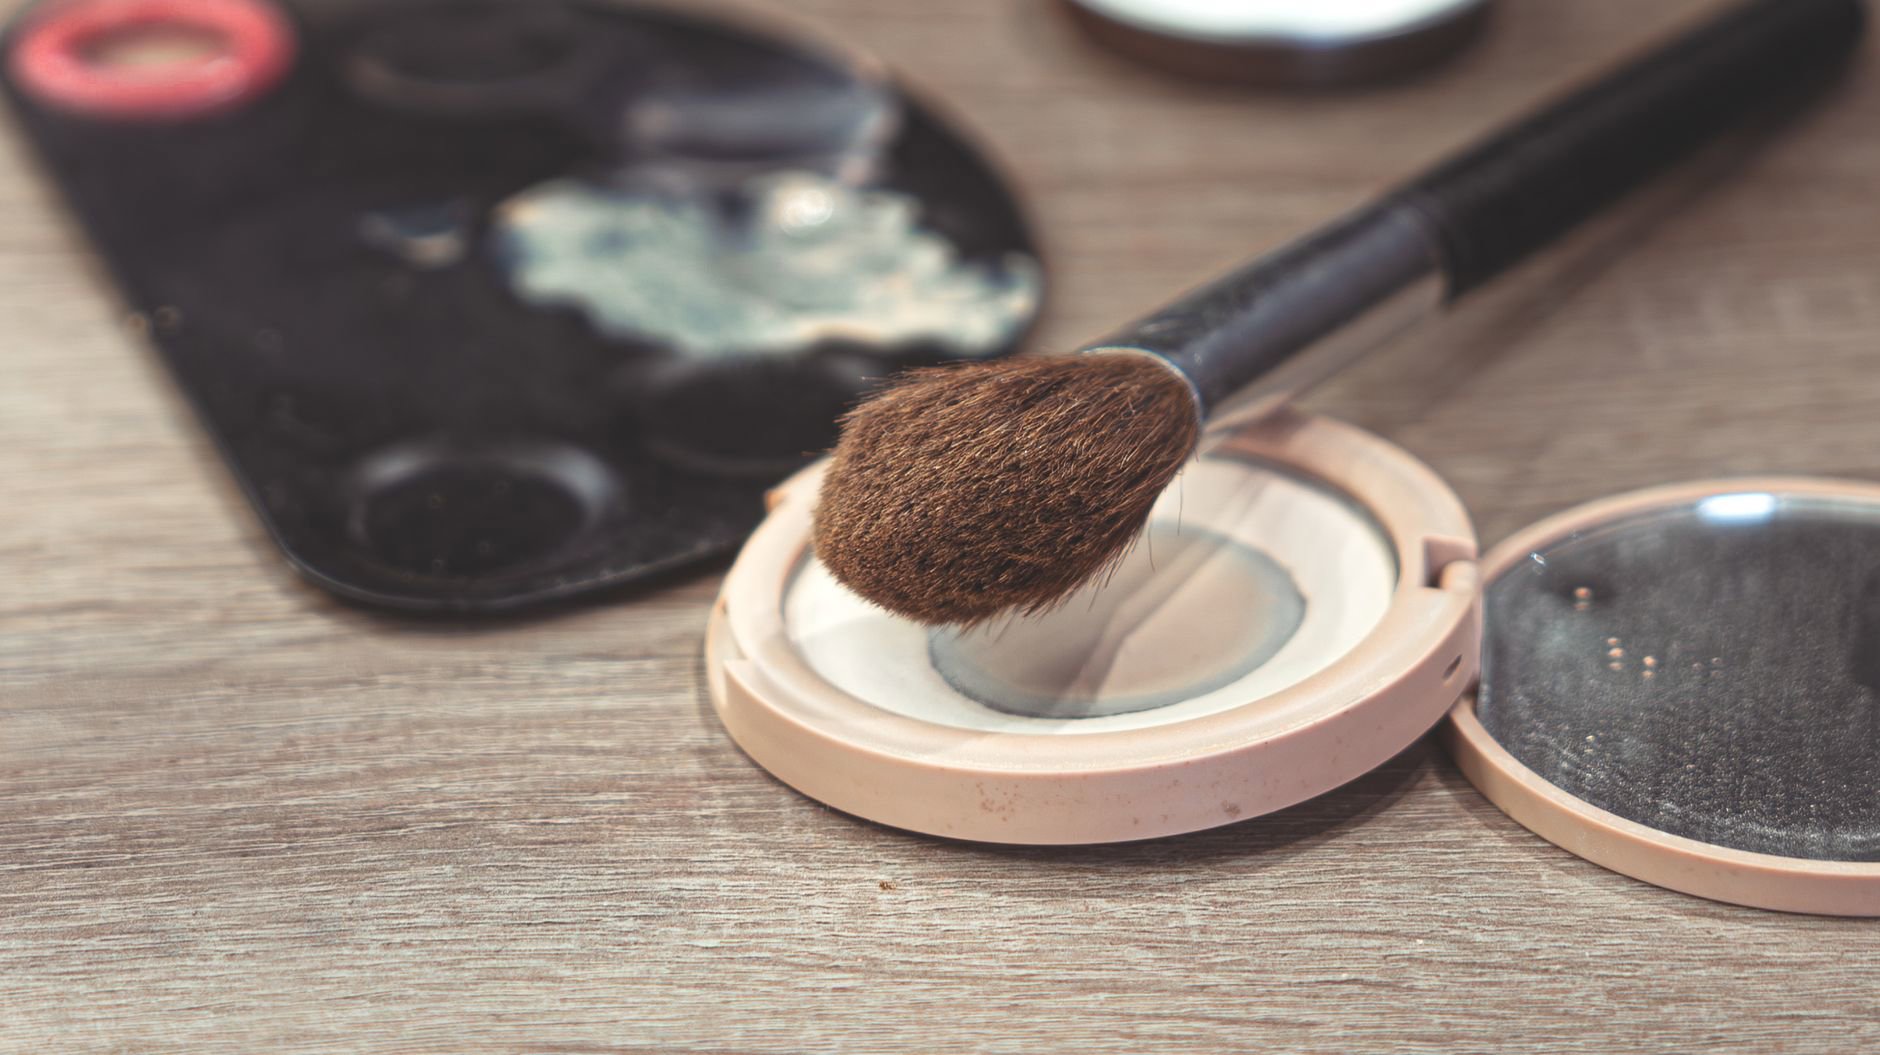
Step 1: Load, then unload. Tap your brush (or puff) lightly into the pan. Then tap the tool on the side of the compact or the back of your hand. You want a whisper of powder, not a visible layer on the tool.
Step 2: Start where you crease or shine. Typically: sides of the nose, centre forehead, chin. Avoid starting on the cheeks if you get dryness or visible pores there. Powder migrates; you don’t need to begin in the most visible area.
Step 3: Press first, then sweep. Pressing places powder without disturbing foundation or sunscreen. A short, gentle press with a brush can work. Then do a light sweep to blend edges.
Step 4: Use “zone mapping”. Treat the face in zones:
- T-zone: you can build to a soft-matte.
- Under-eye: use the tiniest amount (or skip if you crease less).
- Cheeks: powder only where makeup breaks up, not as default.
- Smile lines: keep powder minimal; product collects there fastest.
Step 5: Wait and reassess. Give it 60 seconds. Powder continues to settle as it warms on skin. Many people apply a second layer too quickly and create the cake they tried to avoid.
Choosing the right pressed powder finish for your skin (with our tracked prices)
Some pressed powders forgive heavy hands better than others. If you fight caking daily, start with a formula designed to look undetectable in real life and on camera.
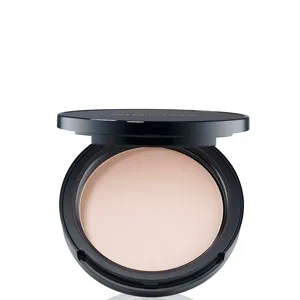
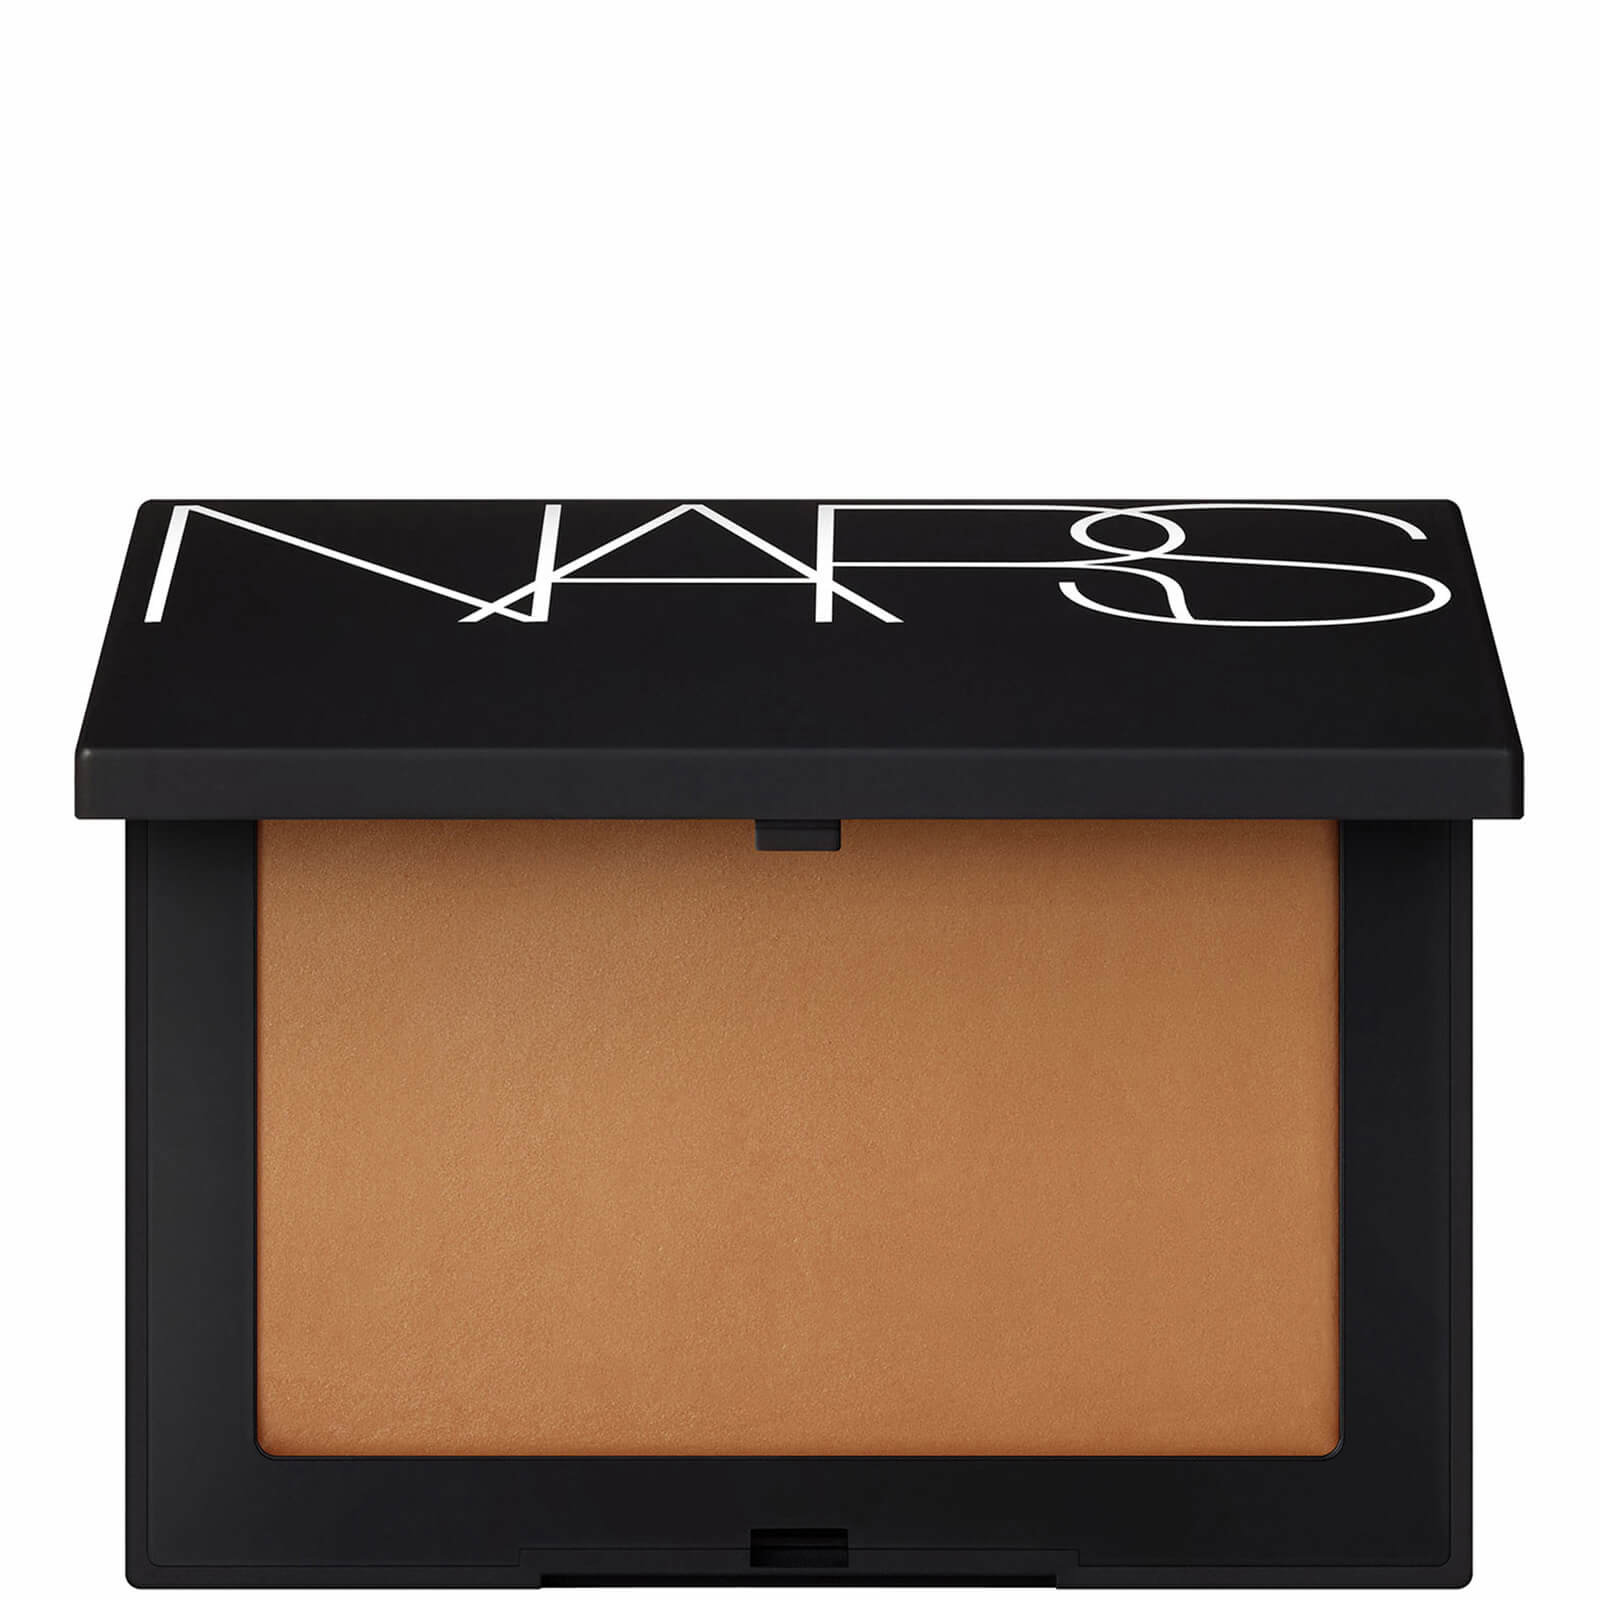
NARS Light Reflecting Pressed Setting Powder (from A$39.20) targets that “powder but not powder” look. The brand describes a no-flashback formula that uses Photochromic Technology to diffuse and adjust to new sources of light. Translation: it aims to keep the finish looking even across different lighting, which matters in harsh Australian sun as much as indoor fluorescents.
If you want a similar concept in the same family, NARS Light Reflecting Setting Powder - Pressed (from A$68.60) also uses Photochromic Technology and comes in four universally flattering shades. The brand positions it to make fine lines, wrinkles and pores seem to fade, and to even the complexion visually. We like this type of claim because it speaks to optical finish, not skincare miracles.
For shine control, matte powders can help—but they can also look heavy if you push them across dry areas. NARS Soft Matte Powder (from A$62.72) targets shine and excess sebum, blurs imperfections, and claims up to 24-hour wear with Adaptive Oil-Control Technology. We’d treat this as a T-zone specialist rather than an all-over blanket for drier faces.
If you want long wear with a soft-matte finish, Estée Lauder Double Wear Stay-In-Place Matte Powder Veil (from A$80.36) promises a seamless look with transfer-resistant, long-wearing performance. The compact design also suits touch-ups, where “don’t cake” matters most. Explore the brand hub here: Estée Lauder.
For dual-use, Clinique Superpowder Double Face Powder (from A$54.40) works as both makeup and powder, with medium-to-full coverage and a matte finish. That coverage can look polished, but it also means you must apply it in thinner layers than a sheer setting powder. Brand page: Clinique.
Want blotting without colour shift? Daniel Sandler Invisible Veil Blotting Powder (from A$52.50) claims a shine-free, no-colour finish that won’t cake, dry the skin, or alter foundation shade. That “doesn’t change colour” feature matters when you touch up in the car or in office lighting.
Layering pressed powder over sunscreen and foundation without pilling or texture
Layering fails when you rub. Rubbing disrupts layers and makes tiny balls of product (pilling) or streaks that you then “fix” by adding more powder. More powder makes it worse.
Over sunscreen: keep powder targeted. If your SPF stays tacky, use a small amount of a light-diffusing powder on the high points that catch shine, and leave the rest alone. A powder designed to look good in different lighting, like NARS Light Reflecting Pressed Setting Powder (from A$39.20), suits this approach because you rely on optics more than coverage.
Over foundation: focus on set, not cover. If you want extra coverage, a dual-action product like Clinique Superpowder Double Face Powder (from A$54.40) can provide it, but treat it like foundation: apply in thin passes and stop early. Medium-to-full coverage powders punish heavy layering.
Over concealer zones: use the least powder where you move most. Smile lines and under-eye areas crease. Powder collects inside those lines. If you need longevity there, press once, then leave it.
One more tip that sounds too simple: do your powder step in good light. Bathroom downlights hide texture until you step outside.
Fixes for common problems: caking, dryness, pores, and mid-day touch-ups
You can rescue most powder mistakes without stripping your makeup. You just need the right move for the problem.
If it looks cakey immediately: you applied too much, too fast. Use a clean, fluffy brush and lightly sweep in small circles to lift the excess. Then stop. If you keep working, you push powder deeper into texture.
If it looks dry on the cheeks: don’t add more powder to “smooth it”. That backfires. Next time, powder the T-zone only, and pick a formula that aims for an undetectable finish in varied light, like NARS Light Reflecting Setting Powder - Pressed (from A$68.60). Also, keep matte, oil-control powders (like NARS Soft Matte Powder, from A$62.72) away from naturally dry zones.
If pores look emphasised: you likely used a sweeping motion over textured areas. Pressing helps. A soft-matte, ultra-fine powder like Estée Lauder Double Wear Stay-In-Place Matte Powder Veil (from A$80.36) often suits targeted pressing on the centre face, where pores look more obvious. Use the smallest amount that reduces shine.
If your powder goes patchy by lunch: you might be layering over oil. Blot first, then touch up. A blotting-focused pressed powder like Daniel Sandler Invisible Veil Blotting Powder (from A$52.50) suits this use case because it claims a no-colour finish and aims not to alter foundation shade.
If touch-ups look worse than morning makeup: that’s normal when you stack powder on top of powder. Reset the surface: blot, then press a tiny amount only where shine breaks through. Avoid the cheeks and jaw unless makeup has moved there.
Practical routines for different finishes (and when we’d choose each powder)
Not everyone wants the same result. Some readers want soft glow. Others want serious oil control that survives a summer commute. Here are reliable routes using only pressed powders from our tracked list.
1) The “real skin” set (minimal powder, maximum forgiveness)
Use NARS Light Reflecting Pressed Setting Powder (from A$39.20) as a light veil on the T-zone and under-eye edge (not right up to the lash line). Press first, then lightly sweep. This suits people who hate the look of powder but need makeup to last in heat.
2) The balanced matte (shine control without flatness)
Use Estée Lauder Double Wear Stay-In-Place Matte Powder Veil (from A$80.36) where you get shine: sides of nose, centre forehead, chin. Keep cheeks mostly powder-free. If you apply all over, use a brush and work fast with a light hand.
3) The oil-control zone strategy (targeted matte, not a full mask)
Use NARS Soft Matte Powder (from A$62.72) only on the T-zone and any area where you see breakdown. The product description focuses on shine and sebum and claims long wear. We’d keep it away from dry cheek texture to avoid that chalky look.
4) The coverage powder day (when you want powder to act like base)
Use Clinique Superpowder Double Face Powder (from A$54.40) in sheer layers. Apply once, then assess in daylight before adding more. Because it offers medium-to-full coverage, it can cake fastest if you chase perfection with repeated passes.
5) The touch-up compact (no colour shift, no drama)
Use Daniel Sandler Invisible Veil Blotting Powder (from A$52.50) as your midday blot-and-press option. The brand claims it won’t cake or alter foundation shade, which makes it a practical desk or handbag pick.
When you comparison shop, keep an eye on where each brand sits at retailers. NARS often appears at Mecca; Estée Lauder often appears at department stores like MYER; Clinique often appears broadly. Stock varies, so check the usual suspects: Mecca, Sephora Australia, Priceline, Chemist Warehouse, and Adore Beauty.
Practical tips you can use today (the “stop caking” checklist)
If you only remember a few things, make it these. They solve most powder complaints without buying anything new.
- Wait for set: SPF and foundation need a few minutes before powder.
- Start small: load, then unload. Powder should feel almost like you used none.
- Press, don’t scrub: pressing places product; scrubbing lifts base and creates texture.
- Powder zones, not your whole face: most people only need the centre face.
- Blot before touch-up: don’t stack powder onto oil.
- Choose the right finish: oil-control powders belong on oily zones, not dry cheeks.
If you need a safer “training wheels” powder, light-diffusing formulas like NARS Light Reflecting Pressed Setting Powder (from A$39.20) can help because they focus on how light hits skin, not heavy coverage.
Sign-off: what’s causing your cake?
If pressed powder keeps looking cakey, which scenario sounds most like you: powdering too early over tacky SPF, using a sponge everywhere, or touching up without blotting first?
Tell us your skin type, your climate (dry heat vs humid), and which pressed powder you’re using, and we’ll suggest the most reliable technique from the options above.