Covering dark circles with liquid concealer comes down to three things: thin layers, strategic placement, and setting only where you need it. Most under-eye concealer failures happen because the product sits in the wrong spot (right on texture), or because too much product gets used to chase full coverage.
We track concealer pricing across Australian retailers, and the pattern stays consistent: the best-value results usually come from choosing a formula that matches your under-eye needs, then applying it like a targeted correction step rather than a full under-eye paint job.
This guide breaks the process into repeatable steps: prep, optional colour correction, placement, blending, and setting to keep creasing under control in Australia’s heat and year-round UV.
Quick note on product type: every recommendation below stays strictly in liquid & cream concealers from our tracked list. No cross-category detours.
The under-eye basics: why dark circles show through
Dark circles rarely equal “just pigmentation”. Most people deal with a mix of colour (blue, purple, brown), shadow (hollowing or puffiness), and texture (fine lines that catch product).
Liquid and cream concealers work because they combine pigment with film-formers and emollients. The catch: under-eyes move constantly. If the formula dries down too fast, you get patchiness. If it stays too creamy, it slides and creases.
Coverage also behaves differently under natural light versus indoor lighting. A concealer can look “perfect” under bathroom LEDs, then turn grey outdoors. Australia’s bright daylight makes undertone mistakes obvious, so shade and placement matter more than piling on product.
One more reality check: concealer can’t fully remove a deep hollow shadow. It can brighten the transition so the shadow looks softer. That’s why the placement section below focuses on the inner corner and the line of darkness, not the entire under-eye.
Prep that actually helps (and what to avoid)
Great concealer days start before makeup. Under-eyes need a surface that feels smooth and lightly hydrated, not slippery.
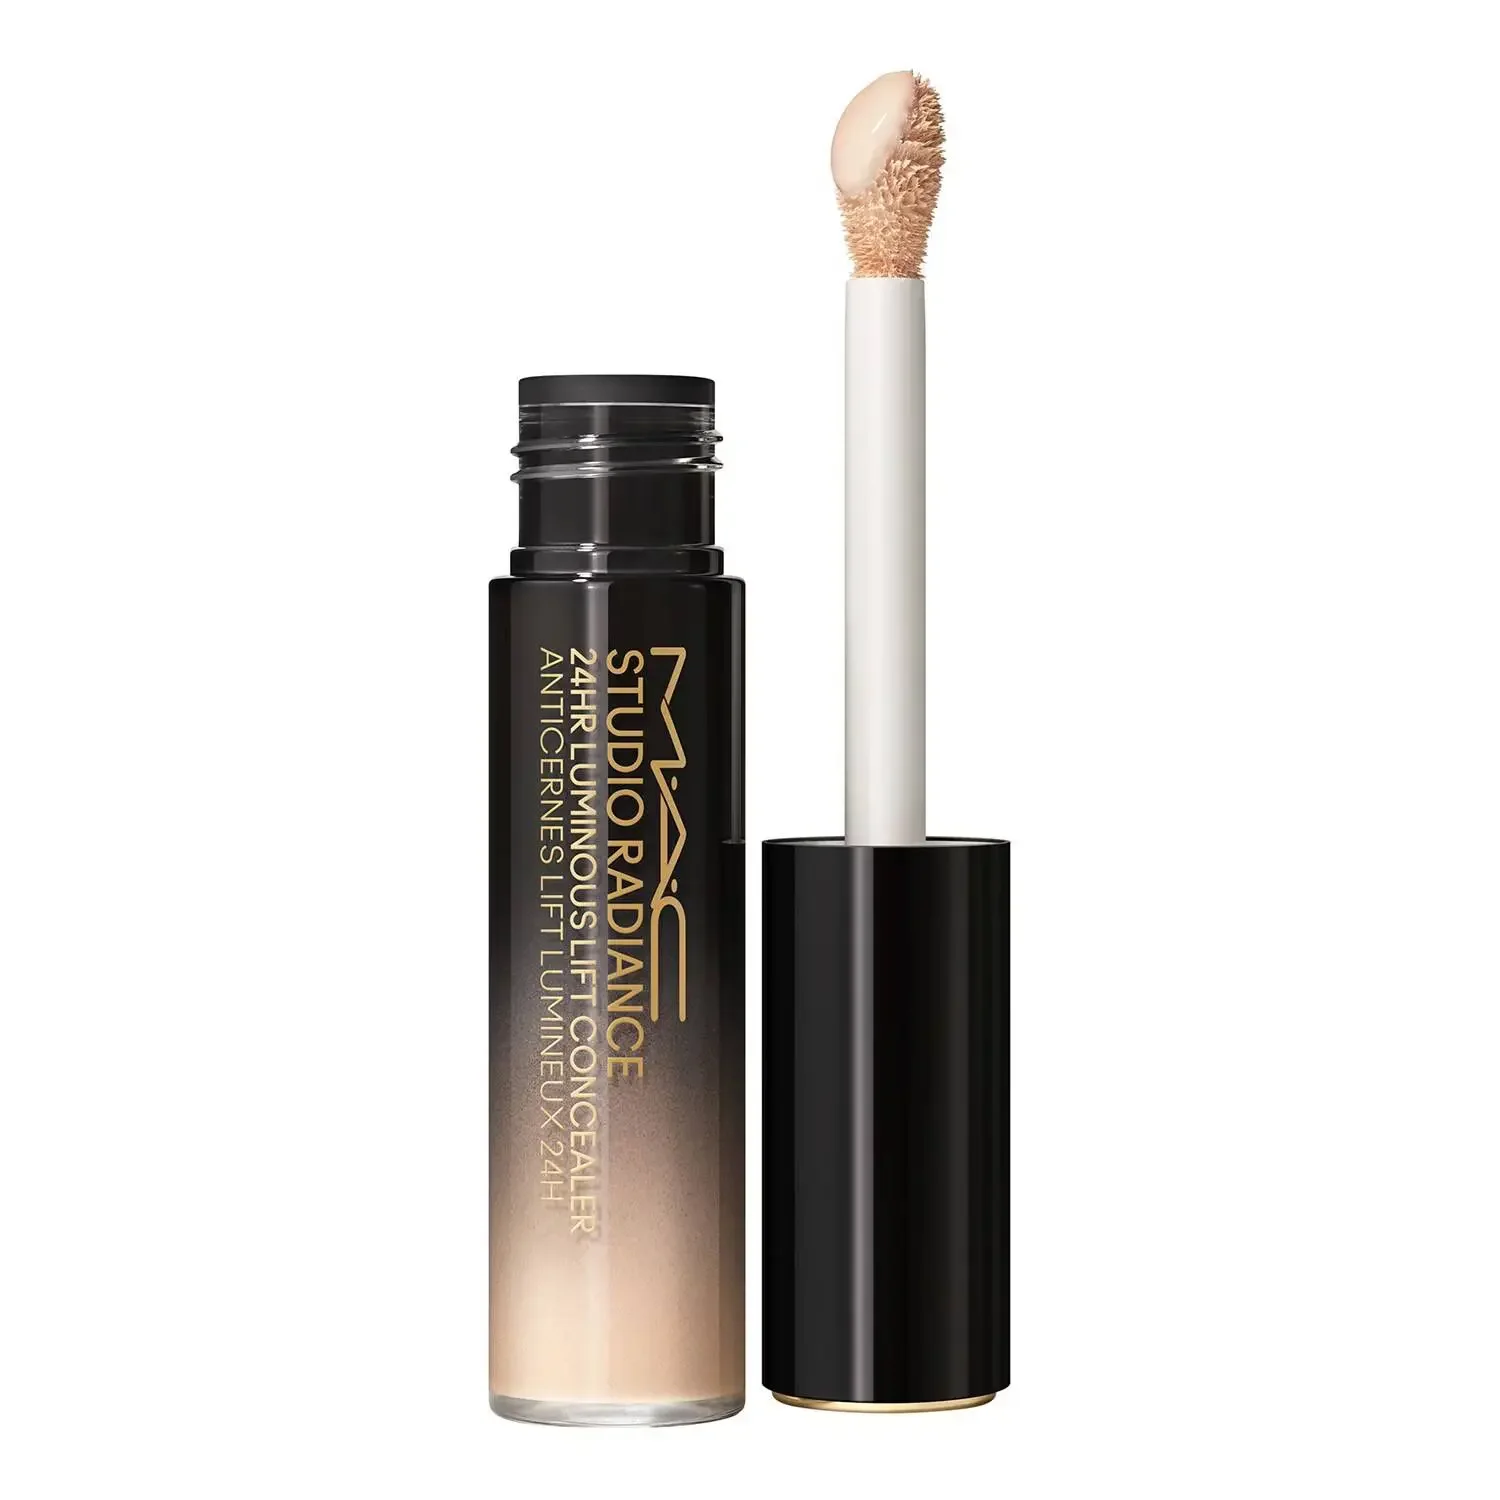
If your under-eye feels tight or looks crepey, a concealer with skincare-style ingredients can buy you more blending time. MAC Radiance 24Hr Luminous Lift Concealer (from A$50.96) stands out in our product data because the brand positions it as 80% skincare ingredients, including hyaluronic acid, niacinamide and vitamin C, with weightless medium coverage and a radiant, skin-like finish. That ingredient trio maps neatly to what under-eyes tend to need: hydration support (hyaluronic acid), barrier and tone support (niacinamide), and brightening claims (vitamin C).
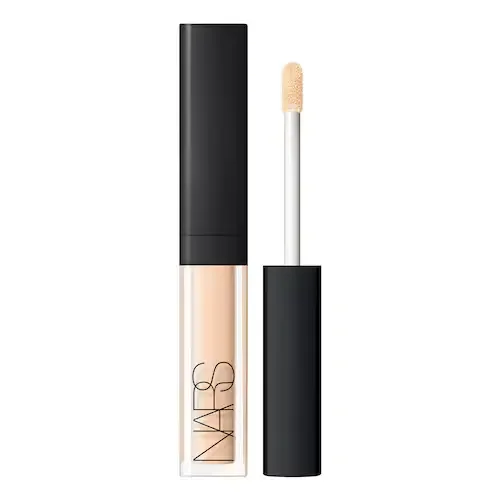
Prefer a creamy, glide-on texture with buildable coverage? Nars Radiant Creamy Concealer (from A$29.40) sits in the sweet spot for most people: it offers medium to full coverage with a glowing finish and a skincare-infused, long-wearing formula.
What to avoid: over-prepping with a thick layer of rich product under the eyes. It can make even a good concealer separate. Keep prep thin, let it settle, then apply concealer.
And yes, climate matters. In humid areas (hello, coastal QLD), a too-creamy base can turn into under-eye slip. In dry heat (SA/WA summers), skipping hydration can make concealer cling. Aim for “comfortable”, not “greasy”.
Do you need a corrector step? Use coverage the smart way
Not every dark circle needs colour correction. If your circles look light brown and diffuse, a well-chosen concealer shade often handles it alone. If you see strong blue or purple tones, you’ll usually get a cleaner result by using a small amount of a more targeted brightening layer, then concealer on top.
From our tracked liquid/cream options, Nars Light Reflecting Eye Brightener (from A$54.88) fits that “brightening layer” role. The brand describes a creamy, crease-resistant texture with sheer, buildable coverage and long wear, positioned as a makeup-skincare hybrid that helps reduce the look of dark circles.
Here’s the technique that keeps it natural:
- Use the brightener only where the darkness starts (usually inner corner and along the trough), not up to the lash line.
- Keep the layer sheer. You want optical lift, not a thick stripe.
- Wait 20–30 seconds before concealer, so it grips instead of mixing into one muddy layer.
If your circles come with redness around the nose/inner eye socket, you can also lean on a higher-coverage concealer in tiny amounts rather than adding multiple steps. Max Factor Facefinity All Day Flawless Vegan Lightweight Liquid Concealer (from A$19.58) offers medium to full coverage in a lightweight liquid that the brand claims wears for up to 30 hours, with an illuminating finish and antioxidants.
One sentence that saves a lot of frustration: correcting happens in thin layers; covering happens with placement.
Placement: where concealer should go (and where it shouldn’t)
Most people apply concealer in a big half-moon under the eye. That looks logical. It also puts product directly on the area that creases the most.
Instead, find the line of darkness. Look straight ahead in natural light. You’ll usually see a shadow starting at the inner corner, then running outward along the orbital bone.
Try this placement map:
- Inner corner dot: one small dot where the eye socket meets the nose.
- Trough line: a thin swipe only along the deepest shadow (often a short “comma” shape).
- Outer corner lift (optional): a tiny touch where the darkness dips down, to visually lift.
- Skip the lash line: keep product a few millimetres below it unless you need it for discolouration.
Then choose a formula that matches your finish goal. For a brighter, glowy under-eye that still builds, Nars Radiant Creamy Concealer (from A$29.40) stays a strong all-rounder. If you want a more “skin but better” radiance with medium coverage, MAC Radiance 24Hr Luminous Lift Concealer (from A$50.96) suits that brief.
Need maximum coverage for very dark circles or for a day when sleep didn’t happen? You can still keep it targeted, then build. That matters more than the product.
Less area. More impact.
Blending: speed, pressure, and the “edge fade” trick
Blending under-eye concealer works best when you treat the centre as “coverage” and the edges as “diffusion”. If you blend everything equally, you often remove the coverage from the exact spot you needed it.
Use this order:
- Tap the centre first (where the darkness sits). Keep taps small and controlled.
- Fade the edge second by tapping outward with lighter pressure.
- Stop early. Over-blending makes the area look uncovered again.
If you use a brightener layer like Nars Light Reflecting Eye Brightener (from A$54.88), blend that first, then place your main concealer precisely on top. This stacking method keeps the brightening effect from disappearing.
For days when your under-eye looks dry, a slightly creamier, skincare-hybrid texture can help the tapping motion look smoother. Erborian Super Bb Concealer (from A$27.44) sits in that lane: it offers medium to full coverage and the brand positions it as a makeup-skincare hybrid that helps hydrate and brighten, with a serum-like concentration.
If you want a more matte, blurred result (especially if you crease easily), you can choose a formula designed to blur texture. Nars Soft Matte Complete Concealer (from A$54.88) focuses on soft-focus blurring and high coverage with a lightweight, natural-looking finish. It comes as a pot concealer, so use a tiny amount and press it on rather than swiping.
One common mistake we see in how-to videos: dragging product down toward the cheek. That widens the bright zone and can make the under-eye look puffy. Keep blending tight to the shadow zone.
Setting to prevent creasing (without turning the under-eye dry)
Creasing happens when too much product sits in a fold, then the eye moves. Setting helps, but only if the base layer stays thin.
Start by doing a micro-smooth before you set: look up slightly, then tap once or twice over any lines where product gathered. Do not add more concealer at this stage unless you see obvious gaps.
Then choose your finish strategy:
- If you crease easily: pick a concealer that already claims crease resistance, like Nars Light Reflecting Eye Brightener (from A$54.88) as a base layer, then keep your main concealer minimal.
- If you get shiny under-eyes in humidity: a higher-wear liquid like Max Factor Facefinity All Day Flawless Vegan Lightweight Liquid Concealer (from A$19.58) can reduce the need to set heavily.
- If you get dry creasing: lean radiant and hydrating, like MAC Radiance 24Hr Luminous Lift Concealer (from A$50.96) or Nars Radiant Creamy Concealer (from A$29.40), and set only the crease-prone line.
- If you need maximum blur: press a tiny amount of Nars Soft Matte Complete Concealer (from A$54.88) precisely where you need it, then leave the rest with less product.
Because this guide stays strictly in concealers, we won’t point you to specific powders or tools. If you want to browse options, our broader Makeup Brushes & Applicators category helps for application, and makeup browsing keeps everything in one place.
One more under-rated trick for Australian summers: apply concealer in two micro layers and let the first layer sit for 20 seconds. Thin layers set better than one thick layer.
Choosing the right formula for your dark circles (with A$ price anchors)
Once your technique works, formula choice becomes the fine-tuning step. Our price tracking shows these products often sit in very different price bands, so it helps to match what you buy to the job you need it to do.
Best all-round liquid for most dark circles
Nars Radiant Creamy Concealer (from A$29.40) gives buildable medium to full coverage with a glowing finish. If you only buy one concealer for under-eyes, this profile tends to suit the widest range of skin types and circle intensity.
Best for a radiant, skincare-leaning finish
MAC Radiance 24Hr Luminous Lift Concealer (from A$50.96) targets dark circles with weightless medium coverage and a radiant, skin-like finish, plus the brand’s call-out ingredients: hyaluronic acid, niacinamide, vitamin C.
Best “brightening layer” for tired eyes
Nars Light Reflecting Eye Brightener (from A$54.88) offers sheer, buildable coverage and a crease-resistant creamy texture. It works well when your main issue looks like dullness plus shadow.
Best budget-leaning long wear option
Max Factor Facefinity All Day Flawless Vegan Lightweight Liquid Concealer (from A$19.58) gives medium to full coverage and the brand claims up to 30 hours of wear, with an illuminating result and antioxidants. For many shoppers, that price point makes it easier to shade-match without wincing.
Best for high coverage and blur in a cream pot
Nars Soft Matte Complete Concealer (from A$54.88) focuses on high-performance correction with soft-focus blurring. Use it sparingly under the eye, and press rather than swipe.
Best for a creamy, skincare-hybrid feel
Erborian Super Bb Concealer (from A$27.44) offers medium to full coverage with a creamy glide, positioned to hydrate and brighten. It suits days when you want coverage without a dry look.
Retailer note for Australians: you’ll often see these brands across Mecca, Sephora Australia, Adore Beauty, Priceline, and department stores like MYER, but shade ranges and stock can vary by retailer. Price tracking helps spot when a “premium” concealer drops closer to mid-range.
Practical routine: the 6-minute method (and quick fixes)
If you want a repeatable routine, use this as your default. It works with any of the liquid and cream concealers above.
Step-by-step:
- Step 1 (30 seconds): thin under-eye hydration. Let it settle until it feels tack-free.
- Step 2 (30 seconds): optional brightener layer. Tap on Nars Light Reflecting Eye Brightener (from A$54.88) only on the darkest zone.
- Step 3 (45 seconds): place concealer dots. Start smaller than you think you need.
- Step 4 (60–90 seconds): tap blend the centre, then feather edges. Keep product off the lash line.
- Step 5 (20 seconds): check symmetry in natural light. Add half a dot more only where darkness still shows.
- Step 6 (30 seconds): smooth out creases with one or two taps, then set lightly only where creasing happens.
Quick fixes that save the day:
- If it looks grey: you used too-light concealer or over-brightened. Swap to a slightly deeper concealer next time, or use less brightener.
- If it creases instantly: you applied too much. Use MAC Radiance 24Hr Luminous Lift Concealer (from A$50.96) in a thinner layer, or try a more targeted, pressed-on approach.
- If it separates: your prep sat too thick. Reduce prep, then use a lightweight liquid such as Max Factor Facefinity All Day Flawless Vegan Lightweight Liquid Concealer (from A$19.58) in micro layers.
- If it clings to texture: avoid swiping. Tap and press, and consider a creamy hybrid like Erborian Super Bb Concealer (from A$27.44).
Under-eye coverage should look like sleep, not like makeup.
If you want to explore other brands while you compare prices, you can browse brand hubs like MAC, Clinique, Estée Lauder, Lancôme, or Shiseido—then filter back to concealers to stay on task.
Sign-off: what’s your main dark circle issue?
Dark circles usually need a tailored approach: brightening for dullness, targeted coverage for discolouration, and smart setting for creasing.
Which problem shows up most for you—blue/purple tone, brown pigmentation, hollow shadow, or creasing by lunchtime? If you share that (plus your skin type and climate), we can point you to the most suitable liquid or cream option from the list above.