Most base mishaps start with the wrong tool. Streaks, patchy cheeks, cakey noses — women often blame the formula when the brush set the tone. Our merchant feed backs this. Buffing brushes spike in popularity every time humidity climbs, and flat paddles bounce back in cool months. The right head shape and fibre mix matters more than marketing lines about “airbrushed skin”.
We sort through thousands of brushes across Australian stockists every week. Patterns repeat. Dense domes reward quick workers. Duo-fibres forgive heavy hands. Angled heads love jawlines. You can stack the odds in your favour if you match shape, density and fibre to your foundation and your skin.
Here’s how we organise the chaos and help you choose with confidence — whether you shop at Mecca, Sephora Australia, Adore Beauty, MYER, Priceline or Chemist Warehouse.
Context: brushes changed, bases changed, and Australia’s climate raises the stakes
Foundation chemistry moved fast in the last decade. Long-wear liquids set within 30–60 seconds. Skincare-first tints add humectants and oils. Sticks run from stiff wax to buttery balm. One brush cannot suit all that. Brands now cut heads for micro-tasks: feather-light buffing for sheer tints, high-density domes for full coverage, mini paddles for the nose fold. You need a clear brief before you shop.
Fibre tech shifted too. Synthetic PBT and PET fibres now rival goat and pony for grip and glide. They resist heat, drink less product, and clean faster. That helps under Australian conditions. Summer highs can soften balm foundations and thin out liquids. A brush that controls slip will keep your base even when the mercury jumps.
Your skin and your climate create the brief. Dry air in the south pulls water from sheer bases. Tropical humidity in the north keeps sweat sitting on skin. UV sits high year-round, so SPF often layers under makeup. Each factor shifts the best brush choice. A dense dome can bulldoze sunscreen. A soft duo-fibre can skate over it and keep pilling away.
We look at results and reliability. We also compare costs. Imported brushes often carry an Australia tax, especially limited-edition handles. Prices bounce between local retailers and global sites that ship here. Add a brush to your GlamGeek wishlist and we’ll ping you when a price drop hits.
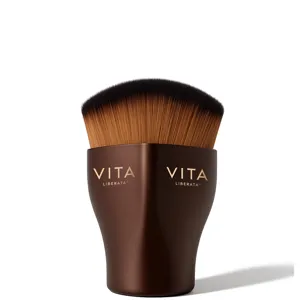
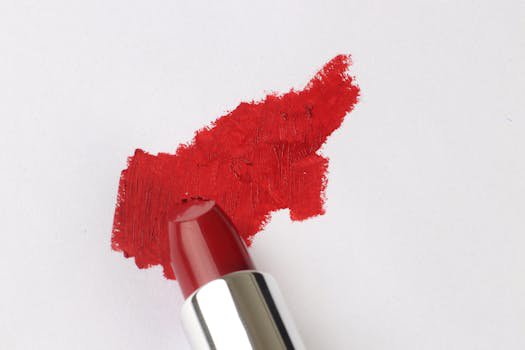
{{IMAGE:woman applying foundation with brush}}Start with your formula: liquid, cream, stick or powder
Match the brush to what sits in your bottle or pan first. Technique follows.
Liquids: Go for medium-density domes, rounded flats, or angled buffers. These heads spread product quickly and push pigment into pores without striping. A flat paddle lays down a thin film, then you can switch to a buffer to blend edges. If your liquid sets fast, a dense kabuki saves time on the forehead and cheeks.
Creams and sticks: Choose dense, short fibres with resilient bounce. Sticks need pressure to melt and move. A small rounded kabuki or an angled sculpting brush can work the texture along cheekbones and around the nose. Map placement with the stick, then buff in tight circles.
Powder and powder-plus bases: Reach for soft duo-fibre or airy rounded brushes. You want diffusion, not drag. A traditional flat paddle will grab too much powder and streak. Duo-fibre tips skim the surface and reduce lift over concealer.
Tints and serum foundations: Pick a fluffy duo-fibre or a medium dome. You want whisper-light blending. Heavy density mutes the glow. Press and roll to keep the skin finish intact.
Flat paddle vs buffing: what each head actually does
Brands love vague finish claims. Ignore them. The head shape sets the behaviour.
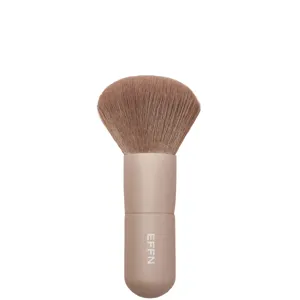
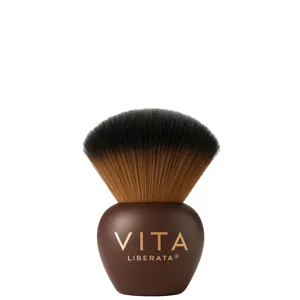
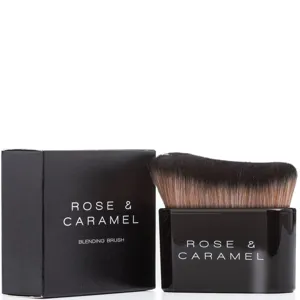
Flat paddle: Think paintbrush for skin. It paints a smooth, thin film. It reaches around the nose and under eyes with control. It can streak if you overwork it or use a fast-setting base. Lay down, then stop. If you want more, layer with a buffer. You’ll see paddles from Sephora Collection and classic flat styles from Estée Lauder.
Buffing dome (kabuki): Short, dense fibres blend fast and even. Great for moderate to full coverage. They excel on cheeks and forehead. Use small circles, then finish with downward strokes to settle peach fuzz. Popular picks include dome shapes from Morphe and compact domes from Tarte.
Rounded flat: A paddle-dome hybrid. It lays and blends in one. Good for medium coverage. It suits liquids that don’t set too fast. You’ll find refined versions under Clinique and Lancôme.
Takeaway: Start with a flat paddle if you want thin, precise placement. Choose a buffing dome if you chase speed and blur. Keep both if you switch looks often.
Angled and duo-fibre brushes: precision and restraint
Angled foundation brushes bring geometry to blending. The slanted edge hugs jawlines and noses. They shine when you contour with foundation or mix two shades. Use the long edge for cheeks and the short tip for side-of-nose blending. An angled head also reaches the hollow by the chin without flooding it with product.
Duo-fibre (a.k.a. stippling) brushes mix short, firm fibres with longer, softer tips. They pick up less product and leave a sheer, diffused veil. Tap, tap, tap — then a gentle sweep. They save over-enthusiastic pumps. If you love skin peek-through with even tone, duo-fibre wins. Classics include stipplers from MAC and airy duos from Shiseido.
In hot, humid conditions, an angled buffer earns its keep. You can steer coverage away from sweat-prone zones and keep foundation light around the upper lip and hairline. A duo-fibre also helps when SPF sits under your base. It glides over sunscreen, reduces pilling, and keeps the glow.
We rate an angled buffer as a first buy for sculpted finishes. Add a duo-fibre if you use skin tints or mix foundation with moisturiser.
Density, diameter and fibre cut: what those feel like on skin
Head density controls coverage. More fibres per millimetre equals more pressure and more payoff. Less density equals more flexibility and sheer results. Quick guide:
- High density (short, packed fibres): fast, even, higher coverage with liquids and creams.
- Medium density: versatile, buildable, suits most liquids.
- Low density (looser or duo-fibre): sheer, diffused, suits tints and powders.
Diameter matters. A 30–35 mm dome blitzes cheeks. Great for speed. A 20–25 mm head reaches inner corners and sides of the nose. Many women keep one of each. Use the larger head for the canvas and the smaller for edges and around brows.
Fibre cut changes glide. Blunt-cut synthetics grip and push product. Tapered tips feel softer and streak less. Crimped fibres hold powder better and skip less over texture. If foundation exaggerates pores, try a tapered synthetic mix over a blunt cut. You’ll likely see fewer tracks on the first pass.
Check the ferrule tightness and balance. The brush should feel stable when you hold it 2–3 cm above the ferrule. A good handle helps you use lighter pressure, which looks smoother on skin.
Synthetic vs natural: performance, care and ethics
Synthetics dominate modern base brushes. They don’t swell with water. They dry faster after a wash. They drink less product. They often beat natural hair with liquids and creams. They also suit vegan and cruelty-free values. You’ll find advanced fibres across Sephora Collection, MAC, and Shiseido.
Natural hair can still shine with powder. Goat and pony diffuse beautifully. For cream or liquid, they can trap product and smell after a few hot days. If you love natural hair for powder touch-ups, keep it for that role and stick to synthetics for liquid base work.
Australia’s heat pushes hygiene to the front. Synthetic fibres handle frequent washing better. They also resist odour in warm bathrooms. If you use SPF and sweat daily, your brush needs a weekly wash at minimum. Synthetics make that less painful.
We’d steer most women toward quality synthetic fibres for foundation. Keep natural hair for finishing powders if you already own one you love.
Match brush to skin type and finish goals
Oily or combination skin: Aim for brushes that push pigment into pores without heavy slip. A dense dome or an angled buffer sets product quickly. Finish with downward strokes to tame texture. Avoid ultra-airy heads that move product around for too long.
Dry or mature skin: Choose softer tips and lower density. A duo-fibre or a medium dome respects flaky spots and fine lines. Use a press-and-roll move instead of hard circles. If your moisturiser sits rich, a soft synthetic won’t over-scrub it.
Sensitive or acne-prone skin: Look for ultra-soft synthetics with rounded, polished tips. Avoid scratchy fibres and aggressive buffing. Keep a smaller head for precise work on and around breakouts. Tap to cover, don’t rub. Clean more often to reduce flare-ups.
Glow vs matte goals: For glow, use duo-fibre or medium density and avoid overworking. For matte, use a dense buffer, then set selectively with powder using a small diffuser. If you mix a drop of oil into your foundation in winter, switch to a fluffier head to stop streaks.
Technique: how to get a smooth base with each brush
Flat paddle method: Dot foundation on the face. Use the paddle to stretch it from centre to edge. Keep strokes in the same direction. Think thin layers. Stop once the film sits even. If you see streaks, switch to a clean buffer to meld edges. Don’t chase perfection with the paddle alone.
Buffing dome method: Place small amounts around the face. Use small, quick circles. Drop pressure as you approach hairline and jaw. Finish with short downward sweeps to settle surface hairs. Work one area at a time if your base sets fast.
Angled buffer method: Use the long edge along cheeks and forehead. Flip to the short point for nose and inner corners. Pull along jawline to keep a clean edge. It excels at shading with two foundation tones.
Duo-fibre stipple: Pick up a little product on the tips. Tap over redness and the centre of the face. Then sweep softly to join areas. Build in sheer passes. This method keeps glow and avoids brush tracks.
Press-and-roll for SPF layers: Press the brush into skin and roll off. This glides over sunscreen and primer. It reduces pilling. It suits tints and sheer liquids best. Use it with duo-fibre or a soft dome.
If you use primer, apply it first and let it settle for 60 seconds. Then go in with the brush. Want to compare popular primers? Browse Face Primers on GlamGeek and add your picks to your wishlist for price alerts.
Size and edge control: the case for two brushes
A single brush can do the job, but two brushes do it better. Keep one larger head for the main canvas. Hold a smaller, precise brush for detail. This speeds you up and improves edges.
Large head (30–35 mm): Cheeks, forehead, and fast blending. Choose a dome or angled buffer for speed. You’ll cover ground quickly and reduce overworking.
Small head (18–25 mm): Sides of the nose, around brows, and under the lower lip. A mini paddle or a compact dome flows around features without flooding them with product. It also helps when you spot-correct with concealer.
Use your foundation brush for base, then switch to a small detail brush for concealer. If you want to compare concealer picks, check Liquid & Cream Concealers. Add your shade to the wishlist and our price tracker will ping you when a shade goes on promo.
Cleaning and care: heat, hygiene and brush longevity
Weekly washes keep bases smoother and skin calmer. Foundation builds on fibres and creates drag. That drag shows up as patchy cheeks and clogged tips. Clean brushes work faster and leave fewer tracks.
Use a gentle brush soap or a mild face cleanser. Lukewarm water only. Hot water can loosen glue in the ferrule. Massage from ferrule to tip. Rinse until water runs clear. Squeeze out excess with a towel. Reshape. Dry flat, bristles hanging off the counter edge. Never stand a wet brush upright. Water can travel into the ferrule and weaken the bond.
Australian heat adds stress. Keep brushes out of direct sun. Don’t leave them in a hot car or near a window. Synthetic fibres handle heat better than natural hair, but glue still hates extremes. Clean more often in summer when SPF, sweat and pollution load up faster.
Set a calendar reminder. A 10-minute wash each Sunday beats a deep-clean crisis. If you need a backup brush while one dries, browse Makeup Brushes & Applicators and tag a spare for wishlist alerts. Our tracker compares prices across Mecca, Sephora Australia, Adore Beauty, MYER, Priceline and Chemist Warehouse.
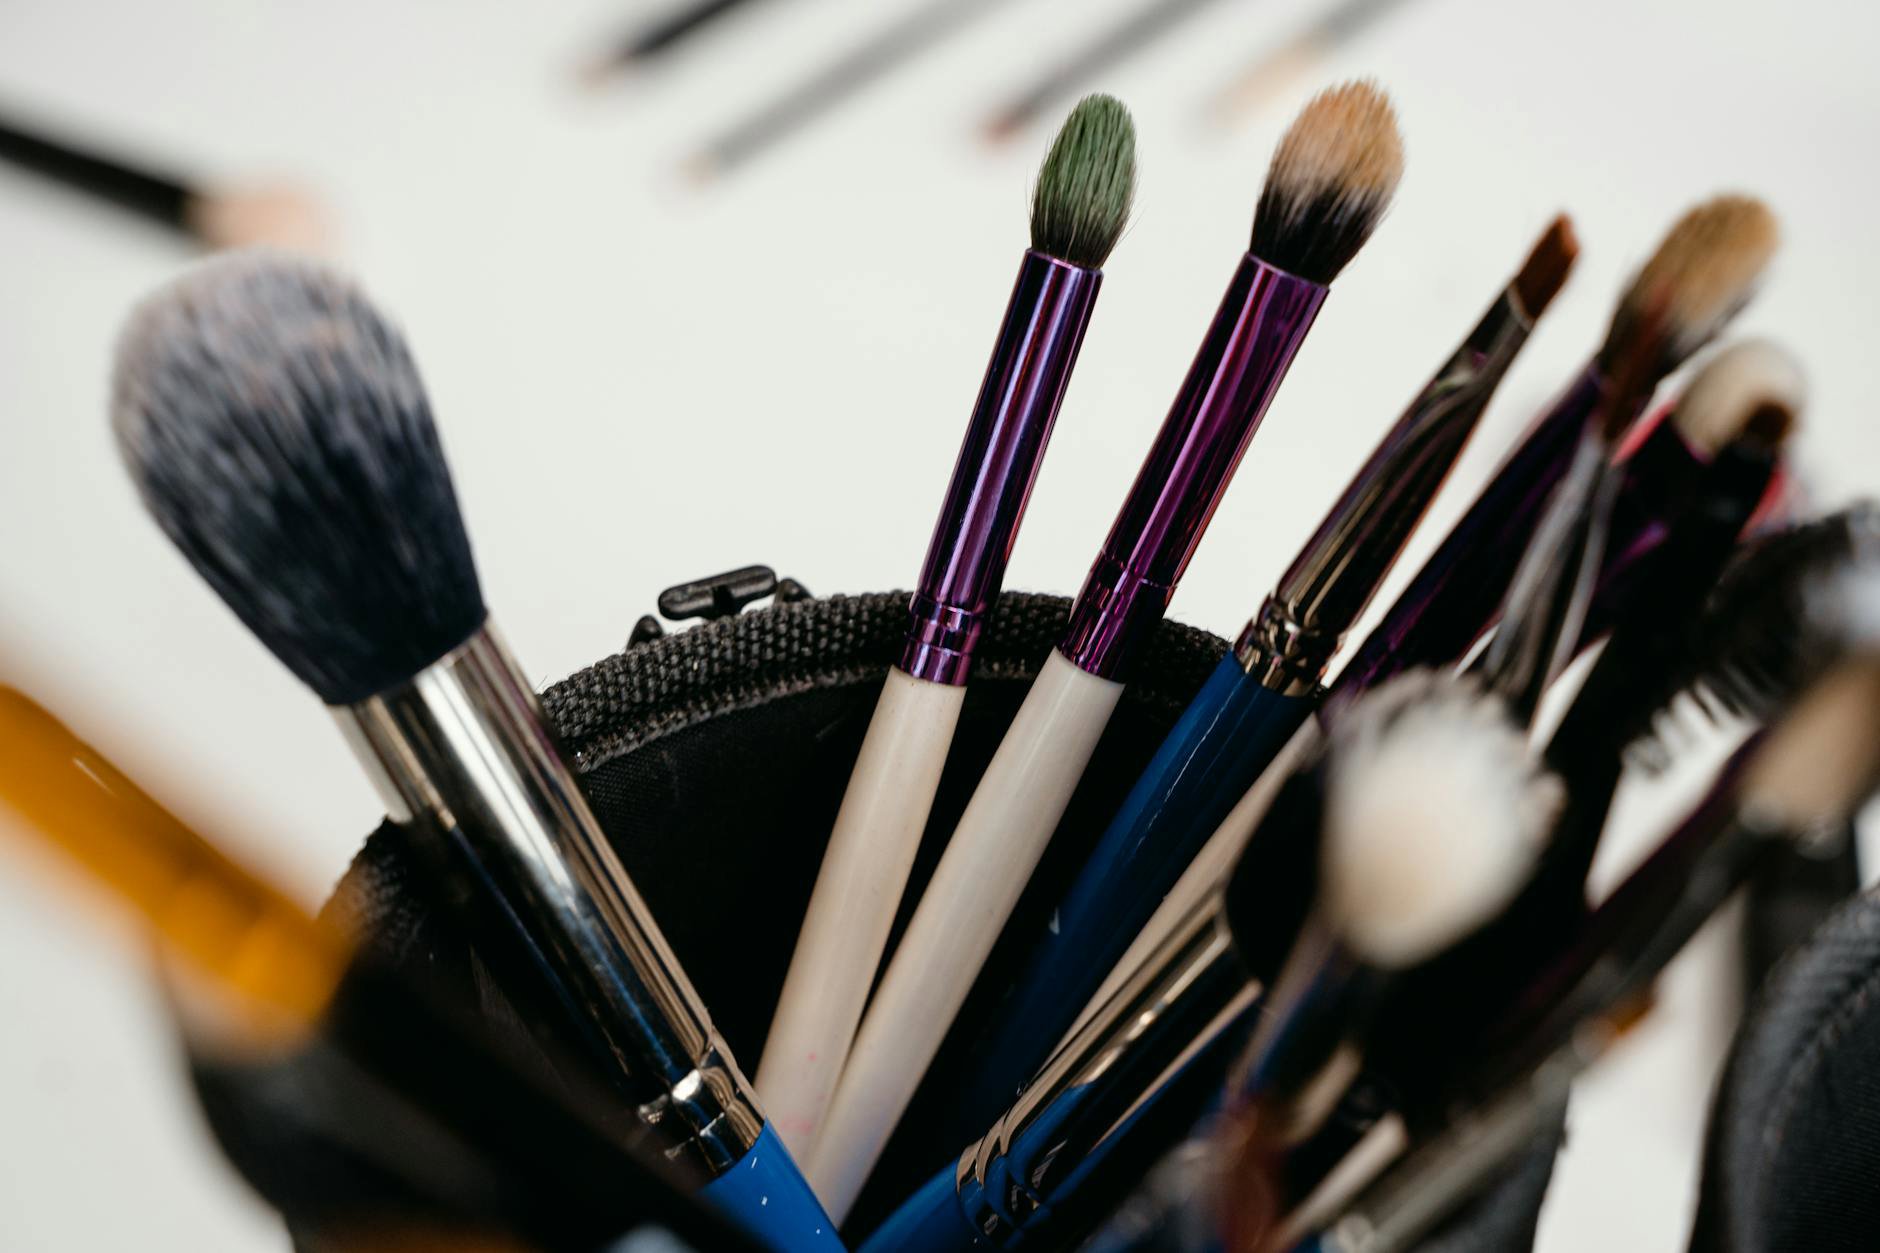
{{IMAGE:flat vs buffing foundation brushes close-up}}Brand examples we rate, and why their shapes work
MAC leans pro, with no-fuss shapes that just work. The dense domes and classic duo-fibres deliver consistent results. If you love full coverage with control, explore MAC’s kabuki-style options. Use a duo-fibre from the same line for tints.
Shiseido cuts precise edges with elegant synthetics. The angled and diamond heads hug contours and reduce streaks. If you struggle with nose creases or jaw contrast, Shiseido’s sculpted brushes solve it.
Sephora Collection offers solid value and frequent promos. Their PRO foundation heads cover the core shapes well. If you want a starter set that won’t fight you, start here. Track the range on Sephora Collection and add your shortlist to the wishlist.
Morphe delivers dense domes at wallet-friendly prices. They suit women who like speed and coverage. If you blend fast before school runs or commutes, check Morphe.
Tarte balances softness with snap. Their round buffers feel plush but still move product. If you lean toward medium coverage with a soft edge, browse Tarte. Promotions pop up often, and we flag them as they land.
Clinique and Lancôme offer refined rounded flats that suit workday bases. If you like a natural finish and controlled placement, their brushes deliver. See brand pages for current shapes: Clinique and Lancôme.
Foundation finish problems and the brush fixes
Problem: visible streaks. Fix: Switch from flat paddle to a medium dome or duo-fibre. Use press-and-roll or short circles. Reduce pressure. Clean the brush.
Problem: cakey nose and around the mouth. Fix: Use a smaller head and apply less product. Tap on, don’t drag. Finish with downward strokes. If you layer concealer, switch tools for precision.
Problem: patchy cheeks by lunchtime. Fix: Check skincare load. Rich moisturiser and SPF can make foundation slip. Use a duo-fibre and press-and-roll. Set only the centre with a small powder brush.
Problem: base lifts over acne spots. Fix: Use a tiny, soft synthetic detail brush. Tap foundation on the spot first. Let it sit for 20–30 seconds. Then blend edges with a clean brush.
Problem: heavy look in daylight. Fix: Move to a fluffier head. Pick up less product. Build in thin layers. Finish by bouncing a damp sponge over edges if you like hybrid methods.
When a sponge beats a brush — and when it doesn’t
Brushes own speed and precision. Sponges own melt and bounce. In humid months, a sponge can sheer out base too much and struggle with sunscreen slip. A soft duo-fibre often beats it here.
Use a sponge when you want ultra-smooth edges over textured skin. Use a brush when you want control, coverage, and speed. Keep both if you like options. Just don’t let the sponge do the first pass over rich SPF. Press-and-roll with a brush first, then finish with a quick bounce if needed.
If you shop for both, compare foundation formulas while you compare tools. Our Liquid Foundations page tracks shades and price shifts, and you can save favourites for alerts.
Travel, sweat and office AC: choose for real life
Commute in summer heat? Choose a compact angled buffer. It fits a small bag and cleans fast after a quick restroom touch-up. Powder on top? Switch to a soft duo-fibre to avoid lifting your base.
Office air-con dries skin. If your base looks flaky by 3 pm, use a medium dome with a hydrating tint. Keep pressure low and moves short. Top with a fine mist, then a few press-and-roll passes.
Weekend trips call for multipurpose shapes. A medium rounded flat can apply foundation, blend concealer, and lay a touch of powder. You carry less, and you can clean it in a hotel sink in 60 seconds.
What this means: build a small, smart kit
Write your brief. List your base formulas, finish goals, and climate. Pick two brushes that solve 90% of your days: a dense or medium dome for speed and coverage, and a smaller angled or duo-fibre for precision or sheerness. Add a mini if you often work around the nose or spot-correct.
Shop with evidence, not slogans. Compare head shape, density, and fibre cut. Read finish cues, not brand poetry. Save your shortlist on GlamGeek. We track prices across Australian stockists so you don’t overpay. Big brands often run staggered promos. That’s when your wishlist pings come good.
Care for your tools and they repay you. Weekly washes, flat drying, and cool storage keep fibres snappy and hygienic. Your base applies faster, looks smoother, and lasts longer — even through a 35°C day and an SPF layer.
Ready to pick your brush?
Browse our curated brush picks under Makeup Brushes & Applicators, then click into brands you trust — MAC, Sephora Collection, Shiseido, Morphe, Tarte, Clinique, and Lancôme. Add your favourites to your wishlist and let our price tracker do the legwork across Mecca, Sephora Australia, Adore Beauty, MYER, Priceline and Chemist Warehouse.
What finish do you want most days — sheer glow, soft matte, or full coverage? Tell us, and we’ll point you to the head shapes and fibres that suit your skin and your climate.