Our price tracker sees the same pattern every sale season: women love buying eyeshadow palettes, then use the same two pans on repeat. Twelve shades stare back. Confidence vanishes. The rest of the palette gathers dust.
Palettes promise options. Options can overwhelm. The fix is not talent. The fix is a simple map, a clear job for each shade, and two looks you can repeat with any beginner-friendly palette.
We wrote this with Australian makeup bags in mind. High UV, humid summers, air‑con winters. Many great palettes sit at Mecca and Sephora Australia, while others sit behind import tabs and longer shipping. We’ll point to the staples that blend well, survive heat, and reward a light hand.
Context: palettes, pricing, and what beginners actually need
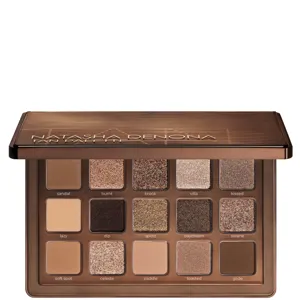
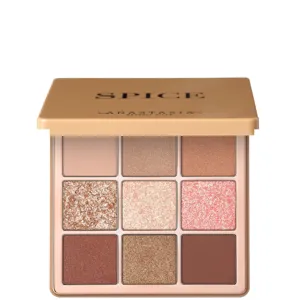
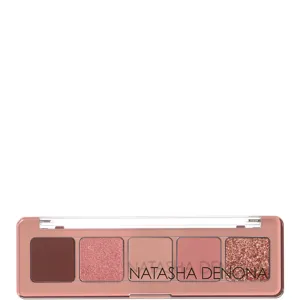
Palettes come in three broad types: tight quads for zero‑thinking mornings, mid‑size edits with a clear colour story, and large artist trays with everything. Our data shows the sweet spot for beginners sits in the first two groups. Quads and 9‑pans cut the noise and make placement faster.
Australian shoppers feel the “Australia tax” on imported palettes. We see frequent price gaps between local RRP and overseas listings. Local retailers still offer fast returns and clear warranties, which matters for pigments and pressed creams that hate heat. You can decide what matters more: speed and support, or saving a few dollars. Use our comparison on the Eye Shadow Palettes page to check current deals before you commit.
Stock rotates quickly at Mecca, Sephora Australia, Priceline, Chemist Warehouse, Adore Beauty, and MYER. Some viral palettes never land locally or arrive months later. We track stock and prices across those stores, so add the palette you’re eyeing to your GlamGeek wishlist. We’ll ping you when it drops or comes back in.
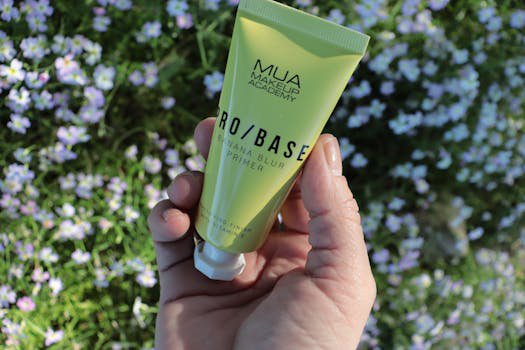
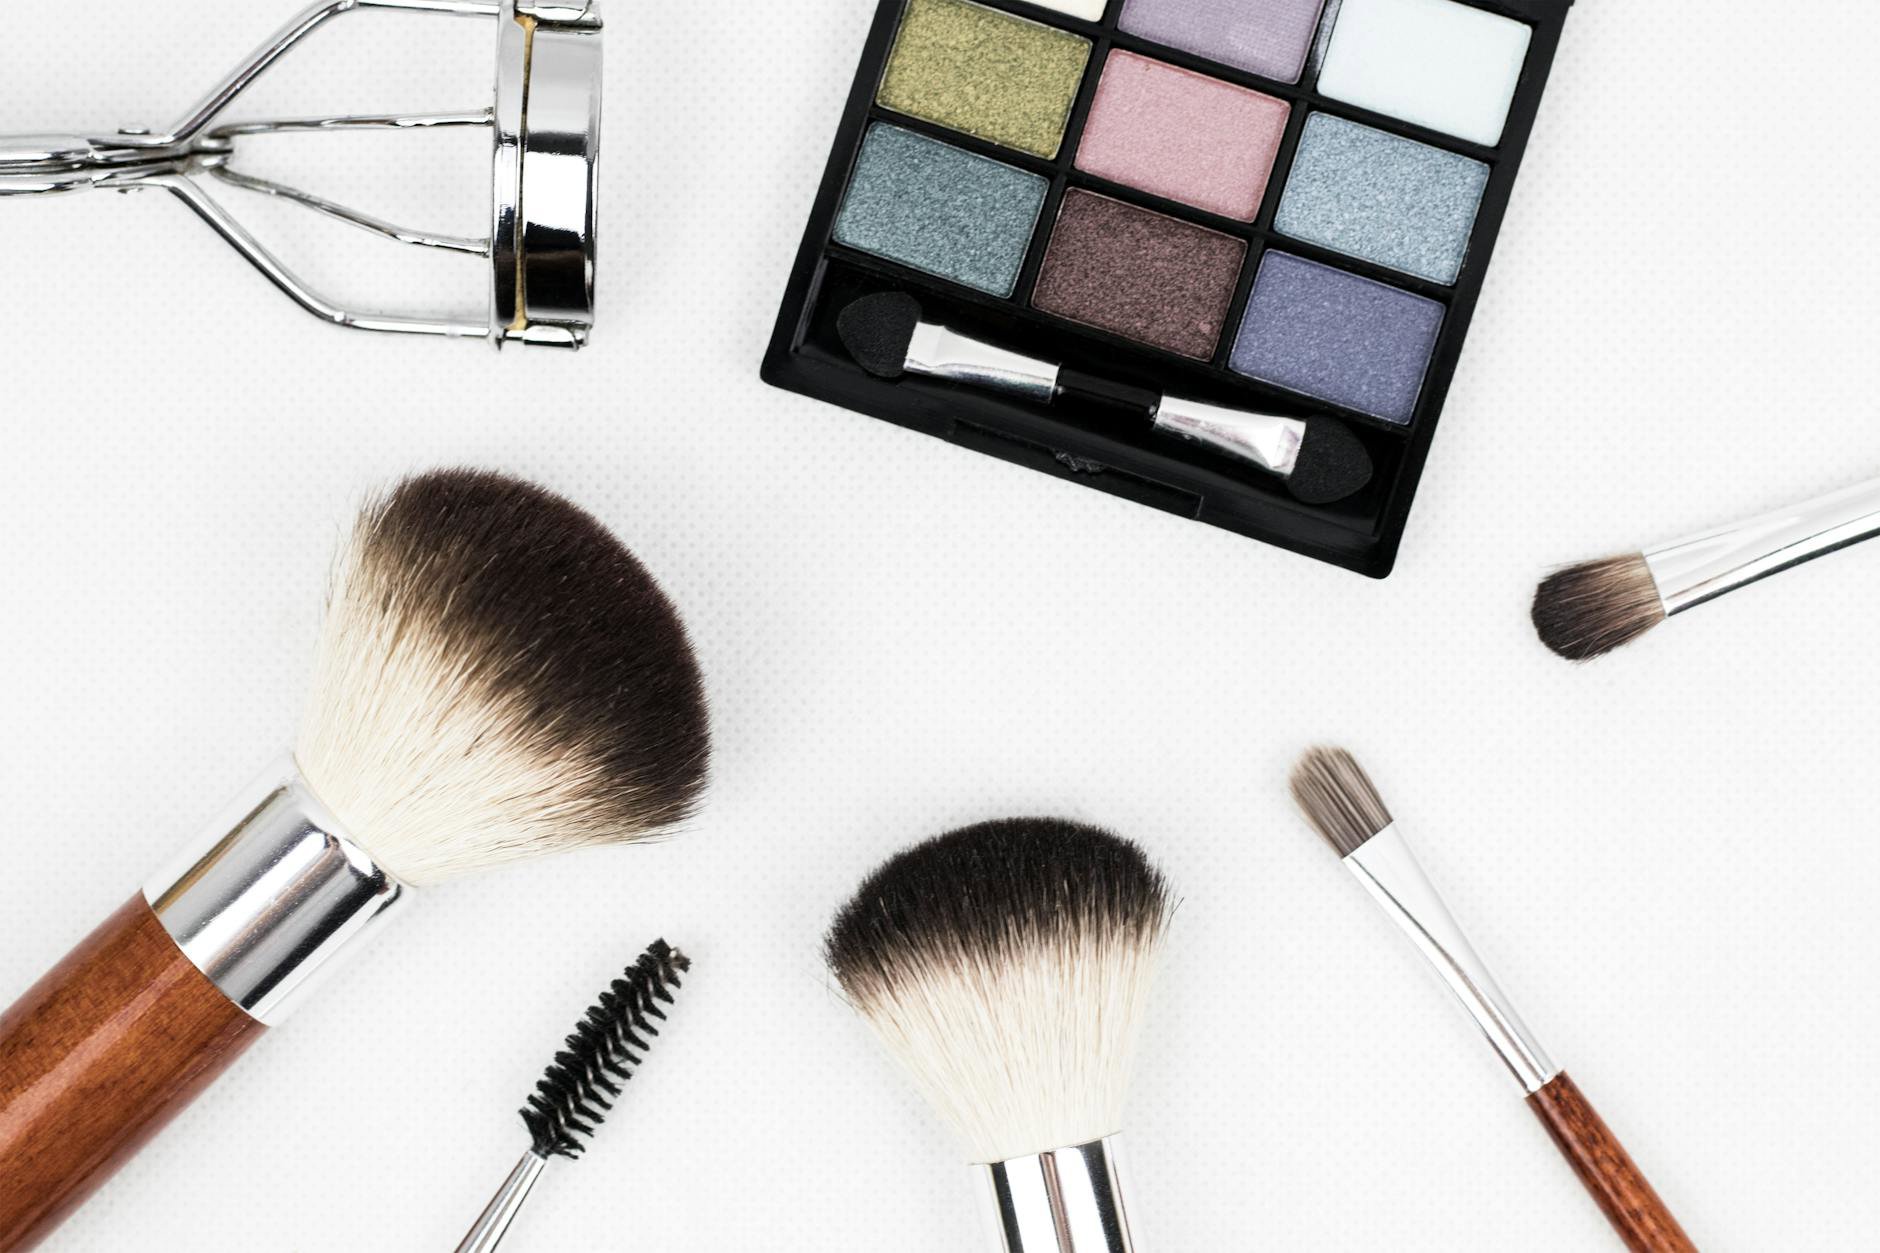
{{IMAGE:woman applying neutral eyeshadow}}Palette anatomy: give every shade a job
Beginners don’t fail at blending. Beginners fail at assigning shade roles. Once every pan has a job, decisions get fast and looks get tidy. Here’s the simple roster that works on most palettes:
- Base/setting shade (usually matte, light): Sets primer and keeps blending smooth.
- Transition shade (matte, mid‑tone, a touch warm or cool): Softens edges above the crease.
- Lid shade (shimmer or satin): Adds light and interest to the mobile lid.
- Depth shade (matte, deeper): Builds structure at the outer corner and crease.
- Liner shade (matte or metallic, darkest): Defines lash lines.
- Pop/topper (shimmer, metallic, or duochrome): Optional sparkle or shift in the centre or inner corner.
Finishes matter. Mattes create shape. Shimmers bring light. Satins sit between both and look soft in daylight. Metallics hit harder. Glitter and chunky toppers suit evening or photos. Cream and cream‑to‑powder formulas grip oily lids well in summer, but they need a thin set with powder for long days.
A quad from Charlotte Tilbury or MAC usually covers the full roster. Affordable edits from Revolution, KIKO, or Sephora Collection can do the same with a bit more choice. Large pans from Morphe add variety but demand discipline. Assign your six jobs, ignore the rest until you want to play.
Simple placement maps for most eye shapes
Forget complicated diagrams. Use three zones and two lines. Zones: lid (the part that folds when you blink), crease (the fold or the space you create slightly above it), and brow bone. Lines: upper lash line and lower lash line.
For hooded eyes, place your transition shade slightly above the natural crease. Keep your eyes open and look straight into a mirror. Create the new crease where you can still see colour. For monolids, build a gradient from lash line upward: deepest at lashes, mid at the middle, light near the brow. For deep‑set or prominent eyes, keep shimmer tight on the lid and extend matte transition a touch wider to balance.
Map it like this: base shade from lash to brow with a big fluffy brush. Transition in a rainbow arc above the crease with a medium blender. Lid shade on the mobile lid with a finger or flat brush. Depth shade at the outer third in a small wedge (like a tiny V). Liner shade pressed into the root of lashes with a thin brush. Pop shade at the inner corner or centre of the lid if you want brightness. That’s it. Six moves, five minutes.
Primer helps. If you don’t own a dedicated eye base, use a tiny dot of concealer and a whisper of translucent powder. Keep it thin. Thick primer cakes and kills blend.
Tools and textures: brushes, fingers, and what to buy first
You can get far with three brushes: a fluffy blender, a smaller shader, and a tiny detail brush. They handle almost everything. Add a clean blender for soft edges and you’re set. Check our picks in Makeup Brushes & Applicators if you’re building a kit from scratch.
Brush hair matters less than shape. Synthetic bristles handle creams and modern soft mattes well. Natural goat hair moves powder fast but needs more care in humid climates. Dampen nothing unless the brand allows it. Wetting some shimmers creates hard pan.
Fingers beat brushes for foiled lid shades. Tap, don’t swipe. The heat in your fingertip melts shimmer for a cleaner laydown. Use the shader brush to tidy edges after.
In Australian summer, sweat and SPF can break down shadow. Layer cream and powder to lock looks. A thin cream base under a quick powder blend resists creasing. Finish with a light mist if you like setting sprays. If your mascara smudges, switch to tubing formulas or look in our Mascaras category for long‑wear options that remove with warm water.
Look one: the 5‑minute weekday eye
This works with any neutral quad or 9‑pan. Pick a base, a mid‑tone transition, a soft shimmer, and a deeper matte. Keep pressure light and edges soft. This reads polished, not heavy.
Step 1: Prime. Use a rice‑grain of eye base or a dot of concealer. Set with your base shade. This speeds blending and reduces patchiness.
Step 2: Sweep transition above the crease. Use a medium fluffy brush and small circles. Think “shadow of a shadow.” Stop before the brow.
Step 3: Tap shimmer on the lid. Stick to the mobile lid only. Keep the inner third light if you want a wider eye.
Step 4: Add depth at the outer third. Use a small brush and tap the deeper matte in a wedge. Blend edges with the clean side of your transition brush.
Step 5: Tightline with the darkest shade. Press it into the upper lashes with a flat definer. Mascara finishes the look.
Palettes that suit this: compact edits from Sephora Collection, travel quads from KIKO, and neutral staples from Revolution. We often see these lines rotate through bundles and minis locally, which drops the entry cost. Save your favourites on GlamGeek and we’ll alert you when a set or mini restocks or dips.
If your lids run oily by lunch, add a whisper of translucent powder at the crease, or put the tiniest amount of matte shadow on a cotton bud and dot it where you crease. This micro‑setting trick keeps things tidy without extra bulk.
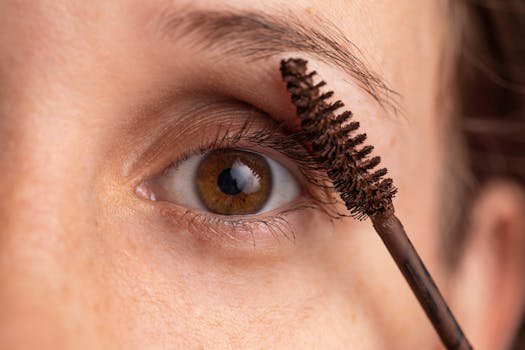
Look two: soft smoky for dinner or events
Skip the harsh edges. A soft smoky eye uses the same six roles with more contrast. Choose cool taupe or warm cocoa, and carry depth along the lower lash line. Avoid black unless you love bold. Deep brown or eggplant looks kinder in real light.
Step 1: Prime and set with base. Don’t skip this. Smoky blends need a smooth canvas.
Step 2: Lay your mid‑tone on the lid as a wash. Blend it up through the crease and slightly above it. Keep the outer corner a touch deeper.
Step 3: Pack a deeper matte on the outer third and into the crease. Use a small brush. Blend edges with your transition shade. No harsh lines.
Step 4: Add a satin or subtle shimmer on the centre of the lid. Tap to catch light. Keep the inner corner light for a fresh look.
Step 5: Smudge liner shade at the upper and lower lash lines. Connect at the outer corner. Add mascara. Stop here for soft, or add a thin gel line if you want more drama.
Palette ideas: 9‑pans from Morphe nail gradients. Everyday neutrals from Tarte blend without fuss. MAC Art Library and Charlotte Tilbury quads keep shade roles obvious. Most sit at Sephora Australia or MYER. Some colourways land at Mecca or go import‑only, so check our palette page for stock flags before you plan a look for Saturday night.
{{IMAGE:smoky eye tutorial close-up}}Shade pairing cheat sheet by tone and eye colour
Any woman can wear any colour. Contrast still helps when you want fast payoff. Use this as a guide, not a rulebook.
Brown eyes: bronzes, olives, purples, and navy make them pop. Try a warm bronze lid, mid‑brown crease, and a deep plum liner. Or pair olive matte with a champagne pop on the centre.
Blue eyes: coppers, golds, terracotta, and peach set off the blue. Wash peach on the lid, use warm tan as transition, and press brown at the outer corner. Avoid grey if you look tired; taupe with beige works better.
Green and hazel eyes: plums, mauves, and rosy browns look rich. A mauve matte in the crease and a soft pink‑gold shimmer on the lid brightens fast. If you love drama, deep eggplant beats black.
Cool undertones: lean to taupe, grey‑brown, dusty pinks, or soft plums. Warm undertones: reach for camel, copper, chocolate, and golden shimmers. Neutral undertones: either camp works; pick the outfit mood.
Rosy neutrals suit many workplaces. You can find them across Charlotte Tilbury and Tarte. Budget takes show up at Revolution. Check tone descriptions on our Eye Shadow Palettes listings and use filters to surface cool‑toned or warm‑toned edits quickly.
Beginner mistakes and quick fixes
Muddy blending: this comes from mixing too many shades or working on tacky primer. Use fewer colours. Set your base. Wipe your brush between shades. Keep your transition a touch lighter than your lid colour to hold contrast.
Harsh edges: blend with a clean brush and your base shade. Think eraser, not sander. Small circles soften lines without stripping pigment.
Shimmer too high: stop at the crease if your lids are hooded. Keep your sparkle on the lid or inner corner only. Use satin, not foil, for daytime if you need polish in the office.
Fallout: do eyes first, then base. Or press shimmers with a finger. If fallout happens, don’t rub. Sweep away with a big brush and a touch of translucent powder. It grabs stray sparkles.
Patchy mattes: lay your base thin, and set it. Tap, don’t drag, when placing deeper mattes. Cheap mattes can skip. A tiny bit of setting powder in the crease lets brushes glide.
Too much product: load the brush, then tap once on the back of your hand. You still keep pigment. You lose the cloud of fallout. Build in thin layers. One extra layer beats one heavy swipe.
Sweat, SPF, and staying power in Australian heat
SPF protects your skin. Some formulas can pill under makeup. Let sunscreen set for ten minutes before primer. Avoid heavy, silicone‑rich layers if your SPF already feels slippy. You can compare textures in our SPF Protection Products section if you’re still hunting for a daily base that plays nice with powder.
Humidity breaks waxy liners. Switch to powder shadow pressed into the lash line, then lock with a sealing spray if you like. Tubing mascaras resist sweat and remove with warm water. That reduces raccoon eyes on summer commutes.
Cream‑to‑powder shadows help oily lids. Tap cream as a base, then seal with a matching matte from your palette. This sandwich stands up to heat. Keep a pack of blotting papers in your bag. Dab oil at the brow and temple before it slides into the socket.
Store palettes cool. Don’t leave them in a hot car. Pressed creams and soft shimmers can shift pan in heat. Most Aussie retailers won’t take back used palettes for hygiene reasons, so treat them kindly from day one.
Choosing your first palette: size, story, and support
Start small. Quads and 9‑pans keep choices clean. You’ll master placement faster and waste less product. Look for a story you can see at a glance: two light shades, two mid‑tones, one deep matte, one shimmer. If you can plan two looks in your head in ten seconds, you found a good beginner palette.
Neutral wins for work. Add one fun accent if you crave colour. Beware of palettes with ten mid‑tones and no depth. You need a deep matte to frame the eye and avoid a flat result.
Consider texture. If your lids are dry, satins look soft and forgiving. If your lids are oily, modern mattes give control. Try classics from MAC or edit sets from Sephora Collection for reliable textures. Premium quads from Charlotte Tilbury look polished fast. Budget staples from Revolution stretch dollars without skimping on shade range. If you like big options later, explore Morphe after you settle your basics.
Check local stock before you fall in love with a viral import. Mecca, Sephora Australia, Priceline, Chemist Warehouse, Adore Beauty, and MYER carry most everyday neutrals. Some US‑only launches need forwarding services and longer waits. Our listings flag local availability so you don’t plan a Thursday look with a palette that arrives next month.
Set up price alerts on GlamGeek. We track bundles, minis, and seasonal sets that often include a palette plus a brush or mascara. Those kits can cost less than buying solo. You can also compare across the Eye Shadow Palettes category to see fast who’s running the better deal that week.
What this means: a simple, repeatable plan
You don’t need perfect technique to look polished. You need a plan. Give each shade a job. Follow a basic map. Use tools that match the formula. Then repeat until your hands know the moves.
- Prime thinly and set with a base shade.
- Place transition above the crease to create shape.
- Tap shimmer on the lid for light.
- Deepen the outer third for lift.
- Press the darkest shade at the lash line.
- Add a pop at the inner corner if you want brightness.
Start with a quad or 9‑pan. Practice the 5‑minute eye until it feels easy. Add the soft smoky on Friday. When you want to branch out, grab a rosy edit or a cool taupe story and run the same steps. Your kit stays lean. Your makeup looks consistent. Your palette earns its keep.
Ready to build a starter shortlist? Browse our curated Eye Shadow Palettes to filter by tone, finish, and size. Peek at Charlotte Tilbury, Revolution, KIKO, Morphe, Tarte, and Sephora Collection brand hubs on GlamGeek for recent launches and value sets. Add favourites to your wishlist and we’ll flag restocks and drops so you don’t overpay or miss out.
What trips you up with palettes right now: picking shades, placement, or staying power in heat? Tell us, and we’ll build the next how‑to around the trouble spots you name.