False nails (including press-on and glue-on sets) should come off through controlled softening of the adhesive, not force. The safest removal uses warm water soaking, gentle lifting from the edges, and slow glue residue clean-up to avoid peeling the top layers of your natural nail plate. Aftercare matters as much as removal.
Most nail damage blamed on press-ons actually comes from removal: ripping, prising, or “popping” them off when the glue still grips. That takes keratin layers with it, leaving nails thin, bendy, and prone to splitting.
Good news: you can remove false nails cleanly at home with patience, heat, and the right technique. You do not need heroics.
We track false nail pricing across major UK retailers, and one pattern holds: the sets that promise longer wear often use stronger adhesion. That means removal should get slower, not more aggressive.
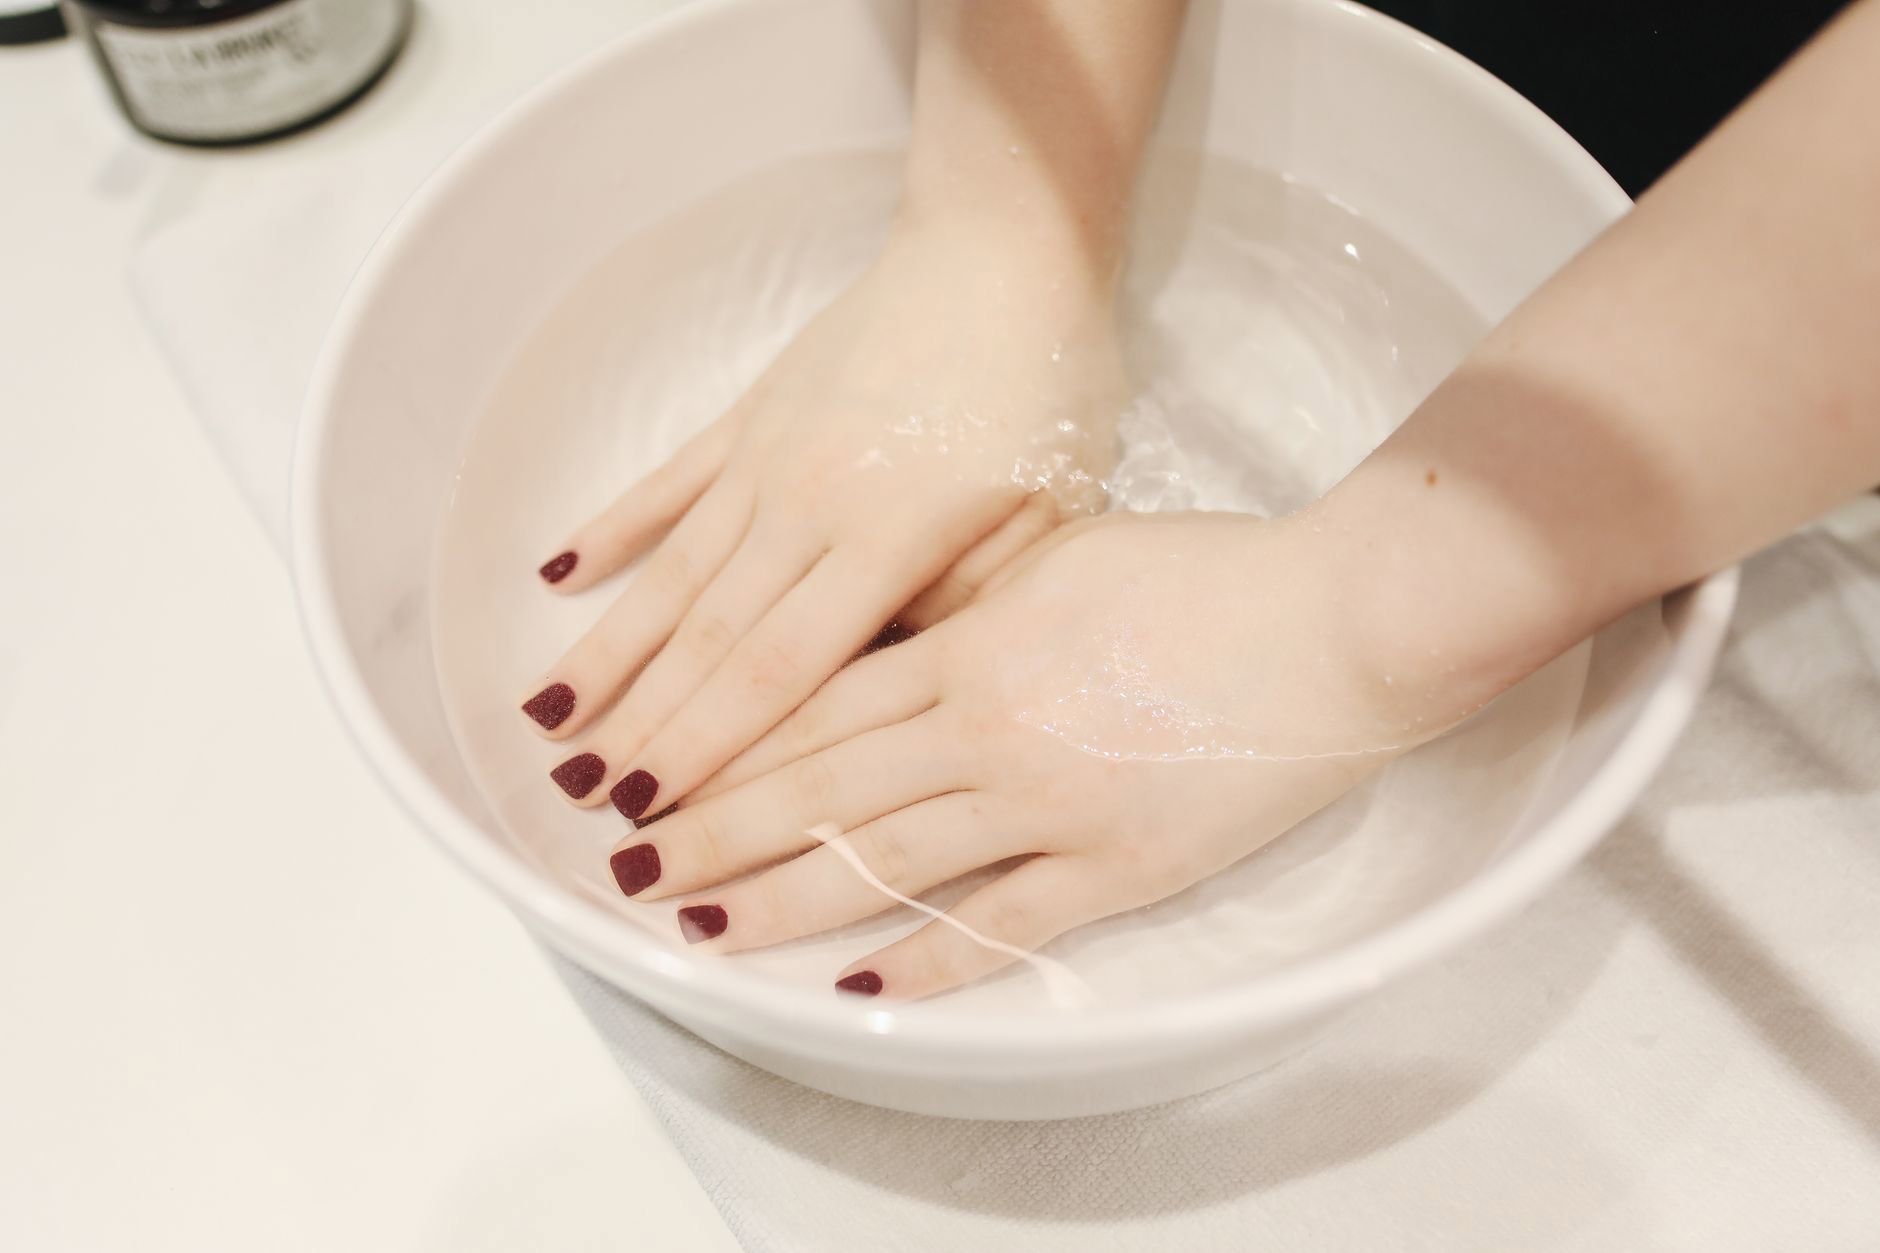
If you wear press-ons regularly, think of removal like taking off a plaster. You soften the adhesive first, then roll it away.
Press-on vs glue-on removal: what changes (and why damage happens)
“Press-on nails” often covers two different systems: pre-glued tabs and traditional nail glue. Both sit between the artificial tip and your natural nail, but they behave differently once water and heat get involved.
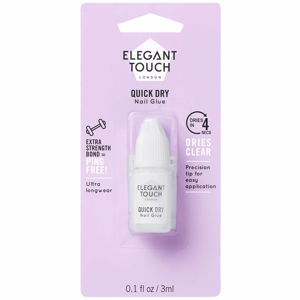
Glue-based sets usually resist water longer. That includes many kits that ship with glue in the pack, such as Elegant Touch False Nails (from £1.30) with glue included. When glue holds strong, prising the tip off shears off the nail’s top layers. That surface looks like chalky patches or flaky “steps”.
Pre-cured gel or wrap-style products behave differently because the adhesive layer may soften more evenly. For example, Mylee Gel Nail Wraps (from £4.15) sit as a stick-on wrap designed to last up to 14 days, so removal still needs time and gentle peeling. Longer wear always raises the stakes on removal.
Damage tends to come from three mechanics:
- Shear force: lifting from the centre or yanking straight up.
- Edge ripping: catching a corner and pulling fast, which splits the nail plate.
- Over-buffing: trying to “sand off” residue until the nail feels thin.
So the goal stays consistent: soften the bond, lift from the edges slowly, then remove residue without scraping your natural nail raw.
The no-drama method: warm soapy soak + gradual lift (best for most press-ons)
If you want one method that works for most press-ons, start here. Warm water plus soap reduces surface tension and helps water creep under the tip edge. Heat also makes many adhesives slightly more flexible, so they release without ripping layers from your nail.
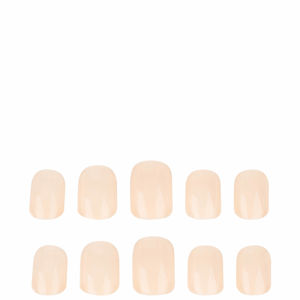
This approach suits everyday press-ons like O.P.I Xpress/On (from £5.00), which come in a short classic length with a rounded tip and classic French designs. Shorter lengths usually give you less leverage to accidentally pry, which helps.
Step-by-step (10–30 minutes, depending on glue strength):
- Trim leverage if the nails feel long. Long tips catch and twist.
- Fill a bowl with warm (not hot) water and add soap. Aim for comfortably hot bath-water.
- Soak 5 minutes, then gently test an edge with your fingertip. Do not force movement.
- Return to soak in 3–5 minute blocks. Work one nail at a time.
- Lift from the sidewalls (left/right edges) and nudge forward. Never lift from the middle.
- Stop when you feel resistance. That resistance equals nail damage if you push through it.
When the nail starts to slide, keep the movement low and flat, like pushing a sticker off glass. If it only lifts at the free edge, soak longer. A half-released nail tempts you to yank.
This method often works well for mid-priced daily sets such as Kiss Salon X-Tend Nails (from £2.49) and Kiss Salon Acrylic French Nails (from £3.49). Both target a salon look at home, but removal still depends on how much glue you used and how long you wore them.
When glue means business: extended soak strategy for strong-wear sets
Some kits aim for longer wear, thicker gloss, or a more structured look. They can cling harder at the cuticle edge and sidewalls, which makes people pry and split nails.
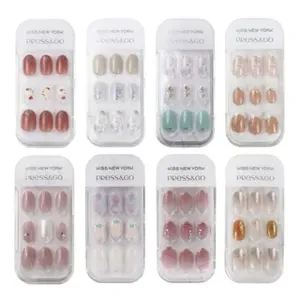
In our merchant feeds, higher-priced “gel tip” sets often sit at the top end because they bundle more tips and designs. Kiss Press & Go Luxury Gel Nail Tips (from £17.70) come with 30 pieces across 12 sizes, combining design nails and base nails for fit choices. More structure often equals more patience at removal.
Use this strategy when the basic soak stalls:
- Soak longer. Plan for 20–40 minutes total time, with breaks.
- Refresh the warm water every 5–10 minutes so temperature stays effective.
- Focus on the perimeter. Try to loosen sidewalls before the centre releases.
- Remove one nail fully before you start prising another. Half-loosened nails snag.
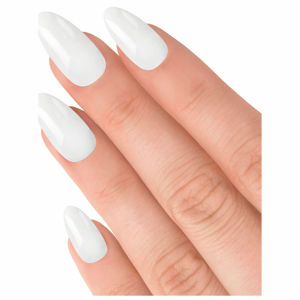
Long, pointed shapes make removal trickier because they catch on clothing and hair mid-process. Sets like Kiss Gel Fantasy Sculpted Nails (from £3.99) in long coffin and stiletto shapes, or Kiss Gel Fantasy Nails (from £3.99) in long gel-effect styles, can tempt you to pull when you feel one corner lift. Don’t. Soak again.
If you need a realism check, use a simple rule: if you see your natural nail bending up with the press-on, the glue still wins. Keep softening the bond until the artificial nail moves without taking your nail with it.
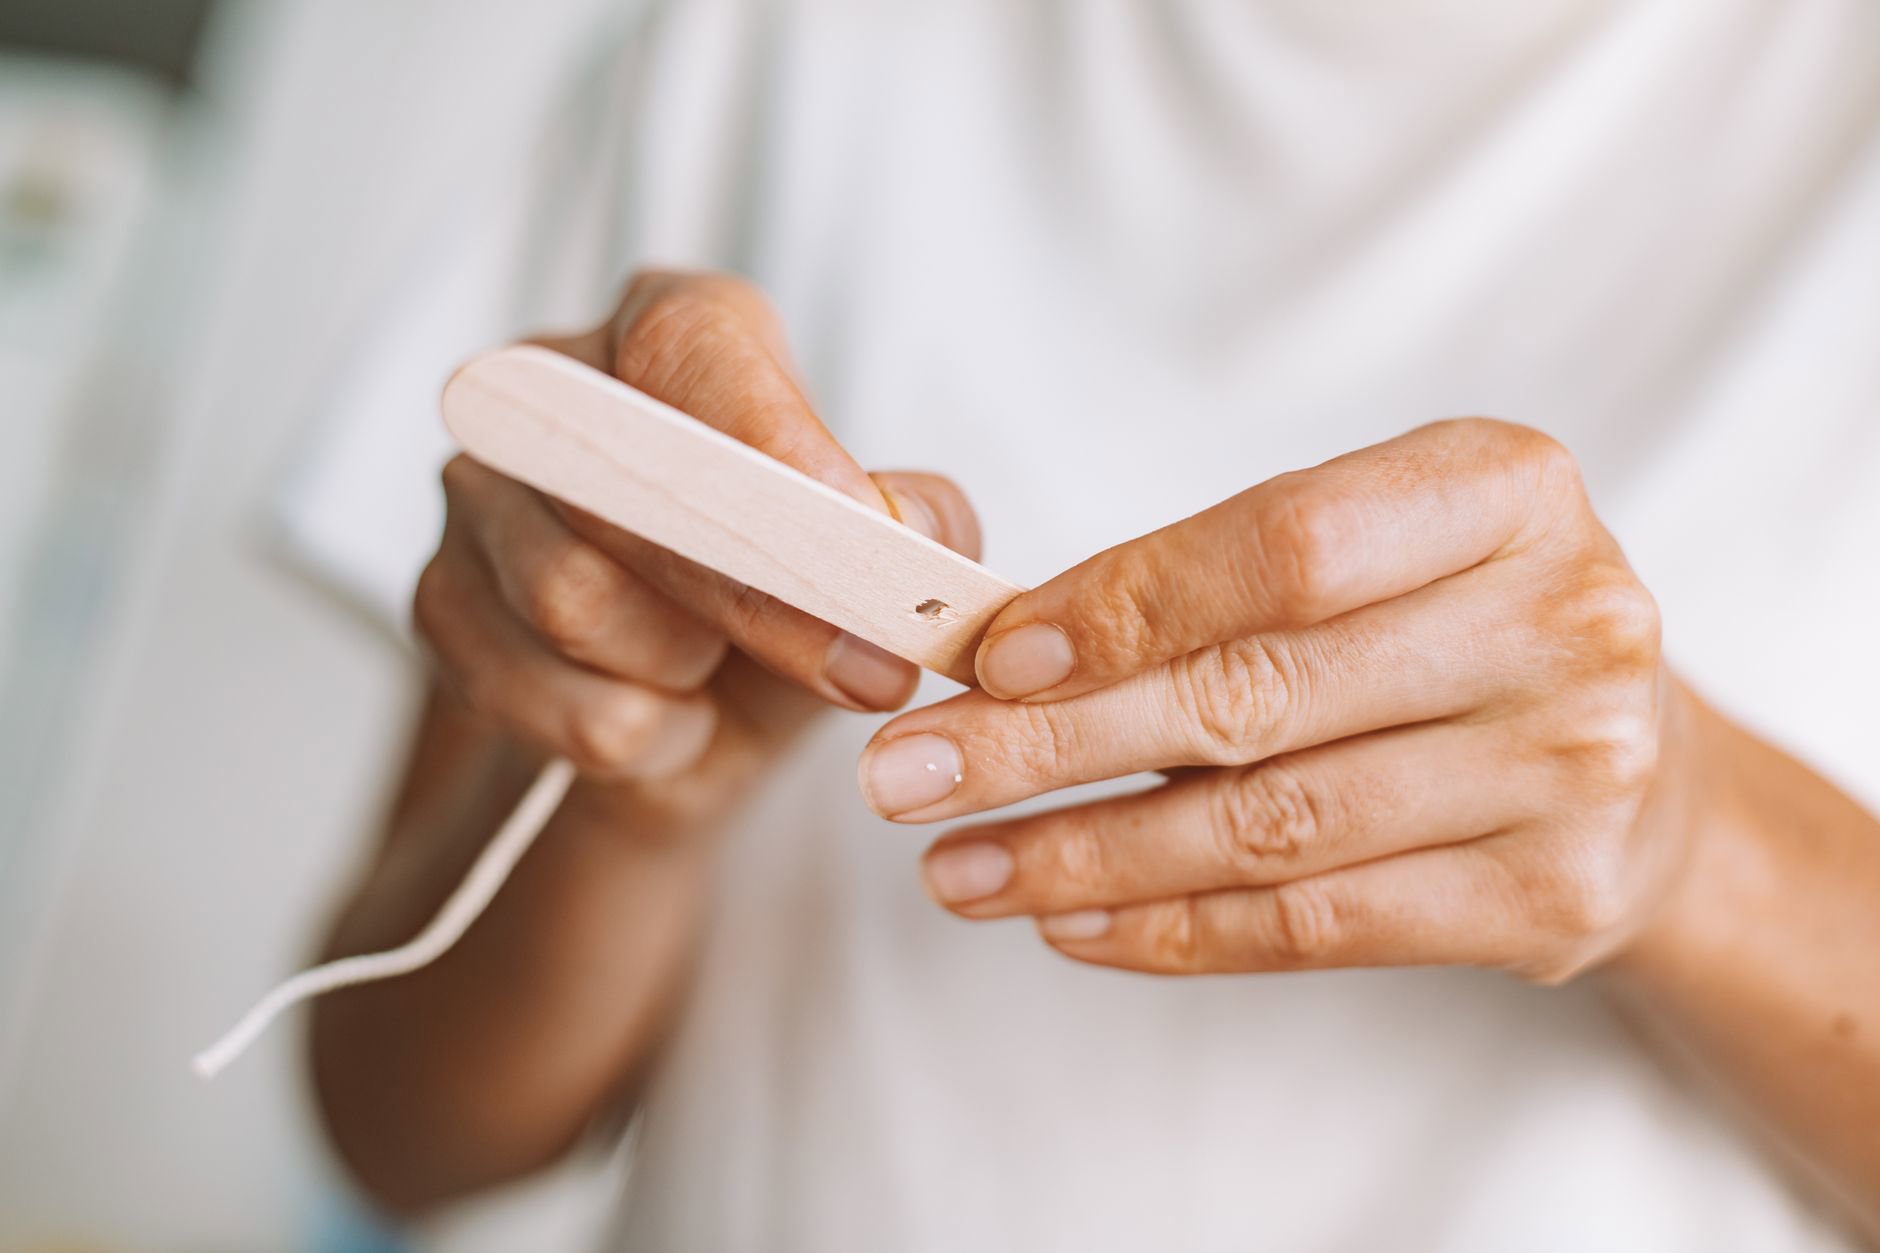
How to deal with residue without scraping: a gentle clean-up sequence
Once the tips come off, you usually face a mix of glue residue and roughness. This stage causes sneaky damage because people attack it with metal tools or harsh buffing.
Instead, think in layers. You want to remove adhesive while leaving the nail plate intact.
Do this, in order:
- Re-soak briefly (2–5 minutes) to soften remaining adhesive. Water plus time beats scraping.
- Rub gently with a soft cloth or your fingertip in one direction. Avoid fast back-and-forth friction.
- Roll residue off rather than picking at it. Picking lifts nail layers the same way.
- Stop early if the residue does not budge. Let nails dry, then repeat later.
Some false nails leave a high-gloss finish that can make residue more obvious at the edges. For example, Elegant Touch False Nails Acrylic Colour Infusions (from £3.49) describe a thick layer of gloss for a glass shine finish, and Elegant Touch False Nails Gel Finish (from £2.99) describe a mirrored chrome cat-eye effect. Those finishes do not change your removal steps, but they do make it easier to spot leftover glue lines after the tip comes off.
If you see white, chalky patches on your natural nails, treat that as a warning. You have lifted surface keratin layers. Do not buff further to “even it out”. Give nails time between sets.
One more note: nail tips that last “up to 10 days” like Elegant Touch False Nails (from £1.30) often create a stronger bond when worn for the full stretch. Expect more residue and plan extra soak cycles.
Common removal mistakes (and the safer swap)
Most removal guides fail because they act like your nails stay the same throughout the year. In the UK, indoor heating from October to March dries nails and cuticles. That makes the nail plate more brittle, so removal needs less force and more softening.
Here are the mistakes we see repeated in user reviews across retailer listings, and the swap that prevents damage.
- Mistake: “Pop-off” removal when one side lifts.
Swap: Clip length first, soak, and slide off flat once both sidewalls loosen. - Mistake: Lifting from the centre because it feels quicker.
Swap: Work from side edges only. The centre bond usually holds strongest. - Mistake: Removing after a hot shower, then forcing it.
Swap: Use the shower as the first softening step, then soak properly in a bowl. - Mistake: Over-buffing to “erase” glue.
Swap: Re-soak and rub residue away gradually. Leave faint residue rather than thinning nails. - Mistake: Removing a full set in one go while rushing.
Swap: Remove 5 nails, take a break, then do the other hand.
Long, statement sets raise the risk of accidental prising. That includes attention-grabbing designs like Elegant Touch Salon Edit (from £2.80) in a long squarletto shape, or Elegant Touch False Nails Coffin Long Length (from £3.49) with a cat-eye French tip effect. If you choose these, build in removal time.
If you buy on the high street, Boots and Superdrug shoppers often grab a set last minute, then remove it last minute too. That timing causes damage more than the product itself.
Aftercare that actually prevents peeling before your next set
Removal ends when your nails feel calm, not when the tips hit the bin. If you reapply immediately onto a nail plate that has lifted layers, the next removal gets worse. Adhesive grips unevenly, then tears off in patches.
Aftercare also helps if you rotate between styles, like a short, natural look (O.P.I Xpress/On, from £5.00) and a more structured salon finish (Kiss Press & Go Luxury Gel Nail Tips, from £17.70).
What to do right after removal:
- Wash hands to remove soap, loosened adhesive, and debris.
- Dry thoroughly, including around the cuticle line, so nails do not stay waterlogged.
- Keep nails short for a few days if you see surface peeling. Short nails flex less.
- Wait before reapplying if nails feel thin. Even 48 hours helps.
If you want a “manicure look” while resting nails, wraps can feel less committal than thick tips. Mylee Gel Nail Wraps (from £4.15) aim for an easy, long-wearing finish that can last up to 14 days, so removal still needs care, but they can suit people who dislike the bulk of tips.
Style also matters. Medium shapes like Elegant Touch Dream Nails (from £3.49) in medium coffin with a French outline design can look crisp without forcing extreme length. Less length means fewer accidental knocks, so fewer micro-lifts before removal day.
Choosing false nails with easier removal in mind (prices, shapes, wear claims)
Removal starts at the buying stage. Not all false nails create the same “effort” later, and marketing rarely mentions that part.
From our pricing data, you can roughly group these options by commitment level. The trick: match the set to your schedule.
- Budget, quick wear: Elegant Touch False Nails (from £1.30) include glue and 24 tips across 12 sizes, with wear claims up to 10 days. Great value, but use minimal glue if you want easier removal.
- Mid-range salon look: Kiss Salon X-Tend Nails (from £2.49) and Kiss Salon Acrylic French Nails (from £3.49) target a clean, wearable finish. Medium lengths tend to remove more predictably than very long tips.
- Statement designs: Elegant Touch Salon Edit (from £2.80) and Elegant Touch False Nails Almond Short Length (from £3.49) offer nail art and accent nails, including 3D nail art on some designs. Expect a little more time at removal because people wear these for occasions and keep them on longer.
- Premium gel-tip kits: Kiss Press & Go Luxury Gel Nail Tips (from £17.70) cost more but include 30 pieces and 12 sizes. Better sizing can reduce lifting during wear, but strong adhesion still needs a longer soak.
Shape affects removal more than people expect. Short and rounded tips catch less. Coffin and stiletto tips catch more. Sets like Kiss Gel Fantasy Sculpted Nails (from £3.99) and Elegant Touch False Nails Coffin Long Length (from £3.49) look striking, but you need to remove them slowly to avoid leverage damage.
If you shop by brand pages, GlamGeek’s navigation makes it easy to compare what sits where in the market, from Revolution to Sephora Collection. Just keep your product type strict: false nails only means false nails only.
Practical tips you can use today (and repeat every time)
Set a timer. Seriously. People cause damage when they “check” every 20 seconds, get annoyed, then pry. Check every 3–5 minutes instead.
Remove when you can go slowly, not when you feel a nail lifting and panic. If a set starts lifting, trim length and schedule a proper soak later that day. That applies whether you wear Elegant Touch False Nails Gel Finish (from £2.99) or a classic French like O.P.I Xpress/On (from £5.00).
Mini checklist:
- Clip length before soaking if nails feel long.
- Warm soapy water, refreshed often.
- Lift from side edges, not the centre.
- Stop at resistance. Soak again.
- Clean residue by re-soaking and rubbing, not scraping.
- Give nails recovery time if you see peeling.
If you want a beauty routine that complements a press-on set, keep it separate. Browse makeup or even False Lashes for the rest of your look, but do not mix removal steps across categories. Nail adhesives behave differently from lash adhesives.
How to Remove Press-On Nails Without Damage FAQ
Can you remove press-on nails without acetone?
Yes. Warm soapy water soaking works for many press-on and glue-on sets because heat and water help soften the adhesive over time. Soak in 3–5 minute blocks and lift from the side edges only. If the nail resists or your natural nail bends upward, soak longer instead of forcing it.
How long should you soak press-on nails to remove them safely?
Plan for 10–30 minutes for most sets, and up to 40 minutes for stronger-wear glue applications. Refresh the warm water every 5–10 minutes to keep it effective. Work one nail at a time and stop whenever you feel resistance, because that resistance usually causes peeling of the nail plate.
Why do my nails peel after removing press-ons?
Peeling usually happens when the press-on gets pulled off before the adhesive fully softens, which tears off surface keratin layers from the nail plate. Aggressive scraping and over-buffing can worsen it. Next time, soak longer, lift from sidewalls, and remove residue with gentle rubbing after re-soaking.
Is it better to slide press-on nails off or lift them up?
Sliding off flat works better than lifting upward. Upward lifting creates shear force that can pull layers of the natural nail with the adhesive. After soaking, loosen both side edges first, then nudge the nail forward with low, flat movement. If only one corner lifts, soak again rather than pulling.
How soon can you reapply press-on nails after removal?
If your nails look smooth and feel strong, you can reapply once they fully dry. If you see chalky patches, peeling, or thin spots, waiting at least 48 hours helps reduce repeated damage. Keeping nails shorter during the break also reduces bending and further splitting while the nail plate recovers.