How to use a nail buffer comes down to controlled, minimal abrasion: you use progressively finer sides (or tools) to smooth ridges, refine the edge, and create a soft shine without thinning the nail plate. The safest routine uses light pressure, limited passes, and the right grit for your nail type, then stops before heat and over-shine appear.
Buffing looks simple. It also goes wrong fast.
Our price tracking across Irish retailers and cross-border merchants shows buffing blocks sit in a sweet spot: they cost far less than salon visits, yet they can cause the most “mystery damage” at home. Peeling, thin tips, and a patchy shine usually trace back to technique, not “weak nails”.
This guide focuses on natural nails and the tools that do the work. No fluff. Just the steps, how often to do it, and the mistakes worth avoiding.
We’ll also point you to specific manicure tools from our tracked catalogue, including true multi-surface buffers like the Tweezerman Manicure And Pedicure Neon Hot File, Buff, Smooth And Shine Block (from €13.80) and the Leighton Denny Quattro 4-In-1 Nail File & Buffer (from €11.00). We’ll keep everything strictly within manicure tools.
What a nail buffer actually does (and what it can’t)
A nail buffer removes a tiny amount of nail plate to make the surface more even. That’s it. It does not “strengthen” nails, and it does not “seal in moisture”. Nails contain keratin, but they don’t absorb nourishing ingredients the way skin does.
Think of buffing as controlled sanding. Coarser surfaces level ridges and smooth snags. Finer surfaces refine the scratch pattern until light reflects evenly, which reads as shine.
That shine can look glassy, but it comes with a trade-off. Every extra pass thins the plate, especially at the tips where nails already flex and split. Over-buffing often shows up as: white stress marks, peeling layers, or a “bendy” free edge.
If you want buffing to help rather than harm, keep the goal realistic: tidy texture, not mirror gloss. For a natural, healthy look, a little smoothing plus a modest shine beats a high-polish finish that costs thickness.
One more boundary: buffers can’t fix a rough edge on their own. A clean edge shape matters because micro-snags travel into chips. That’s why many 4-in-1 tools combine filing and buffing in a single block.
Buffer sides and “grit”: how to read your tool
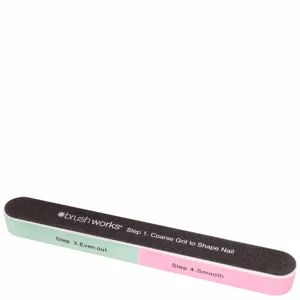
Most buffers use multiple faces with different abrasiveness. Brands often label them as “file”, “buff”, “smooth”, and “shine”. Some list a grit number; many don’t. Either way, the principle stays the same: start with the least aggressive step that solves your problem.
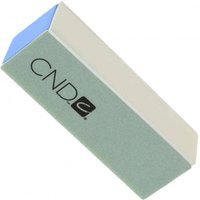
A classic example is the Tweezerman Manicure And Pedicure Neon Hot File, Buff, Smooth And Shine Block (from €13.80). It uses four sides with removable pads to file, buff, smooth, and shine. You get a full progression in one tool, which helps people avoid jumping straight to high shine before the surface looks even.
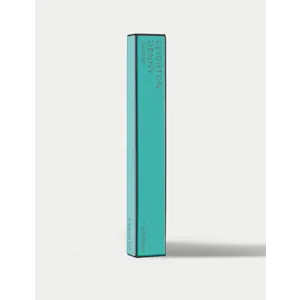
The Leighton Denny Quattro 4-In-1 Nail File & Buffer (from €11.00) follows the same logic: shapes, buffs, smooths and polishes. When a buffer includes “shape”, treat that side like a nail file. Use it on the free edge, not across the nail plate.
Here’s a practical way to interpret sides when packaging feels vague:
- “File/Shape” side: for the nail edge only. Using it on the nail surface removes too much too fast.
- “Buff” side: the first surface step. Use it to reduce ridges or patchy texture, with very few passes.
- “Smooth” side: refines scratches from the buff step. This is where many people overdo it. Light pressure.
- “Shine/Polish” side: optional. Use for a quick glow, not repeated polishing.
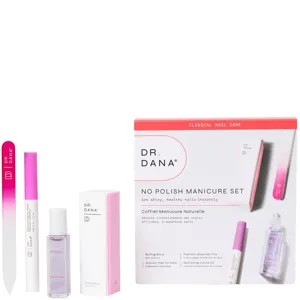
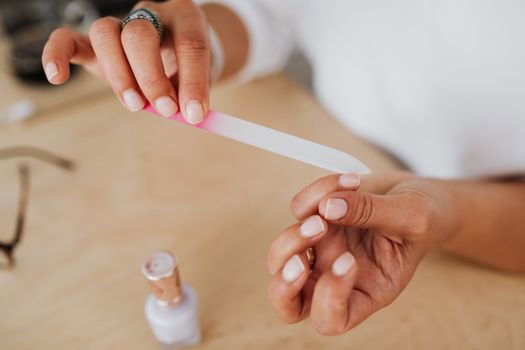
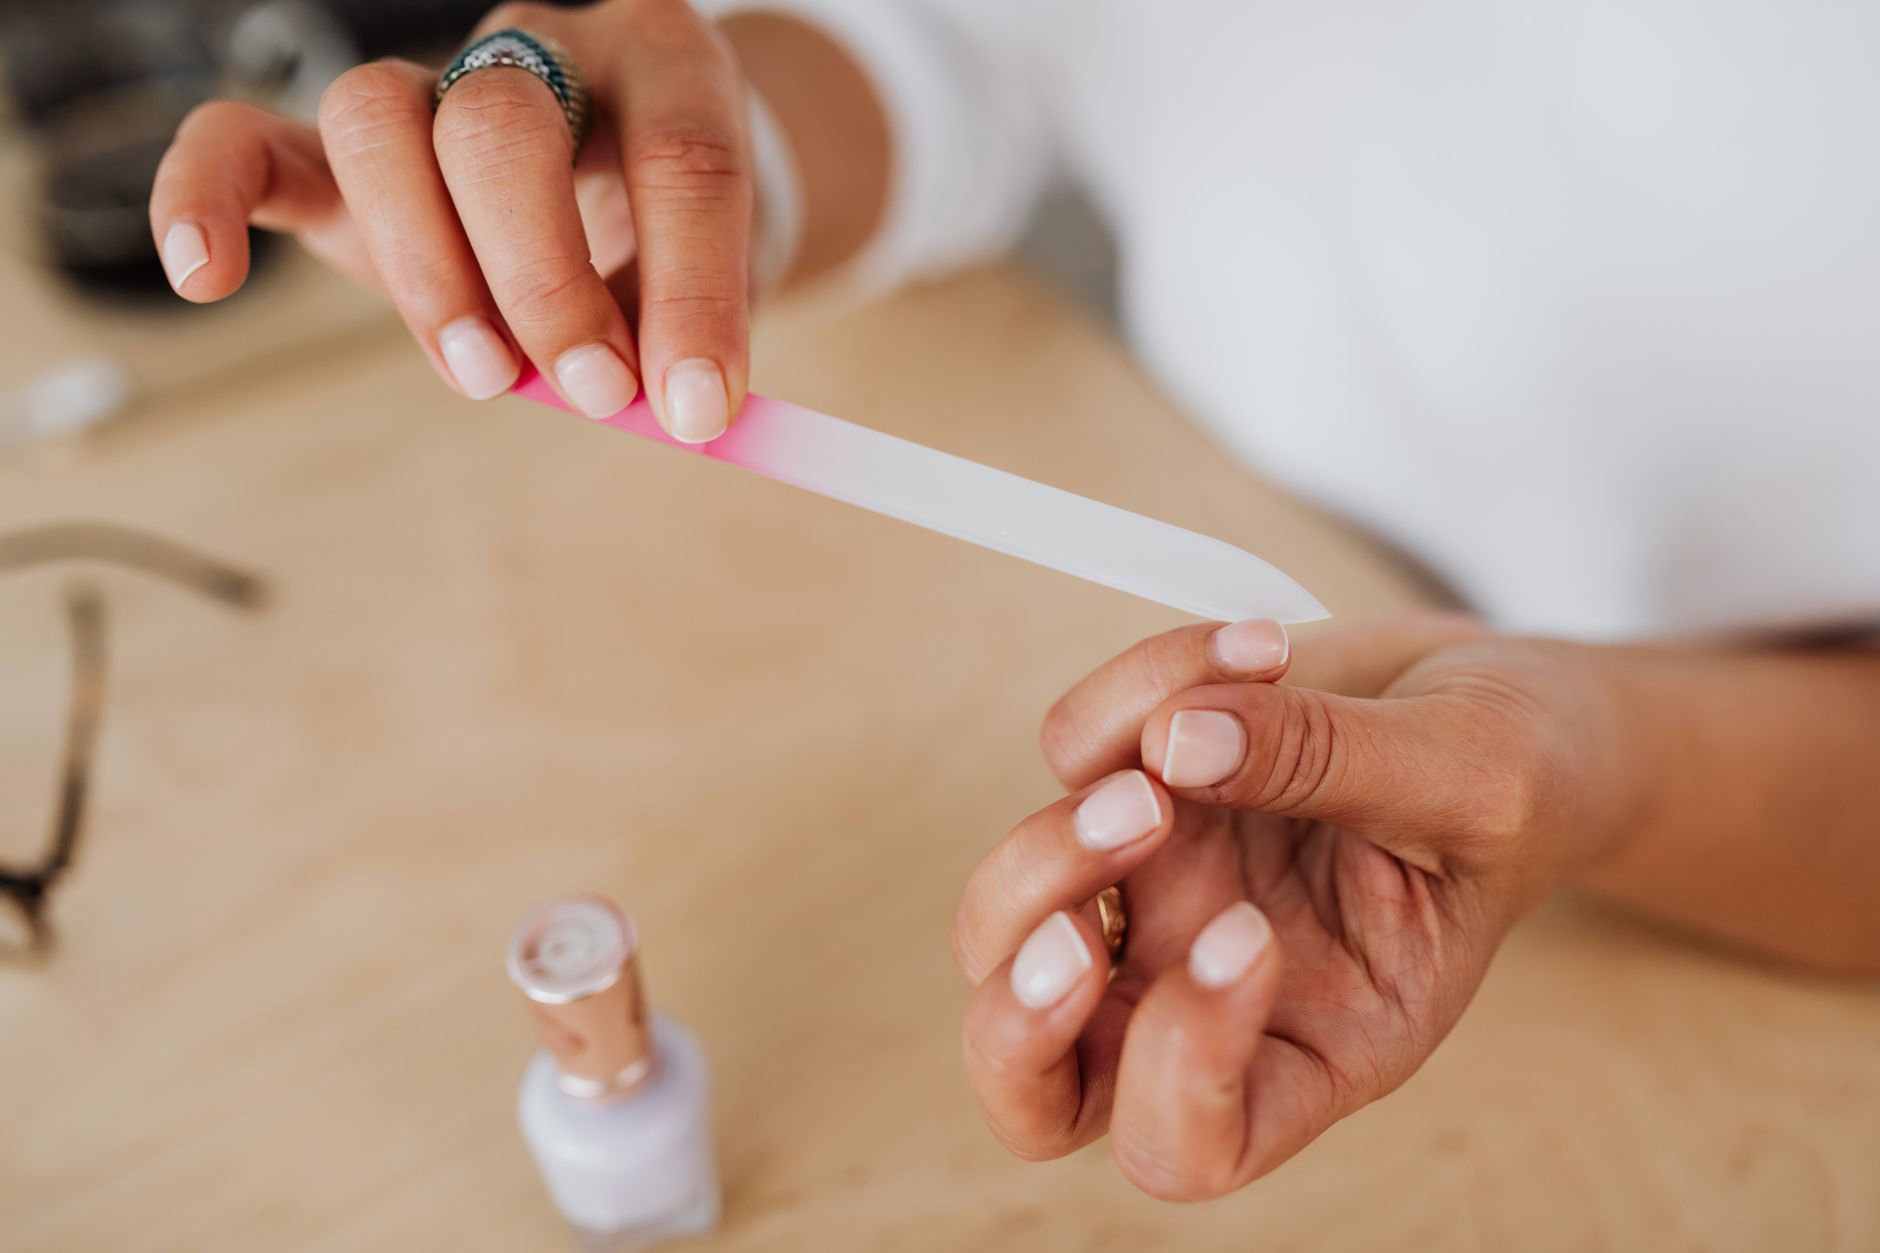
If you don’t have a buffer block and you only want mild refinement, a glass file can act as a gentle finisher for the edge and minor roughness. Tools like the Tweezerman Glass Nail File (from €11.50) or brushworks Crystal Glass File (from €4.59) suit people who damage nails with harsh grit. Dr. Dana’s option goes further: the Dr. Dana Glass Nail File (from €20.70) uses a double-sided, nonporous design with an innovative grit meant to shape and contour for a smooth edge.
Quick context for shoppers: on GlamGeek, price tracking often shows glass files stay steady in price, while multi-step blocks swing more with promotions. If you buff often, the “cost per use” argument favours tools that last.
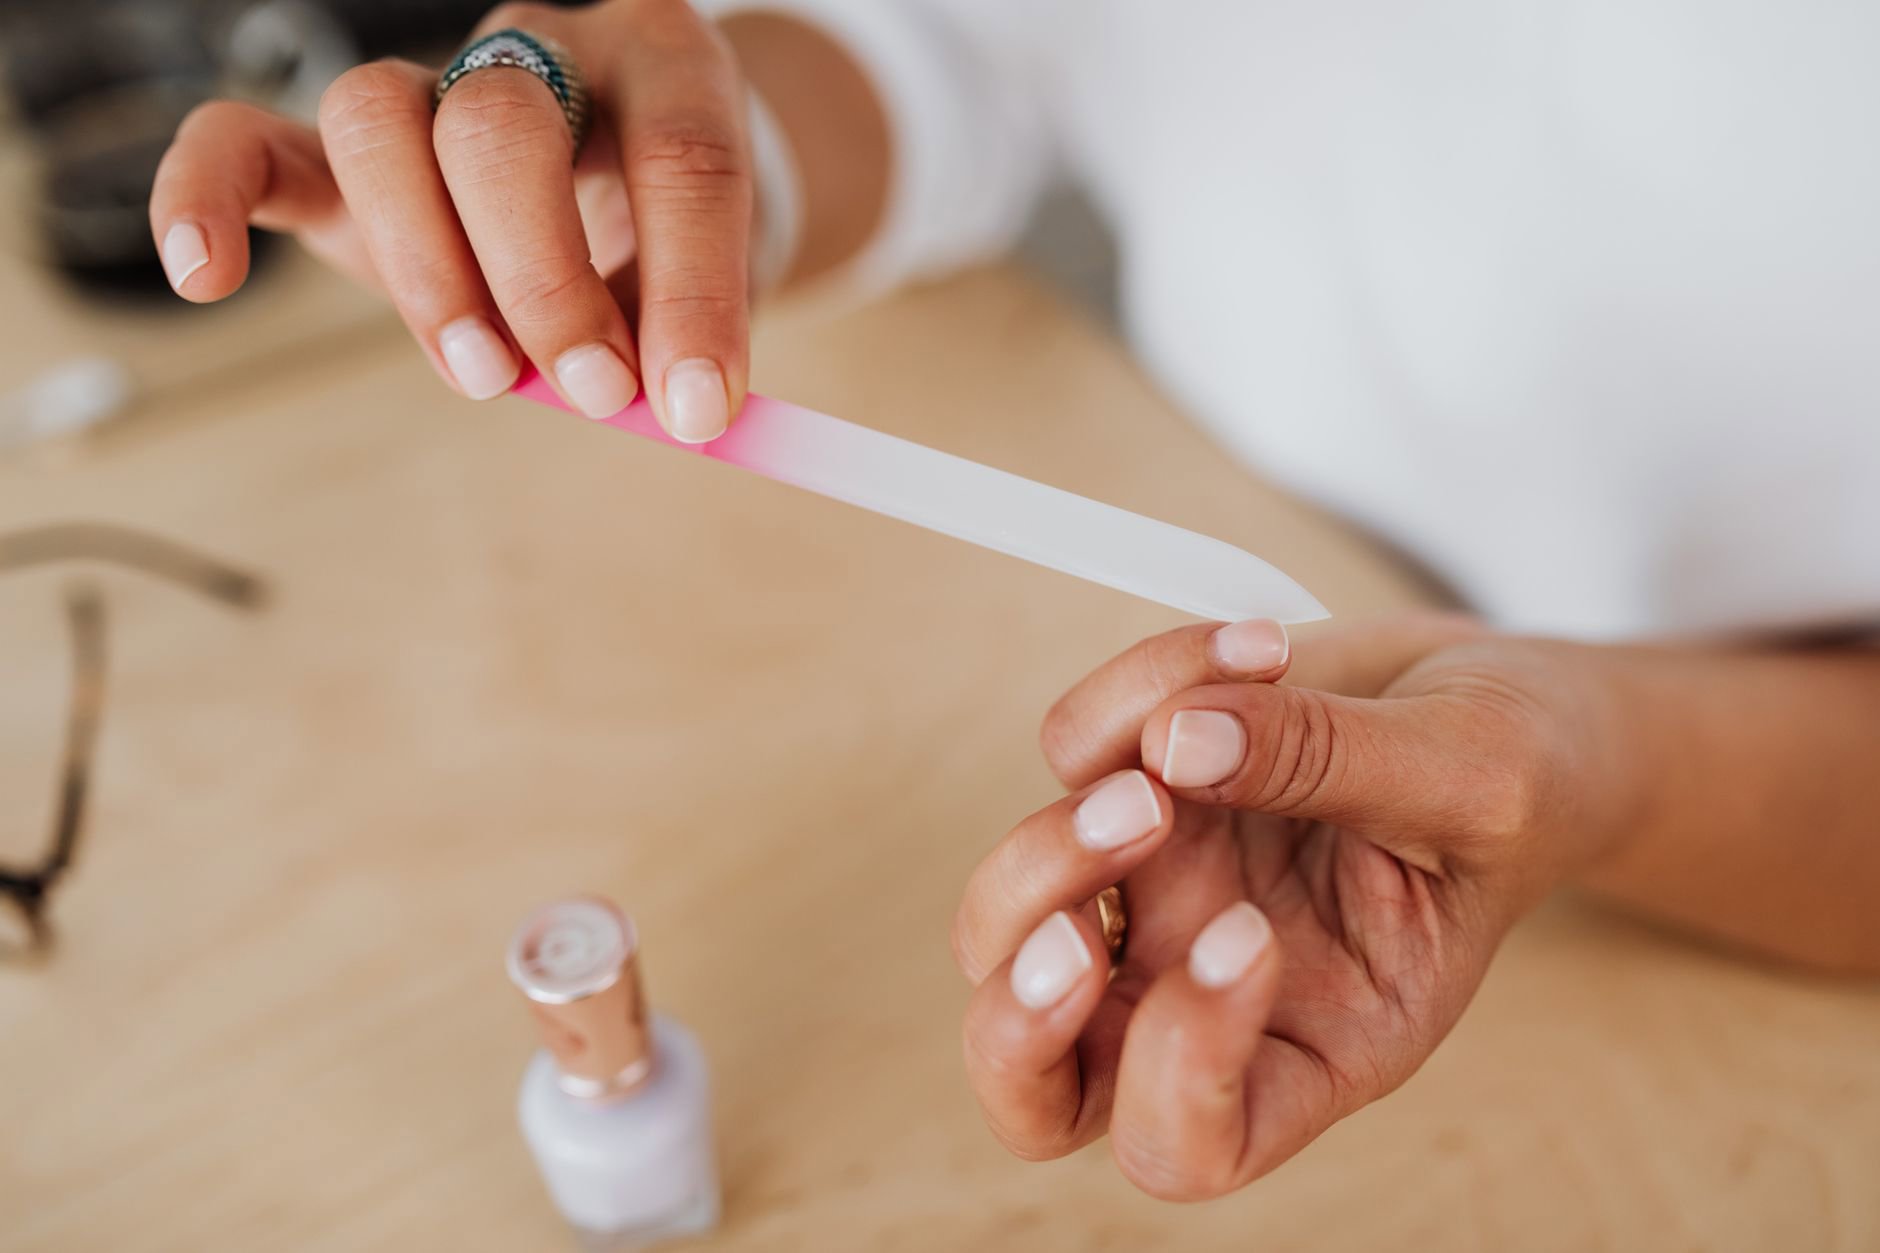
Step-by-step: the safest buffing routine for natural nails
This routine aims for neat, even nails with minimal thinning. It uses a 4-in-1 buffer block plus a separate file if needed. Keep the session short. Five minutes can be plenty.
Step 1: Start dry and clean. Buffing works best on fully dry nails. Water makes nails swell, and swollen nails abrade unevenly. If you just washed up, wait. Dry nails also show ridges more clearly, so you buff less.
Step 2: Shape the free edge first. Use the “shape/file” side on the edge only, or use a dedicated file like the brushworks Large Long Lasting Emery Board (from €2.29). Work in controlled strokes and match the shape across both hands. This prevents you buffing the surface to “hide” a jagged edge.
Step 3: Buff ridges with the lightest effective side. Choose the “buff” face of a block, such as the Tweezerman Neon Hot. Use very light pressure and keep the movement short. Go with the nail’s length, not aggressive side-to-side sawing. Count your passes: 4–6 strokes per nail usually handles mild ridges.
Step 4: Smooth, then stop. Switch to the “smooth” side. Your goal is an even, matte surface without patchy shiny spots. Patchiness often means uneven pressure. If you keep going to “even it out”, you thin the nail more.
Step 5 (optional): Add a quick shine. Use the “shine” side for a few strokes. If you see heat build-up or feel friction, stop. Heat signals too much pressure and too many passes.
Step 6: Inspect the edge again. Buffing can slightly soften the free edge. If you see fluffing or micro-fraying, refine the edge lightly with a glass file like the Tweezerman Glass Nail File (from €11.50). Keep it minimal.
The finish should look clean and natural. Not lacquered.
How often should you buff? A frequency guide that prevents thinning
Most nail damage from buffers comes from “maintenance buffing” that turns into weekly polishing. Buffing should respond to a problem you can see, not a habit.
For most natural nails, we’d treat buffing as an occasional reset. Every 3–4 weeks suits many people, especially if you keep nails short. If nails peel easily, extend the gap further.
Use this frequency framework:
- Mild ridges, otherwise healthy nails: buff lightly every 3–4 weeks, or just spot-buff one or two nails.
- Thin, bendy, or peeling nails: skip surface buffing for several cycles. Focus on shaping the edge only with a gentler tool (a glass file can help).
- Very short nails: buffing often causes more harm than benefit because the plate has less support. Shine shows quickly, but thinning shows quicker.
- People who prefer a natural “polished” look: use the shine side sparingly and rely on the smooth side. Repeat shine strokes across weeks leads to the see-through tip problem.
Also consider your environment. Ireland’s damp, mild weather means nails rarely dry out the way they do in hotter climates, but constant wet-dry cycles still stress the free edge. If your hands spend lots of time in water, buffing less often usually pays off.
If you need a tidy look more often, swap buffing for edge maintenance. A compact file set like Bloom Shape It Nail File Set (from €5.25) can keep nails looking neat between buffing sessions, without repeatedly thinning the surface.
Mistakes that cause thinning, peeling, and uneven shine (and how to fix them)
Most buffing “fails” follow a few predictable patterns. Fix the pattern and the nail plate usually settles.
Mistake 1: Buffing the same spot until it shines. Shine can mislead. It appears fastest where you apply more pressure, which creates thin patches. Fix it by using fewer passes and switching sides sooner. Aim for an even matte stage before any shine.
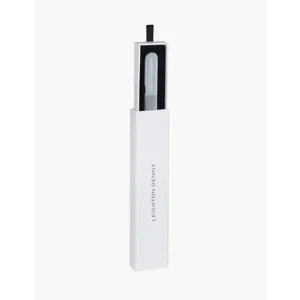
Mistake 2: Using the file/shaping side on the nail surface. The coarse side removes too much keratin, too quickly. Keep it for the free edge only. If your buffer labels confuse, choose a dedicated edge tool like the Leighton Denny Small Crystal Nail File & Case (from €17.50) and reserve the block for surface steps.
Mistake 3: Buffing wet nails. Wet nails swell. You then buff a soft, expanded plate, which can leave a rippled finish once it dries. Fix: wait 20–30 minutes after washing, then buff. Simple.
Mistake 4: “Polishing” every week. Weekly shine sessions often lead to peeling at the tip. Fix: stop for a month. Keep nails short and tidy with a glass file, such as the brushworks Crystal Glass File (from €4.59), and only return to buffing when ridges actually bother you.
Mistake 5: Pressing hard to go faster. Hard pressure creates heat and friction, which increases abrasion. It also makes the shine patchy. Fix: use feather-light strokes. If you need speed, reduce the goal. A soft, healthy finish beats a mirror finish that breaks.
When the damage already happened, don’t chase it with more buffing. That turns a small thin spot into a thin nail.
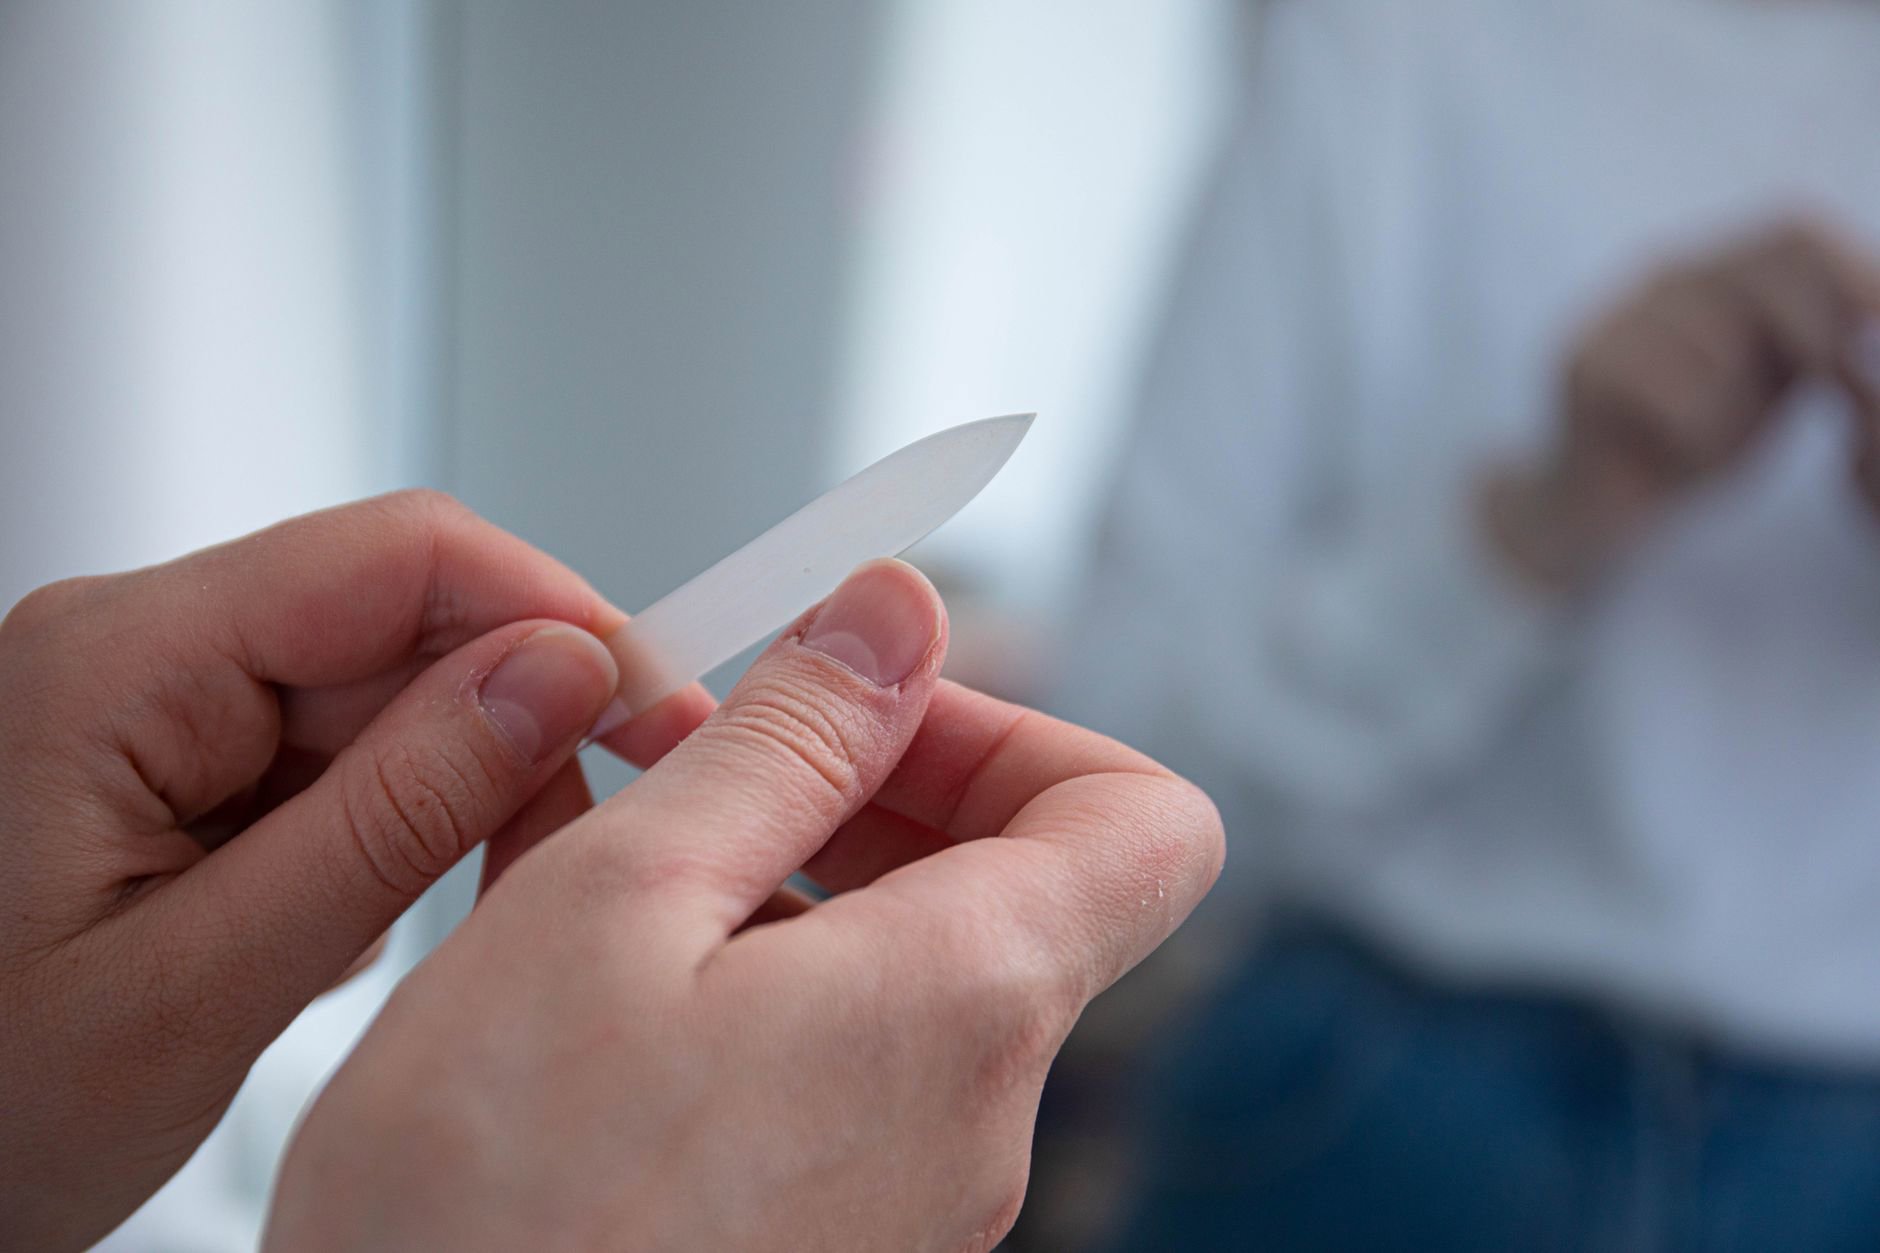
Choosing the right buffer tool (and when to pick an alternative)
If you regularly buff, the tool choice matters as much as technique. The right tool reduces the temptation to overdo it.
For a full at-home routine in one tool: the Tweezerman Manicure And Pedicure Neon Hot File, Buff, Smooth And Shine Block (from €13.80) gives a clear four-step progression, with removable pads. That structure helps avoid jumping straight to shine.
For a slightly simpler multi-step option: the Leighton Denny Quattro 4-In-1 Nail File & Buffer (from €11.00) covers the same core jobs: shape, buff, smooth, and polish. It suits people who want one block in a travel pouch, rather than several tools.
For damage-prone nails that still need tidy edges: consider switching from surface buffing to edge refining with glass. The Dr. Dana Glass Nail File (from €20.70) uses a double-sided, nonporous design and an innovative grit aimed at gentle shaping and contouring. The Tweezerman Glass Nail File (from €11.50) uses recycled glass and stays slim for on-the-go grooming.
For budget-friendly upkeep: an emery board pack can handle quick edge clean-ups between buffing sessions. The brushworks Pastel Nail Files (from €4.59) use a cushioned foam core for flexible filing on natural and false nails. If you prefer a larger format, the brushworks Large Long Lasting Emery Board (from €2.29) suits fast shaping.
Retail note for Irish readers: tools like Tweezerman and Leighton Denny often appear via Lookfantastic Ireland in our merchant feed, while value packs and sets sometimes show up more consistently through pharmacy chains like Boots Ireland or McCauley Pharmacy depending on the season. Availability can vary more than price.
If you want to browse adjacent beauty categories on GlamGeek while you shop, keep it separate. A nail-tool basket pairs well with refills you already buy in makeup or skin care, but this routine stays tool-only.
Practical tips for a better buff (the small details people skip)
Keep your strokes consistent. That means the same pressure and the same direction across each nail. Inconsistent strokes create a “map” of shiny and dull zones. You then buff more to chase uniformity, which thins nails.
Work nail-by-nail, not step-by-step across ten nails. Finish one nail through the progression, then move on. It reduces the risk that you over-buff early nails while you “get into a rhythm”.
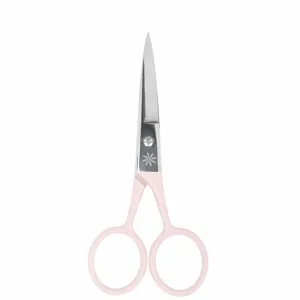
Use a kit that keeps tools organised so you don’t improvise. Bloom This four-part Bloom manicure set includes (from €7.75) combines two nail clippers, scissors and a file in a compact pouch. Even if you buff rarely, having the basics together stops you reaching for random household scissors.
Finally, don’t treat buffing as the only way to look groomed. Neat edges do most of the visual work. If you keep a glass file in a bag and use it twice a week for 20 seconds, you often need less surface work later.
Curious about other beauty tools? GlamGeek readers often compare spending across Makeup Brushes & Applicators and nail tools. Different tools, same rule: the gentlest effective option saves money and hassle over time.
How to Use a Nail Buffer FAQ
What does a nail buffer do to natural nails?
A nail buffer lightly abrades the nail plate to smooth ridges and refine surface texture, then uses finer surfaces to create an even light reflection (shine). It improves appearance, but it removes material each time. Using light pressure and limiting passes helps avoid thinning, peeling, and weak tips.
Which side of a 4-way nail buffer should you use first?
Start with the least aggressive side that solves your issue. On most 4-way blocks, the “file/shape” side belongs on the free edge only, then the “buff” side addresses ridges, followed by “smooth”, and finally “shine/polish” as an optional finish. Fewer steps often mean less damage.
How often should you buff your nails?
For most natural nails, light buffing every 3–4 weeks works better than weekly polishing. If nails peel, bend, or look thin, skip surface buffing for longer and focus on edge maintenance with a gentler tool like a glass file. Buffing should respond to visible texture, not routine.
Can buffing cause nails to peel or split?
Yes. Buffing removes layers of the nail plate, and repeated or heavy buffing can thin the nail, making it more likely to peel at the tips or split along the edge. Buffing wet nails also increases uneven abrasion. Limit passes, avoid pressure, and stop before nails feel warm from friction.
Why do my nails look unevenly shiny after buffing?
Uneven shine usually comes from uneven pressure or spending too long on certain spots. Shiny patches often mark areas you thinned more. Use lighter strokes, keep movements consistent, and aim for an even matte finish before any shine step. If patchiness appears, don’t keep buffing to “fix” it.