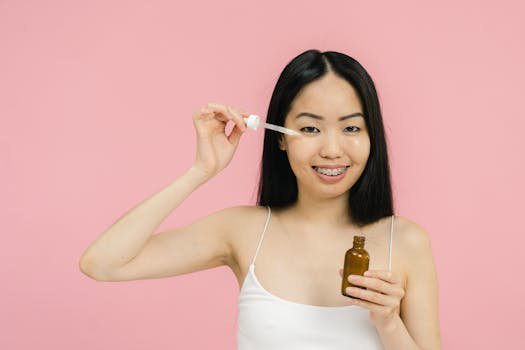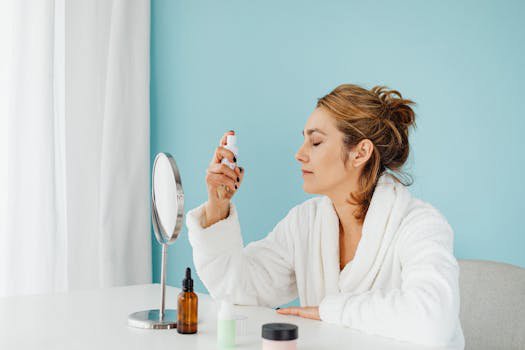
I can always tell when Australia hits a real heatwave because my makeup starts sliding in places I didn’t even apply it.
And the annoying part? It’s rarely the foundation’s fault. It’s usually my prep, my layers, and the one product I skipped because I “didn’t need it”.
So I built myself a 2026 heat-and-humidity kit that stays put, looks like skin, and doesn’t require a A$600 tool or a drawer full of luxury backups.
The 2026 reality: Australian heat is a makeup stress test
When I read Australian outlets testing setting sprays during a heat wave, it clicked: our weather doesn’t just “challenge” makeup, it exposes weak routines fast. High UV, air-con swings, and humidity spikes turn normal wear into a stress test.
We also shop differently. In Australia, I can grab staples from Priceline and Chemist Warehouse, then top up at Mecca or Sephora Australia. That mix matters, because your base routine should rely on products you can replace quickly, not a one-off import that takes three weeks to land.
Budget pressure plays into it too. Plenty of us want the finish we see in premium launches, but we need the method to do the heavy lifting. I lean on smart layering, targeted powder, and setting sprays that suit sweat and sunscreen.
One more thing: I treat “clean beauty” claims as marketing until I see the ingredient list. Heat-proof wear comes from film formers, polymers, and the right ratio of emollients to powders. You can find that at every price point.
Start with sunscreen that won’t melt your base
If your SPF pills, your makeup will look worse no matter what you do with primer. In Australian sun, I won’t compromise on daily SPF, but I will choose formulas that behave under makeup.
Here’s what I look for: quick-drying textures, minimal greasy slip, and a finish that doesn’t fight foundation. Gel-creams and fluid lotions tend to layer better than rich creams in humid weather. Give your SPF time to set before makeup. I set a timer for 10 minutes, then I do brows or hair.
Local availability check: you can find excellent options at Priceline, Chemist Warehouse, Mecca, and Sephora Australia. If you import, you risk reformulations, shipping heat exposure, and long delays. I only import when I can’t find a comparable local option.
If you want categories to browse fast, start with SPF Protection Products and then filter by finish and skin type. GlamGeek’s price tracking shows when the same SPF swings between retailers, which helps when you’re restocking.
Technique matters as much as product. I apply SPF in thin layers, not one thick slick. Two light passes reduce pilling and help it dry down evenly.
Primer isn’t optional in humidity—just use it strategically
I don’t believe in one “perfect” primer for everyone. I do believe in placing primer where you actually break down.
In summer, I treat my face like zones. I use a gripping or smoothing primer on the centre (nose, inner cheeks, chin), then I skip it on the perimeter if I’m already using a hydrating SPF. Too much product under makeup makes it slip faster.
If you want to shop by category, jump to Face Primers. For budget-friendly options, I often check NYX and Revolution first because they’re easy to find in Australia and they run frequent promos.
My humidity rule: pick one main “grip” layer (usually primer), then keep the rest lightweight. If you stack a rich moisturiser, dewy SPF, luminous primer, and glowy foundation, you’ll get shine fast, then patchiness.
Quick application tip. Press primer in with fingers, don’t rub. Rubbing can lift your SPF layer and create little balls of product that show up later as texture.
Foundation and concealer: build thin, then spot-correct
When it’s hot, I stop chasing full coverage all over. I build a thin base, then I spot-correct. That one change keeps everything looking like skin even when I sweat.
I start with a light layer of a long-wear or natural-matte foundation, applied with a damp sponge. Then I add concealer only where I need it: around the nose, under eyes, and any redness. If you love browsing options, Liquid Foundations and Liquid & Cream Concealers make it easy to compare finishes and wear claims.
For accessible brands, I’d look at L'Oréal for base staples at Priceline and Chemist Warehouse, and Clinique for reliable skin-like finishes at Myer and David Jones (and sometimes good value sets). I’m not listing exact prices here because they swing wildly with 40–50% promos.
Here’s my step-by-step for heat:
- Apply foundation in a thin layer, then wait 60 seconds.
- Press concealer only where needed, then leave it for 20–30 seconds to thicken slightly.
- Tap to blend, and stop as soon as it looks even.
- Press a tissue over the T-zone to lift excess slip before powder.
That tissue step feels boring, but it prevents the “powder + oil = crusty” situation later.
If you want a premium splurge that earns its spot, I still think Estée Lauder bases hold up well in heat. I just buy them on sale, and I keep the rest of the routine cheaper.
Setting spray: what it actually does (and how to use it properly)
Setting spray hype gets messy because not all sprays do the same job. Some melt powders together for a skin finish. Others create a film that helps makeup resist sweat and rubbing. In a heat wave, I want the second type.
Ingredient clue: look for film formers like acrylates or PVP in the ingredient list. They can feel tighter at first, then they settle. If you hate that feel, use a lighter spray to mesh layers, then target film-forming spray only on the centre of the face.
How I apply it:
- Spray once after cream products (base + concealer + cream blush if you use it).
- Let it dry fully. No fan. No waving hands. Just wait.
- Powder strategically (not everywhere).
- Spray again as the final step, then leave it alone for two minutes.
- Carry blotting papers, not more powder.
Blotting papers matter because they remove oil without adding texture. Powder adds layers, and layers crack when you sweat.
Australia check: the best-known setting sprays and mists are easy to find at Mecca and Sephora Australia, while Priceline carries plenty of budget options. If you’re shopping by category, bookmark makeup and compare by finish and wear claim rather than brand hype.
One more practical note. If you wear glasses, spray before you put them on. The nose pads can lift product when it’s still tacky.
Powder, blush and bronzer: choose textures that don’t grab
The “terrifying” trend headlines usually boil down to one thing: people doing too much. Too much powder. Too much pigment. Too much layering. In heat, subtle placement wins.
I keep powder to the centre of my face and under my eyes, and I press it in with a puff. A brush can dust powder over peach fuzz and make skin look drier. If you want to upgrade one tool without spending a fortune, browse Makeup Brushes & Applicators and add a velour puff or powder puff to your kit.
For colour, I prefer satin powders in summer. Matte can look flat once sunscreen shine kicks in, while ultra-shimmer can emphasise texture. I reach for reliable, easy-to-wear staples from MAC (great shade range) or Sephora Collection for budget-friendly brushes and cheek products that are usually available locally.
If you love a “glass skin” look, I keep it controlled: highlight only the tops of cheekbones and the inner corner, then leave the forehead alone. Forehead glow turns into forehead grease fast in Brisbane humidity.
Quick fix for patchy cheeks: tap a tiny amount of your foundation sponge over the edge of blush. It re-meshes pigment into the base without adding more product.
Eyes and lips: the budget swaps that survive sweat
Eye makeup fails in heat for two reasons: oily lids and creamy formulas that never set. I solve it with a simple trio: eye primer, a set shade, and a tubing or long-wear mascara.
If you want to play with colour without the price tag, I look at KIKO when it’s available in Australia, and Morphe for palettes and brushes via local retailers. For quick browsing, Eye Shadow Palettes helps you compare finishes and sizes.
My lid method stays the same:
- Apply a thin layer of eye primer and wait 30 seconds.
- Press a skin-tone powder shadow over it to set.
- Add your shimmer only to the centre of the lid.
- Skip heavy liner on the waterline if you smudge easily.
Mascara choice depends on your eyes. If you smudge badly, I stick to tubing formulas and remove with warm water and gentle pressure. If you want to browse options, head to Mascaras and read reviews for flaking versus smudging.
Lips need a different approach. In heat, I keep a balm and a stain or long-wear lipstick rather than a creamy satin that moves. If you want to shop, Lipsticks, Lip Glosses, and Lip Balms & Creams cover the full range. I like to layer balm first, blot, then add colour so it grips.
Hair tools and the Airwrap question: what I’d buy instead
Let’s talk about the elephant on every “get ready faster” list: the Dyson Airwrap price tag. I get why it’s tempting. It promises smooth hair with less heat damage, and it looks effortless on social media.
But if you’re deciding between a premium tool and building a full heatwave-proof routine, I’d prioritise the routine. In Australian summer, your base products and setting steps affect your face all day. Hair can go up. Makeup has to stay.
If you still want that blowout look for less, I focus on technique and prep rather than chasing an exact dupe. Use a heat protectant, rough-dry to 80–90%, then style. That cut-down in wet-to-hot time reduces damage and frizz. For shopping, I start with hair care essentials like a smoothing shampoo and conditioner, then a lightweight leave-in.
Browse by category when you restock: Moisturising & Nourishing Shampoos and Moisturising & Nourishing Conditioners. If your hair needs extra help, add a weekly Hair Masks night before you style, not on the day.
Brand-wise, I trust Kérastase when I’m splurging and I want predictable results. For budget, I look at what’s on special at Priceline and Chemist Warehouse, then I cross-check reviews.
Australia check: lots of “Airwrap alternatives” get recommended from overseas retailers. If it’s import-only, warranty and voltage can become a headache. I stick to tools sold via Australian retailers unless I can confirm warranty support here.
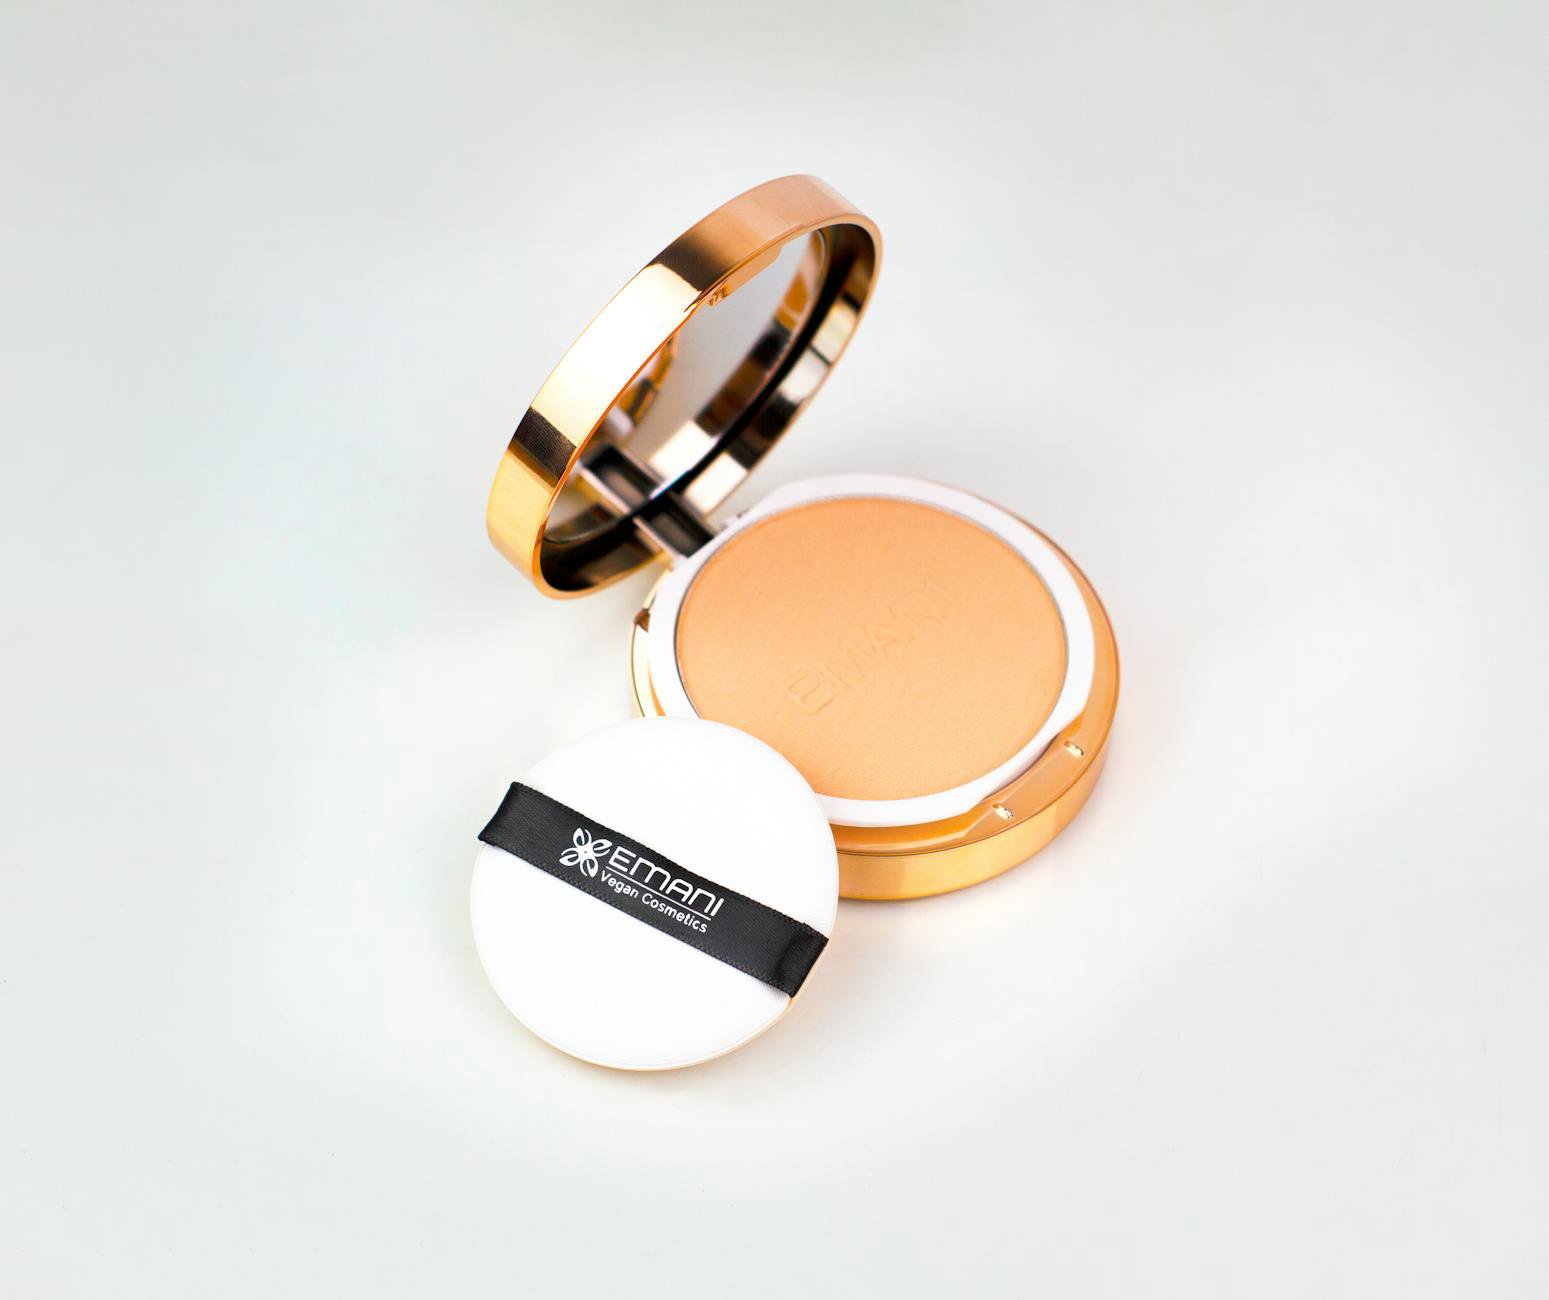
Mini kit, big difference: what I keep in my bag
If you commute, you need a touch-up plan that doesn’t turn into a full face redo in a train station bathroom.
My bag kit stays small. I carry blotting papers, a mini powder (or pressed powder), a lip product, and a travel spray if I know I’ll go from office air-con to outdoor humidity.
Here’s what I’d pack for a long summer day:
- Blotting papers (oil first, always).
- Pressed powder for the sides of the nose and chin only.
- A long-wear lip colour or liner plus balm.
- A small concealer for emergency redness.
- A mini setting spray if you’re going straight to dinner.
- Hair tie. Non-negotiable.
Notice what’s missing. No full foundation. No big brush roll. No heavy highlighter. Touch-ups should restore, not layer.
If you love buying sets to save money, keep an eye on Makeup Sets and Skin Care Sets around seasonal promos. Sets can be better value, but only when you’ll use every item.
What this means for your 2026 routine (and your wallet)
The biggest trend I see in Australian beauty right now isn’t one product. It’s a shift toward routines that perform in real conditions: sweat, sunscreen, humidity, and long days. You don’t need premium everything to get there.
If you change nothing else, change your order and your waiting times. Let SPF set. Press primer where you need it. Build base thin. Blot before powder. Spray with intention. Those steps cost nothing, but they make drugstore makeup wear like prestige.
When you do spend, spend where it affects wear the most: a base that matches your skin type, and a setting spray that suits your tolerance for film-formers. Then keep the fun bits—blush, lips, palettes—budget-friendly and easy to swap.
And always check Australian availability before you fall in love with an overseas pick. Import-only products can work, but shipping delays and reformulations make them a risky “holy grail”.
What’s your worst heatwave makeup problem right now—shine, separation, or mascara smudge—and what have you tried that actually held up?