To make lip gloss last longer without constant touch-ups, you need two things: a better “base” (so the gloss has something to grip) and a smarter gloss texture (so it clings instead of sliding). Most gloss disappears because it transfers, breaks down with saliva and oils, and gets rubbed off by normal talking and eating.
The good news: you can improve wear time a lot without drying your lips out. The trick is to treat gloss like a topcoat, not a one-step product.
We’ll explain why gloss fades so fast, then walk through a practical routine that stacks comfort, shine, and longevity—using lip glosses that our price tracker sees Australians buying again and again.
Why lip gloss fades (and why “long-wear gloss” rarely exists)
Gloss sits on the surface of the lip. That sounds obvious, but it explains everything. A glossy finish comes from oils, emollients, and film formers that reflect light. Those same ingredients also make the product mobile. Mobility means transfer.
Three forces do most of the damage:
- Friction: cups, cutlery, masks, even the inside of your own mouth.
- Moisture + saliva: breaks down the edge first, then the centre.
- Natural lip oils and skincare: anything slippery under gloss makes it slide.
Marketing often promises “non-sticky” as a virtue. In wear-time terms, some tack helps. Not glue-level, just enough grip to resist immediate transfer. That’s why a featherlight gloss can look beautiful yet vanish quickly if you don’t prep.
Climate matters, too. In much of Australia, heat and UV exposure run high year-round. Heat softens waxes and thins oils, which can make gloss migrate. If you live in humid areas (hello, northern summers), you also get more moisture exposure, which encourages breakdown.
So the goal isn’t to turn gloss into matte lipstick. It’s to reduce movement and keep shine where you want it, while staying comfortable.
Choose the right gloss texture first (your wear-time ceiling)
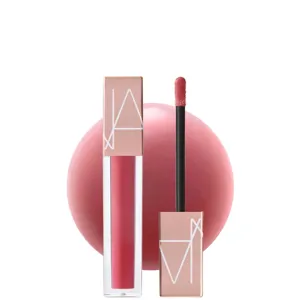
Technique helps, but formula sets your maximum wear time. In our merchant feed, four glosses show up consistently in the “worth the spend” conversation because they balance shine with comfort and grip—at very different price points.
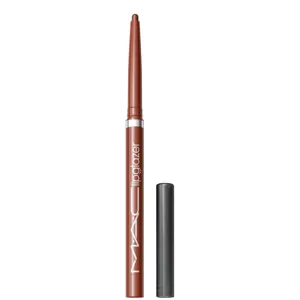
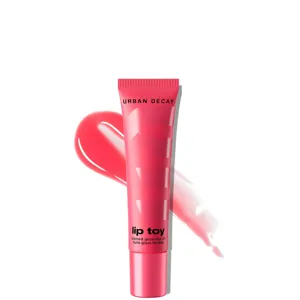
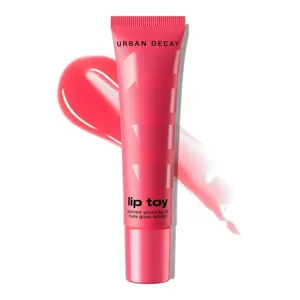
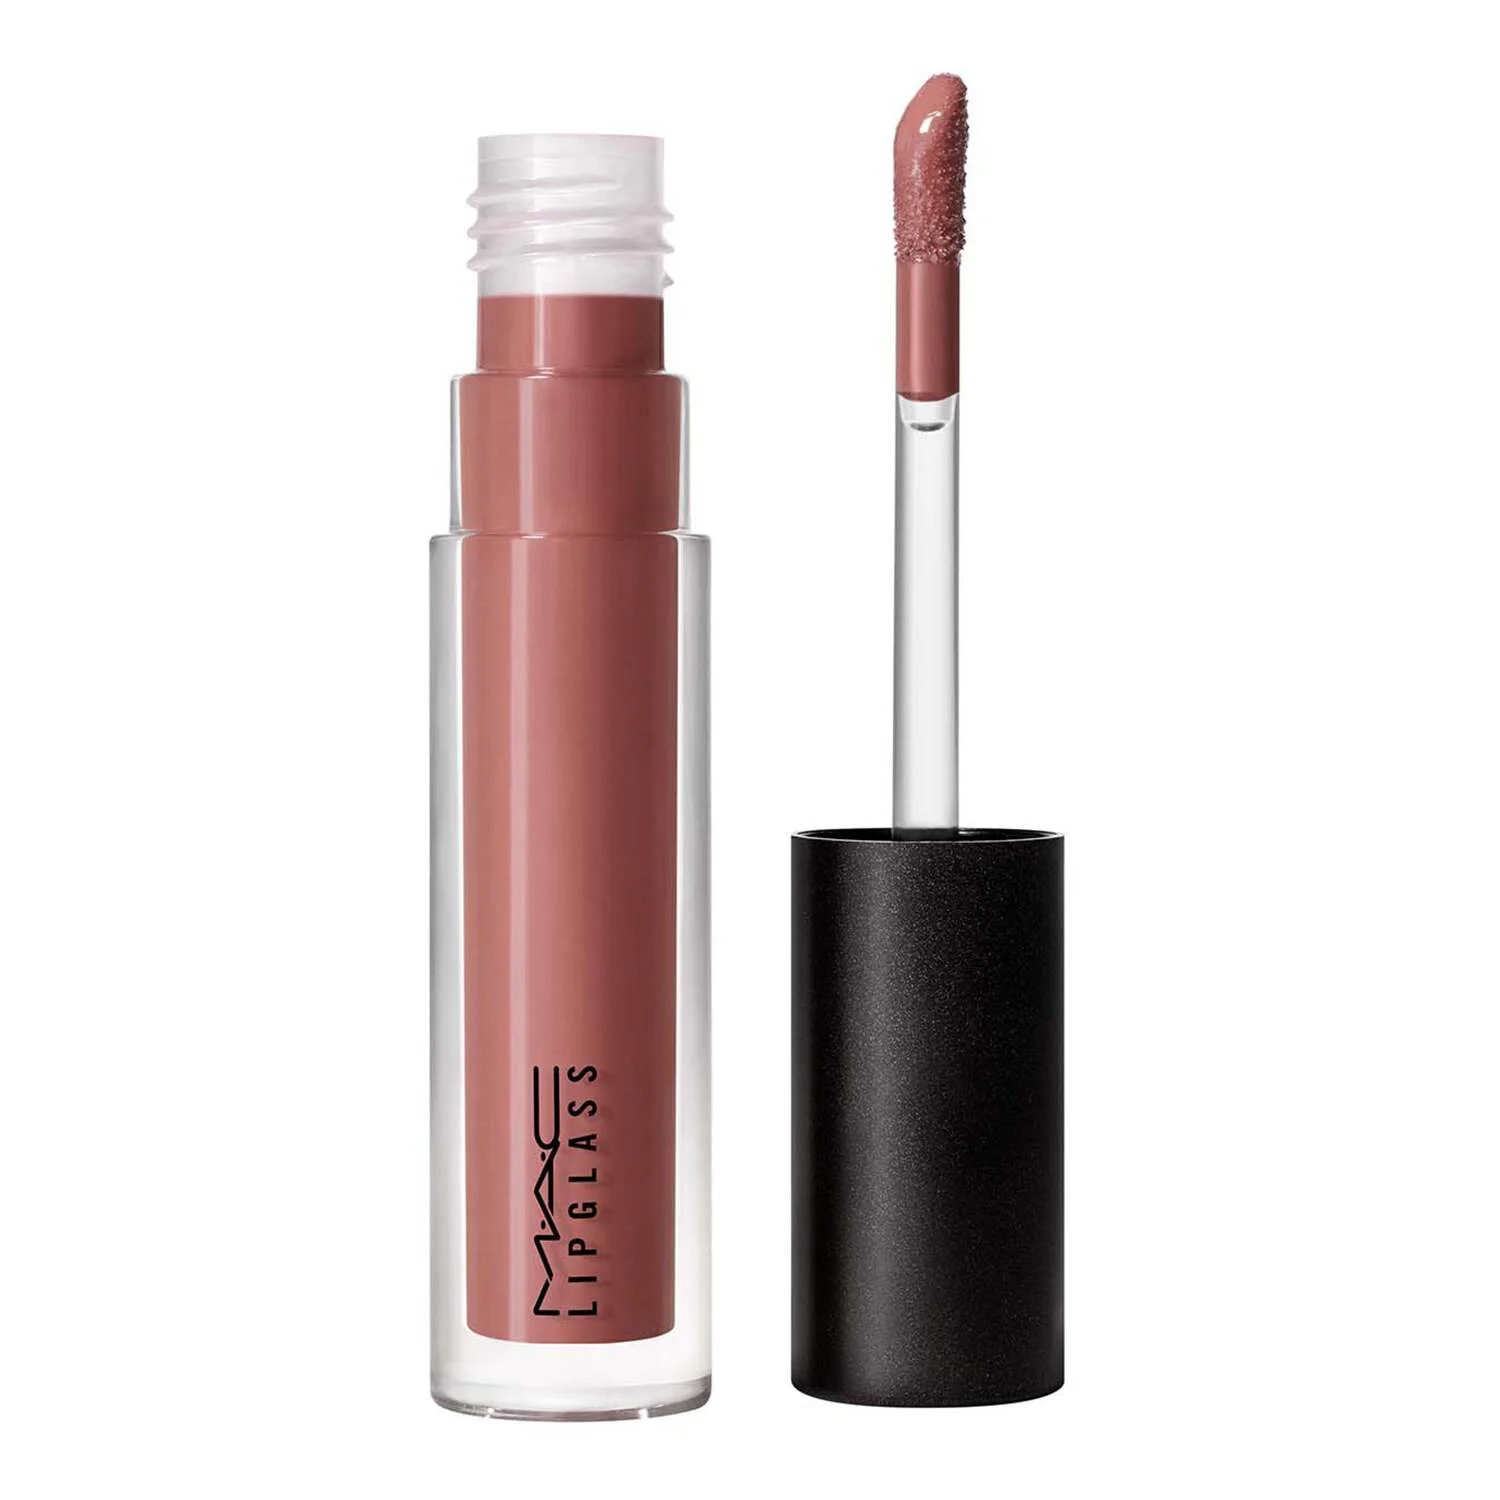
For lightweight shine that still clings: MAC Lipglass Air (from A$45.08). MAC describes it as featherlight with full-bodied, glass-like shine and non-sticky wear. It also includes coconut, jojoba, and meadowfoam seed oils, which can help smooth the look of fine lines for a plumper appearance. Oils can reduce drag, so this one tends to feel comfortable even when you layer it.
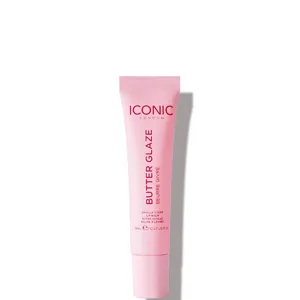
For hydration-first gloss that won’t feel tacky: Biossance without stick (from A$29.40). The brand positions it as a gloss-textured Lip Perfector designed to promote a supple-looking pout, with long-lasting hydration and a bouncy, glazed finish—without stick. If your lips get dry, starting with comfort reduces the urge to lick lips (which shortens wear time fast).
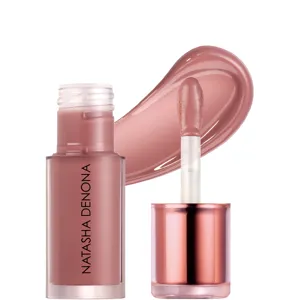
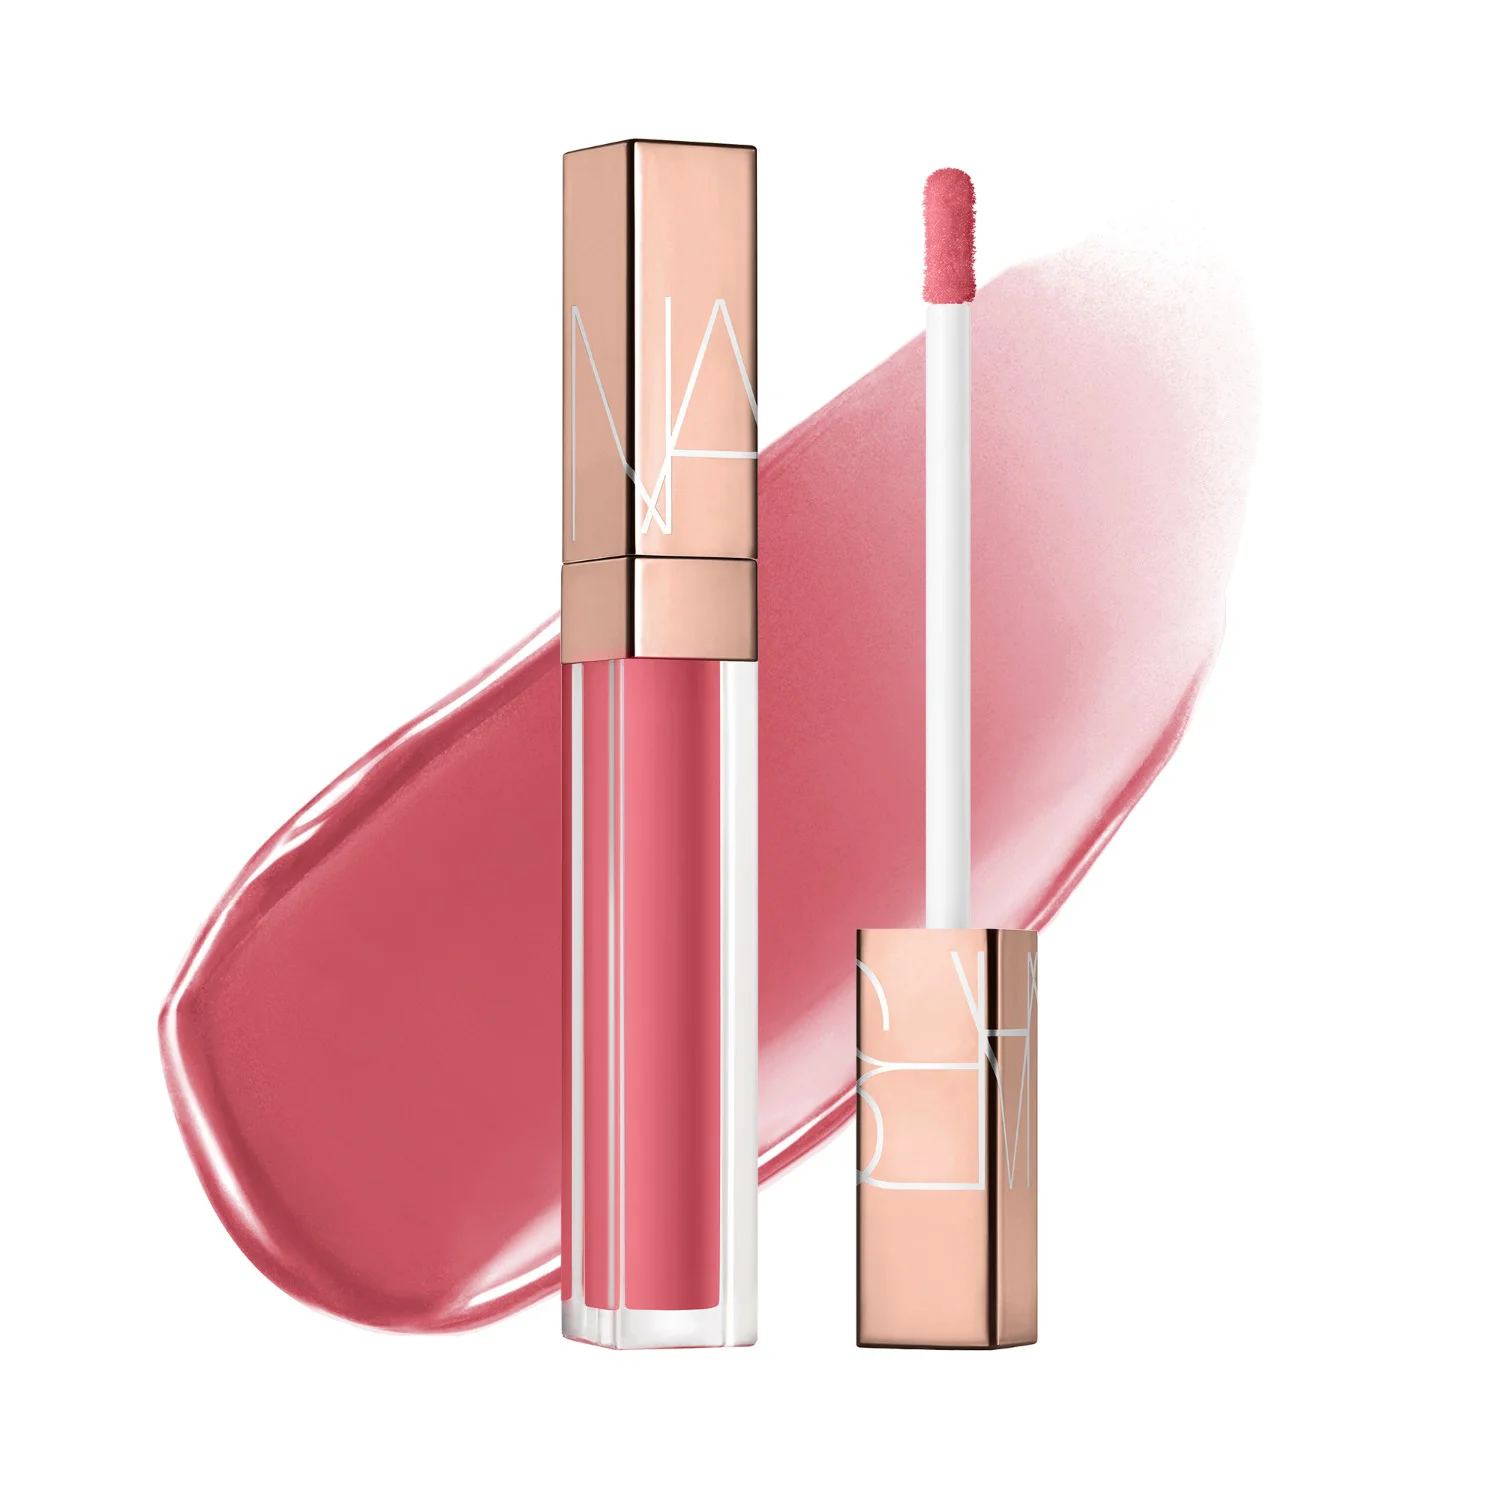
For shine plus “treatment” energy: Nars Afterglow Lip Shine (from A$52.92). NARS claims hydration for up to eight hours, plus a high-shine finish and buildable pigment. Buildable pigment matters because a slightly more pigmented gloss can fade more gracefully than a clear one.
For the luxury splurge (and the ‘hybrid’ pitch): La Mer The Lip Volumizer Gloss (from A$141.12). La Mer frames it as a hydrating, plumping hybrid with Miracle Broth™ and a juicy sheen. Our pricing history often shows a big premium here—classic “Australia tax” territory—so we’d only go this route if the feel and finish are your priority.
One more reality check: clear gloss shows transfer more. If “no reapplying” is your goal, choose a shade with at least some pigment, then use a base layer underneath so fading looks intentional.
Prep that actually helps: smooth, de-slip, and define edges
Prep for gloss differs from prep for matte lipstick. You don’t want a bone-dry lip, but you also don’t want a slippery surface. Think: smooth texture, controlled slip.
Step 1: smooth the texture. If you have flakes, gloss grabs them and makes them obvious. Gently buff with a soft towel after a shower, or use a very mild lip-safe exfoliation approach. Stop the second the surface feels even. Overdoing it creates micro-irritation, which can shorten wear time because lips start producing more moisture.
Step 2: remove excess emollient. If you applied heavy Lip Balms & Creams right before gloss, blot once with tissue. You want comfort, not a slick layer. This single step often doubles wear time because the gloss can adhere instead of skating.
Step 3: create a boundary. People skip this with gloss, then wonder why it migrates. Define the outer edge of the lips with a very thin, slightly tacky layer of gloss first, then let it sit for 20–30 seconds before adding more. This “ring” reduces feathering and keeps shine centred.
In hot weather, keep prep minimal. Too many layers underneath become a slip-and-slide once you start sweating or sipping iced drinks.
If you want your gloss to look sharper in photos, you can also focus shine on the middle third of the lips and keep the edges thinner. That’s not just aesthetics. It reduces transfer at the perimeter, where breakdown usually begins.
The no-reapply layering method: stain/liner + thin gloss + strategic blot
Search results love promising “all-day gloss.” Realistically, gloss will always lose some shine with eating and drinking. The workaround: make sure colour and definition stay behind when shine fades.
We’re keeping this guide strictly about lip gloss products, so we won’t recommend specific liners or stains. But the technique still works with whatever you already own.
Step-by-step (works for most glosses)
- 1) Apply your base colour (liner or stain) and let it set fully. If it’s still damp, your gloss mixes with it and breaks down faster.
- 2) Tap a tiny amount of gloss onto the centre of the bottom lip, then press lips together once. Don’t rub. Rubbing thins the film and pushes product outside the lip line.
- 3) Add a second micro-layer only where you want the most shine (usually the centre). Build in thin coats, not one thick coat.
- 4) Do one controlled blot: press a tissue lightly to the lips for half a second. You’re not removing the gloss; you’re removing excess slip. The shine stays, but transfer drops.
This method pairs well with Nars Afterglow Lip Shine because it offers buildable pigment and a high-shine finish. A pigmented gloss over a set base can fade in layers instead of disappearing.
If you want a lighter feel, try the same method with MAC Lipglass Air. MAC positions it as featherlight and nourishing, with oils like jojoba and meadowfoam seed. Thin layers help it keep that glass-like look without sliding.
For dry lips, swap the blot step for a shorter wait time between layers. Your lips keep more comfort, and you still reduce movement by letting each layer settle.
Powder and setting spray with gloss: what works, what backfires
Yes, you can use powder and setting spray to improve gloss wear. No, you can’t treat gloss like foundation. If you overload powder, you get gritty shine and weird texture.
Here’s the logic: powder and setting spray help by reducing oiliness around the lip line and setting the base beneath the gloss. They do not “set” the gloss itself in the same way they set complexion products.
Two approaches that actually help
- Edge powdering: After you apply and set your base colour, dust a tiny amount of translucent powder around the lip perimeter (not on the wet gloss). This reduces feathering and the shiny “halo” that appears after a few hours.
- Set the base, then gloss: Mist setting spray on the face after your base lip colour, let it dry fully, then apply gloss. You lock in what sits under the gloss, so when shine fades, you still have shape.
- Gloss sandwich (advanced): Base colour → micro-layer of gloss → tissue blot → second micro-layer of gloss. This gives the most transfer resistance without turning the finish flat.
- Do not spray wet gloss: Setting spray can create uneven beading or patchiness on a glossy surface.
When you want maximum comfort, use a hydrating gloss as your “topcoat” and keep everything else minimal. Biossance without stick suits this approach because it’s designed to deliver long-lasting hydration and a glazed finish without stickiness. Comfort reduces lip licking, which helps longevity more than people expect.
If you want a plush, high-end finish and don’t mind the price, La Mer The Lip Volumizer Gloss leans into the “hybrid treatment” idea with intense hydration and a juicy sheen. It won’t defy physics, but it can keep lips feeling supple, which supports better-looking wear.
For readers who shop broadly, you’ll see plenty of setting products at MAC counters, Sephora Australia, and Mecca. Just remember: your gloss remains the moving part.
Drink, eat, talk: make gloss wear-proof in real life
Most gloss tutorials assume you’ll stand still and look pretty. Real life includes coffee, lunch, and talking.
So we’ll optimise for transfer points.
Straws help, but technique helps more. Sip from the edge of the cup and keep contact to the inner lip, not the outer rim. That preserves the glossy border and keeps the shape intact.
Choose foods that don’t strip. Oily foods break down gloss quickly. Hot drinks soften it. Crunchy food creates friction. If you can’t avoid those, accept that shine will reduce—but your base colour can remain if you used the layering method.
Blot after meals once. Not a full reapply. Just press tissue lightly, then press lips together. If you used a pigmented gloss like Nars Afterglow Lip Shine, you often keep a soft tint and a neat outline even after the shine drops.
Heat strategy (Australian summer edition): apply less product than you think. Thick gloss becomes runny faster in heat. Two thin layers outperform one thick one for both comfort and longevity.
One more: avoid applying gloss right after heavy face products migrate. If you just finished your Day Face Moisturisers or richer Anti Ageing Face Creams, wipe around the mouth before lip steps. That stops skincare oils from dissolving your lip edge.
Which gloss to pick for your “no reapply” goal (with tracked prices)
If you want the gloss to last longer, pick the formula that matches your problem. Then use the routine that supports it.
Here’s how we’d match the four options from our lip gloss price pages.
- Best all-rounder for modern shine: MAC Lipglass Air (from A$45.08). It targets glass-like shine with non-sticky wear, plus a blend of coconut, jojoba, and meadowfoam seed oils. Use it in two thin layers and keep product concentrated in the centre.
- Best budget-friendly comfort pick: Biossance without stick (from A$29.40). It focuses on long-lasting hydration and a bouncy glazed finish without stickiness. Pair it with a set base colour so you keep definition even when shine fades.
- Best for a “tint stays behind” effect: Nars Afterglow Lip Shine (from A$52.92). NARS claims up to eight hours of hydration and buildable pigment. Buildable pigment helps you adjust intensity without piling on a thick layer.
- Best luxury splurge (if feel matters most): La Mer The Lip Volumizer Gloss (from A$141.12). It’s positioned as a plumping, intensely hydrating hybrid with Miracle Broth™. Our tracker often shows luxury pricing gaps in Australia, so we’d only justify it if you value the treatment-style finish.
Where to buy? Stock varies. MAC and NARS often appear at Sephora Australia and department stores like MYER, while Adore Beauty and Mecca can vary by range. Our price tracking shows that “from” pricing can differ by retailer and promo cycles, so it pays to compare before checkout.
If you’re browsing other brands, GlamGeek’s brand pages (like Clinique, NYX, Charlotte Tilbury, or Guerlain) help you sanity-check what’s stocked locally versus import-only. Just keep your expectations grounded: any gloss can only bend the rules of transfer so far.
Practical tips you can use today (without drying your lips out)
If you only change three things, change these.
- Blot once, lightly. It removes slip, not shine. This one step cuts down on immediate cup transfer.
- Keep gloss off the outermost edge. Apply more in the centre, less at the border. Migration starts at the border.
- Let layers settle. Wait 20–30 seconds between micro-layers. Rushing makes everything mix and slide.
- Don’t stack oily skincare under the lip line. Wipe around the mouth after skincare, before makeup. Your gloss will grip better.
Then match your gloss to your tolerance for tack and your need for comfort. If you hate sticky textures, start with Biossance without stick (from A$29.40) and lean harder on the base colour method. If you want maximum shine with a lighter feel, MAC Lipglass Air (from A$45.08) fits the brief.
Also: don’t chase perfection. “No reapplying” can mean no full re-do. A single post-lunch blot that keeps your base intact still counts as a win.
Want us to tailor a routine to your habits—coffee sipper, mask wearer, or all-day talker—and your gloss pick from the four above?