I love a red carpet scroll as much as the next woman. But every time I see “the secret behind glass skin” or “the $26 miracle,” I picture the other part of the story: the chair time, the prep, the touch-ups, and the products that never make the caption.
The funniest part? You can get the look without paying Met Gala-level money. You just need to stop chasing a single hero product and start building a tight, humidity-aware routine that behaves under Australian conditions.
Because our glow has to survive UV, air-con, sweat, and a car mirror check at the lights.
The real cost of “event skin” (and what’s actually worth copying)
When headlines talk about the cost of major events, they usually focus on dresses, tickets, and jewellery. I read those pieces and think about the parallel beauty budget: skin prep, hair, nails, lashes, and the products you buy “just for this one night.” It adds up fast, even before you reach luxury.
Here’s what I see women doing in real life: panic-buying a new foundation, adding three serums at once, and booking a harsh treatment a week before an event. That’s how you get pilling, breakouts, and makeup that slides off by 9pm.
Instead, copy the structure of red carpet prep. Pros keep it boring: cleanse, hydrate, smooth, protect, then makeup. They pick textures that layer. They avoid surprise actives right before the big day.
My “worth copying” list looks like this:
- Barrier-first hydration (glycerin, ceramides, squalane) rather than spicy new acids.
- Targeted smoothing (a light exfoliant used earlier in the week, not the night before).
- Long-wear base logic: thin layers, set strategically, and plan for touch-ups.
- Heat tactics: sweat-friendly skincare and makeup that tolerates humidity.
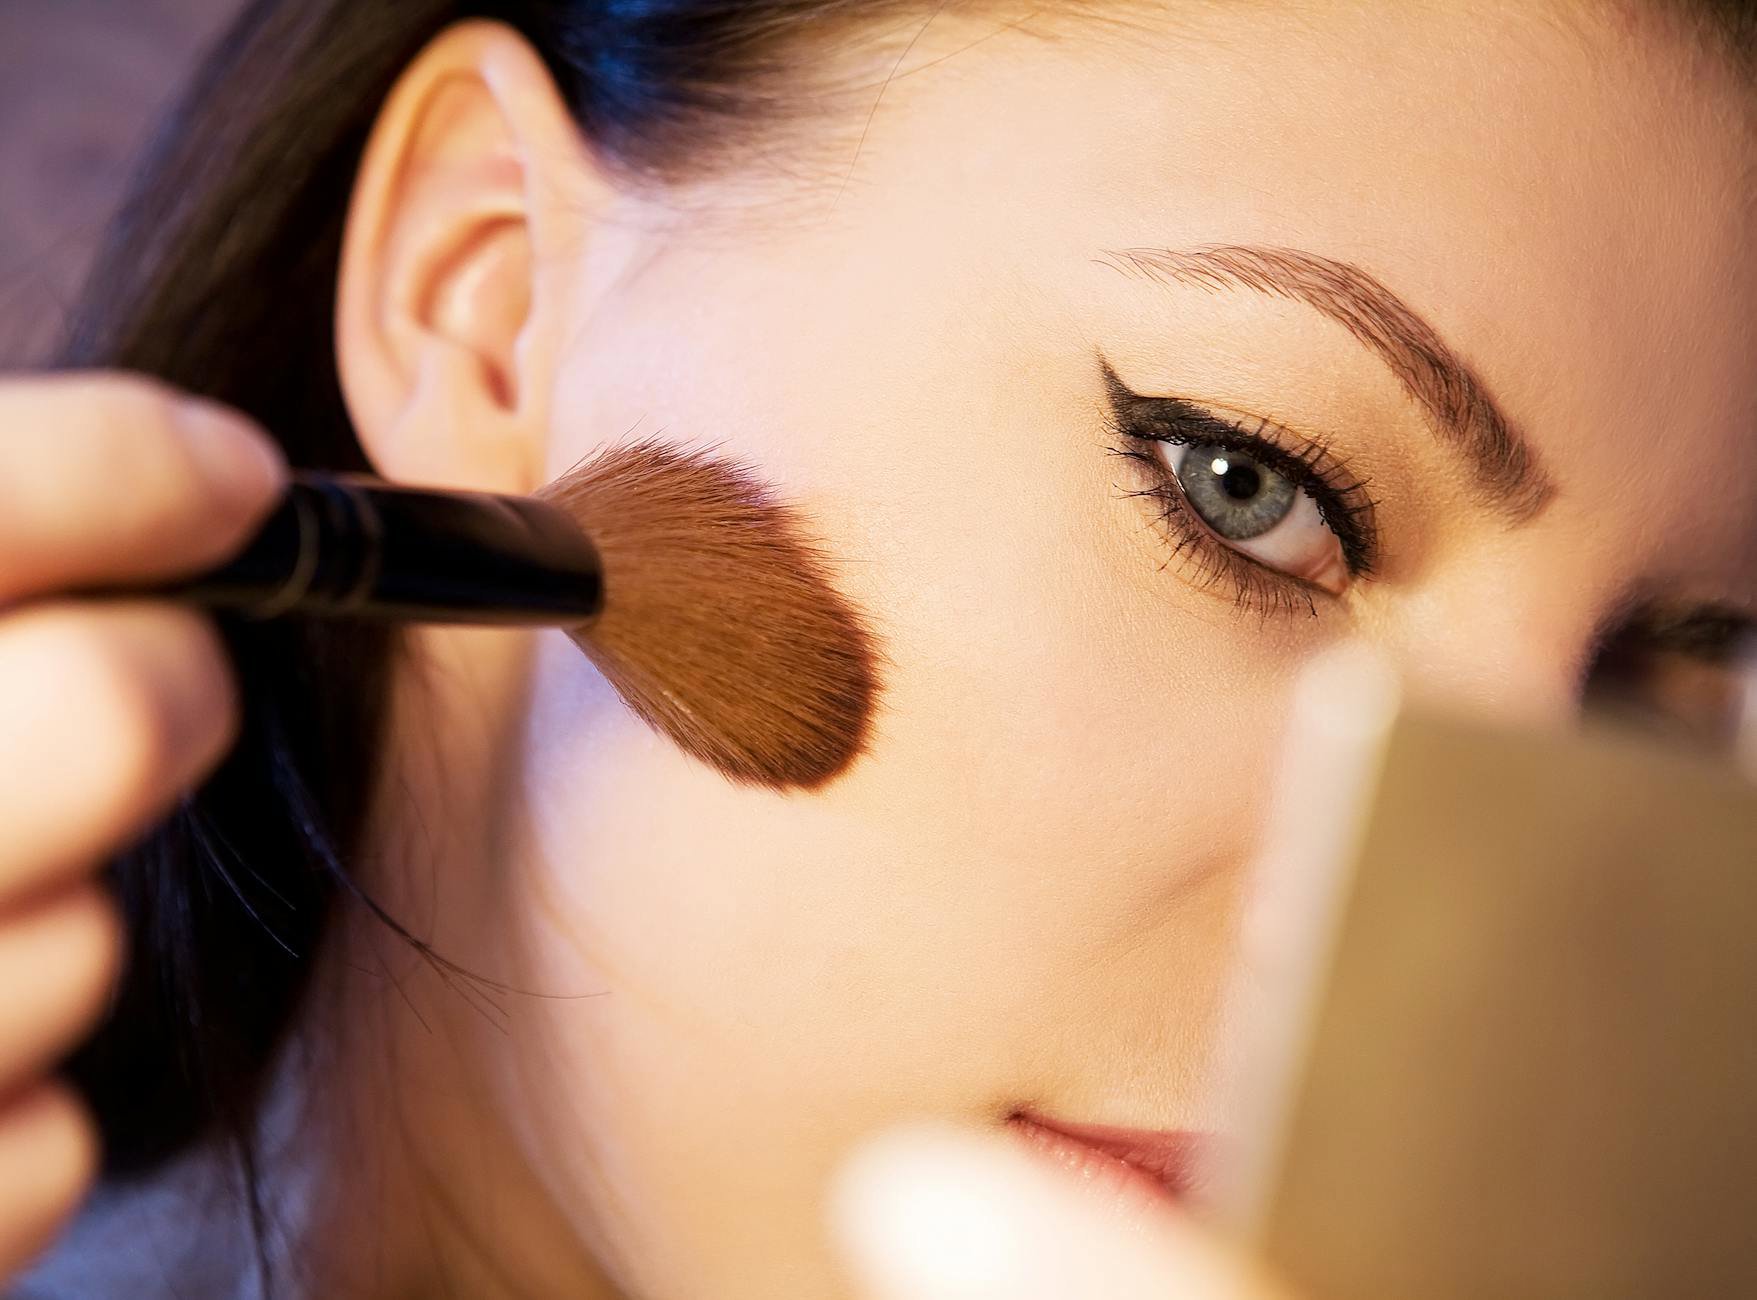
“Glass skin” in Australia: the glow that doesn’t melt
Glass skin gets marketed like it’s one product. In practice, it’s a finish created by smooth texture + even tone + controlled shine. In an Australian summer (or a packed dance floor), uncontrolled shine turns into a slippery base fast.
I build glassy skin with three texture rules.
Rule 1: Choose one watery hydrator. If you layer three “dewy” serums, your foundation can skid. Look for glycerin, panthenol, beta-glucan, and light hyaluronic acid formulas. This fits neatly into Day Face Serums on GlamGeek if you like comparing textures across retailers.
Rule 2: Lock it in with a gel-cream, not a heavy balm. In humidity, heavy occlusives can trap heat and make makeup separate. If you love a richer moisturiser, keep it to night and go lighter under makeup with a daytime option from Day Face Moisturisers.
Rule 3: Set the perimeter, leave the centre alive. I powder around the nose, chin, and under-eyes, then leave cheekbones and temples with a skin finish. That reads “glass,” not “greasy.”
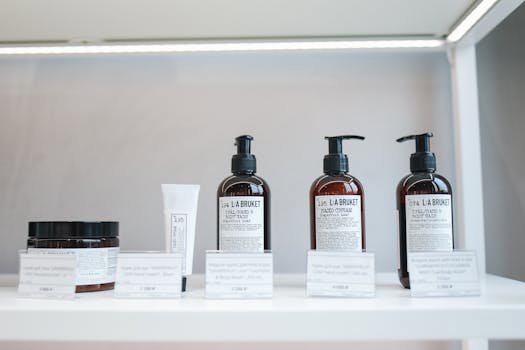
Australia availability check: the easiest “glow without slip” products usually come from brands stocked at Priceline, Chemist Warehouse, Sephora Australia, Mecca, and Adore Beauty. If you see a viral US-only serum, assume import-only until you can confirm local stock.
The $26 “secret” headlines: how I sanity-check cheap smoothing claims
I’m not anti-budget. I love budget. I just hate when a headline implies one cheap product replaces consistent routine work.
When you see “noticeably smoother” skin from a low-cost buy, it usually falls into one of four categories:
- Silicones that blur instantly (great for events, temporary).
- Gentle chemical exfoliants like lactic acid or salicylic acid (real results, but not overnight).
- Hydrators like glycerin that plump fine lines (fast, but you need to keep using them).
- Retinoids (best long-term smoothing, but requires patience and careful use).
My quick method: check the ingredient list for the “why.” If a product feels like velvet and blurs instantly, you probably bought a silicone-rich formula. That can look flawless under makeup, especially with event lighting, but it won’t fix texture long-term.
If you want a practical smoothing plan that works for normal-to-oily skin in warm weather, I’d run it like this:
2–3 nights a week: a gentle exfoliant (think lactic or salicylic) from the Face Exfoliants category.
Other nights: barrier support (ceramides, niacinamide if you tolerate it, and a simple moisturiser).
Event week: stop new actives 3–4 days before the event and focus on hydration + calm.
Australia availability check: salicylic acid and lactic acid options sit everywhere from Priceline to Sephora Australia. Retinoids vary, and some stronger formulas stay import-only or prescription-based. Keep it simple if you’re close to an event.
The “lifesaver” cream effect: when rich moisturisers help, and when they ruin makeup
Those “lifesaver cream” stories usually hit when the weather swings. Cold snaps, heater season, or post-flight skin. A richer cream can absolutely rescue dryness, especially if your barrier feels tight or stings.
But under makeup, rich creams can cause two common problems: foundation splitting and blush sliding. That doesn’t mean you can’t use them. It means you need a smarter split routine.
Here’s how I handle it:
- Use the rich cream at night as your repair step. Keep morning lighter.
- Spot-treat dry zones (around the mouth, sides of nose) instead of coating the whole face.
- Wait time matters. I give moisturiser 10 minutes before primer or foundation.
- Switch base type if needed. A more matte base can tolerate a richer moisturiser underneath.
For women who love luxe textures, I see this work well with classic brands like Clinique and Clarins that you can actually buy in Australia. If you’re browsing premium, I always check whether Mecca or Sephora Australia stocks the exact formula before I even consider a viral overseas recommendation.
And if you want that “just had a facial” bounce without heavy feel, I’d look for moisturisers that combine humectants (glycerin) with barrier lipids (ceramides) rather than thick petrolatum-heavy finishes for daytime.
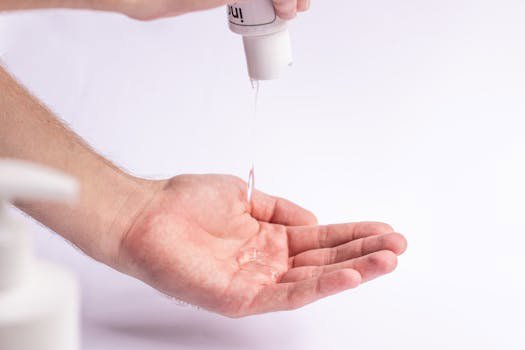
Eye serum hype vs reality: what I use for puff, lines, and concealer creasing
Eye serums get marketed like “sleep in a bottle.” I wish. In reality, eye products do three useful things: hydrate to reduce creasing, add temporary tightening, and deliver actives gently over time.
For morning puff, caffeine can help. For fine lines, hydration plus peptides can make makeup sit better. For dark circles, topical products only go so far, especially if pigmentation or genetics drive them.
My under-eye rules for event makeup:
- Use less product than you think. A rice grain per eye.
- Let it set for a few minutes before concealer.
- Choose a thin concealer layer, then add coverage only where you need it.
- Powder lightly with a small brush, not a sponge.
If you want to browse options by finish and price swings, GlamGeek’s price tracking shows when certain eye products spike or drop across retailers. I usually start in Anti Ageing Face Serums and then filter by ingredients I know my skin tolerates.
Australia availability check: you’ll find solid eye options at Mecca, Sephora Australia, and Priceline. If a Rhode-style “unreleased” product pops up in editorial coverage, treat it as import-only unless you can buy it locally right now.
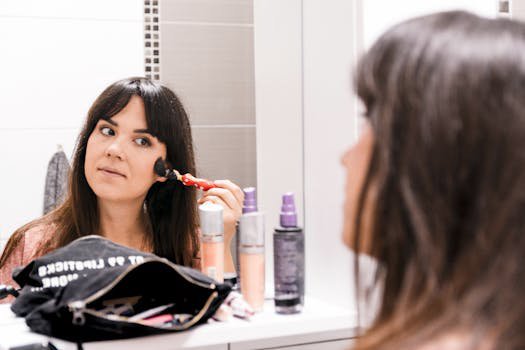
Dyson Airwrap alternatives: what actually matters for hair in Aussie humidity
I see the Airwrap alternative lists every year, usually framed around price. Fair. But the more useful question is: what finish do you want, and how long do you need it to last in humidity?
If you want a smooth blowout that survives Brisbane moisture or a Sydney coastal night, focus on three specs: airflow control, heat settings, and the brush attachment design. Then plan your prep.
My humidity-proof method:
- Start with the right cleanse. If your hair feels coated, your style drops faster. Rotate a nourishing wash from Moisturising & Nourishing Shampoos with an occasional clarifying wash if you use lots of styling products.
- Condition for slip, not heaviness. A lightweight option from Moisturising & Nourishing Conditioners helps detangle without collapsing volume.
- Use heat protectant every time. No exceptions.
- Set the style. Cool shot, then pin curls for 10 minutes if you can.
- Finish with anti-humidity hold, not oil. Oils can make hair drop faster in damp air.
For hair treatment nights, I still rate a proper mask once a week, chosen by hair type, from Hair Masks. If you bleach or highlight, look at bond-building treatments. If you just feel dry, go for emollients and fatty alcohols.
Australia availability check: Dyson sits widely available here, but so do alternatives from mainstream retailers. I won’t name a specific dupe model unless I can confirm Australian stock and the exact model name.
Drugstore makeup that reads expensive: my “red carpet” kit from Australian shelves
When US sites say “drugstore,” they usually mean different ranges and different pricing. In Australia, the closest practical version lives at Priceline, Chemist Warehouse, Big W, and sometimes Kmart/Target, plus affordable lines at Sephora.
My rule: pick one “hero” for finish (foundation or concealer), then keep the rest smart and affordable. The audience sees the base first.
Here’s the kit logic I use, with Australia-friendly brand call-outs I trust:
- Primer: choose based on your base, and keep it thin. If you need options, browse Face Primers and look at ingredient bases. NYX, Morphe, and Sephora Collection all make solid primers in Australia.
- Foundation: pick a finish that matches your climate. In humidity, I prefer natural-matte over ultra-dewy. Start your comparisons in Liquid Foundations.
- Concealer: choose a flexible formula that doesn’t crack. Shop by undertone and finish in Liquid & Cream Concealers.
- Eyes: you don’t need 18 shades. You need 3–6 that blend fast. I check Eye Shadow Palettes and look for mattes plus one shimmer topper. Revolution and KIKO do this well when you can find the right palette locally.
- Mascara: tubing formulas help with humidity and watery eyes. Browse Mascaras and prioritise wear claims like “tubing” over vague “volume.”
- Lips: pick one comfortable lipstick plus a gloss topper. I mix a satin from Lipsticks with a shine from Lip Glosses.
If you want a single “looks expensive” upgrade, I put it into tools. A good sponge or brush makes a mid foundation look better. Start at Makeup Brushes & Applicators and pick one base brush plus a small powder brush.
Red carpet staying power: my step-by-step for heat, sweat, and photos
This is the part I wish more headlines covered. Longevity comes from technique, not hype.
Here’s my event routine for Australian weather, written like a checklist.
1) Prep skin (15 minutes total).
Cleanse with a gentle wash from Foam & Wash Cleansers. Apply a thin hydrating serum. Moisturise lightly. Then SPF if it’s daytime.
2) SPF without ruining makeup.
If your event starts in daylight, don’t skip sunscreen. Choose a formula you know works under makeup from SPF Protection Products. I let it set for 10 minutes before any primer.
3) Prime only where needed.
I prime the centre of the face and anywhere makeup breaks up. I skip cheeks if they behave. Less layering means less pilling.
4) Base in thin layers.
I apply foundation in two light passes, not one thick one. Conceal only after foundation, and only where the base didn’t cover.
5) Cream first, powder second.
Cream blush and bronzer look fresh, but I lock them with a whisper of powder in the same tone. That’s what keeps it intact.
6) Set strategically.
Powder goes on the T-zone and under-eyes. I keep cheekbones glowy. Then I finish with a setting spray if I know it plays well with my base.
Australia availability check: setting sprays vary wildly. If you shop at Mecca or Sephora Australia, ask for a sample or patch test. If you buy online via Adore Beauty, check return policies before you commit.
What this means for your next event (and your wallet)
These headlines all point to the same thing: women want polish, but we don’t want to get ripped off or stuck with products that only work on camera. You don’t need a Met Gala budget to look put-together. You need a plan that respects your skin and your climate.
My practical takeaways:
- Stop chasing one miracle product. Build a simple routine that layers without slipping.
- Make “availability in Australia” your filter. If it’s import-only, don’t rely on it for an event next weekend.
- Spend where it shows. Base match, tools, and a reliable SPF beat random impulse buys.
- Test the full stack once. Do a trial run on a normal day and see what pills, creases, or melts.
If you use GlamGeek to compare, watch how prices move between Mecca, Priceline, Sephora Australia, and Adore Beauty. Timing your buys around sales beats buying five “dupes” that don’t suit your skin.
Calm. Consistent. Strategic.
Over to you: what headline made you buy something (and did it work?)
I want to know which trend got you: the “lifesaver” cream, the $26 smoother-skin secret, glass skin, or the Airwrap alternatives. What did you buy, and did it actually hold up in Australian weather?
Tell me your skin type, your city, and what melted first.