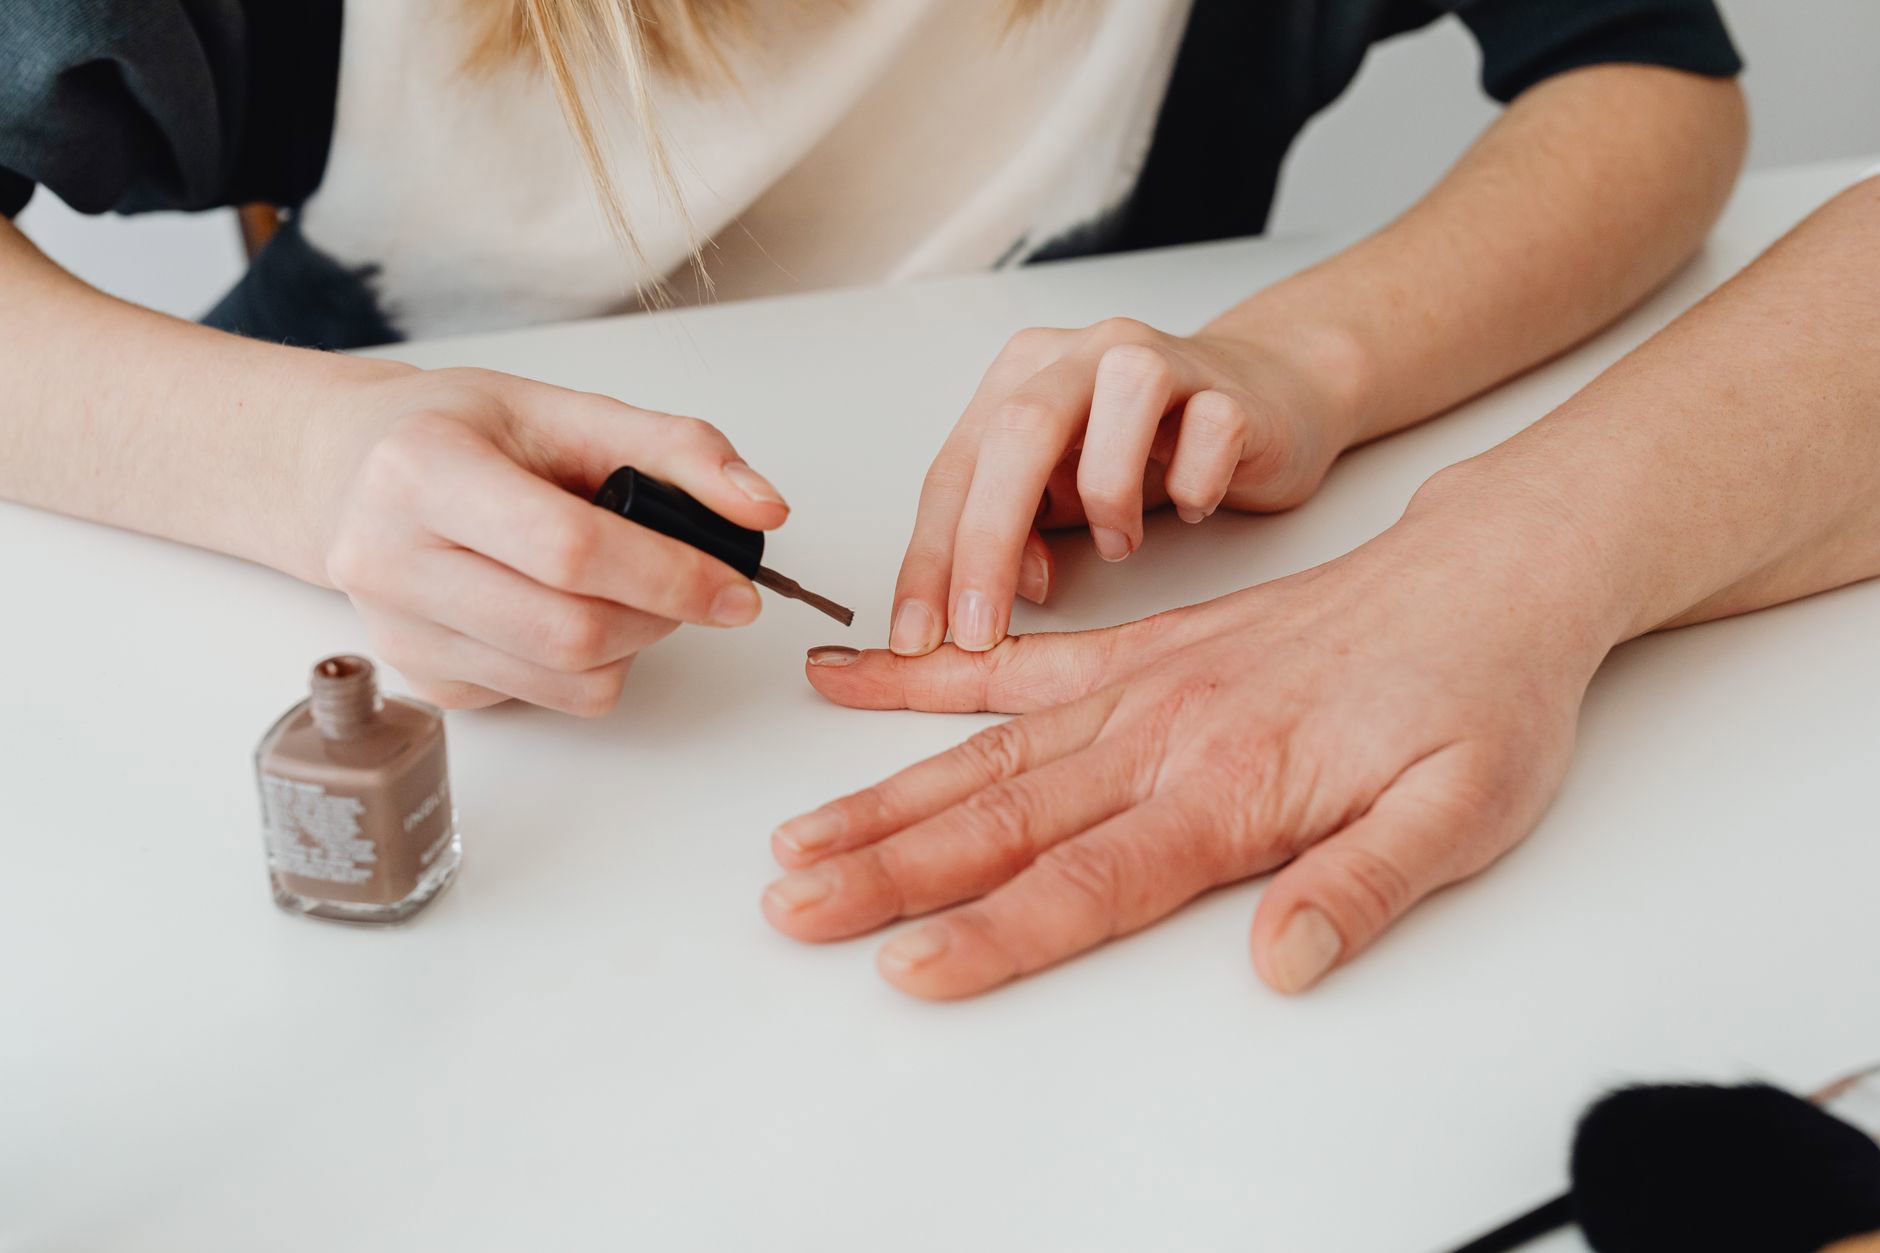
Smudged nail polish feels like a full reset. It usually isn’t.
If the polish still feels even slightly soft, you can often smooth the dent, re-seal the surface, and keep the original colour—no full repaint required. The trick comes down to timing, a light touch, and using the right “slip” (top coat, oil, or a tiny bit of remover) so you don’t drag pigment around.
Below, we break down why polish smudges in the first place, then walk through practical fixes for fresh smears and late-stage dents. We also flag habits that reduce drying time and dents—especially useful in Canadian winters, when indoor heating dries hands out but doesn’t help polish cure faster.
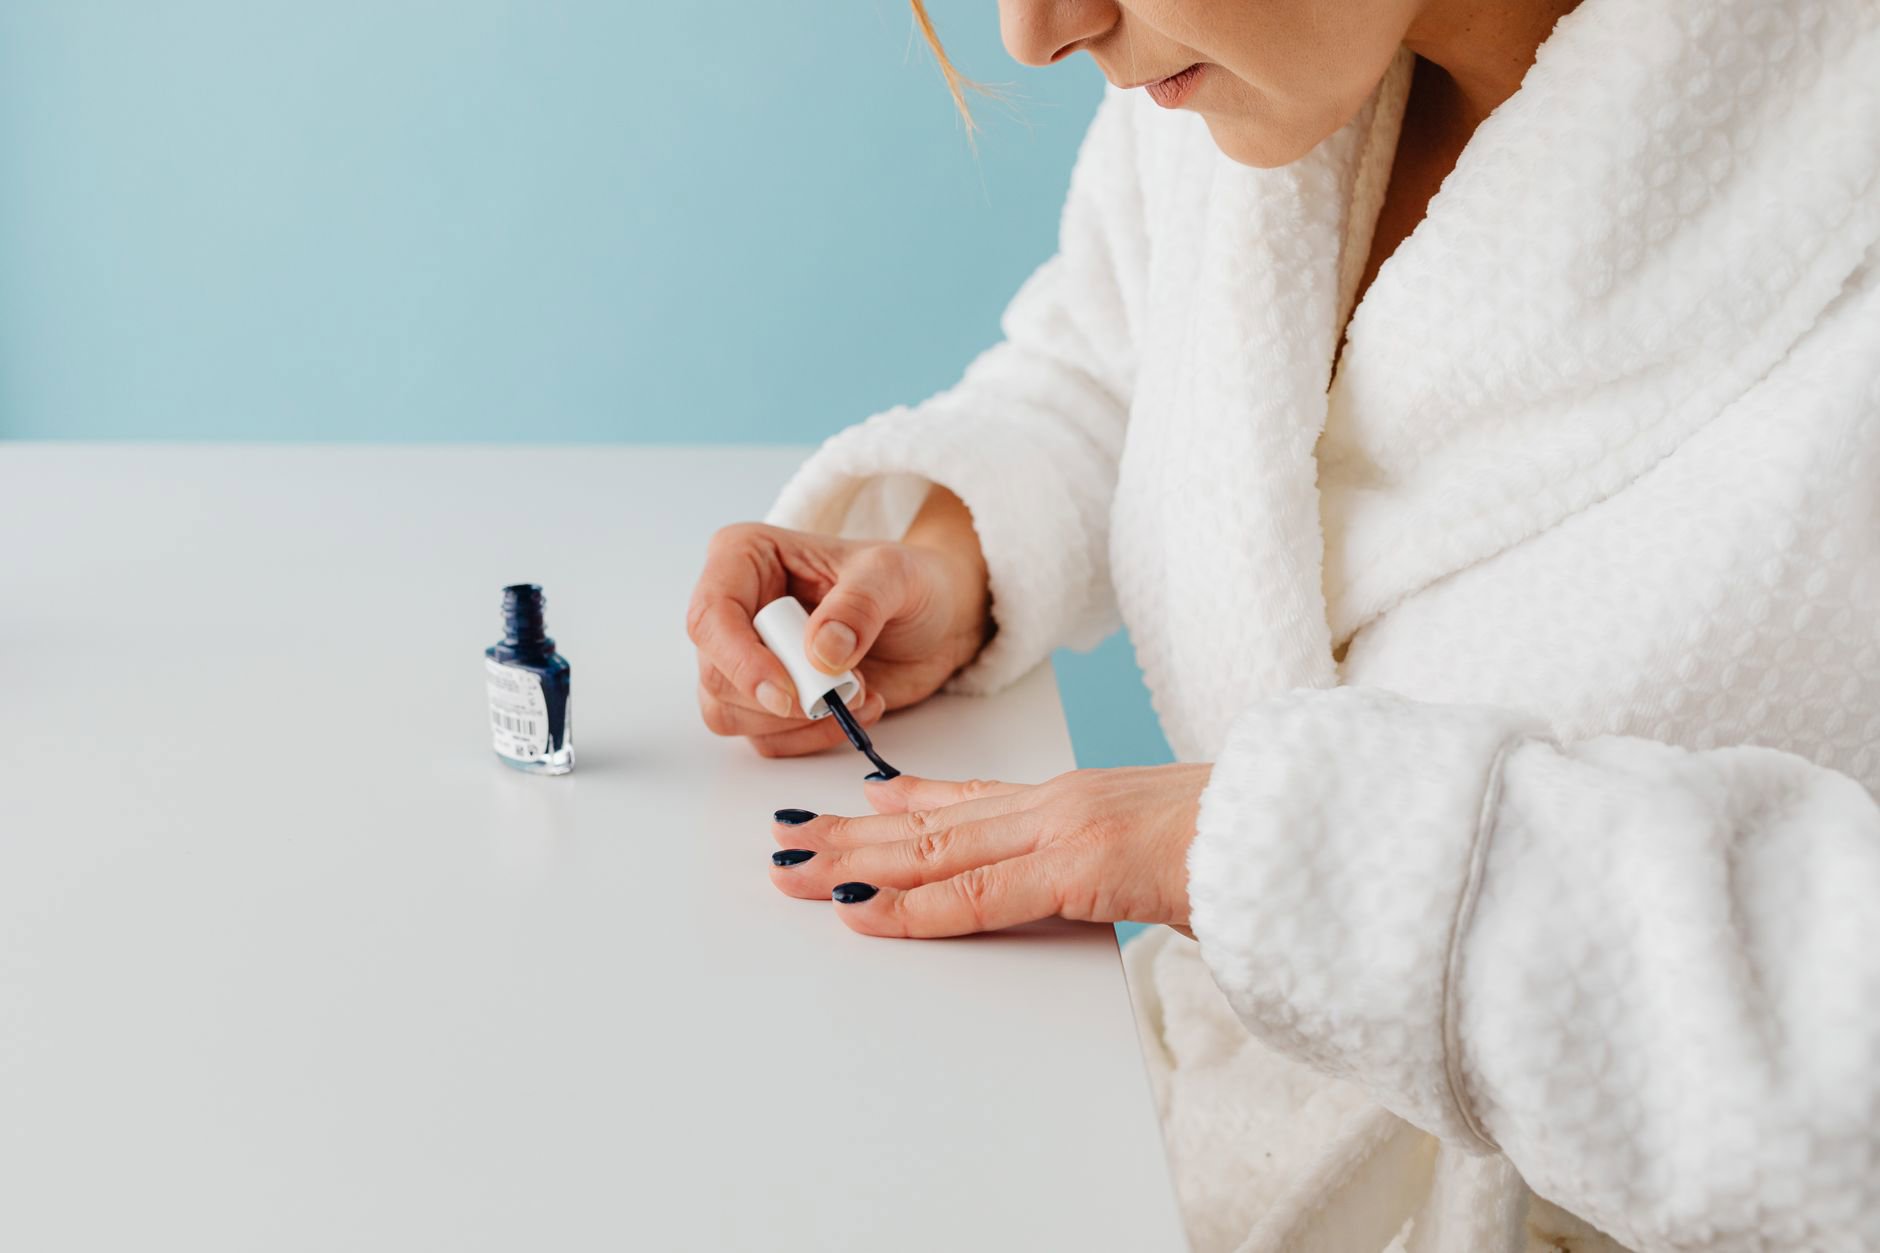
Why nail polish smudges (and why “dry” isn’t cured)
Nail polish smudges because the film stays soft longer than it looks. Most traditional nail lacquers “dry” in stages: solvents flash off first, then the film continues to harden as remaining solvents evaporate and the coating sets.
That’s why a manicure can feel dry to the touch but still dent under pressure. A light bump compresses the film, and the colour layer shifts. You see a ridge, a thumbprint texture, or a bald patch where pigment moved.
Smudges also happen when the top layer skins over quickly while the layer underneath stays soft. Thicker coats, humid bathrooms, and warm hands can all make this worse. So can rushing between coats. If you apply a second coat before the first has set, you trap solvent and extend the soft stage.
Marketing loves “one-coat coverage.” Our price tracker data across major retailers shows those polishes often sit at a premium, and they can still smudge if you lay them on too thick. Thin coats win. Almost always.
Two more contributors people miss:
- Oils and residue on the nail plate: lotion, sunscreen, and even conditioner residue can reduce adhesion. The polish then shifts more easily when bumped.
- Temperature swings: stepping outside into cold Canadian air, then back into warm indoor heat, can change how quickly solvents evaporate and how flexible the film feels.
The 60-second fix for a fresh smudge (still tacky)
When the smudge happened within the last hour and the polish still feels tacky, you have your best odds. You can often reflow the surface instead of repainting.
Goal: soften the very top of the dent, then glide it flat. You need slip so your finger (or tool) doesn’t grab and drag colour.
Step-by-step:
- Wash and dry your hands quickly. You want clean fingertips, not lotion-slick ones.
- Add slip. Use a tiny amount of nail oil if you have it. If not, use a drop of top coat on the smudge itself. (Top coat works as both slip and seal.)
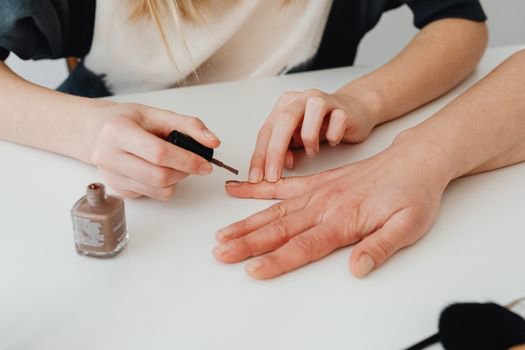
- Gently smooth. With a clean fingertip or a silicone tool, lightly stroke across the dent in one direction. Don’t scrub. Two to four passes max.
- Let it level for 30 seconds. If you used top coat as slip, it will begin to self-level.
- Re-seal with a full top-coat layer. Float the brush. Minimal pressure. Cap the free edge.
One sentence that matters: pressure creates texture. Most “fixes” fail because people push too hard and create brush marks.
If you want a dedicated top coat in your kit, look at Sephora Collection nail polishes and top-coat options in the same range when you shop. GlamGeek price tracking often shows Sephora Canada runs frequent multi-buy promos on house-brand nail items, which helps if you need a backup bottle on hand.
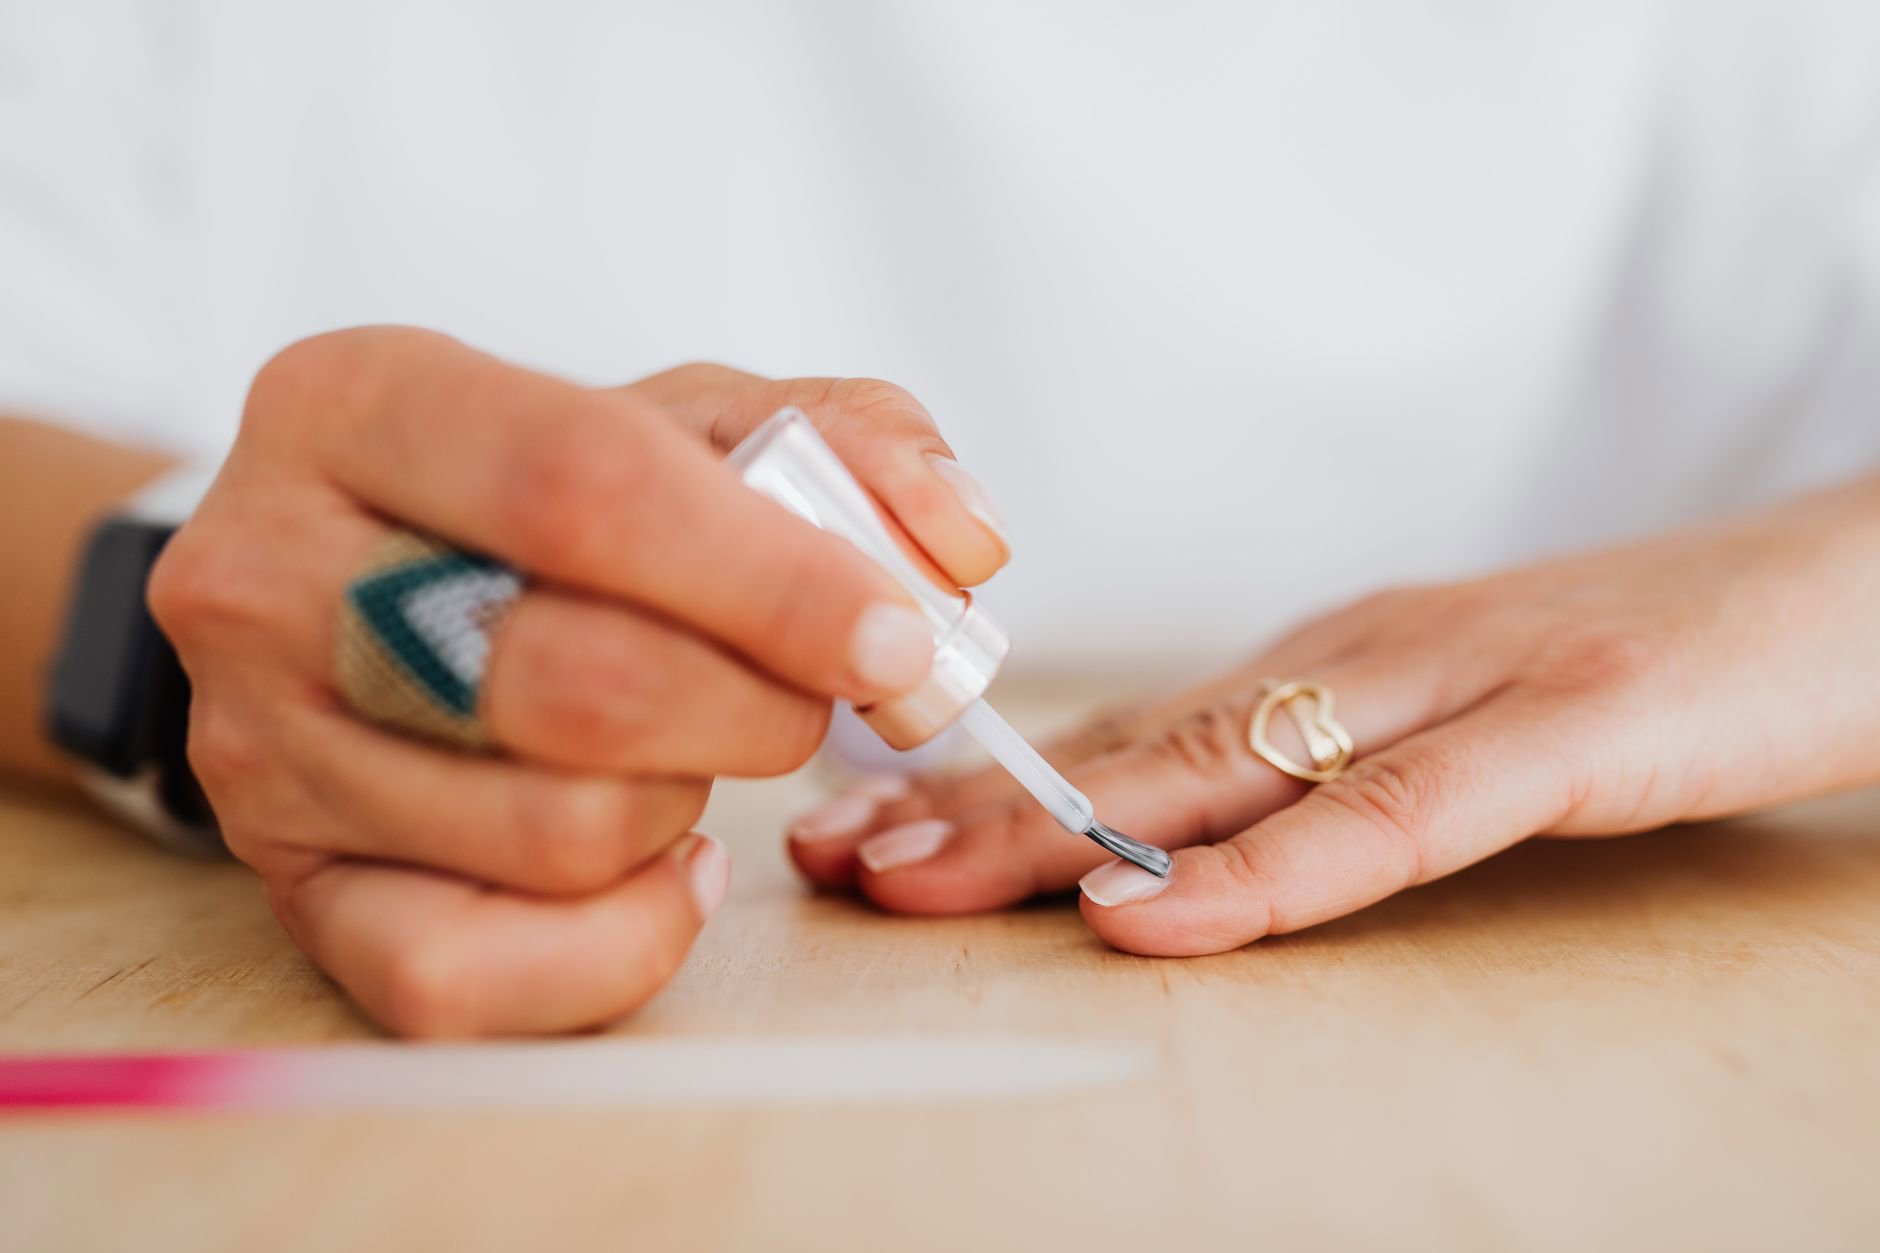
Fixing a dent that’s half-dry (tacky underneath, dry on top)
This is the annoying middle stage: the surface feels dry, but you can still dent it. Here, smoothing with oil alone may not work because the top has already “skinned.”
You need to slightly melt the surface so it can level again. The safest way uses very small amounts of polish remover—without stripping the colour layer.
Micro-remover method (careful, but effective):
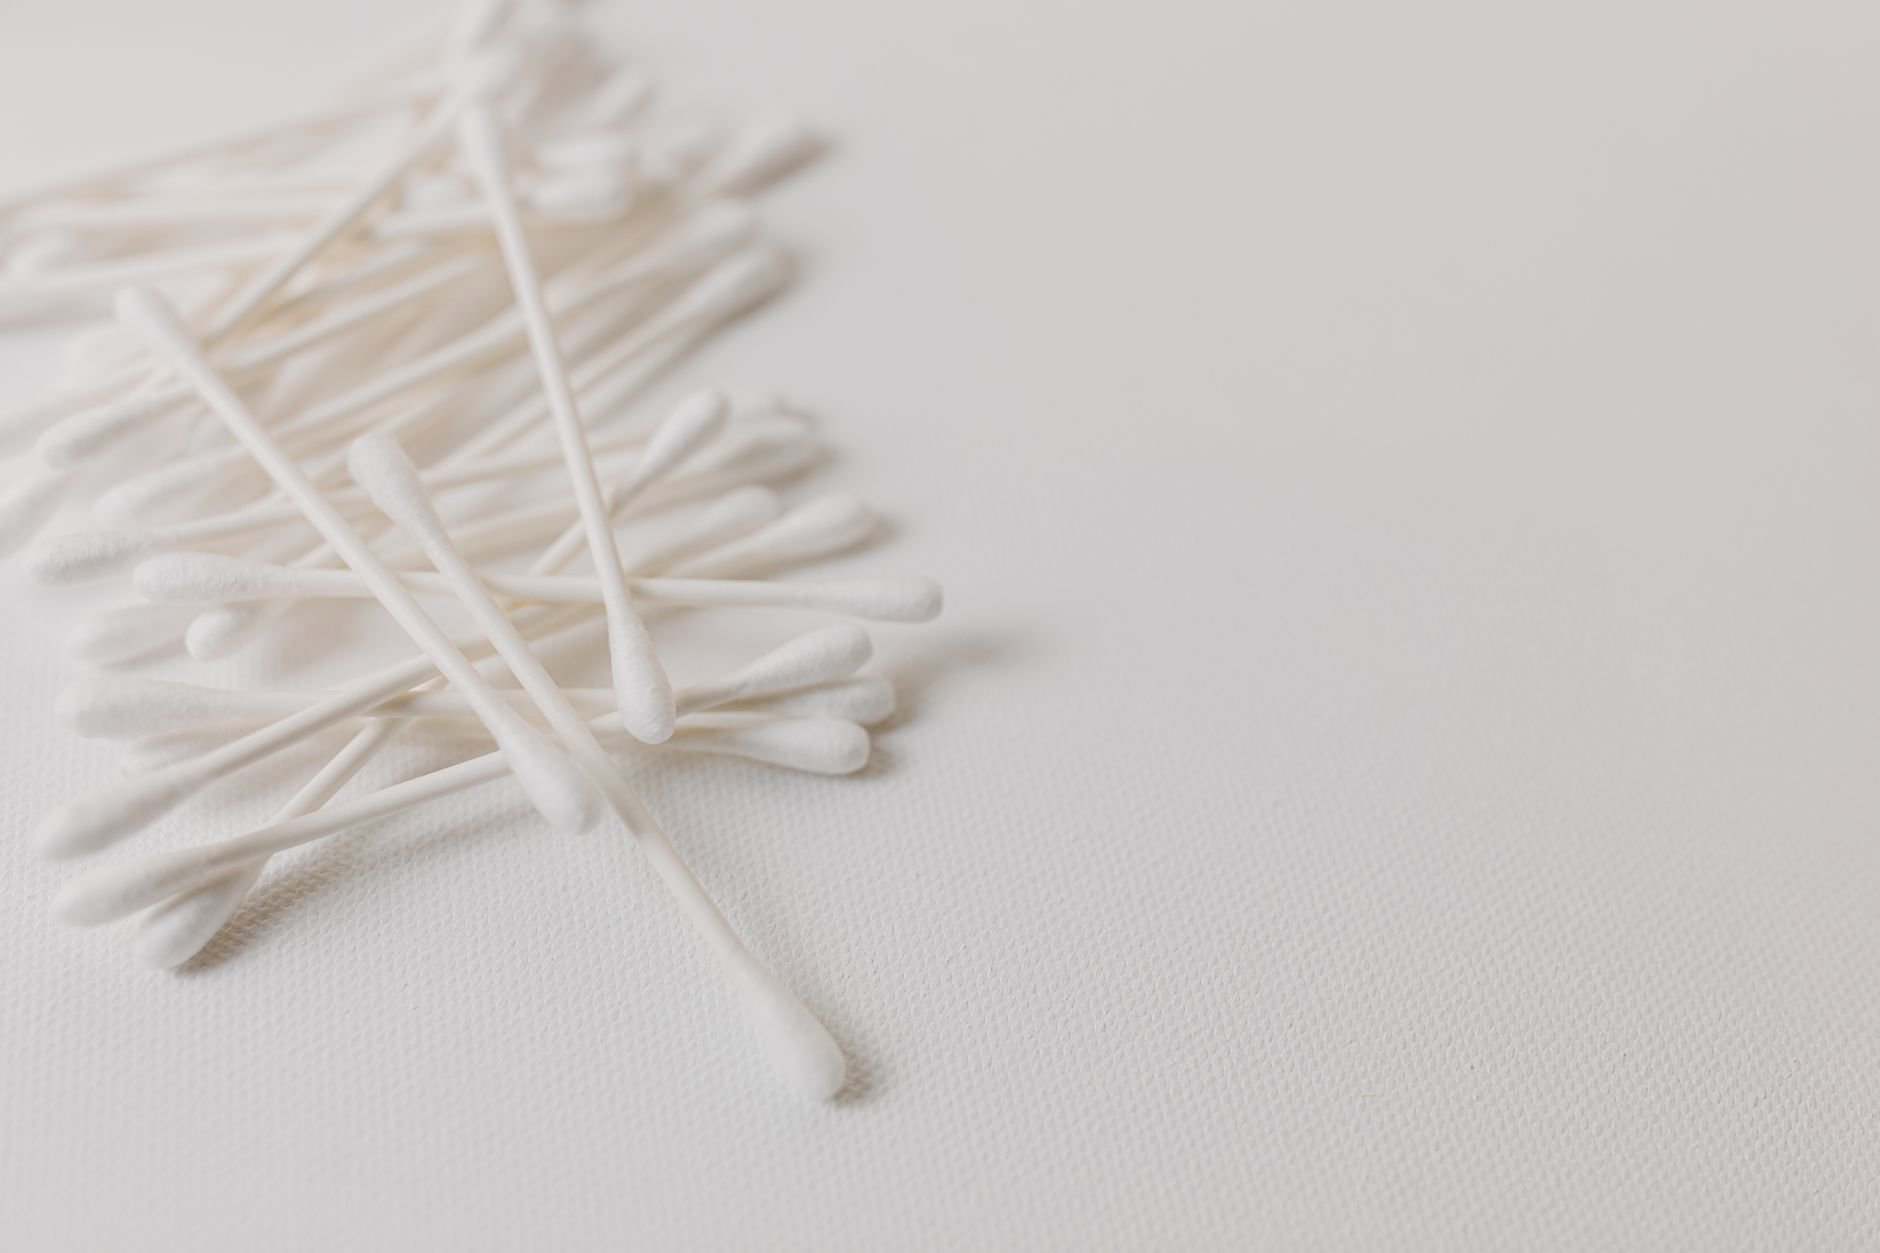
- Wrap a tiny bit of cotton around the tip of a wooden stick (or use a pointed cotton swab). You want precision, not a big fluffy pad.
- Dampen, don’t soak. Touch the cotton to remover, then blot on a tissue. If remover drips, it’s too much.
- Feather the ridge. Lightly skim the raised edge of the smudge. Your goal is to soften the ridge line, not erase the colour.
- Stop early. Once the ridge looks less sharp, stop. Overworking causes bald spots.
- Re-coat. Apply a thin layer of the same nail polish colour over the area if needed, then finish with top coat.
Sometimes you can skip the colour step and go straight to top coat. That works best when the smudge looks like texture, not missing pigment.
Colour-matching matters. If you used a sheer polish, patching blends easily. If you used an opaque crème, patching can show. In that case, a thin all-over coat of the original colour (across the whole nail) looks cleaner than spot painting.
For shoppers who like to keep a few reliable shades in rotation, check brands like KIKO and Revolution within our nail polish listings. Our merchant feed often shows their colours cycle through discounts more often than prestige lines, which makes “backup bottle” purchases less painful.
When you can’t smooth it: patching without a full repaint
Some smudges go beyond dents. If you see a bald patch (clear nail showing) or a deep gouge, smoothing won’t rebuild colour. But you still can avoid stripping the whole nail.
Think in layers: patch colour, then rebuild shine and thickness with top coat. This works because the eye reads a nail by gloss and reflection first. A high-gloss sealed surface hides a lot.
Spot-patch method (best for small chips or bald spots):
- Even the edges. Use the micro-remover method to soften jagged edges around the bald spot.
- Apply a tiny dot of colour. Place it only where nail shows. Don’t flood the whole nail.
- Tap to blend. Use the brush tip to gently tap the edge of the patch into the surrounding polish.
- Wait 2–3 minutes. Let the patch set so the top coat won’t drag it.
- Top coat over the entire nail. One smooth layer. Cap the edge.
Whole-nail glaze method (best for bigger smears): apply one thin coat of the original colour across the entire nail, then top coat. You still avoid base coat and multiple colour coats, so it’s faster than repainting from scratch.
If you keep multiple finishes (crème, shimmer, jelly) in your drawer, remember that finishes patch differently. Shimmers and jellies hide repairs better than flat crèmes because light scatter disguises tiny height differences.
We also see a practical shopping pattern in Canada: people buy one “workhorse” neutral plus a seasonal colour, then run out of the neutral first. If your neutral is your most-used shade, it’s the one worth backing up when Shoppers Drug Mart or The Bay runs beauty promos.
Top coat technique matters more than the top coat itself
Top coat fixes smudges because it does two jobs: it adds slip for smoothing, and it forms a new glossy layer that visually “resets” the nail.
But top coat also causes many smears. The usual culprit: too much brush pressure. When the brush presses down, it grabs semi-set colour and drags it.
Use the float method: load the brush, then let the bead of top coat touch the nail before the bristles do. Glide the bead across the nail with minimal contact. You want the liquid to do the work.
Three small habits that reduce dragging:
- Wait a beat. Give your colour coat a few minutes before top coat. Not 30. Just enough that it stops feeling wet.
- Fewer strokes. Aim for 3–4 strokes per nail: centre, left, right, then cap.
- Don’t over-correct. If you miss a corner, leave it. Going back often creates a worse smudge.
If you shop by brand, you’ll find nail polish options under lines like MAC, Guerlain, and Clinique in our catalogue. Availability varies by retailer in Canada, so we always suggest checking Sephora Canada versus The Bay listings before assuming a shade or finish sits in stock.
One more reality check: “quick-dry” claims often mean “touch-dry faster,” not “dent-proof sooner.” If you fix smudges a lot, focus on technique and thin coats first. Then spend money on formulas.
Prevention: fewer smudges, faster set, less denting
Prevention sounds boring until you stop redoing nails. A few changes cut smudges dramatically.
Start with thin coats. Two thin coats dry faster than one thick coat because solvents escape more easily. This also reduces shrinkage at the tips.
Control your environment. Skip steamy bathrooms right after painting. Humidity slows solvent evaporation. In Canadian winter, indoor heating dries skin but not necessarily polish—yet it can make nails and cuticles feel tight, which tempts people to oil up too soon. Give polish time first, then oil.
Use a “hands-off” window. The first 20 minutes matter most. Don’t put on tight jeans, open pop cans, or dig in a bag. If you must do something, use knuckles, not fingertips.
Quick checklist that actually helps:
- Wipe nails before painting to remove oils (even if you skipped hand cream).
- Paint earlier in the evening if you tend to smudge while doing chores.
- Keep coats even at the sidewalls so polish doesn’t pool and stay soft.
- Cap the free edge on colour and top coat to reduce tip dents and shrink.
For readers who want to browse polish lines by brand, our brand hubs like Lancôme and Estée Lauder help you see which retailers carry nail colour in Canada, and whether pricing swings widely between Sephora Canada and department stores.
Troubleshooting: what your smudge pattern says (and how to respond)
Smudges repeat for a reason. The pattern often points to the fix.
Thumbprint texture across multiple nails: you touched something too soon, and the film compressed evenly. Use the 60-second smoothing method (oil or top coat as slip), then re-seal with top coat.
One deep dent on one nail: impact. Smooth if tacky; if half-dry, feather the ridge with micro-remover, then top coat. If you see a bald spot, patch colour first.
Wrinkling or rippling: the surface dried faster than the layer beneath. This often comes from thick coats. You can sometimes disguise it with a levelling top coat, but severe wrinkling usually needs a thin colour glaze across the whole nail before top coat.
Smear lines where the brush dragged colour: top coat went on too soon or with too much pressure. Next time, wait a few minutes longer and float the brush. For the current nail, let it set for 10 minutes, then apply another thin top coat layer with minimal strokes.
Sticky for hours: coats likely went on thick, or humidity stayed high. Don’t keep adding top coat; it can trap solvent. Instead, give it time in a cool, dry room. If it still dents easily after a long wait, you may need to remove and redo—but that sits outside the “no repaint” promise.
As a general shopping note, if you find one formula that consistently dries predictably for you, it’s worth sticking with that line. GlamGeek price tracking shows that switching between many brands can cost more than buying one dependable polish range when it hits a promotion.
Practical fixes you can do today (quick recap)
If you only remember a few steps, make them these.
For a fresh smudge: add slip (oil or a drop of top coat), lightly smooth in one direction, then re-seal with top coat using the float method.
For a half-dry ridge: use a precision cotton tip with barely-there remover to soften the ridge edge, stop early, then top coat. Patch colour only if nail shows through.
For prevention: thinner coats, fewer strokes, and a protected 20-minute window. Cap the free edge. Keep hands off fabric and zippers until you trust the set.
If you want to compare nail polish options by retailer, start with Sephora Canada for broad shade availability, then check Shoppers Drug Mart and The Bay for promos. Our pricing data often shows the same brand family can swing by several dollars depending on the store and the week, so it pays to look before you restock.
What kind of smudge do you get most—thumbprint dents, brush-drag smears, or single-nail gouges? If you tell us the pattern and how long after painting it happens, we can point you to the fastest fix.