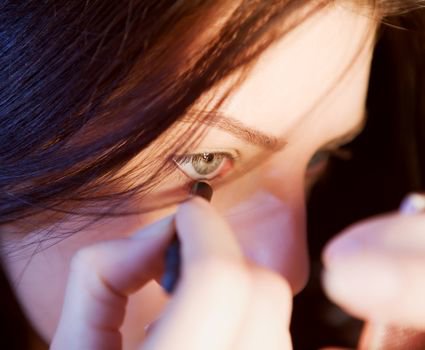
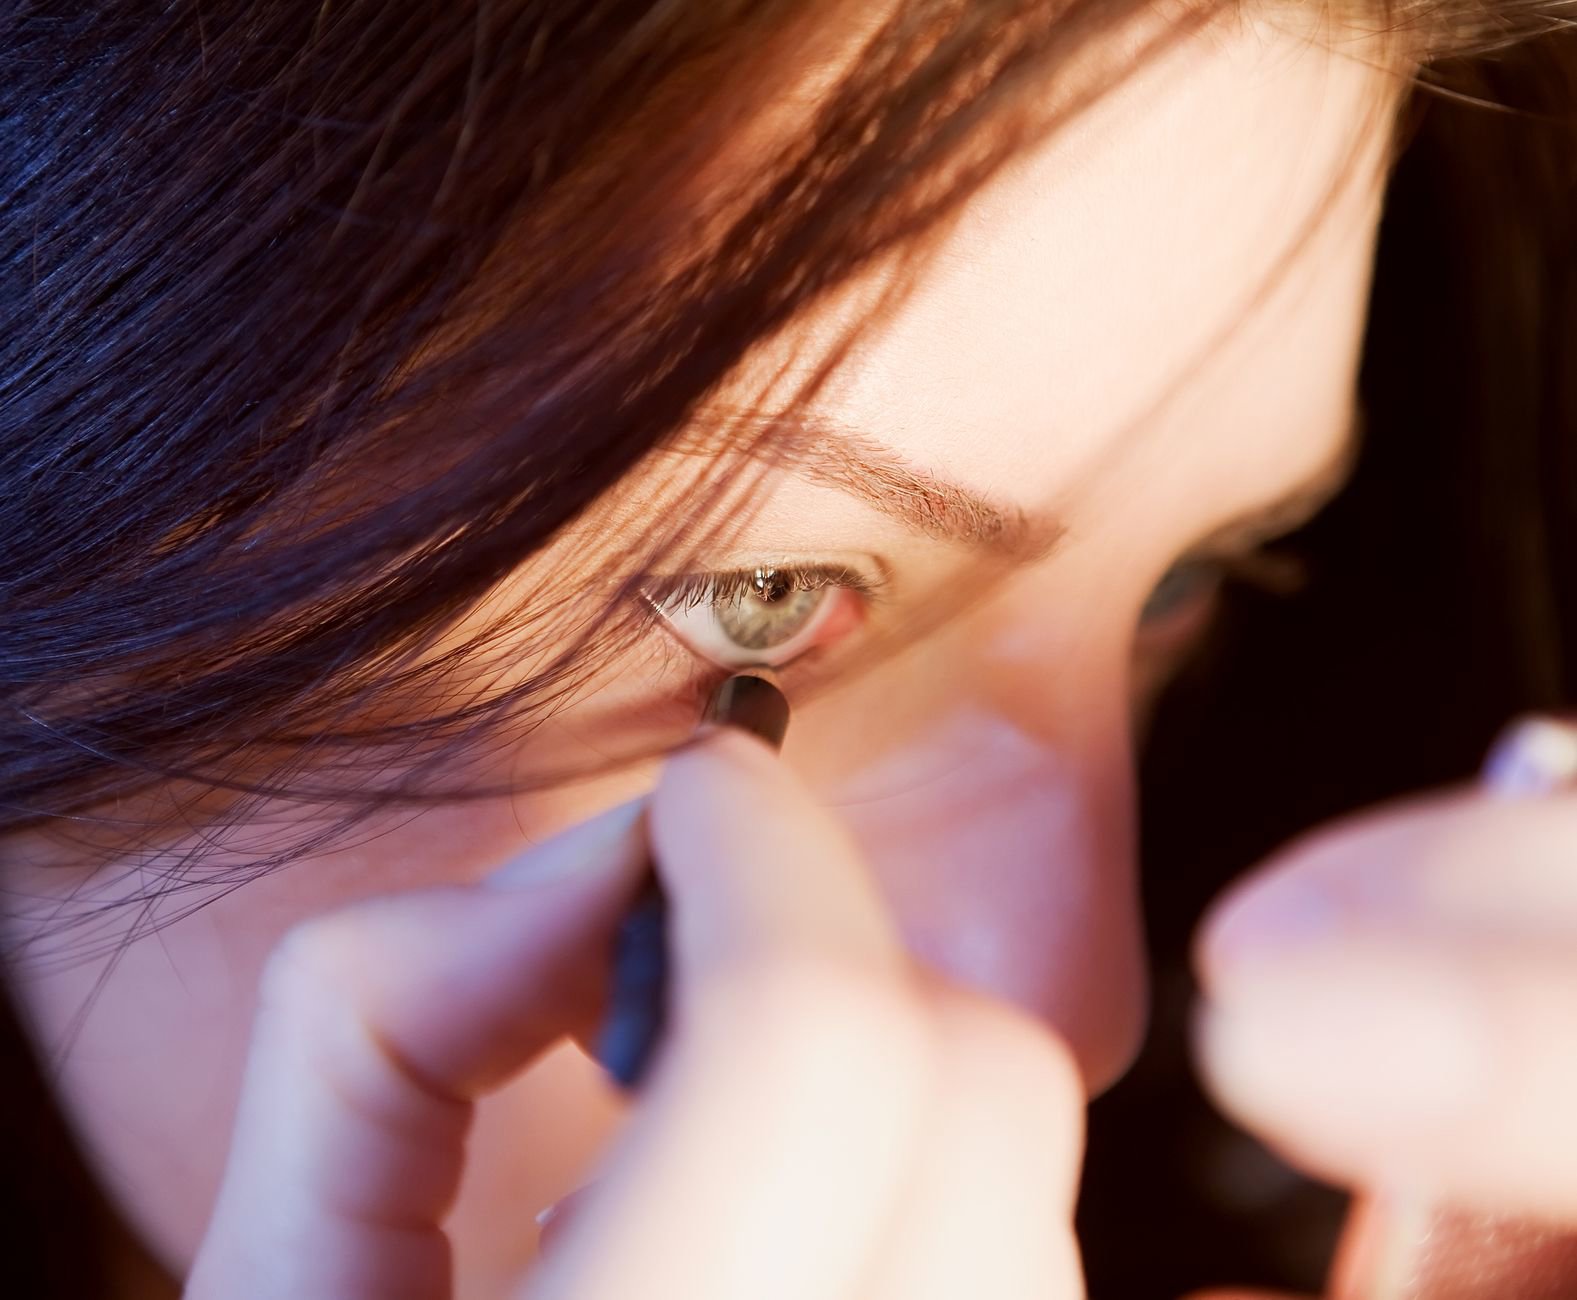
To make liquid eyeliner last all day, you need three things working together: a clean, oil-controlled lid, a thin flexible film of liner, and a dry set that resists transfer.
Most “it disappeared by lunch” complaints come from the same culprits: skincare or sunscreen creeping onto the lash line, lids that get oily by midday, or a liner layer that goes on too thick and cracks.
We track liquid liner pricing across major Canadian retailers, and one pattern shows up again and again: long-wear performance correlates less with price and more with application discipline and choosing a tip + formula that matches your lid type.
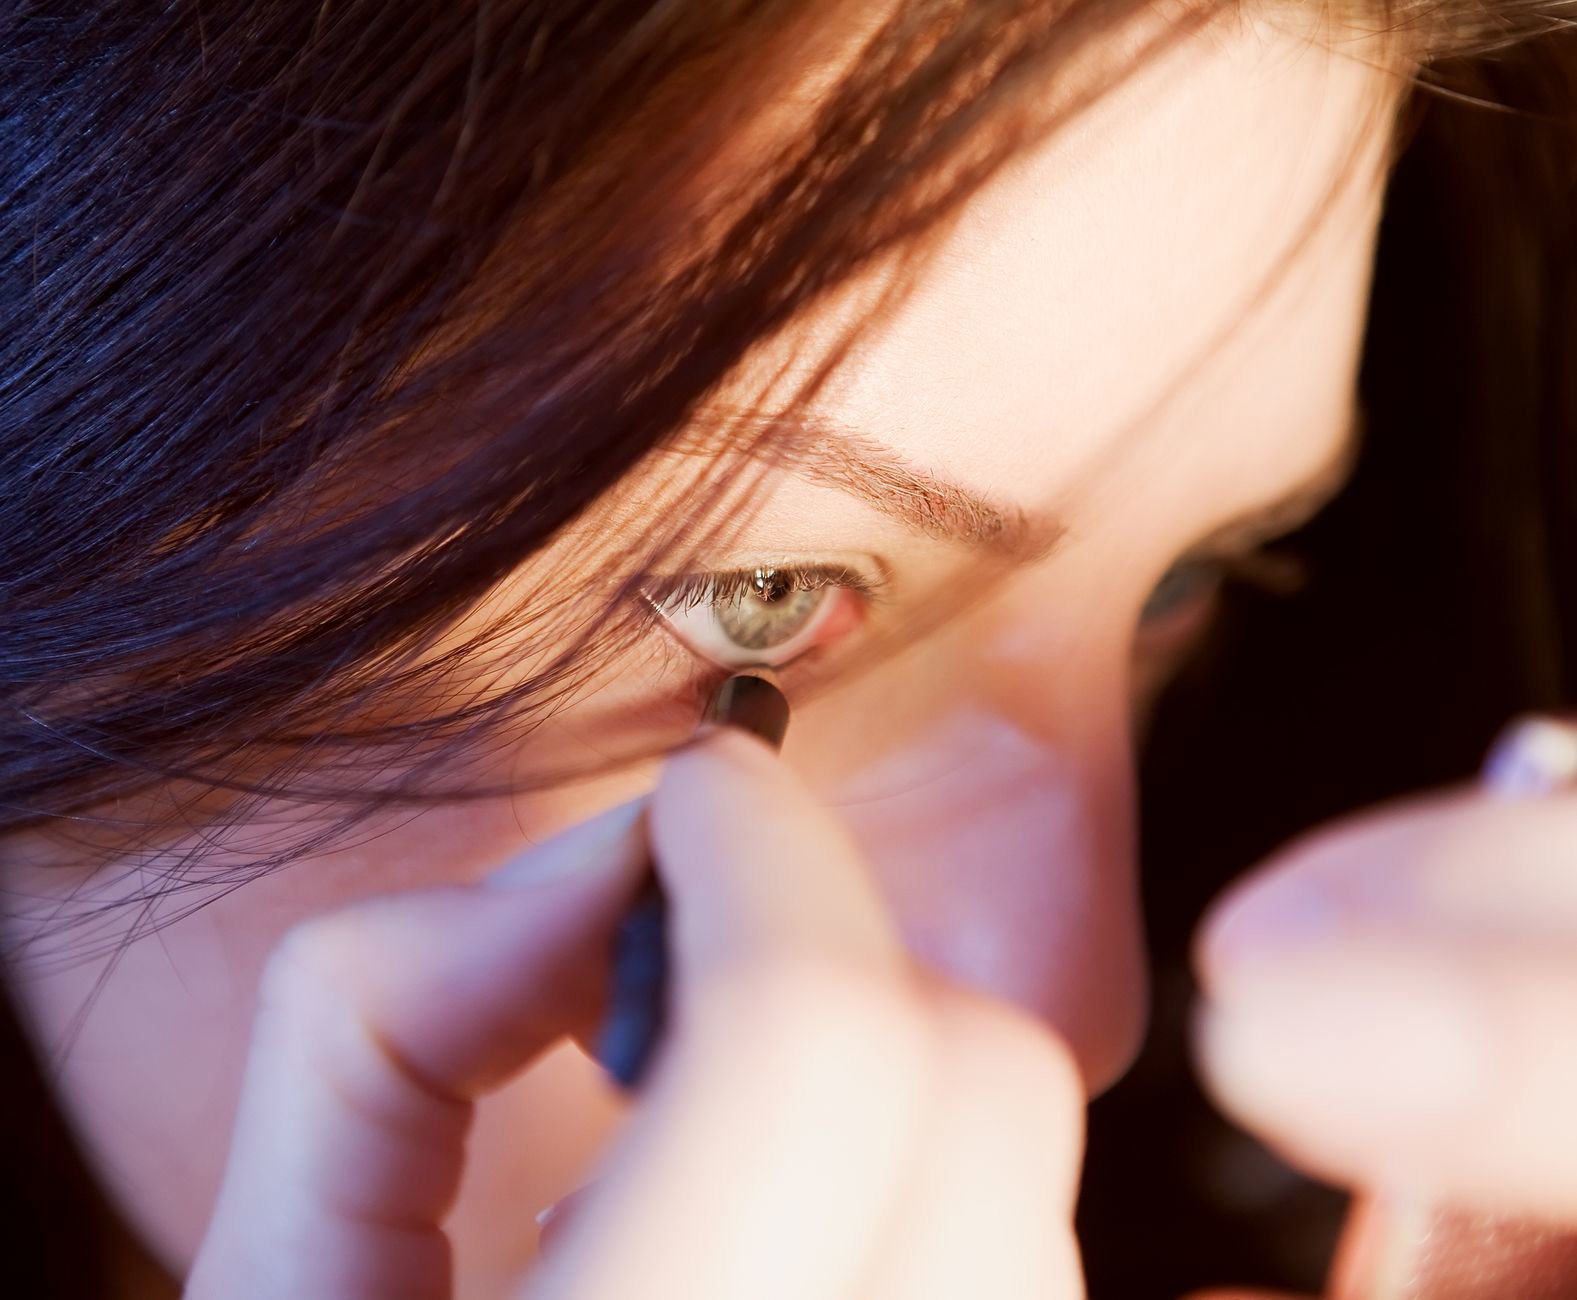
This guide covers prep, layering, setting, and the product features that keep liquid liner crisp from morning to night.
Start with a lid surface that liquid liner can grip
Liquid liner sticks to skin by forming a film as water and solvents evaporate. Oil breaks that bond.
So the goal isn’t “more product.” It’s a drier, smoother surface right where the liner sits: lash line, outer corner, and any fold that touches the line.
Keep your eye skincare practical. Use your usual Day Face Moisturisers and SPF Protection Products, but stop them short of the lash line. If you can feel slip on the lid, your liner will feel it too.
Next: remove residue. A clean cotton pad with a gentle cleanser works, but avoid leaving a creamy film. If you already applied base makeup, blot the lid with tissue before liner. One press. No rubbing.
Then add grip with a light base layer. If you wear eye makeup, a thin veil of powder over the lid (especially the fold) helps. You can also use a face primer, but keep it minimal and fully set before liner. (For context, see Face Primers.)
Canadian winter note: indoor heating can dehydrate lids, which tempts people to over-moisturise the eye area. That often backfires on liner wear. Hydrate the orbital bone, not the lash line.
Pick the right liquid liner format: tip type matters more than most people think
Tip shape controls how much product you lay down, and thickness controls whether the film flexes or cracks.
Felt tips tend to deposit more liner quickly. They suit bold looks and beginners who want stability. Brush tips usually lay down a thinner line and can look sharper, but they punish shaky hands.
Within our tracked assortment, these are the liquid liners we see Canadians repeatedly cross-shop when they want longevity:
- Clinique High Impact Easy Liquid Liner — C$36.00 (from Clinique)
- Estée Lauder Double Wear Zero-Smudge Liquid Eyeliner — C$50.00 (from Estée Lauder)
- Lancôme Idôle Liner — C$45.00 (from Lancôme)
- MAC Liquidlast 24-Hour Waterproof Liner — C$38.00 (from MAC)
- Sephora Collection Colorful Wink-It Felt Liner — C$18.00 (from Sephora Collection)
- Tarte Tarteist Double Take Eyeliner — C$35.00 (from Tarte)
Price doesn’t guarantee wear, but it can buy better packaging and more consistent flow. Our price tracker also shows drugstore-adjacent pricing tends to swing more often, so waiting for promos can matter.
Two quick rules for choosing:
- If your liner cracks, choose a liner you can apply in a thinner pass (often easier with a brushier tip) and avoid layering too soon.
- If your liner transfers to the upper lid, prioritise fast set time and commit to setting the fold with powder before you line.
Also consider your routine. If you wear Mascaras or False Lashes, pick a liner that stays crisp under lash glue and lash friction. That usually means a thinner line and full dry-down.
Layering technique: thin, dry, then reinforce
Long wear starts with restraint.
A single thick swipe looks efficient at 7 a.m. It often turns into flaking by 2 p.m. Thick liquid liner forms a stiffer film, and every blink stresses it.
Use this three-pass method instead:
- Pass 1: map. Draw a very thin line into the lashes. Keep it narrow in the inner third.
- Dry time. Wait until it looks fully matte. If it still reflects light, it can still transfer.
- Pass 2: perfect. Smooth bumps and sharpen the edge. Add tiny increments, not a new thick coat.
- Dry time again. Give it another 20–40 seconds.
- Pass 3: reinforce only where needed. Usually the outer corner and wing tip.
For a crisp wing that lasts, build the wing from the tip inward. Start with a tiny flick, let it dry, then connect it back to the lash line. This reduces the amount of wet product sitting on the fold.
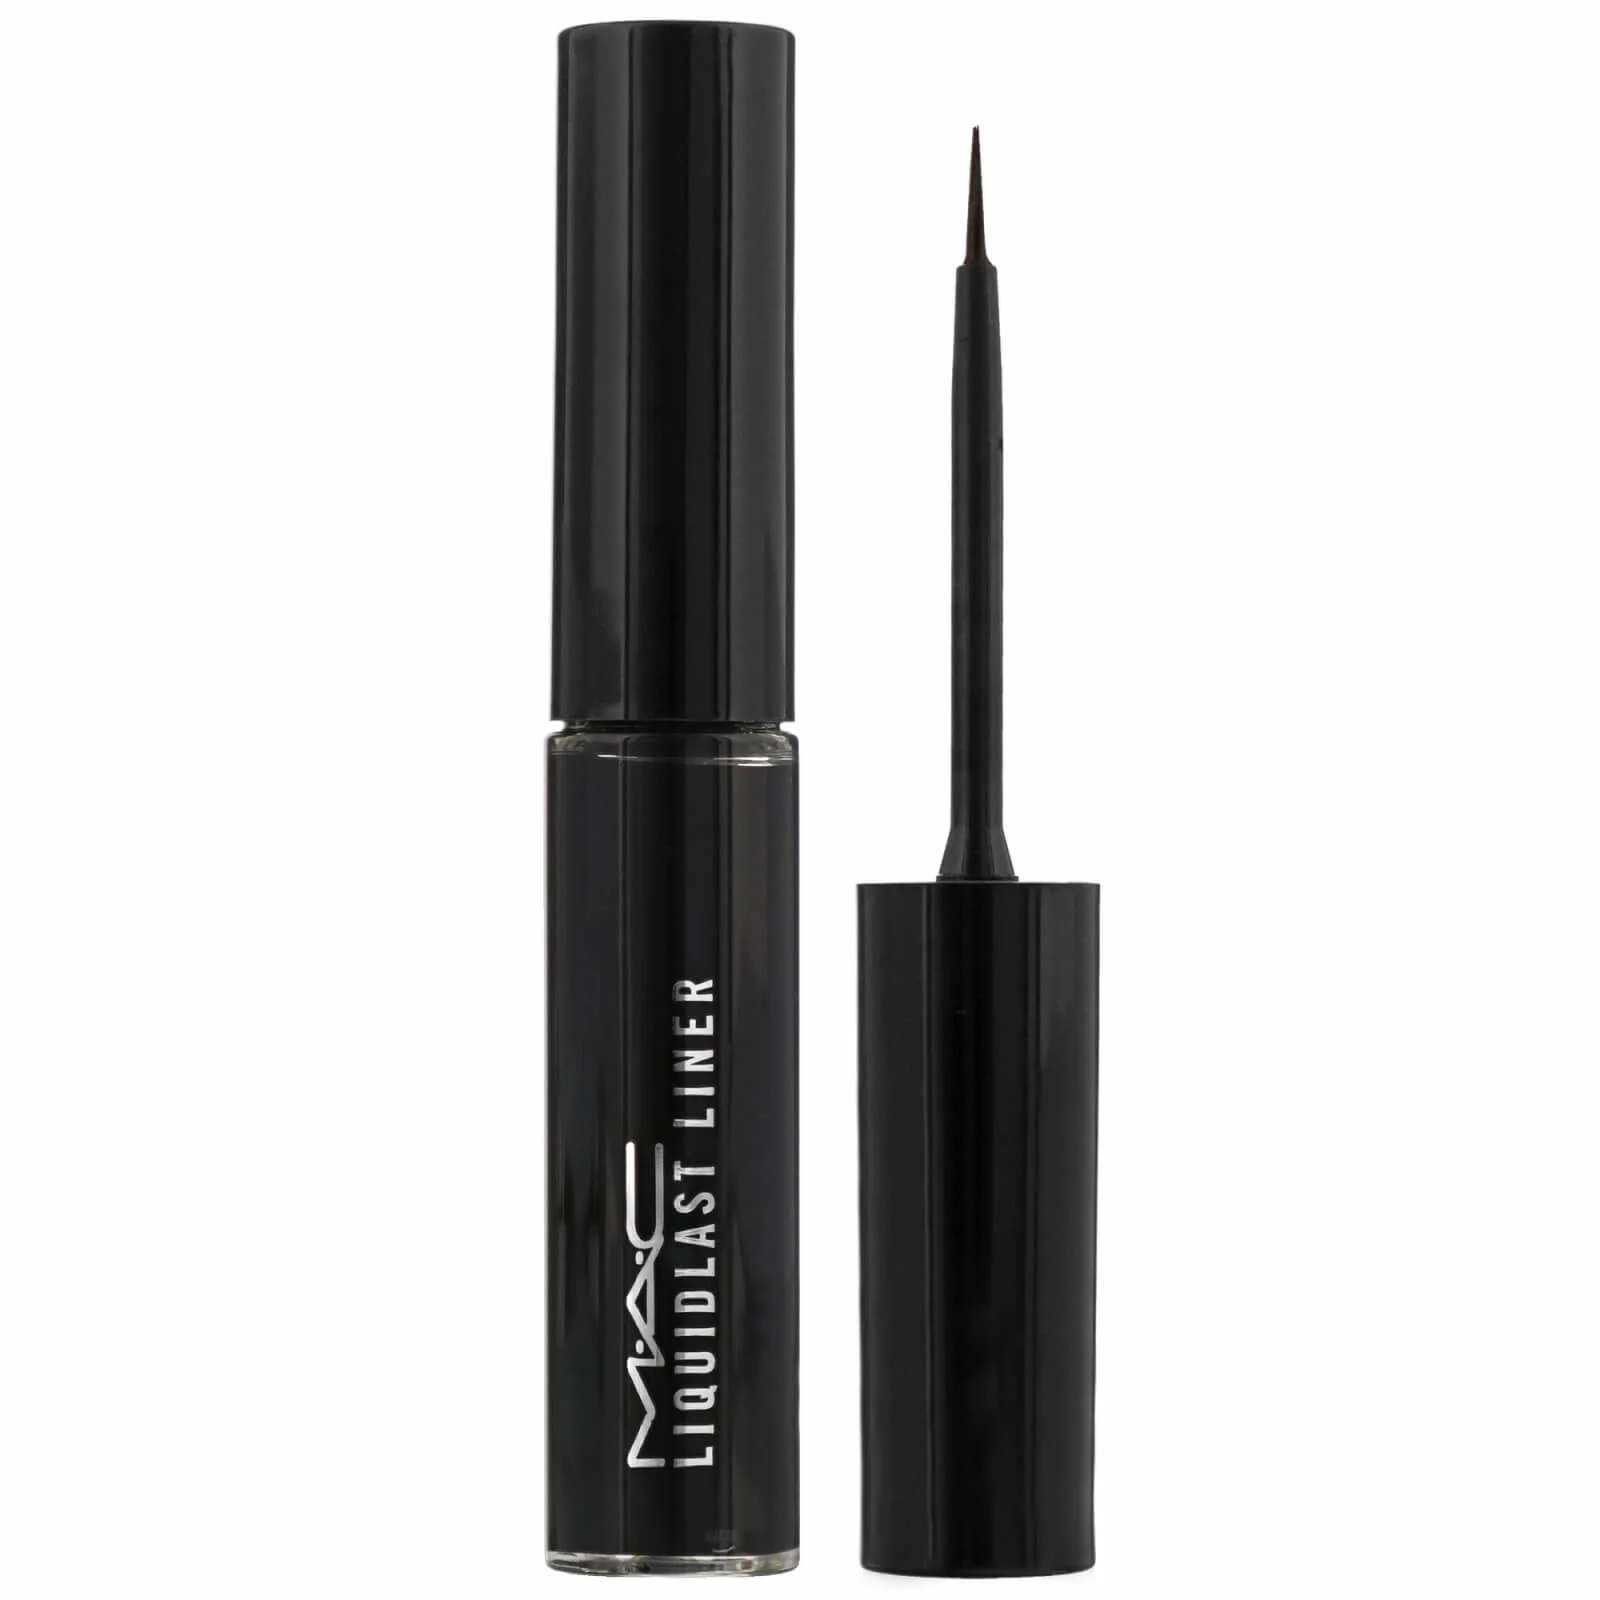
If you want a product to suit this method, look at formulas marketed for long wear like Estée Lauder Double Wear Zero-Smudge Liquid Eyeliner (C$50.00) or MAC Liquidlast 24-Hour Waterproof Liner (C$38.00). We won’t promise identical results for everyone, but these are consistently positioned for durability in Canadian retail assortments.
One more trick: keep the pen moving. Hesitation deposits extra product. Extra product cracks.
Setting without ruining the finish: powder, not panic
Setting liquid liner sounds odd until you remember what causes failure: oil and friction.
Powder helps most when the liner transfers onto the upper lid. That usually happens on hooded eyes, deep-set eyes, or anyone with a low crease. (We have a separate hooded-eye application guide, so we’ll stay focused on longevity here.)
Here’s the approach that keeps the liner looking like liquid liner:
- Set the fold area first. Before liner, dust a small amount of face powder where skin touches skin.
- Apply liner with the thin-layer method. Let it fully dry.
- Micro-set the outer corner. Use a tiny amount of powder on a small tool and tap around the wing, not directly over the glossy part of the line.
- Skip heavy powder on the whole line. Heavy powder can make black liner look grey and can highlight texture.
If you want to keep everything in the same product family, pair your liner routine with eye looks from Eye Shadow Palettes. Matte shadows on the lid usually support liner wear better than creamy finishes.
When you do need to set directly on top (rare, but useful for very oily lids), use the smallest amount possible and press, don’t sweep. Sweeping can drag semi-set liner and create skipping.
One sentence that saves a lot of eyeliner: if it isn’t dry, it isn’t done.
Formula behaviour: what “long-wear” usually means, and how to work with it
Liquid liners that last tend to dry faster and form a tighter film.
That helps transfer resistance, but it can also mean less wiggle room. If you try to correct a line after it starts setting, you can create a bumpy second layer that flakes.
So match your technique to the formula style:
- Fast-set liners: Work in small sections. Cap the pen between steps so it doesn’t dry out. Options in this “set and stay” lane often include MAC Liquidlast 24-Hour Waterproof Liner (C$38.00) and Estée Lauder Double Wear Zero-Smudge Liquid Eyeliner (C$50.00).
- More forgiving liners: You may get a bit more time to perfect edges, which helps beginners. A mid-priced pick many shoppers start with is Sephora Collection Colorful Wink-It Felt Liner (C$18.00).
Ingredient science, simplified: many liquid liners rely on film-formers (polymers) plus pigments. As the volatile components evaporate, the polymer network tightens. Oil can plasticize that network and loosen adhesion. That’s why prep and setting matter as much as the liner itself.
If your liner flakes in tiny bits, look for two causes: too many layers, or a very dry lid that makes the film brittle. In winter, the “dry lid” problem happens more than people expect. A tiny amount of eye moisturiser earlier in the routine can help, but keep it away from the lash line.
If your liner fades rather than flakes, suspect friction. Glasses, watery eyes, and habitual eye rubbing erase pigment. In that case, a thinner line tucked into lashes often outlasts a thick dramatic stripe.
All-day wear routines for real life: commute, office, workouts, and winter
“All day” can mean different conditions. Dry office air, a scarf brushing your face, or a gym session can all stress liner in different ways.
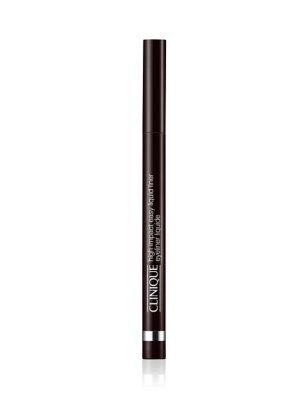
For a standard workday, we’d prioritise consistency and ease. Clinique High Impact Easy Liquid Liner (C$36.00) and Lancôme Idôle Liner (C$45.00) sit in that dependable mid-to-premium bracket that many Canadians buy at Sephora Canada or department stores like The Bay.
For long days that include weather swings, reduce transfer points. Keep the wing slightly away from where your outer lid folds. Make the wing angle a touch more upward than outward. That reduces skin-on-skin contact.
For workouts, the biggest issue usually isn’t the liner “melting.” It’s sweat and wiping. Choose a thin line, let it dry fully, and avoid lining the lower lash line with liquid. If you want definition below, keep it minimal and focus the staying power above.
For Canadian winter, watch the combo of rich eye cream + indoor heat + watery eyes from cold wind. That mix creates both oil and moisture. Blot before you line, then give the liner extra dry time. Another 30 seconds can mean hours more wear.
And if your schedule includes touch-ups, pick a liner that you can reapply without crumbling the base. That usually means adding product only to gaps, not painting over the whole line again.
What to do when your liner fails anyway (and how to prevent the same failure tomorrow)
Even a good routine runs into bad days.
But the failure pattern tells you what to change. Use this quick diagnostic list and adjust one variable at a time.
- Transfer to upper lid: Set the fold with powder before liner. Keep the line thinner in the outer third. Let it dry longer.
- Cracking on the wing: You applied too thickly or layered too fast. Use the three-pass method with longer dry time.
- Fading at the inner corner: That area gets watery and oily. Start the line slightly farther out, or keep the inner third ultra-thin.
- Skipping while applying: The tip may be drying or you’re going over powdery texture. Shake if the packaging allows, cap between steps, and draw in shorter strokes.
- Flaking specks under the eye: You may have built too many coats. Next time, stop after pass two unless you truly need more pigment.
If you need a dependable, straightforward option for re-lining small gaps, Sephora Collection Colorful Wink-It Felt Liner (C$18.00) offers a lower-cost entry point. If you want a premium, long-wear positioned alternative, Estée Lauder Double Wear Zero-Smudge Liquid Eyeliner (C$50.00) stays a common “upgrade” choice in our merchant feeds.
We’d also keep expectations realistic: if you apply liquid liner over a creamy base that never fully sets, you’ll fight it all day. Set first. Then line.
Practical checklist: make liquid liner last from morning to night
Use this as a repeatable routine. It takes two minutes once it becomes habit.
- Keep skincare off the lash line. Stop creams and SPF short of where the liner sits.
- Blot the lid. One press with tissue removes slip without irritating skin.
- Set the fold. A small amount of powder where the lid touches itself reduces transfer.
- Apply in thin passes. Map, dry, perfect, dry, reinforce.
- Give it time. Add 20–40 seconds of dry time between steps.
- Micro-set the outer corner. Tap powder around the wing if you transfer there.
- Touch up smart. Fill gaps only. Don’t repaint the whole line.
If you want to compare pricing before you commit, our tracking often shows the biggest spread on mainstream staples from MAC, Clinique, and Sephora Collection depending on retailer promos. Sephora Canada and Shoppers Drug Mart tend to differ most during points events, while The Bay can surprise with markdowns on prestige brands.

One final reminder: you don’t need a harsher formula to get longer wear. Most of the time, you need a cleaner lid and a thinner line.
Which problem do you want solved most: transfer onto the upper lid, cracking at the wing, or fading through the day?