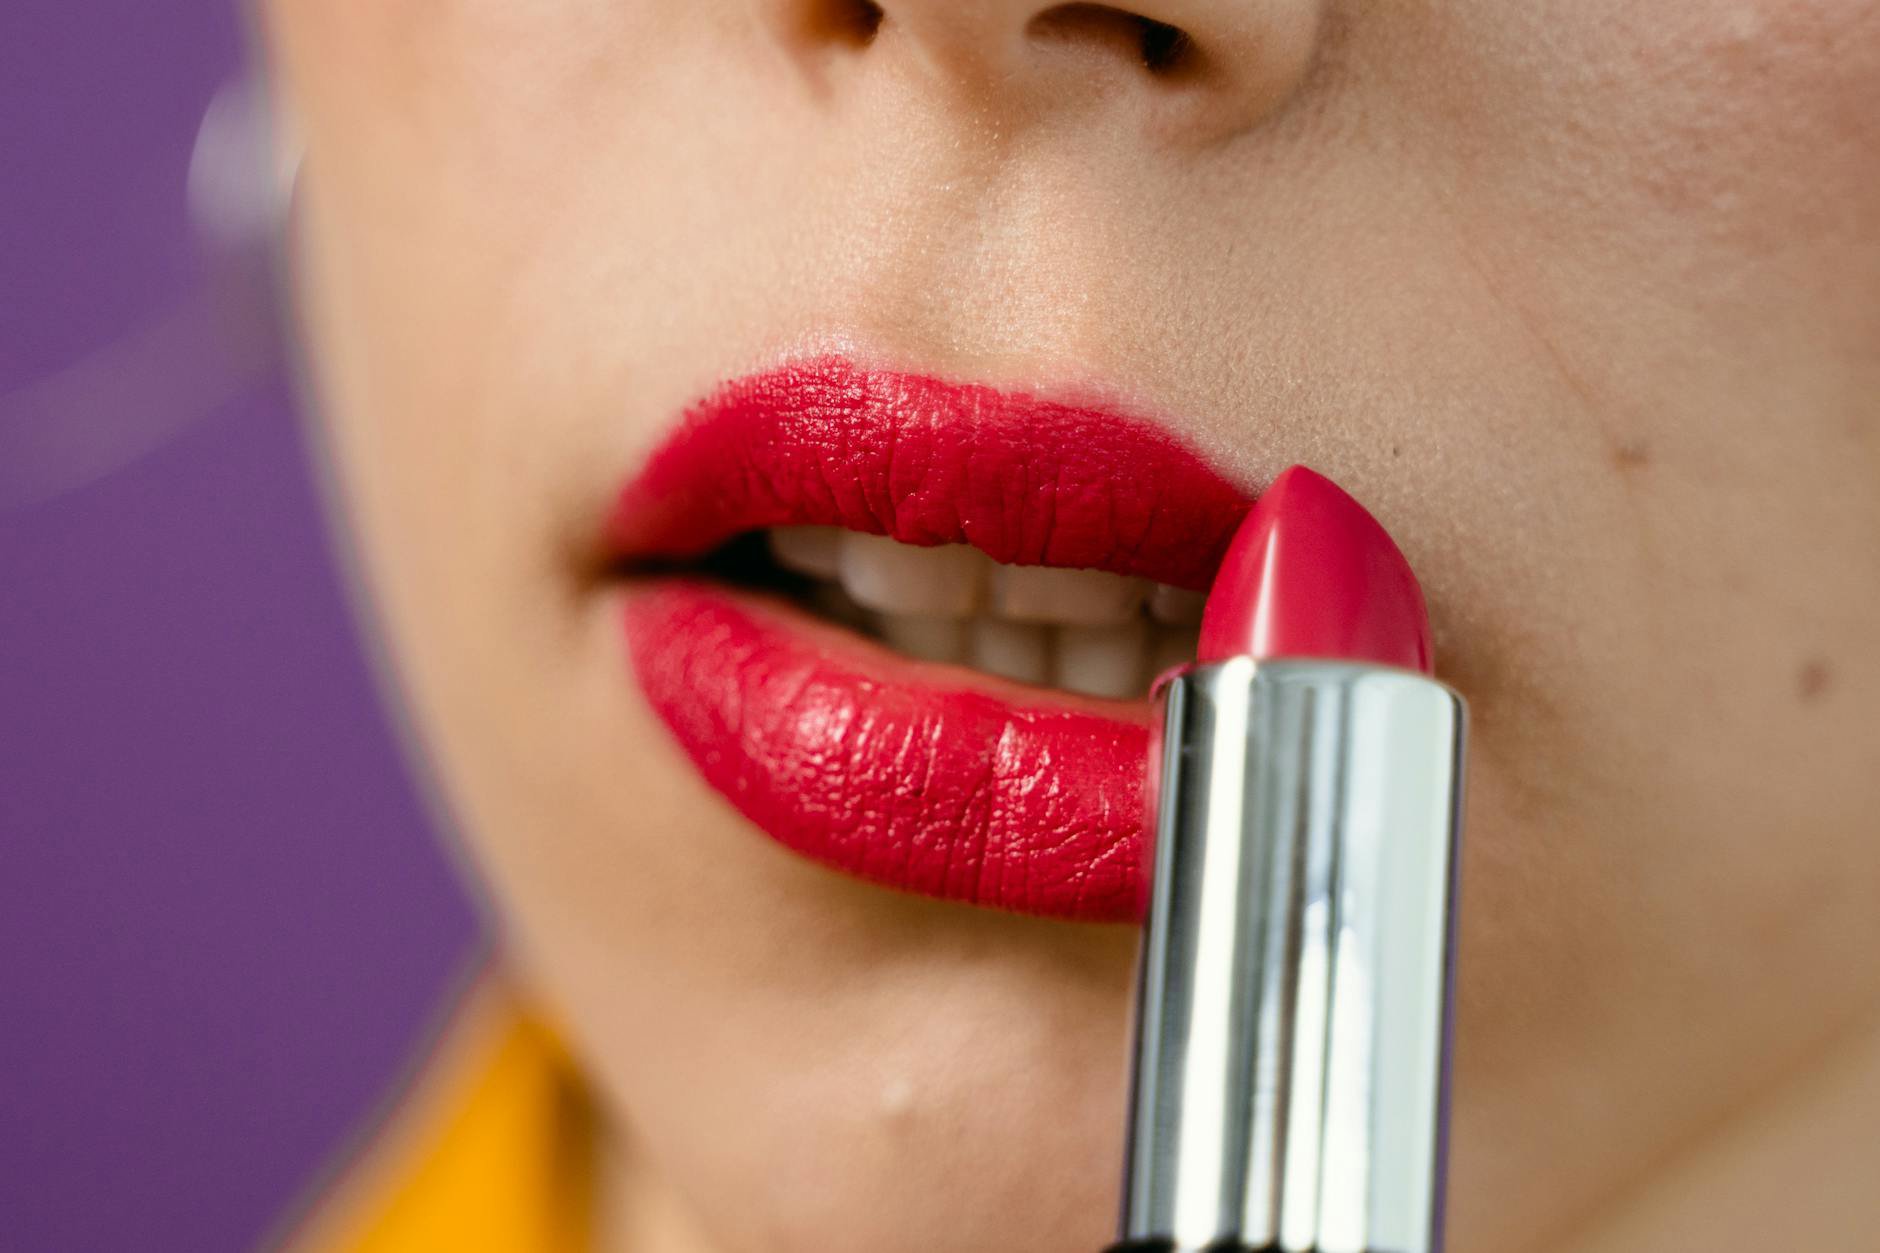
Lipstick feathers and bleeds when the colour slips past your lip line and settles into fine lines around your mouth. The fix comes down to two things: creating a smoother “surface” on and around the lips, and choosing (then applying) a lipstick formula that stays put instead of migrating.
I’ll walk you through why it happens, exactly what to do before you apply lipstick, and the techniques that keep edges crisp—especially with creamy bullets and satin finishes that Canadians love for everyday wear.
One more real-world note: in Canada, we often pay a noticeable premium versus US pricing for the same lipstick. When you find a formula that truly behaves, it’s worth tracking sales at Sephora Canada, Shoppers Drug Mart, The Bay, or Well.ca—GlamGeek’s price history helps you spot the predictable dips.
Why lipstick feathers (and why some formulas misbehave more)
Feathering usually isn’t a “bad application” problem. It’s physics. Emollients and oils in lipstick stay mobile on the skin, and they can travel along tiny texture channels—especially the fine lines that form around the mouth. That’s why the same lipstick can look sharp at 9 a.m. and fuzzy by lunch.
Two conditions make bleeding more likely: warmth and movement. Heat softens waxes, and talking/eating creates friction that pushes pigment outward. Add a humid summer day in Toronto or a heated, dry Calgary office in winter, and you get the perfect storm: either the formula melts, or your skin pulls moisture and alters how product sets.
Texture around the lips matters as much as the lips themselves. When the skin just outside your lip line has dryness, sunscreen buildup, or heavier skincare, lipstick grips unevenly. It then “breaks” at the edge and creeps into lines. If you use richer Day Face Moisturisers close to the mouth, you can unintentionally create a slippery ring where lipstick refuses to stay.
Formula plays a big role. In general, very creamy bullets and glossy finishes shift more than matte or longwear formulas. That doesn’t mean you need to wear a flat matte every day. It just means you need more structure in your routine when you choose a creamier lipstick.
Prep that prevents bleeding: smooth, dry, and slightly “grippy”
If you want crisp edges, prep starts around the lips. I like to keep skincare off the immediate lip perimeter. If you already applied moisturiser or SPF too close, press a tissue around the mouth to lift excess slip before you go in with colour.
Next, deal with surface texture. You don’t need aggressive scrubbing. You need evenness. If your lips feel flaky, do your exfoliation earlier in the day so you don’t leave micro-irritation right before lipstick. Then keep lips comfortable with your usual Lip Balms & Creams—but blot well before lipstick. A balmy layer under colour often causes the exact bleeding you’re trying to prevent.
Here’s the prep sequence I use when I know a lipstick tends to travel:
- Clean the perimeter. Wipe the skin around your mouth with a damp cloth, then dry.
- Blot the lips. Press tissue between lips for 5–10 seconds. Repeat if you used balm.
- Light base if needed. If you wear complexion makeup, bring a thin veil of your base right up to (not over) the lip line to even colour.
- Set the ring. Tap a tiny amount of powder over the skin just outside the lip line to reduce slip.
That last step sounds small, but it’s a big deal. Powder creates a drier boundary so pigment has less incentive to wander. If you’re already wearing a fuller face, you can simply use whatever powder you used to set your base—no special product required.
And yes, hydration still matters. If your lips feel tight, reach for a more forgiving lipstick texture rather than trying to “fix” dryness with a thick balm underneath.
Pick a lipstick that resists migration (without feeling like cement)
When feathering drives you nuts, I steer you toward formulas that set a little and contain more structure—think higher wax content, film-formers, or classic longwear systems. I can’t claim specific ingredients for every product (brands don’t always publish full details in a way I can verify here), but I can point you to lipstick lines that typically offer the kind of finish that holds an edge.
If you want a reliable, crisp-looking lip in one step, I often start with a true matte bullet from MAC, because mattes generally migrate less than creamy satins. If you prefer something plusher, I still keep it in the “sets down” family rather than a high-slip cream.
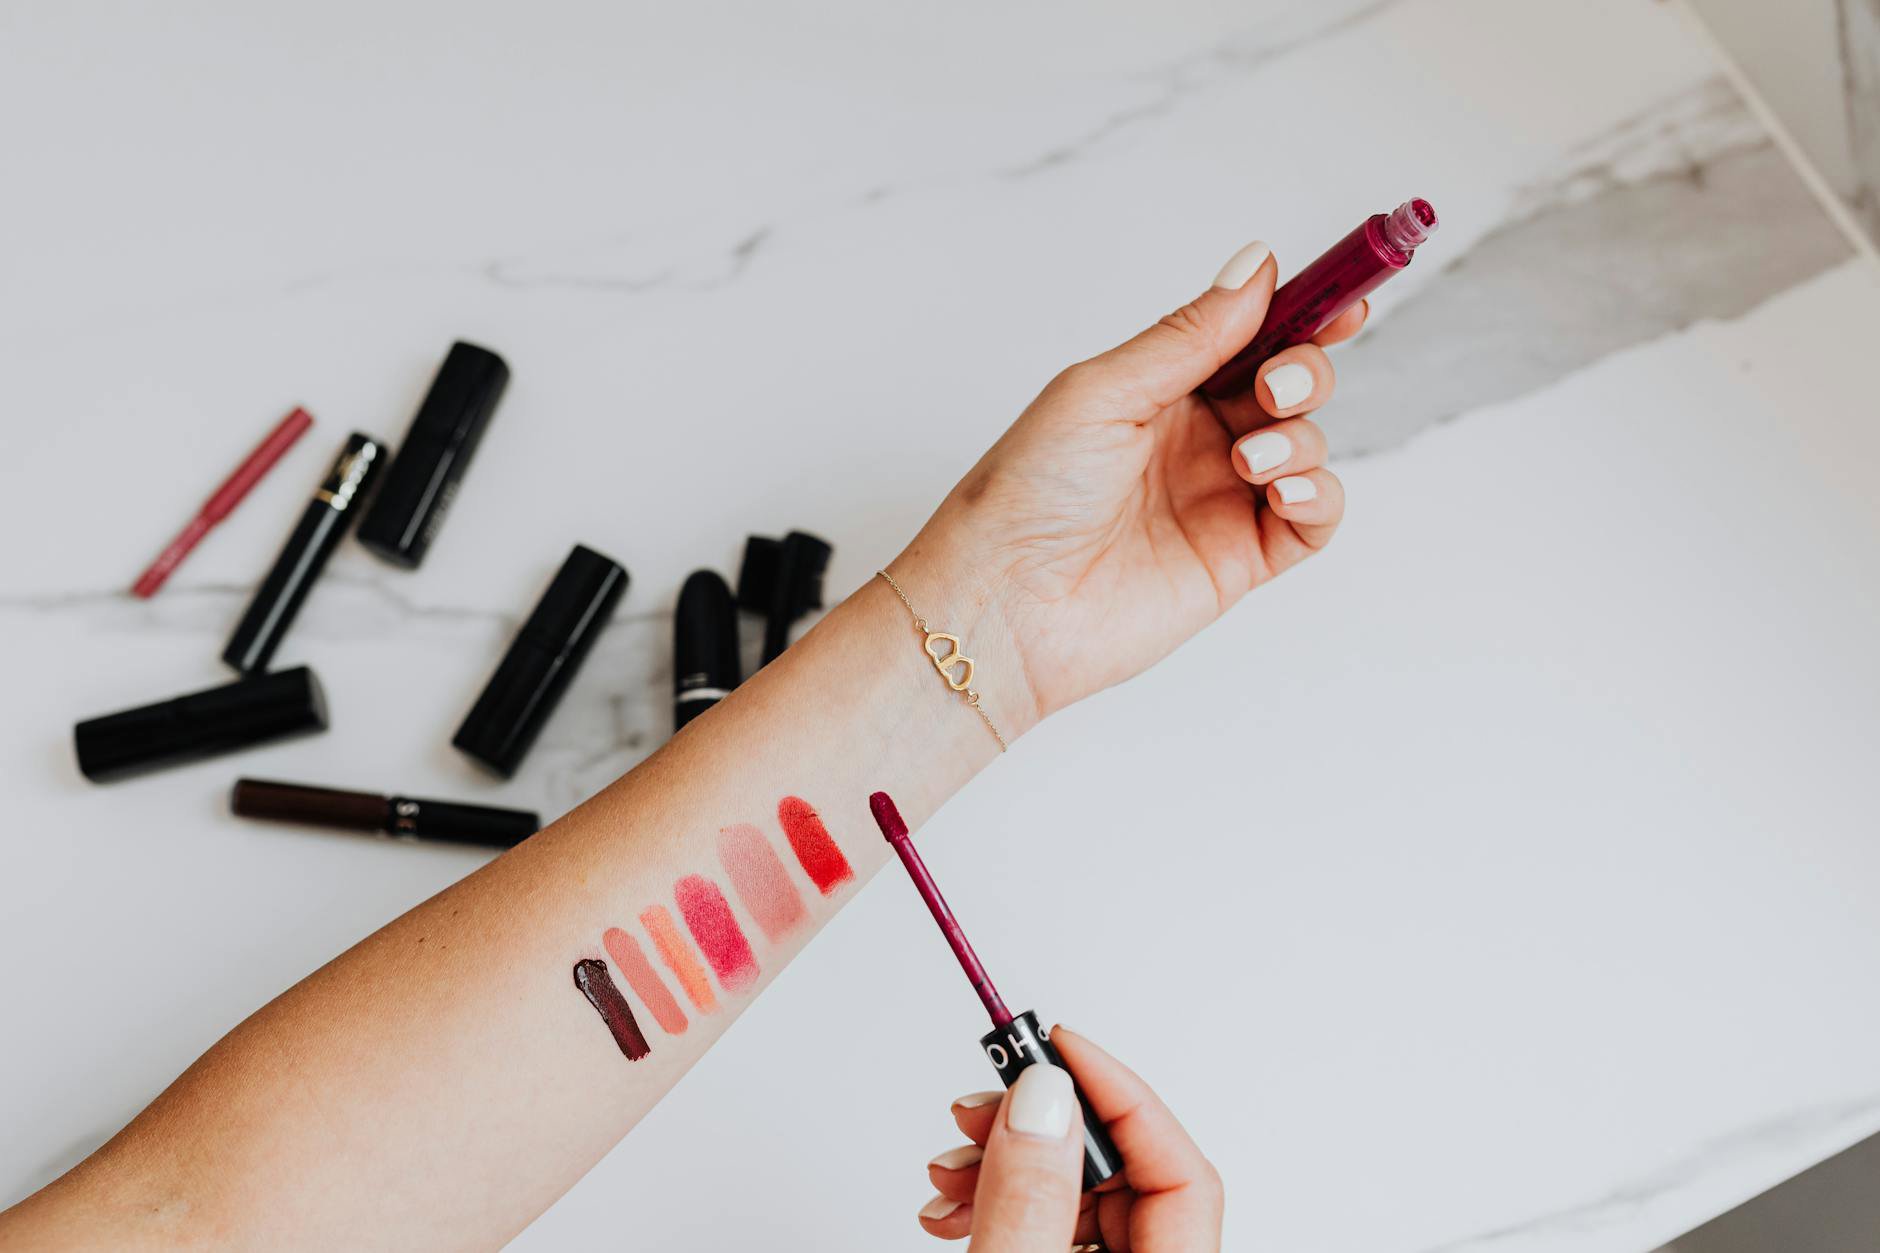
Here are lipstick options I’d consider first when bleeding is your main complaint (and where Canadian pricing can sting, so watch for promos at Sephora Canada and The Bay):
- Charlotte Tilbury Matte Revolution Lipstick (C$ 49.00) — a matte option when you want definition.
- Clinique Pop Longwear Lipstick (C$ 36.00) — a longwear-leaning choice for everyday.
- Estée Lauder Pure Color Lipstick (C$ 47.00) — a classic bullet style when you want polish.
- Lancôme L’Absolu Rouge Lipstick (C$ 45.00) — a luxe-feeling bullet that suits more “done” looks.
- Sephora Collection Cream Lip Stain Liquid Lipstick (C$ 21.00) — a budget-friendlier route when you need grip.
- NYX Soft Matte Lip Cream (C$ 11.49) — a wallet-friendly matte-leaning option from NYX.
Canadian tip: Sephora Collection and NYX often give you the best cost-per-wear here, simply because the entry price stays lower even with the Canada premium. For higher-end bullets like Charlotte Tilbury, I usually wait for a points event or a set.
If you love a creamy look, you don’t have to quit it. You just need to combine it with tighter technique in the next section.
Application technique that locks the border (even without a lip liner)
People assume feathering means they “need” a lip liner. Liners help, but technique does more than you think—especially if you apply lipstick straight from the bullet and accidentally over-apply at the edges.
I like a two-pass method: first, place colour precisely; second, build fullness toward the centre. The mistake I see most: loading the lip line with the most product. That creates a thick, mobile ridge that migrates first.
Try this step-by-step with any of the bullets above (like Clinique Pop Longwear Lipstick (C$ 36.00) or Estée Lauder Pure Color Lipstick (C$ 47.00)):
- Outline with the bullet tip using light pressure. Keep the layer thin.
- Fill in the lips with slightly more pressure, but concentrate product in the middle third.
- Press lips together once. Don’t rub back and forth. Rubbing pushes pigment outward.
- Blot with a single ply of tissue.
- Reapply a thin second layer, again keeping the border lighter than the centre.
For liquid formulas like Sephora Collection Cream Lip Stain Liquid Lipstick (C$ 21.00), I keep the wand away from the edges at first. I paint the centre, then “walk” colour outward with the leftover product on the applicator. Less product at the perimeter equals less bleeding.
One sentence that changes everything: your lip line should be the thinnest layer on your lips.
The “seal it” methods: blotting, powdering, and layering without cakiness
If you already read guides on making lipstick last, you’ve heard about blotting. For feathering, blotting matters for a different reason: it removes excess emollients that keep pigment mobile. You’re not just extending wear—you’re reducing creep.
My favourite sealing method uses tissue and powder, but it stays subtle if you do it right. You don’t want a chalky mouth. You want a soft set.
Here’s the technique I use when a creamy lipstick keeps bleeding, but I still want that comfortable feel:
- Apply lipstick (one thin coat).
- Blot once with tissue.
- Place tissue over lips and tap a small amount of face powder over the tissue. This diffuses powder so it doesn’t clump.
- Add a second thin coat only where you need more colour (usually the centre).
This works beautifully with plush mattes like NYX Soft Matte Lip Cream (C$ 11.49) because it already leans velvety, but it also helps classic bullets like Lancôme L’Absolu Rouge Lipstick (C$ 45.00) behave more predictably.
If you hate powder on lips, do a “micro-blot” instead: fold tissue into a crisp edge and press only along the lip line. It removes slip right where bleeding starts.

Shade and finish tricks that hide minor feathering (and keep it from looking messy)
Even with perfect prep, some mouths have more natural movement lines. If that’s you, you can make feathering less visible by choosing shades and finishes that don’t spotlight every edge shift.
Very deep shades and very bright reds show border blur fast. Pale nudes can do it too, because any migration changes the contrast against your skin. Mid-tones and softly muted shades often look cleaner longer, even when the formula shifts a bit.
Finish matters just as much. Ultra-creamy, high-slip finishes show “haloing” at the edges because light reflects off the migrated product. A soft matte or satin that sets down slightly will look sharper for longer.
If you want a practical lineup for different “risk levels,” I think about it like this:
- Lowest risk: Sephora Collection Cream Lip Stain Liquid Lipstick (C$ 21.00) for crisp edges with minimal fuss.
- Medium risk: Charlotte Tilbury Matte Revolution Lipstick (C$ 49.00) when you want a matte look that still feels wearable.
- Higher risk (needs more technique): Estée Lauder Pure Color Lipstick (C$ 47.00) or Lancôme L’Absolu Rouge Lipstick (C$ 45.00) if you prefer a classic bullet feel and can commit to blotting and setting.
- Budget pick: NYX Soft Matte Lip Cream (C$ 11.49) when you want that blurred, forgiving finish.
Small trick, big payoff: if you notice the tiniest feathering mid-day, don’t add more lipstick at the edge. Add it to the centre only, then press lips together once. That keeps the border clean.
Quick troubleshooting: what to do when it’s already bleeding
Bleeding happens. Coffee happens. Wind happens. The goal becomes cleanup without making the lip heavier, because heaviness makes it bleed again.
I use a “reset the perimeter” approach. First, blot firmly. Second, clean the outside edge by gently wiping just beyond the lip line with a tissue corner. Third, re-define the border with the smallest amount of lipstick possible.
Keep this simple routine in mind:
- Step 1: Blot twice.
- Step 2: Wipe the skin just outside the lip line to remove the halo.
- Step 3: Reapply lipstick only to the inner half of the lips.
- Step 4: Press lips together once to push colour outward slightly, but not past the edge.
- Step 5: If needed, add a whisper-thin coat along the border using light pressure.
If you’re wearing a liquid formula like Sephora Collection Cream Lip Stain Liquid Lipstick (C$ 21.00), avoid layering repeatedly at the edges. It can build texture that cracks, then looks like more feathering. Instead, do one careful touch-up and stop.
And if bleeding keeps returning in the same spots, it usually means the area has more slip (skincare) or more texture (dryness). Fix the cause, not just the symptom.
Canadian shopping notes + how I compare value across price tiers
In Canada, I consider both formula reliability and how often a lipstick goes on promo. Sephora Canada carries a lot of the prestige options, while Shoppers Drug Mart often wins for accessible brands and points events. The Bay can surprise you with markdowns on classic lines, and Well.ca sometimes offers solid deals depending on the brand mix.
When I compare “value,” I don’t only look at the sticker price. I look at how many steps it takes to make the lipstick behave. A C$ 49.00 bullet that needs constant babysitting costs more in time than a C$ 21.00 liquid that stays sharp.
This is how I’d think about it:
- Best lower-cost control: NYX Soft Matte Lip Cream (C$ 11.49) when you want a forgiving finish that doesn’t scream “bleed.”
- Best mid-range precision: Sephora Collection Cream Lip Stain Liquid Lipstick (C$ 21.00) for clean edges with minimal fuss.
- Prestige treat (watch the Canada premium): Charlotte Tilbury Matte Revolution Lipstick (C$ 49.00) when you want a refined matte look and you’ll actually wear it often.
- Classic department-store vibe: Estée Lauder Pure Color Lipstick (C$ 47.00) or Lancôme L’Absolu Rouge Lipstick (C$ 45.00) if you like traditional bullets and don’t mind blot-and-set.
If you’re browsing brands on GlamGeek, you can jump straight to Clinique, Estée Lauder, Lancôme, Charlotte Tilbury, NYX, or Sephora Collection and compare pricing patterns across retailers.
Practical tips you can use today (my no-drama routine)
If you only do four things, do these: keep skincare off the lip perimeter, apply a thin border, blot, and set the skin just outside the lip line. That combo prevents most bleeding, even with classic bullet lipsticks.
My quick routine for a crisp, wearable lip goes like this: blot away balm, apply one thin coat of Clinique Pop Longwear Lipstick (C$ 36.00) or Charlotte Tilbury Matte Revolution Lipstick (C$ 49.00), blot once, then tap a touch of powder around the mouth. If I want maximum control, I swap to Sephora Collection Cream Lip Stain Liquid Lipstick (C$ 21.00) and keep product away from the border until the end.
Also: stop rubbing your lips together. Once is enough.
If you want more lipstick guides, I keep the rest of your routine in mind too—like which Makeup Brushes & Applicators you use for base, or whether your Face Primers tend to stay slippery around the mouth—but the core fix for feathering always starts with lipstick technique and a formula that sets.
What’s the bigger problem for you: feathering at the upper lip line, or bleeding at the corners? Tell me your go-to lipstick finish (matte, satin, or creamy), and I’ll point you to the best option from the list above.