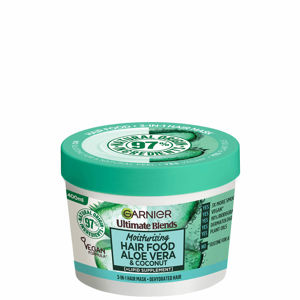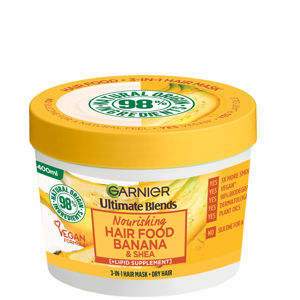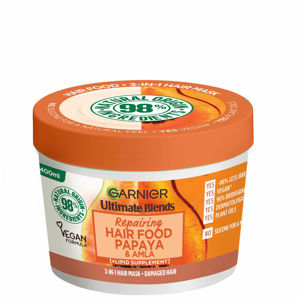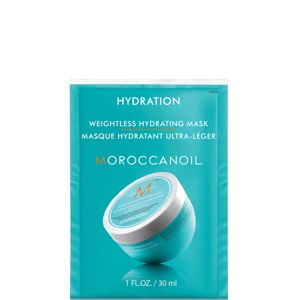
Technique beats price with hair masks. Our tracker has watched luxury and high-street formulas leapfrog each other on promotion for years, yet the best results still come from how you apply them. The right prep, the right timing, and a smart rinse make more difference than the label.
So think process, not hype. We’ll show you how to choose wet or dry application, how long to leave it on, when to add heat, and how to rinse for your hair’s needs. You’ll also find price-savvy steps to shop well while you protect your ends.
Most masks work. Not every mask works for you unless you apply it with intent.
Context: hair masks, the UK climate, and what the data shows
We’ve tracked beauty pricing since 2010. Hair masks move with the retail calendar. We see steady discounts during January sales and Black Friday week, and multi-buy offers pop up in spring. None of that matters if you rinse a rich mask like a conditioner, or apply a protein mask to soaking hair that needs moisture first.
Typical tubs sit at 150–250 ml. You use between 10–30 ml per session depending on hair density and length. That means 6–15 uses per pot for shoulder-length hair. A little strategy helps you stretch each jar and improves results at the same time.
UK conditions swing. Damp winters meet central heating from October to March. Summer heatwaves hit occasionally, then vanish behind rain and frizz. Your routine should flex. Curly or coily hair often drinks up richer formulas in heating season. Fine hair tends to prefer lighter masks and faster rinses year round.
If you shop new or want a standby, start with our Hair Masks category. Add a few to your wishlist. We’ll ping you when prices dip across Boots, Superdrug, Space NK, Lookfantastic and Beauty Bay, so you can time a restock without stalking ten tabs.
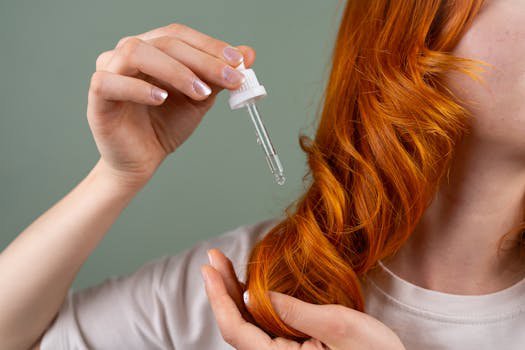
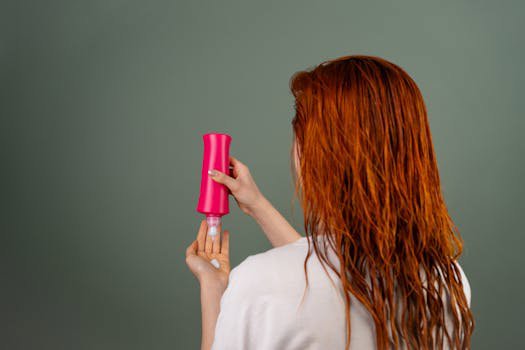
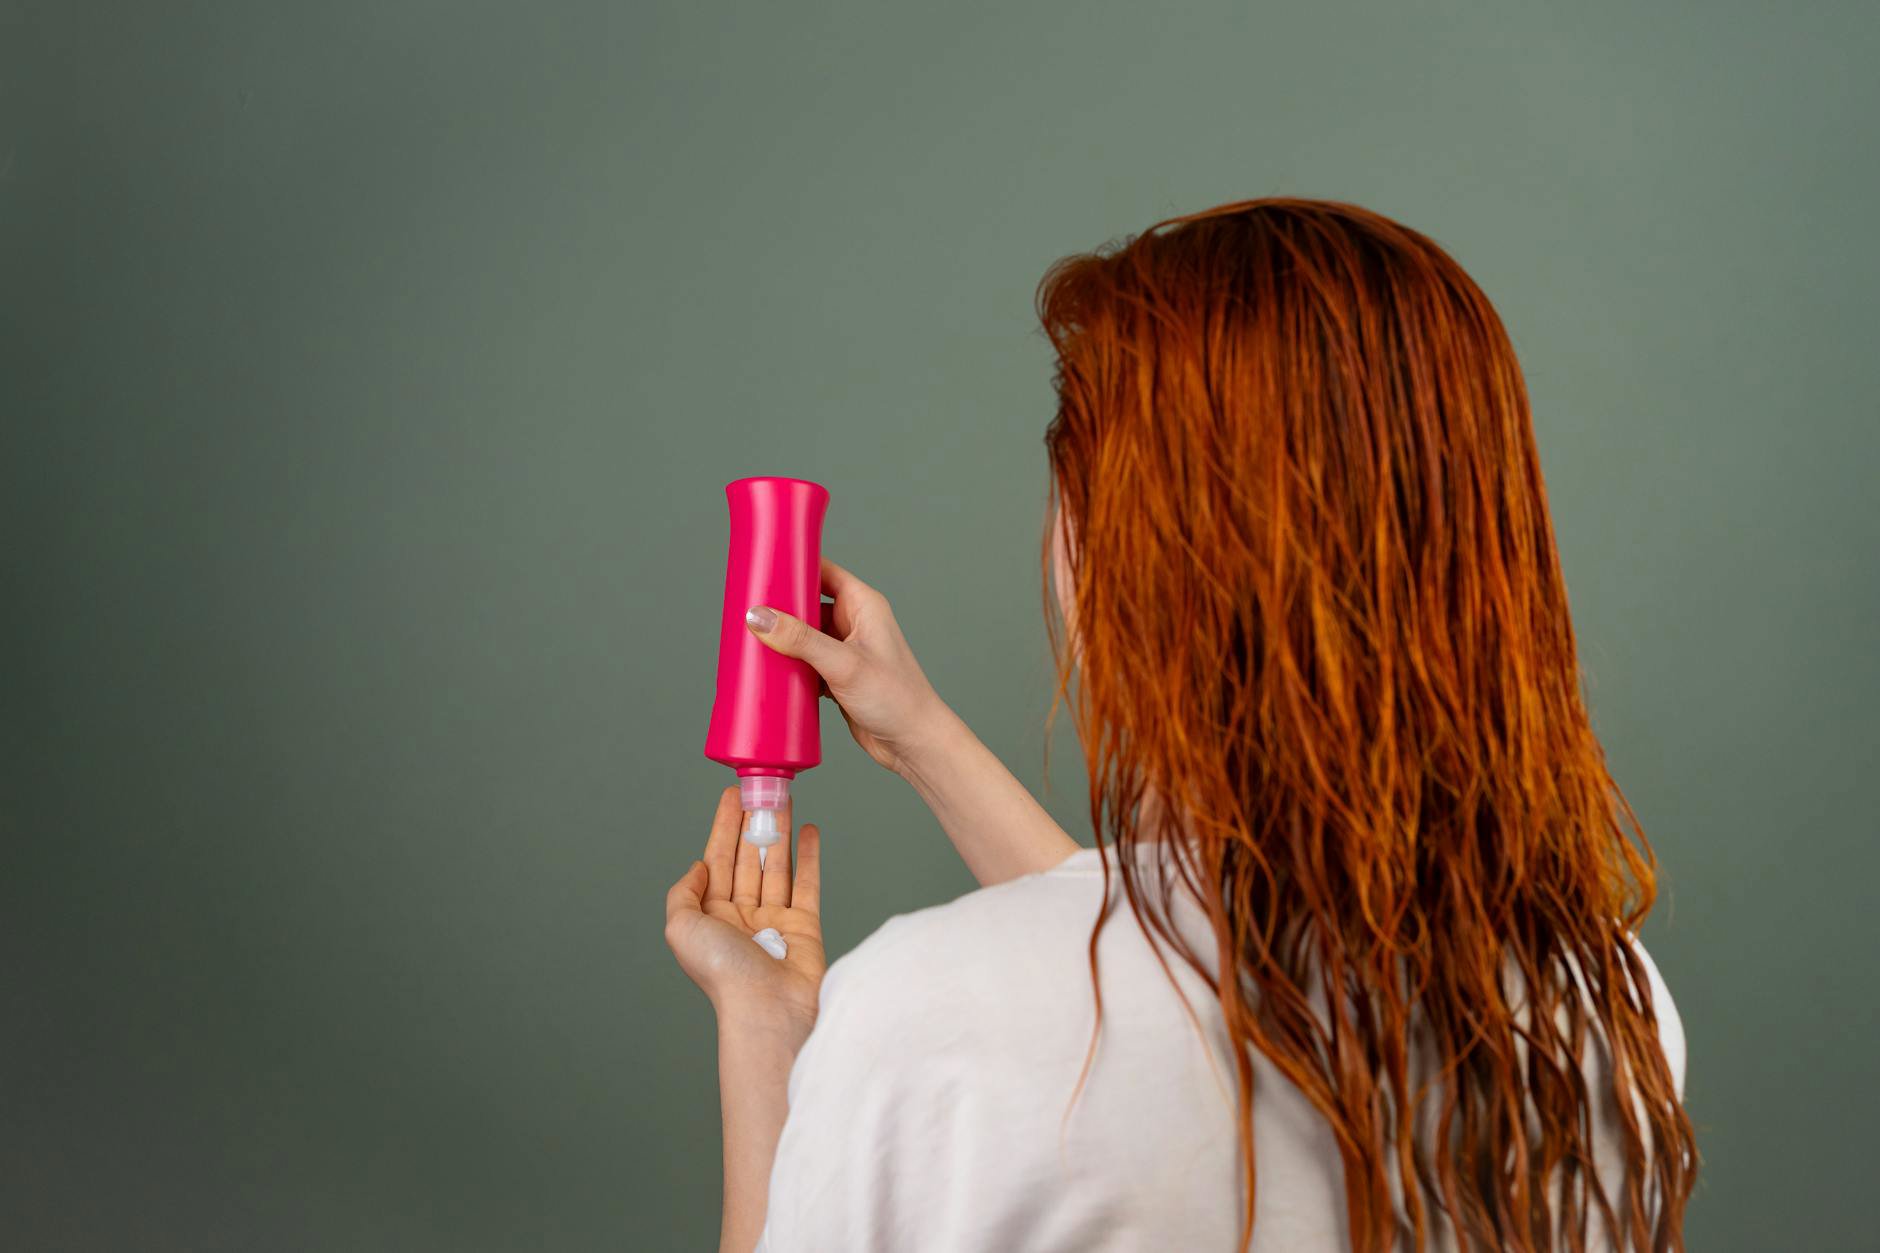
{{IMAGE:woman applying hair mask at home}}Wet or dry hair: choose your starting point
Most masks perform best on clean, towel-dried hair. Water helps spread product and swells the cuticle slightly, which allows better contact. You also avoid sealing in grease if you wash first. Start here if you feel unsure.
Apply to dry hair when you want targeted richness, or when your ends feel like straw. Dry application concentrates the formula where you need it most. You use less product at the roots and you avoid over-softening fine hair. Dry application also suits pre-shampoo bonding or protein steps when you want structure without excess slip.
Try this simple decision rule:
- Choose damp hair for moisture masks, curls that need definition, and weekly maintenance.
- Choose dry hair for brittle mid-lengths, split-prone ends, or when you prep for colour. Keep away from oily roots.
- Choose damp hair if your mask feels thick and hard to spread. You’ll waste less.
Whatever you pick, consistency wins. Keep one method for four to six uses before judging results.
Prep that pays off: clarify, detangle, and towel-dry right
Good prep turns an average mask into a strong performer. Here’s a quick sequence that saves time and product:
- Clean first. Use your regular shampoo or a clarifying wash every third or fourth mask if you use lots of dry shampoo, oils, or silicones. You can browse hydrating options in Moisturising & Nourishing Shampoos if your lengths feel parched.
- Squeeze, don’t rub. Blot water out with a microfibre towel or cotton T‑shirt. Aim for damp, not dripping. Waterlogged hair dilutes product and slides it straight down the drain.
- Detangle gently. Use fingers or a wide-tooth comb. Remove knots before you mask so you don’t snap hair while saturated.
If you apply on dry hair, detangle first and mist the mid-lengths lightly. You only need a veil of water to help spread a rich mask without flooding it.
Section and target: how to apply like a pro at home
Salon pros never slap and hope. Copy this at home. Work in sections and choose tools that control distribution.
- Divide hair into four to eight sections depending on density. Clip each section up.
- Scoop a walnut-sized amount for medium hair. Start small; you can always add more. Thick or very long hair will need more per section.
- Warm the mask between your palms. Press it through mid-lengths to ends. Use prayer hands on curls or waves to keep the pattern intact.
- Comb each section with a wide-tooth comb or a brush from our Makeup Brushes & Applicators section if you like a detangling accessory that doubles up at your dressing table.
- Leave the root area alone unless you use a scalp-specific mask. You want lift at the crown, not residue.
For heat-styled hair that breaks, concentrate product where the straighteners pass most. For swimmers, prioritise the outer layer and nape where chlorine sits. For curls, work section by section and scrunch in a touch of water to emulsify thicker masks on contact.
If you love richer salon-style care at home, look at nourishing masks from Kérastase or spa-style blends from ESPA. For high-street value, Garnier and L'Oréal offer reliable hydration. Use our comparison to spot which retailer runs a multi-buy or bundle when you need it.
Timing that works: moisture vs protein and when to stop
Mask for long enough to bond or hydrate, then stop before softness turns to limp. Product labels often list a range like 3–5 minutes or 10–20 minutes. Use the low end for fine or oily hair. Use the higher end for coarse, curly or high-porosity hair.
Think in two families:
- Moisture masks: humectants and emollients dominate. Expect glycerin, aloe, shea, coconut or argan oils. Leave 5–15 minutes on damp hair. Go shorter in summer humidity and longer when heating runs.
- Protein or bond-building masks: look for hydrolysed proteins, amino acids or bond-care tech. Keep them on the lower end of the label range if your hair feels stiff. Rotate with moisture masks so you don’t tip into brittleness.
Check slip rather than the clock if you feel unsure. When hair feels smooth along the shaft as you slide your fingers, you can move to the next step. If strands feel squeaky or rough, give it another five minutes and add a palm of water to reactivate spread.
Plan timing around life. A three-minute express mask works before work. A 15-minute soak fits a Sunday reset. You don’t win extra points for stacking hours under a towel. Most masks finish their work inside the printed window.
Heat, caps and hacks: when extra warmth helps
Heat speeds up softening and helps moisture masks perform on coarse or low-porosity hair. You don’t need salon gear to get that benefit.
- Shower cap + towel: cover hair with a cap, then wrap a warm towel on top. Re-warm the towel under the tap if it cools.
- Low heat burst: use a hair dryer on the lowest heat and speed for 60–90 seconds over the cap. Keep the dryer moving. You want gentle warmth, not hot roots.
- Gym steam trick: a post-workout mask under a cap benefits from ambient warmth. Keep it tidy and skip high-impact moves if the cap slides.
Avoid high heat. You risk swelling the cuticle too far and then flattening it with residue. Gentle warmth helps; aggressive heat frays. Bond-building masks often do well without heat, so save it for rich moisture formulas if you have coarse or very dry hair.
{{IMAGE:hair care towel wrap heat cap}}Rinsing by hair need: the step that makes or breaks results
Most people under-rinse the roots and over-rinse the ends. Rinsing well can double the look of a good mask. Adjust by hair type:
- Fine or oily hair: Emulsify first. Add a palm of water to the hair, massage to milk the mask, then rinse with warm water until it feels light and clean at the root. Finish with a brief cool rinse for lift.
- Thick or coarse hair: Emulsify, then rinse until the water runs clear but the mid-lengths still feel silky. You don’t need squeaky ends. A cool rinse helps reduce puff.
- Curly or coily hair: Consider a micro-dilute rinse. Fill a jug with warm water and a teaspoon of mask residue from your hands. Pour it down the lengths. Then finish with cool water. This leaves slip without coating the scalp.
- Colour-treated hair: Keep water warm, not hot. Hot water speeds fade. Focus rinse time at the scalp and let the water sheet through the ends.
Scalp care masks need a different approach. Massage the scalp with pads of fingers, not nails. Rinse patiently at the roots. Follow with a light conditioner on the lengths only, chosen from Moisturising & Nourishing Conditioners if you need extra slip.
Frequency and routine: how often to use a mask
Think like a schedule, not a one-off rescue. Use these starting points and tweak based on feel:
- Fine or straight hair: once a week with a light moisture mask. Add a monthly protein step if you heat-style often.
- Wavy or curly hair: once or twice a week, richer in heating months. Alternate moisture and strengthening formulas if curls feel too soft or lose spring.
- Coily or very dry hair: twice a week in winter, once a week in summer, or after swim days. Keep a light leave-in on non-mask days.
- Colour or bleach: weekly bond care. Add moisture the same week if hair feels tight or tangly.
Slot masking around heat. If you plan a blow-dry or straighteners, mask the day before and use a heat protectant. Don’t mask, then skip protection and expect the softness to last.
When life gets busy, drop to an express 3–5 minute step in-shower. It still helps, especially if you emulsify and rinse with intent.
Pairing products: shampoo, mask, conditioner and leave‑in
You don’t need a 12-step routine. Pair with purpose and save your budget for what works.
- Shampoo first: cleanse based on your scalp, not your ends. Oily scalp? Use a balancing wash and follow with a richer mask mid-length down. Dry scalp? Use a gentle wash from the Moisturising & Nourishing Shampoos aisle.
- Mask second: treat the lengths with your chosen method. Section and apply evenly.
- Conditioner third (optional): lock in slip if your hair tangles, or if your mask feels light. Keep this brief. Rinse well near the root.
- Leave‑in last: seal the deal with a small amount of cream or oil through the ends. Skip oil on fine hair if it kills volume.
Brand lines help you pair textures. You’ll find luxe smoothing or strengthening masks from Kérastase and treatment-led options from Sisley. High-street regulars from Garnier, L'Oréal and botanicals from The Body Shop cover moisture at friendly price points. Compare textures and claims on our Hair Masks page, then add your picks to a wishlist. We’ll alert you when retailers drop the price.
Special cases: curls, protective styles and post‑swim hair
Curly and coily hair benefits from water and slip. Try this in-shower ritual on wash day:
- Cleanse scalp and gently detangle under running water.
- Squeeze out excess water until damp, not dripping.
- Apply mask in sections with prayer hands, then scrunch. Add small amounts of water to help the mask coat evenly.
- Cap for 10–20 minutes for coarse coils or 5–10 for softer curls. Add gentle warmth if you struggle with absorption.
- Rinse with a jug method to control how much slip remains in the lengths.
Protective styles need a lighter touch. Focus on the scalp and exposed hair. Use a nozzle bottle to deliver a diluted mask to new growth. Keep your rinse thorough to avoid buildup at braids or twists.
Post‑swim care looks different again. Wet hair with tap water before you swim so it absorbs less pool water. After swimming, shampoo out chlorine and then use a smoothing or bond-care mask on damp hair. Rinse well and follow with a leave‑in that shields against UV if you swim outside.
Protein, bonds and moisture: understanding what you’re using
Ingredients drive results. You don’t need to read a cosmetic chemistry textbook, but a quick scan of the label helps you time, heat and rinse better.
- Moisture-first masks: look for glycerin, aloe, panthenol, shea, coconut, argan or avocado oils. These soften, add slip and reduce frizz. Add gentle heat if your hair resists hydration.
- Protein masks: hydrolysed keratin, wheat, soy or silk proteins add structure. Overdo it and hair feels stiff. Keep timing on the short side and rinse thoroughly.
- Bond-care masks: brands use various chemistries to target broken bonds. Follow label timing closely. Many of these hand you strength without bulk if you rinse well.
Balance matters. If hair feels too soft and limp, add a protein or bond-care week and shorten mask time. If hair feels brittle, skip protein for a fortnight and lean into moisture with a touch of heat.
You can shop strengthening formulas from luxury names like Sisley or more affordable options from L'Oréal and Garnier. Use our price comparison to check which store runs the best bundle or free‑gift offer that week.
Tools and small upgrades: caps, clips and water control
Small tools change the experience without padding the bill.
- Clips: section hair cleanly so you apply less product and coat more evenly.
- Shower cap: traps warmth and protects your towel while you do skincare.
- Wide-tooth comb: distributes mask without tearing through tangles.
- Jug or cup: controls your rinse, which helps curls keep shape and saves product.
Keep one old T‑shirt for blotting and wraps. It reduces frizz compared with a standard towel. If you already shop tools for your kit, you can rationalise storage by choosing multipurpose items from lines you like. We see frequent promos on accessories as part of Skin Care Sets or hair bundles around Mother’s Day and December.
Troubleshooting: if results fall flat
You masked and it still missed the mark. Fix it with a small tweak rather than buying three more tubs.
- Hair feels greasy or flat: you used too much, left it too long, or didn’t emulsify before rinsing. Next time, use half the amount and add that palm of water before you rinse.
- Hair still feels dry: increase time by five minutes, add gentle heat, or switch to damp application if you applied on dry hair. You can also follow with a light conditioner on the ends.
- Frizz got worse: turn down the water temperature, press a microfibre towel after rinsing, and try a cool rinse. Check if your mask contains a humectant that grabs humidity in summer; shorten time when air feels sticky.
- Curls lost shape: you may have over-softened or coated. Reduce time and scrunch in a little water during application to emulsify. Rinse with a jug to leave the right amount of slip.
- Breakage continues: add a strengthening week, keep heat tools lower, and always use a heat protectant. Book a trim if ends split; no mask fuses a split end back together.
Shopping smart: match formula to hair and use GlamGeek tools
The shelves can feel chaotic. Use three filters to pick fast:
- Texture: light gel-cream for fine or short hair. Rich cream for thick, curly or coily hair. Butter for very dry or porous hair.
- Goal: moisture for softness and frizz control, protein or bonds for strength, scalp masks for flakes or itch.
- Scent and residue: if strong fragrance bothers you, choose cleaner-smelling options from brands like ESPA. If residue ruins your roots, avoid heavy butters near the scalp.
Next, shop by brand tier. Luxe textures from Kérastase or Sisley often give plush slip and a refined finish. High-street workhorses from Garnier, L'Oréal and nature-led blends from The Body Shop keep costs steady across the year. We track prices across Boots, Superdrug, Space NK, John Lewis, Lookfantastic and Beauty Bay so you don’t have to.
Open our Hair Masks category, shortlist three candidates, and add them to your wishlist. You’ll get a heads-up when a retailer nudges the price down or adds a free mini. Stock up during multi-buys if you mask weekly, or grab travel sizes to test texture first.
What this means for your routine
Good masking follows a clear pattern. Cleanse, blot, section, apply with purpose, time based on formula and hair type, add gentle heat only when it helps, and rinse to match your needs. That rhythm beats guesswork every time.
Use a consistent method for a month. Track how your hair behaves on wash day and on day two. If you need more gloss, lengthen time or add heat. If you need volume, shorten time and lighten the formula. Let your technique carry the weight. Then let pricing work for you through wishlists and comparisons, not impulse buys.
Your step‑by‑step cheat sheet
- Decide on wet vs dry start. Choose damp for most moisture masks. Choose dry for targeted repair on brittle ends.
- Clean with the right shampoo for your scalp. Blot to damp.
- Section hair and apply a small amount per section. Focus on mid-lengths and ends.
- Comb through for even coverage. Cap and add gentle warmth if your hair resists hydration.
- Time it within the label window. Stay shorter for fine hair and protein formulas; longer for coarse or very dry hair.
- Emulsify with a palm of water. Rinse well at the roots and as needed on the ends. Use a cool finish for shine and control.
- Follow with optional conditioner on the ends, then a leave‑in suited to your texture.
- Repeat weekly and adjust based on feel, season and styling habits.
Technique improves every mask you already own. The right buy then feels like a bonus, not a gamble.
Which part of masking trips you up most — wet vs dry, timing, heat or rinse? Tell us what you want to fix, and we’ll build the next guide around it. In the meantime, shortlist your next treatment in our Hair Masks feed and set a wishlist alert so your budget stretches as far as your shine.