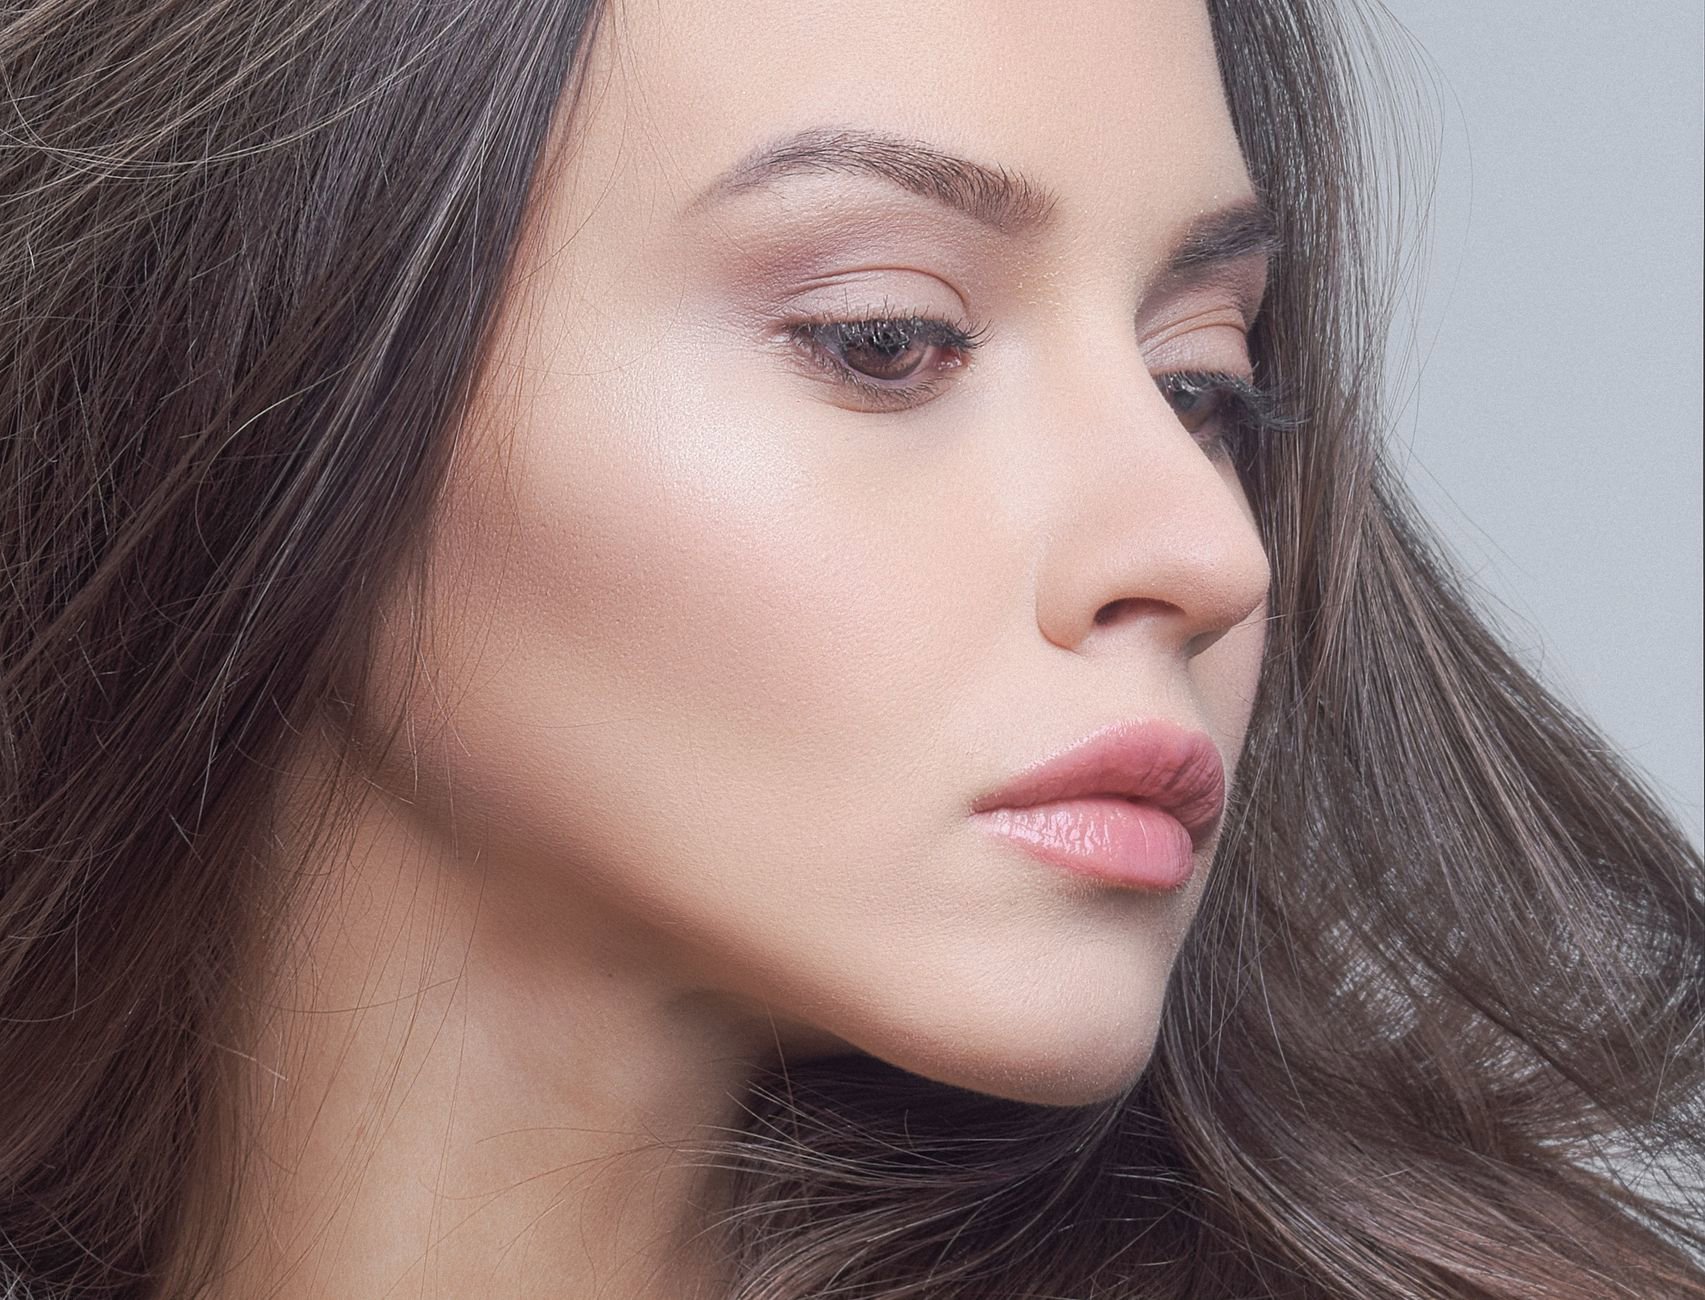
Powder highlighter can look smooth and “lit from within” on real skin—if you treat it like a finishing detail, not a layer you’re trying to build coverage with.
Texture shows up when shimmer sits on top of dryness, when the powder grips to pores, or when placement lands right on areas that naturally have more movement (smile lines) and more oil (inner cheek). Fix those three things and most “highlighter problems” disappear.
Below, we’ll break down skin prep, formula choices, tools, and application steps that keep glow soft, not sparkly-and-gritty. We’ll also call out powder highlighters that behave well when you want sheen without spotlighting pores—using products our database tracks across major US retailers.
As a quick shopping note: our price tracker routinely shows a wide spread between drugstore-friendly powders and prestige formulas. You don’t always need to spend more, but the texture of the powder (and the finish it creates) matters more than the brand name.
The basics: why powder highlighter emphasizes texture
Powder highlighter reflects light. That’s the job.
When a formula contains larger pearl particles or a more metallic sheen, it bounces light in a way that can outline pores, acne texture, and fine lines. When a powder sits unevenly—because the skin has dry patches or a tacky base—it clings in dots and streaks. The result reads as “texture,” even when your skin looks smooth in normal light.
Pay attention to three variables:
- Particle size and finish: pearlized and softly luminous finishes tend to blur more than hard metallic finishes.
- Powder binders and press: baked or hybrid textures often lay down more evenly than very dry, loose-pressed powders.
- Where you place it: the high points of the face aren’t the same as the most textured parts of the face.
That’s why many “glass skin” style powders can still work—when they melt into skin rather than sitting on top. For example, Revolution positions Revolution Beam Bright Highlighter (from $8.00) as a silky powder that melts into skin “like a liquid.” That melt-in behavior matters when you want glow without a gritty overlay.
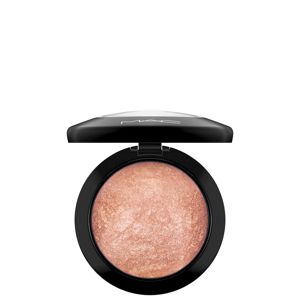
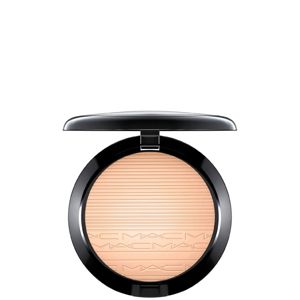
On the prestige side, hybrid textures aim for the same result. MAC Extra Dimension Skinfinish Highlighter (from $39.10) uses a liquid-powder hybrid texture with buildable coverage and a gleaming finish—meaning you can keep the layer thin, which is the easiest way to avoid emphasizing pores.
Prep that actually matters: smoothness, not slipperiness
Most highlighter texture issues start before the compact opens. The goal sits in the middle: skin that feels cushioned and even, but not tacky.
If your base stays too sticky, powder grabs and skips. If your base stays too dry, pearl catches on flakes. The sweet spot depends on climate (humid South vs. dry West vs. cold Northeast), but the principle stays the same: let layers set down before you add powder.
Two practical rules we see hold up across skin types:
- Wait time beats more product. Give skincare and base makeup a few minutes to settle before you highlight.
- Targeted prep beats full-face shine. Treat texture-prone zones (inner cheeks, around active breakouts) differently than smoother zones (upper cheekbone toward temple).
- Keep the highlight area thin. The more foundation and concealer you pile on, the more any powder will sit on top.
- Blot before you glow. If oils break through, powder highlighter can clump around pores.
If you like a “set then glow” approach, consider powders that can behave like finishing powders as well as highlight. Giorgio Armani Luminous Silk Glow Powder (from $45.71) explicitly positions itself as usable as a highlighter, bronzer, or finishing powder, with veil-like coverage that resists harsh lines and caking. That “veil” concept is what you want for texture.
For a softer-focus look, baked powders often help because they tend to apply in thin layers. Laura Geller Baked Natural Glow Highlighter (from $12.00) describes a low-glow finish and a baked process (24 hours on terracotta tiles). Low glow plus thin layering usually reads smoother on pores than intense metallic shine.
Choosing the right powder highlighter finish (and what to skip)
Highlighter marketing pushes “blinding.” Texture hates blinding.
If your main concern includes visible pores, acne texture, or fine lines, prioritize luminous pearl over foil metallic. You can still look glossy in photos, but you’ll look less dotted up close.
Here’s how the finishes in our tracked list tend to map to real-world texture concerns, based on how brands describe them:
- Soft luminous / glass-skin sheen: Revolution Beam Bright Highlighter (from $8.00) and Revolution Highlight Reloaded (from $4.50) both lean into “glass-skin-like” luminosity with silky powders.
- Pearlized radiance: MAC Mineralize Skinfinish Highlighter (from $29.33) calls out a slow-baked powder with a radiant, pearlised finish.
- Metallic gleam (use strategically): MAC Extra Dimension Skinfinish Highlighter (from $39.10) describes a metallic finish. This can work, but placement and amount become non-negotiable.
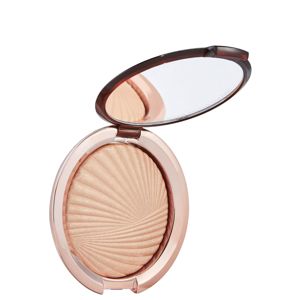
- Light-diffusing, veil-like glow: Stila Heaven's Hue Highlighter (from $33.90) highlights light-diffusing particles and a soft veil effect.
We’d skip “full cheek, full intensity” if you struggle with texture. Instead, use a more intense formula in a smaller zone. Think: a thin crescent on the upper cheekbone, not a wide stripe across the apple of the cheek.
If you want a multi-dimensional flush that can still act like highlight, Iconic London Kissed By The Sun Multi-Use Cheek Glow (from $25.60) describes a multi-dimensional pressed powder that combines blush-like color with definition. A little warmth and color can make you rely less on high-shine highlight, which often reduces texture emphasis.
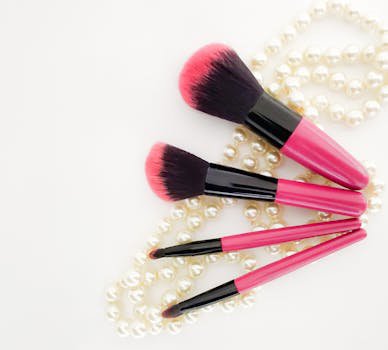
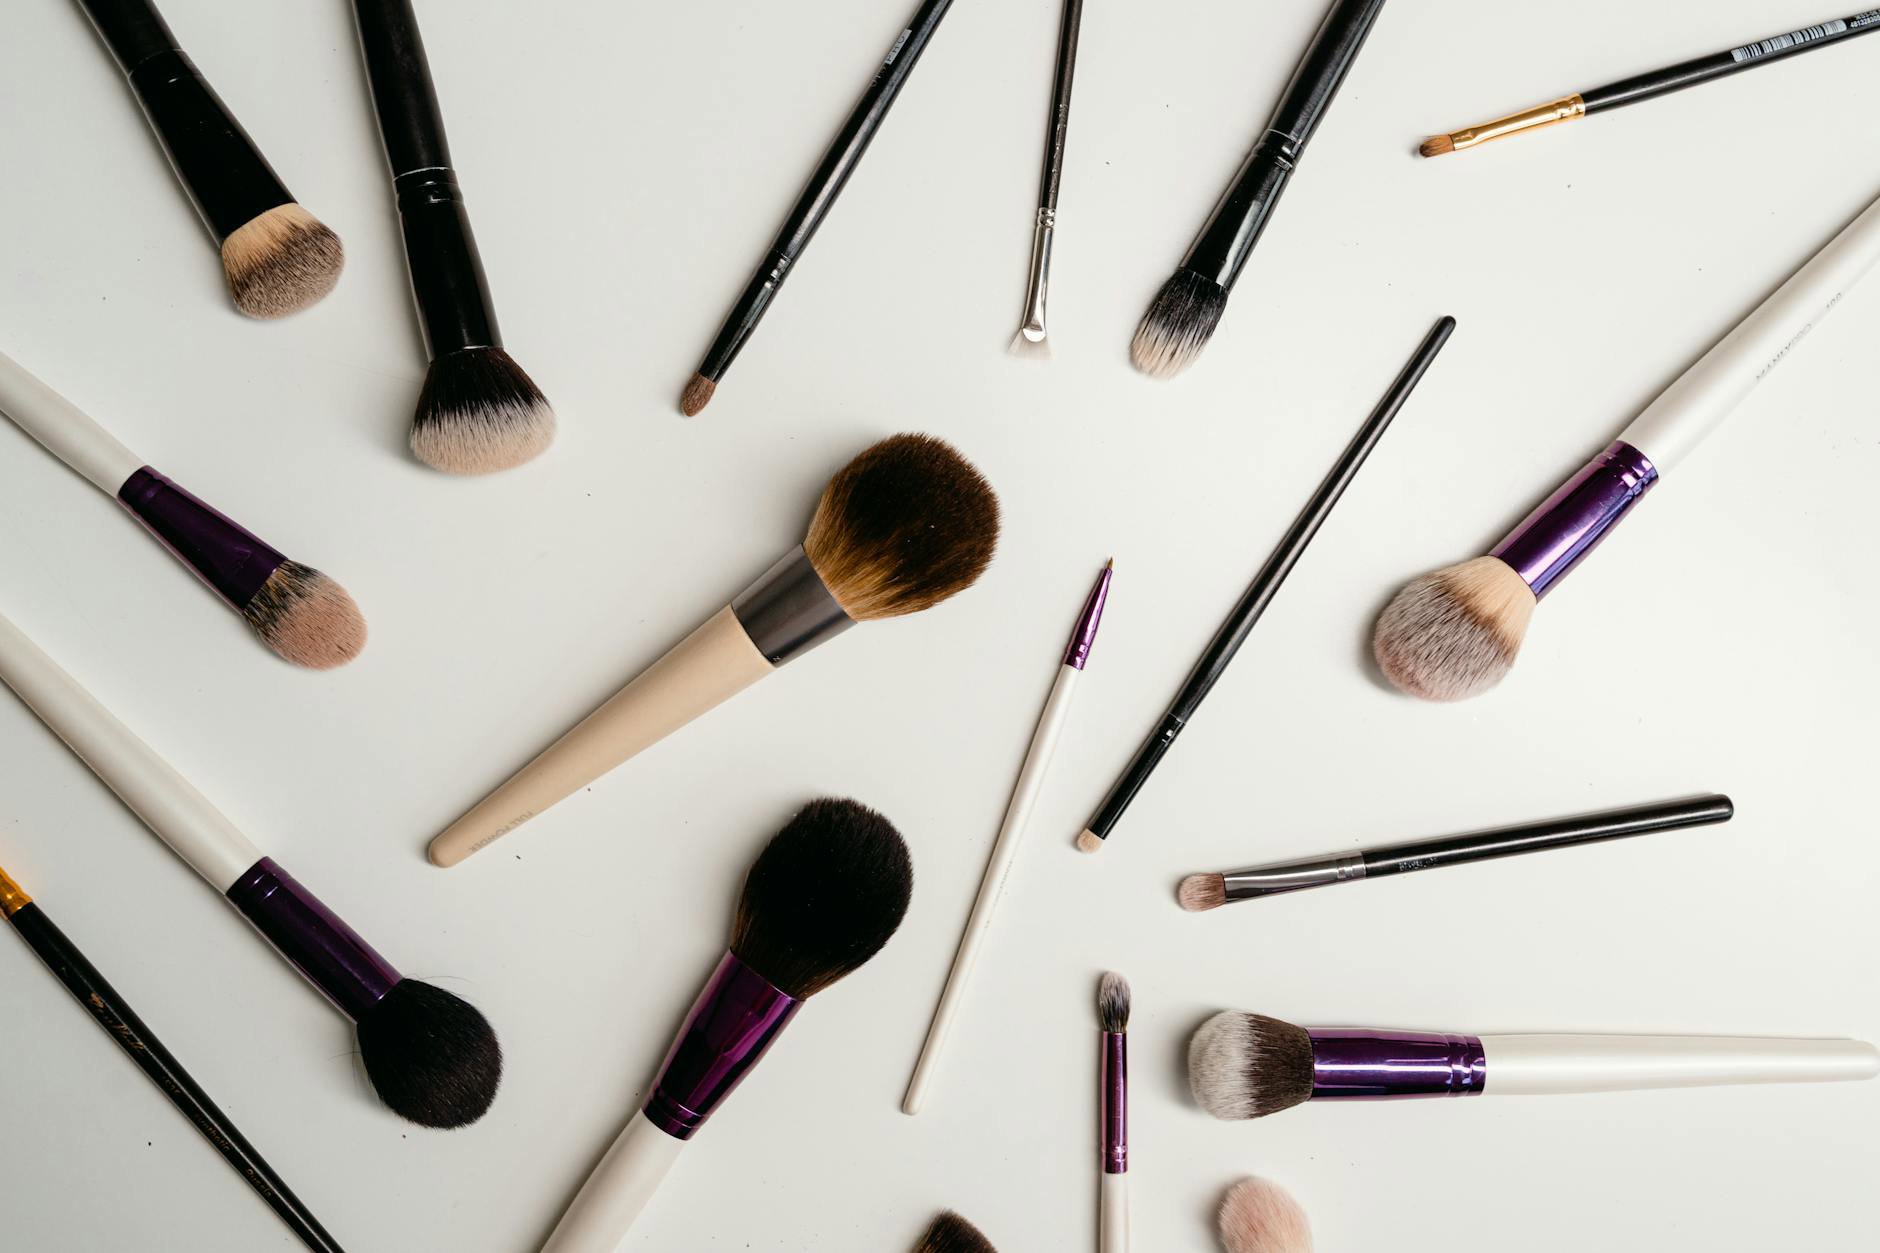
Brush and pickup technique: the “thin layer” method
Most people apply too much because they pick up too much.
Powder highlighter looks smoother when you build it in micro-layers. That means you want a tool and technique that deposits less product per pass. If you go in heavy, you’ll spend the rest of the routine trying to blend sparkle off textured areas.
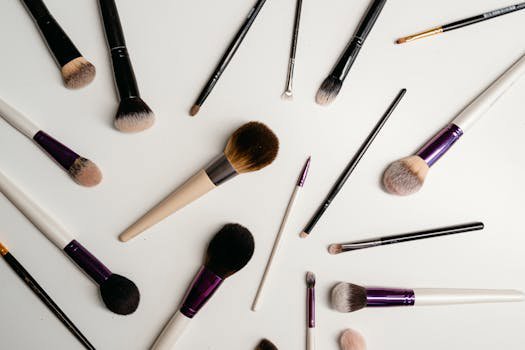
We’ll keep this tool-focused without turning it into a tool guide. If you want deeper reading on tools, GlamGeek has a separate hub for Makeup Brushes & Applicators.
Use these pickup rules with any powder highlighter:
- Tap, then tap again. Tap the brush into the pan lightly, then tap the handle to drop excess.
- Press product into bristles. A gentle swirl can load too much shimmer on the surface.
- Test on the back of your hand. If you see obvious particles there, you’ll see them on pores.
- One zone at a time. Reloading mid-cheek tends to create a harsh edge.
Some formulas make thin layering easier because they naturally “melt.” Physicians Formula Murumuru Butter Highlighter (from $11.49) describes a cream-to-powder texture with multi-colored pearls. Cream-to-powder often helps you avoid that dusty top layer that clings to texture.
Another texture-friendly category sits in gel-to-powder hybrids. By Terry Starlight Glow Cc Highlighter (from $54.00) describes a hybrid gel-to-powder formula with a silky, smooth finish and buildable glow. Buildable matters, because you can stop at “sheen” instead of chasing “shine.”
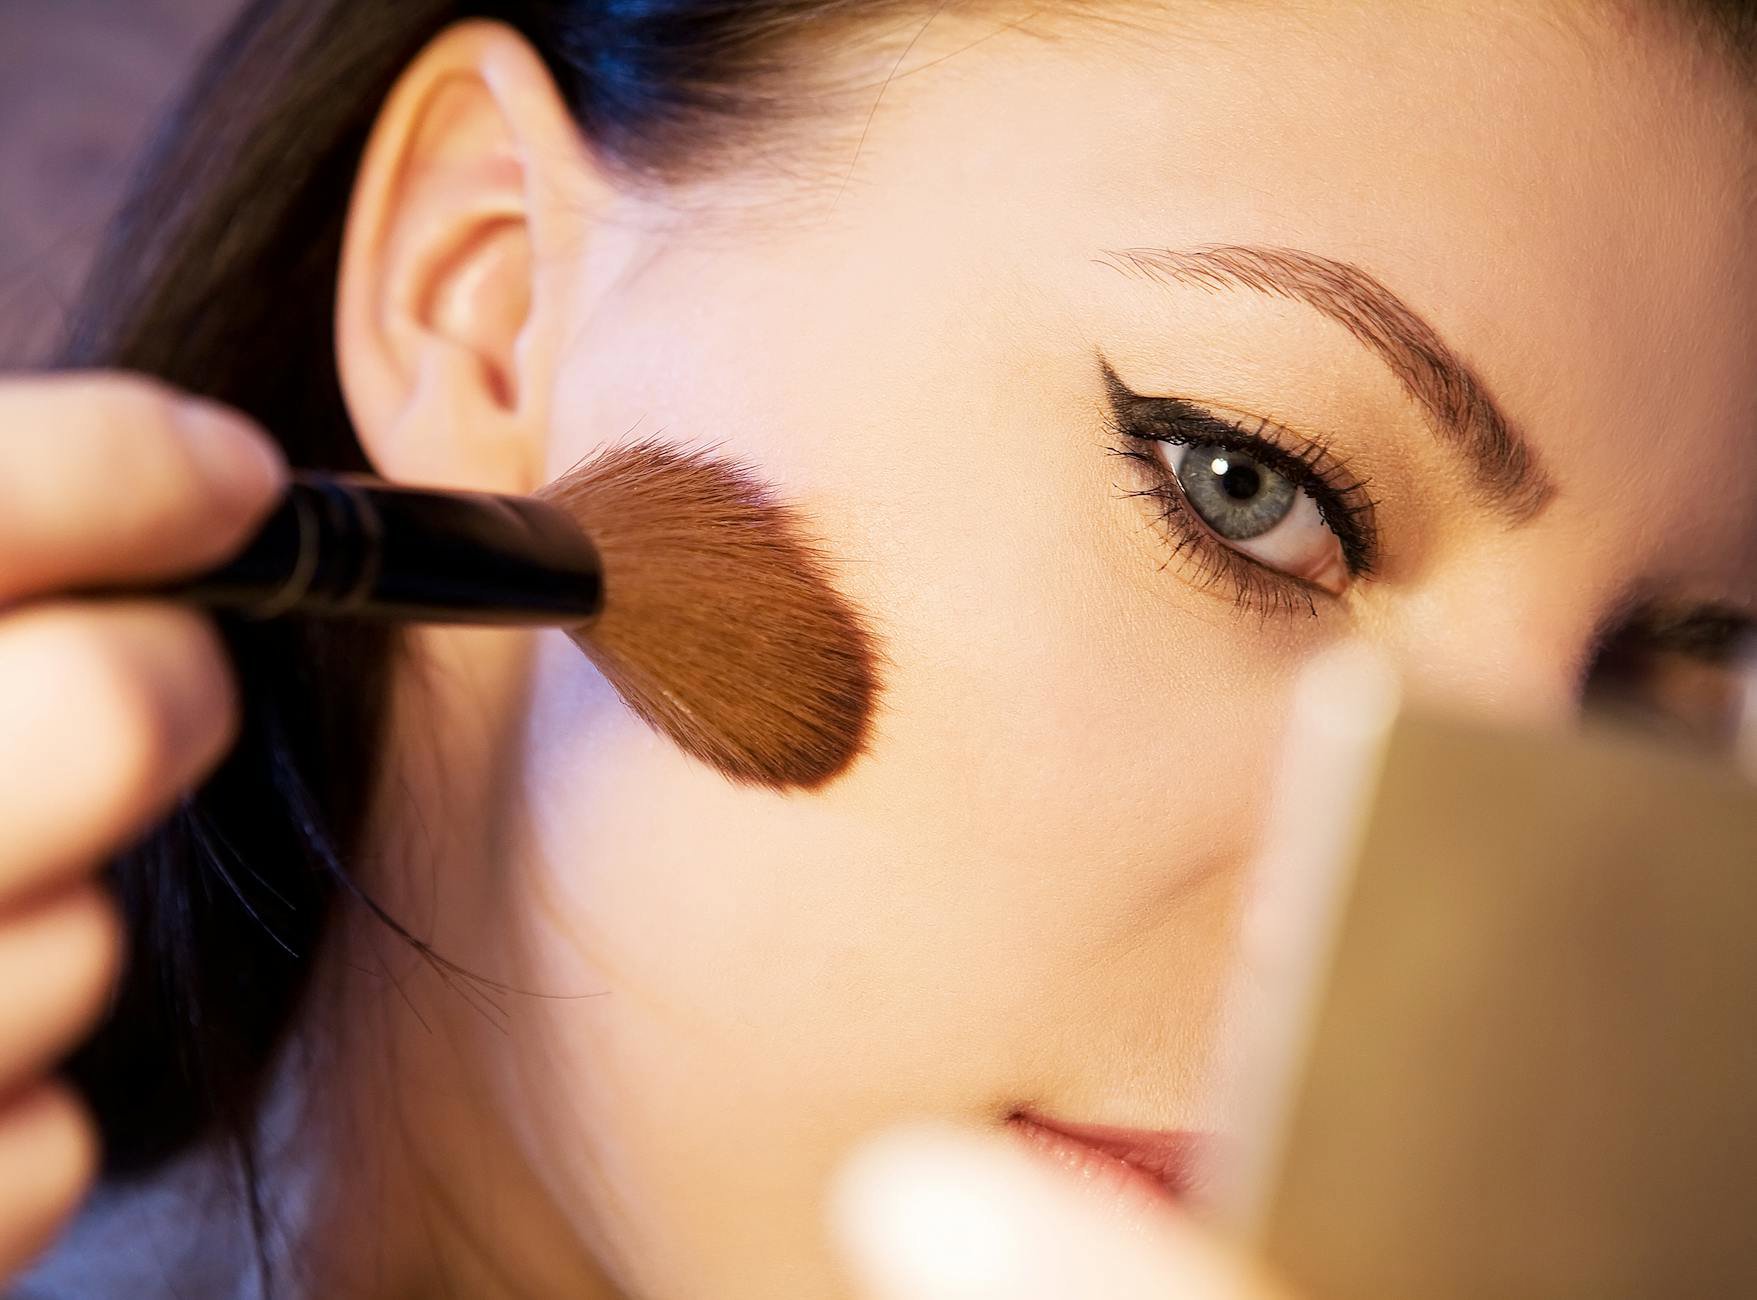
Placement for pores, acne, and fine lines (with face-map rules)
Placement does more than formula when texture bothers you.
Think of highlight as a light map: you want to put shine where the surface stays relatively smooth and where light naturally hits. You want to keep it off areas that already catch light because of oil or raised texture.
Cheeks: the high point, not the apple
Start higher than you think. Place highlight on the upper cheekbone closer to the outer eye area, then blend toward the temple. Keep it off the inner cheek where pores tend to show most.
If you want a pearlized, tone-flexible option, MAC Mineralize Skinfinish Highlighter (from $29.33) focuses on a radiant, pearlised finish across iridescent hues. Pearlized sheen tends to look smoother than a stark metallic stripe when you smile.
Nose: skip the tip if you have texture
The “button nose” highlight trend can backfire fast. If you get visible pores on the nose, avoid the tip and sides. Instead, place a tiny amount on the bridge only, then blend until you can’t see the edge.
For a softer, diffused effect, Stila Heaven's Hue Highlighter (from $33.90) describes light-diffusing particles and a veil-like finish. Diffusion helps on small areas like the bridge, where harsh shine looks obvious.
Under-eye and crow’s feet: proceed with caution
Powder highlighter near fine lines can look great in low light and rough in daylight. If you still want brightness, keep it at the outer top of the cheekbone, not directly on crow’s feet.
If you want a low-glow option that can stay subtle, Laura Geller Baked Natural Glow Highlighter (from $12.00) positions itself as a low glow highlighter that works for cheekbones, inner corner, and cupid’s bow. Low glow gives you a buffer.
Step-by-step: a smooth highlighter routine (three skin-type tweaks)
Here’s the application sequence we recommend when texture sits top of mind. It aims for a controlled sheen that doesn’t migrate.
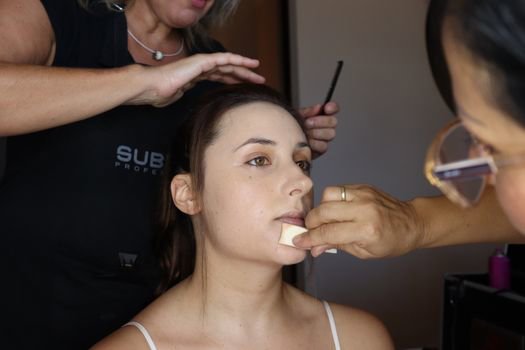
Step 1: Set your base where you’ll highlight. If your complexion stays tacky, powder highlighter will grab. If you run dry, keep this step minimal and only set where you need slip.
Step 2: Load the brush lightly. Tap into the pan, then tap off. You want the brush to look like it picked up “something,” not like it turned metallic.
Step 3: Place, then blend upward. Touch down on the upper cheekbone. Blend toward the temple in short strokes. Avoid circular buffing over pores, which can push shimmer into them.
Step 4: Build in half-layers. Add another whisper of product only where you want the brightest point. Stop early. Most texture issues start when people chase maximum shine.
Step 5: Check in different angles. Turn your face side to side in natural light. If you see sparkle sitting on pores, blend the edge outward, not inward.
Oily skin tweak
Oil plus pearl can clump. Keep highlight slightly higher and more outer-cheek than inner-cheek. A thin, veil-like powder can help you avoid a greasy shine.
Giorgio Armani Luminous Silk Glow Powder (from $45.71) calls out resistance to harsh lines and caking, with a blendable formula. That blendability helps when you need to keep layers thin.
Dry or textured skin tweak
Dryness makes powder catch. Choose formulas described as silky, melting, or gel-to-powder, and keep the highlight zone small.
Revolution Beam Bright Highlighter (from $8.00) leans into a silky powder that melts like a liquid, which can reduce that dusty overlay. For a higher-price hybrid, By Terry Starlight Glow Cc Highlighter (from $54.00) also positions itself as silky and weightless.
Acne and post-breakout texture tweak
Highlighter plus raised bumps equals spotlight. Keep highlight off active areas and focus on the temple and the upper outer cheekbone. If you want glow without drawing a circle around texture, choose a softer sheen and apply less.
MAC Mineralize Skinfinish Highlighter (from $29.33) offers a pearlised finish and multiple hues, which helps you pick a shade that doesn’t read stark against redness.
Product picks by budget: smooth-glow powder highlighters we rate
Not every powder highlighter behaves the same on texture. Price helps sometimes, but finish and formula style matter more.
Here are powder highlighters from our tracked list that fit different goals. We’re keeping claims tight to brand descriptions and what pricing data typically signals about positioning (drugstore vs prestige).
- Revolution Highlight Reloaded (from $4.50): a smooth powder aimed at glass-skin-like luminosity. Best for learning the “thin layer” method on a budget.
- Revolution Beam Bright Highlighter (from $8.00): silky powder that melts like a liquid, with a soft luminous glow. Strong pick when you hate a dusty finish.
- Physicians Formula Murumuru Butter Highlighter (from $11.49): cream-to-powder with multi-colored pearls for a multi-dimensional glow. Useful when you want radiance but worry about dryness.
- Laura Geller Baked Natural Glow Highlighter (from $12.00): low glow and baked format, which often supports smoother layering. Good for everyday and for inner corner/cupid’s bow when you keep it light.
- MAC Mineralize Skinfinish Highlighter (from $29.33): slow-baked, pearlised finish. A solid “polished” option when you want radiance without a hard metallic stripe. Explore more in MAC.
- Stila Heaven's Hue Highlighter (from $33.90): light-diffusing particles and a veil-like finish. Best for readers who want glow that reads softer in daylight.
- MAC Extra Dimension Skinfinish Highlighter (from $39.10): liquid-powder hybrid with a metallic finish. Great when you keep placement tight and avoid textured zones.
- Giorgio Armani Luminous Silk Glow Powder (from $45.71): pressed powder that can act as highlighter or finishing powder, with veil-like coverage and resistance to caking. A smart pick for “one product, multiple uses.”
- By Terry Starlight Glow Cc Highlighter (from $54.00): gel-to-powder hybrid with a silky finish and buildable glow. Best for controlled radiance.
Where to shop matters. In the US, lower-priced picks often show up at mass retailers like Target, CVS, and Walgreens, while MAC, Armani, and By Terry often land at Sephora, Nordstrom, or Bluemercury depending on assortment. Our price tracking shows that promotions can narrow the gap, so it pays to compare before checkout.
Practical fixes when highlight still looks textured
Sometimes you do everything “right” and the highlight still reads gritty in natural light. Don’t start over. Adjust.
Try these fixes in order:
- Buff the edge outward. Move shimmer away from the center cheek where pores show most.
- Remove, then reapply less. If you can see particles, you likely applied too much. Wipe the brush, then blend with what’s already on skin.
- Switch finishes for the problem area. Use a softer, pearlised option like MAC Mineralize Skinfinish Highlighter (from $29.33) on cheeks, and reserve more metallic shine like MAC Extra Dimension Skinfinish Highlighter (from $39.10) for a tiny point near the temple.
- Lower the placement. If it emphasizes crow’s feet, move it slightly down and outward onto the cheekbone.
- Change your goal. If your skin feels reactive or very textured that day, a low-glow powder like Laura Geller Baked Natural Glow Highlighter (from $12.00) often reads more forgiving than chasing a glossy finish.
Also consider shade: a highlight that looks too icy or too deep can exaggerate texture because the contrast makes edges sharper. When in doubt, choose a tone closer to your skin depth with a pearl sheen.
If you’re building a broader routine and want to keep glow compatible with the rest of your makeup, browse within makeup and keep your finish consistent across products. A very matte base plus a very metallic highlight makes the highlight stand out more—sometimes too much.
One more reality check: highlighter looks different under bathroom LEDs, office fluorescents, and outdoor sun. Test in at least two lighting situations before you decide a product “doesn’t work.”
What texture issue do you fight most with powder highlighter—pores on the inner cheek, acne texture, or fine lines? Tell us what you’re seeing, and we’ll point you toward the most forgiving finish from the options above.