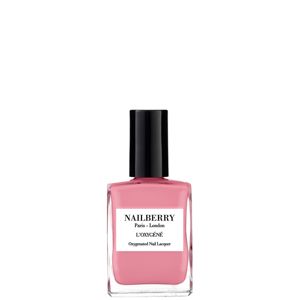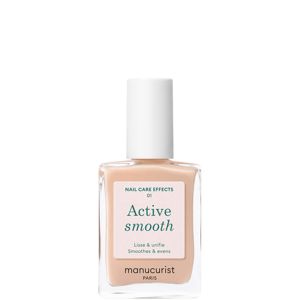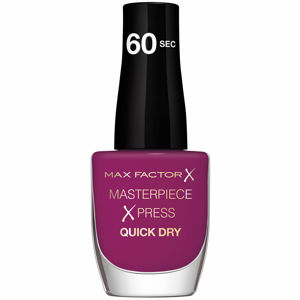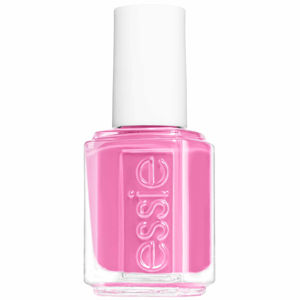
Our price tracker sees the same story every sale season: women stock up on base coats, top coats, and quick-dry drops more than on color. That tells us something. Long wear starts before the first swipe of polish and extends well past the last top-coat pass.
If chips show up after two days, it isn’t your technique alone. Humid bathrooms, hot dishwater, and thick coats all push polish to lift early. The upside: you can control most of it. Small prep tweaks and smarter drying speed up your routine and stretch shine by days.
Below, we map what actually keeps regular nail polish on your nails. No salon oven. No gel kit. Just method, tools, and timing that work on a Tuesday night and survive a full week of typing, handwashing, and errands.
Since 2010, our pricing data has flagged predictable discount windows. Top coats and nail care kits get the deepest cuts during Ulta’s 21 Days of Beauty and Black Friday week. Base coats trend cheaper during Memorial Day and late summer clearances. If you plan a restock, those are smart targets. We also see wider color selection online than in-store at Target, CVS, and Walgreens. Sephora and Nordstrom carry fewer traditional lacquers now, while Ulta and Amazon list broader shade ranges and tool options.
Timing your purchase helps, but technique handles the day-to-day. Most classic manicures chip from the free edge first. Water swells the nail, oils block adhesion, and thickness creates soft layers that dent and peel. Think thin, dry, and sealed. That rule fits regardless of climate. In the humid south, you fight surface moisture. In the dry west, you fight brittle tips. The cold northeast asks for hand cream without leaving residue on the nail plate.
Expect this: with clean prep, thin coats, and tip-sealing, regular polish can reach five to seven days of near-glossy wear. Light colors and fine glitter often go longer. Dark creams show every nick and need stricter aftercare. You get to choose the balance.
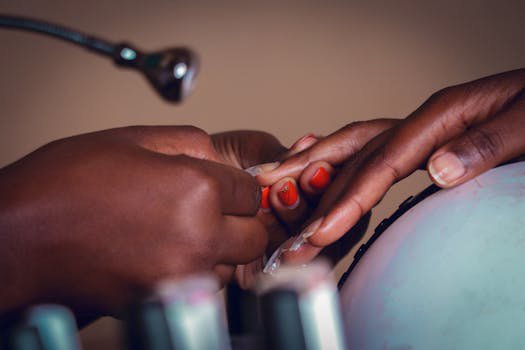
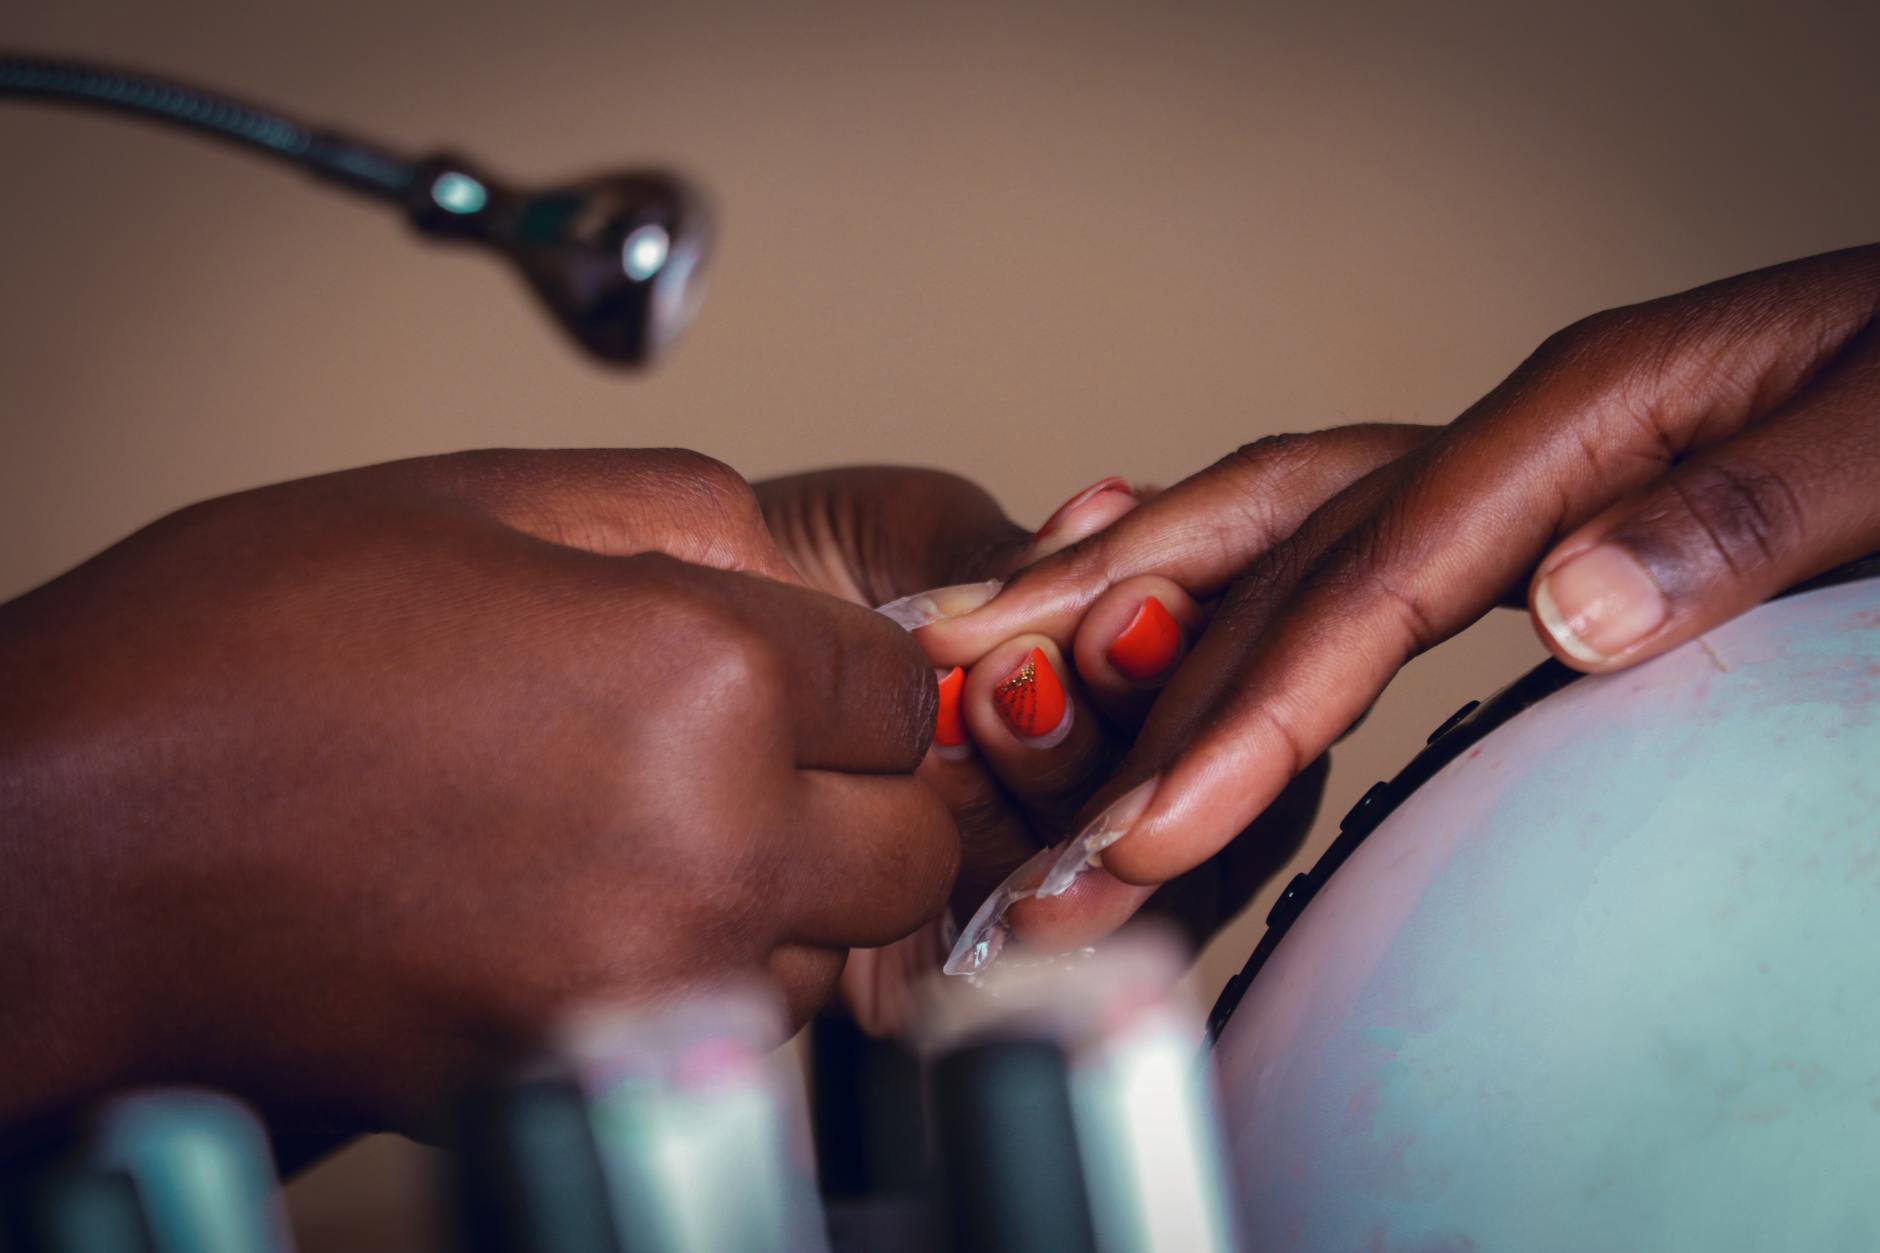
{{IMAGE:woman applying nail polish close-up}}Start With a Truly Clean Canvas
Polish sticks to keratin, not to oil, soap film, or hand cream. Prep with purpose. Trim or file to a short squoval shape. Short tips chip less because they flex less. Gently push back cuticles with a dry orangewood stick. Skip soaking; water swells the plate and later forces polish to lift as the nail shrinks.
Lightly buff only if you feel ridges. Use a fine grit. Two or three passes per nail. Stop when you feel heat. Over-buffing thins nails and invites peeling. Remove all dust. Then dehydrate. Wipe each nail with isopropyl alcohol or pure acetone on a lint-free pad. That single step lifts hidden lotion and sunscreen residue that kills wear.
Work in a space with low humidity. A steamy bathroom slows solvent flash-off and traps bubbles. If you live in Houston in August, paint in a cool bedroom with a fan set to low. If you live in Denver, the air helps you, but dry tips need more oil later. Either way, clean first, then paint.
Lay the Foundation: Pick the Right Base Coat
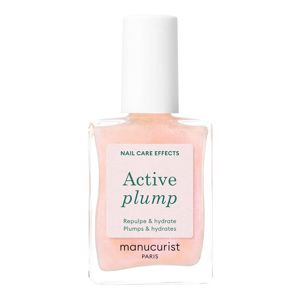
Base coat creates grip and smooths texture. A sticky bonding base anchors color onto smooth nails. A ridge-filling base levels grooves so polish doesn’t pool and chip. If stains bother you, a color-correcting base can block yellowing and boost sheer shades. Tailor to your plate, not the marketing copy.
We rate a dedicated base as non‑negotiable for chip resistance. Two coats of color will not bond as well to a bare, slightly oily plate. If you peel or break easily, try a flexible base that keeps a little give; hardening bases can feel brittle in a cold climate. If your nails split, keep length short and switch to a builder-like base just for a month, then reassess.
Where to shop: look for basic and ridge‑filling options at Ulta, CVS, and Amazon. If you want budget options, browse base coats from brands like Revolution or KIKO. Department stores skew prestige and may stock fewer nail care SKUs, while drugstores carry the workhorses. Add your pick to your GlamGeek wishlist and we’ll ping you when the price drops.
Thin, Even Coats and the Three-Stroke Method
Most chips come from thick layers that take too long to dry. Wipe one side of the brush on the neck. You want a small bead at the tip, not a dripping brush. Start with a center stroke from mid‑nail to cuticle, then pull to the free edge. Follow with one stroke on each side, keeping a tight gap at the skin to avoid flooding.
Cap the edge. Before you complete the first coat on each nail, run the brush lightly along the very tip. That micro‑seal protects the area that hits keyboards, zippers, and dishes. Give the coat 90 seconds to settle. You should see sheen but no drag when you float the next layer. Two thin coats beat one thick coat every time.
Roll your bottle between palms to mix. Shaking traps air and causes bubbles that lead to early tip wear. If your polish feels gloopy, add a few drops of professional thinner, not remover. Remover breaks the formula. Thinner restores it. Our feed shows thinners stocked more often online than in-store at big box retailers, so price-check before you buy.
Drying Tactics That Actually Work
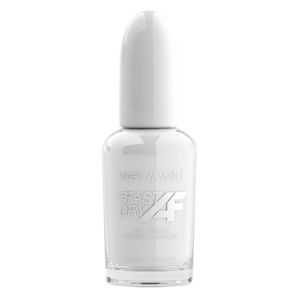
Air can’t do everything if layers run too thick. Use quick-dry drops or spray after your top coat. They wick away solvents and create a dry-to-touch surface faster, which protects against smudges in the first 15 minutes. Drops usually suit home manicures better than sprays because they target each nail.
Use cool airflow. A small fan on low helps solvents flash evenly. Avoid heat. Warm air softens polish and can cause surface ripples. If you’re tempted to use a hair dryer, pick the cool setting and keep it at arm’s length. Fast-dry top coats also help, but they can shrink and pull at the color if you apply them over a still-wet base. Wait one to two minutes after your second color coat before you float on the top coat.
Humidity control matters. In the deep south, aim for nighttime manicures in air conditioning. In the dry west, add cuticle oil after full cure to reduce micro‑cracks. If time runs short, paint in this order: thumbs last. Thumbs handle everything while you set up the rest of your evening, and they smudge first when they go on early.
Top Coat Strategy: Gloss Now, Insurance Later
Top coat gives shine and daily insurance. Float it, don’t press it. Load the brush, touch down just above the cuticle, and let the product glide to the base before you pull it to the tip. Cap the edge again. That second seal locks the color sandwich. Avoid multiple passes over the same spot; friction can drag pigment and cause bald patches.
Reapply top coat every 48 hours. This habit keeps tips sealed and refreshes gloss. If you cook often or swim, reapply daily on vacation weeks. Gel‑effect top coats give thicker shine and longer wear, but they can feel heavier. Quick‑dry top coats cure fast and save time, but some turn dull by day four. Test what your week needs: speed or longevity.
Shopping note: We see top coat promos cluster around big events. Add a few options from Sephora Collection, L'Oréal, and Avon to your GlamGeek wishlist. We track prices across Sephora, Ulta, Target, Amazon, and Nordstrom so you don’t have to check five tabs.
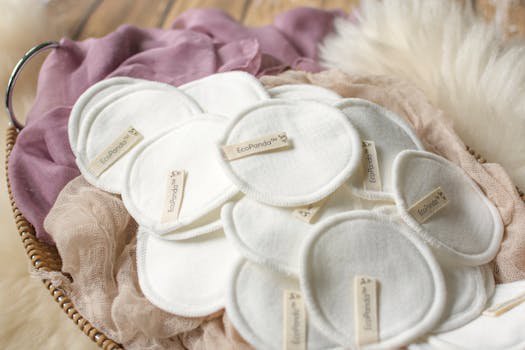
{{IMAGE:woman hands manicure products flatlay}}Aftercare: Daily Habits That Protect Your Finish
Hands live hard lives. Detergents, hot water, and paper files all attack the free edge. Wear gloves for dishes and cleaning. Choose warm, not hot, water in showers. Keep a glass file at your desk and smooth any rough edge the minute you feel it. Catching a snag early prevents a full chip later that takes half the tip with it.
Feed the cuticles. Use a drop of oil morning and night around the sidewalls and lunula. Well‑hydrated skin flexes without splitting and keeps polish from lifting at the edges. If you don’t own cuticle oil, a rich hand cream works in a pinch; just keep it off the nail plate. For desk or bedside, we like buttery textures from brands found in our Body Creams and Body Lotions categories. Massage helps more than the product name.
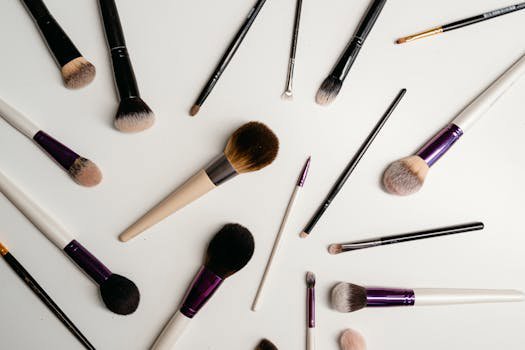
Mind your tools. Use a soft brush dipped in remover for polish touch‑ups around cuticles. A small angled liner from our Makeup Brushes & Applicators section makes cleanup precise without wrecking fresh polish. Tap, don’t scrub. If you tap the brush, you avoid streaks and keep color lines clean.
Shade and Formula Choices That Wear Longer
Color can hide or spotlight chips. Pale pinks, beiges, and sheers disguise tip wear. Micro‑glitter and flakies grip well and resist dents. Deep creams and vampy reds show every nick. If you need a five‑day guarantee before an event, go lighter or layer a subtle topper.
Fast-dry color formulas save time, but many trade speed for flexibility. They can micro‑crack by day three, especially in dry air. Long‑wear traditional lacquers set slower but often last longer with proper top‑coat maintenance. If your week leans heavy on keyboard time, a flexible formula plus frequent top coat refresh may win. If your week leans heavy on hand‑washing and chores, keep nails short, cap the edge, and pick a sheer like‑your‑nails shade.
For budget and mid-tier options, scan nail selections from KIKO, Revolution, and L'Oréal. Some prestige makeup brands no longer release many polish shades, so Ulta, CVS, Walgreens, and Amazon often hold the best range. If you prefer coordinated looks, you can browse complementary lip and nail tones from fashion houses like MAC, even if you buy the polish at a drugstore. Use GlamGeek’s price comparison before you check out; we’ve seen the same color vary across retailers on the same day.
Troubleshooting: Fixes, Patches, and When to Start Over
If a tiny chip appears, don’t peel. File the edge smooth. Dab a small amount of color only on the bare spot. Let it flash for 60 seconds. Float top coat over the entire nail and cap the tip. This patch blends surprisingly well on creams and is almost invisible on shimmers. For a rough tip across several nails, add a micro‑glitter topper to all ten. You’ll buy another 48 hours of wear.
If dents happen within the first hour, resist the urge to press and smear. Instead, wet a fingertip with a drop of quick‑dry oil and tap the dent gently to level the surface, then re‑topcoat. If you flood a cuticle, wait until the polish sets a bit, then sweep a cleanup brush dipped in remover along the edge in one smooth pass.
Know when to remove. If you see lifting at the sidewall, it will catch on hair and fabric and peel further. Soak a cotton pad in remover, press for 20–30 seconds, and wipe. For glitter, wrap with small foil pieces for a few minutes to save your plate from scrubbing. Never chip polish off with teeth or tools; that lifts the top nail layers and weakens future manicures.
Storage, Tools, and Small Upgrades That Pay Off
Thick, stringy polish chips faster because it piles up at edges. Store bottles upright in a cool, dark drawer. Heat and light age solvents and fade pigments. If a favorite shade turns goopy, add a few drops of thinner and roll the bottle. Replace thinners every year; they evaporate and concentrate in the bottle cap if left unused.
Upgrade the small things. Use lint-free pads for prep. Keep a glass file, a cleanup brush, and cuticle oil within reach. A silicone mat under your hands stops dust and pet hair from sticking to wet nails. If you paint often, a desk fan on low speed improves every step of drying without blowing dust. You don’t need a UV lamp for regular polish. You need stable airflow, patience between coats, and the right base/top pair.
Want to build a basic kit without overspending? Compare base coats, top coats, and quick-dry aids from Sephora Collection, Revolution, and Avon on GlamGeek. Add your picks to a wishlist. We’ll alert you when Ulta, Target, Amazon, or a department store posts a better price.
Salon vs. At-Home: When Regular Polish Makes Sense
Gel and dip systems last longer but need soak-off removal and more tools. Regular polish still earns a place. You can change color midweek, avoid buffers and e-files, and keep costs low. If you need two-plus weeks chip‑free, book gel before travel. If you want healthy plates and frequent shade swaps, refine your regular routine and accept a five‑to‑seven‑day goal.
To get salon-like results at home, focus on prep and timing. Skip hand cream for an hour before painting. Dehydrate. Use a base chosen for your nail type. Paint in thin layers and cap the free edge. Float a top coat and refresh on a schedule. Protect hands with gloves. Those steps beat any single “long‑wear” claim on a bottle.
If you still fight chips after all of this, adjust one variable at a time. Change your base, not everything at once. Note the climate and your week’s chores. Data beats guesses. Our readers who track what they tweak report steadier results by the second or third manicure.
What This Means for Your Routine and Your Cart
Longevity doesn’t hinge on secret hacks. It comes from clean prep, thin coats, capped edges, smart drying, and steady aftercare. Shorter nails chip less. Lighter shades hide wear. Quick‑dry products save time but can trade a day of life. Adjust for your climate and habits, not the latest viral tip.
On the shopping side, don’t pay full price unless you need a replacement today. Our tracker shows reliable markdowns around Ulta 21 Days of Beauty, Black Friday, and summer clearances. Build a shortlist of base coat, top coat, and quick-dry aids from brands like KIKO, L'Oréal, Revolution, Avon, and Sephora Collection. Add them to your GlamGeek wishlist, and we’ll alert you when one retailer undercuts another.
What makes your polish chip first: typing, hot water, or weekend chores? Tell us, then build a wishlist for your base, top, and quick‑dry picks. We’ll keep the prices honest while you keep the shine.