Red lipstick shows up on a red carpet and suddenly everyone “remembers” they love it.
I get it. A true red looks expensive, polished, and a little fearless. But here’s the part nobody says out loud: most of us don’t need an Oscars-level makeup artist. We need a red that survives iced coffee, a work call, and the moment you realize you’re wearing a hoodie with a white drawstring.
So I’m taking the recent wave of red-carpet “iconic lip” coverage and turning it into something you can actually use—on a Tuesday, with a drugstore receipt, and without sacrificing comfort.
Context: why red lips keep trending (and why they’re hard)
Red lips cycle back every awards season, but 2026 pushed them into “wearable statement” territory again. I saw it across Oscars recaps, weekly beauty roundups, and the steady drumbeat of “recreate this look” posts. It makes sense: a bold lip reads clearly on camera, and it still looks intentional even when the rest of the face stays soft.
At the same time, the budget-beauty headlines keep getting louder. Drugstore foundations, mascaras, and even shampoos keep earning comparisons to prestige staples. That matters for lipstick too, because a great red doesn’t need a luxury logo. It needs the right formula for your life.
Also, ingredient education changed how women shop. We now talk about actives and barrier support like it’s normal dinner conversation. That mindset translates to makeup: if your lips stay chapped, no “iconic red” will look smooth. Prep becomes the whole thing.
Pick your red like a pro: undertone, depth, and finish
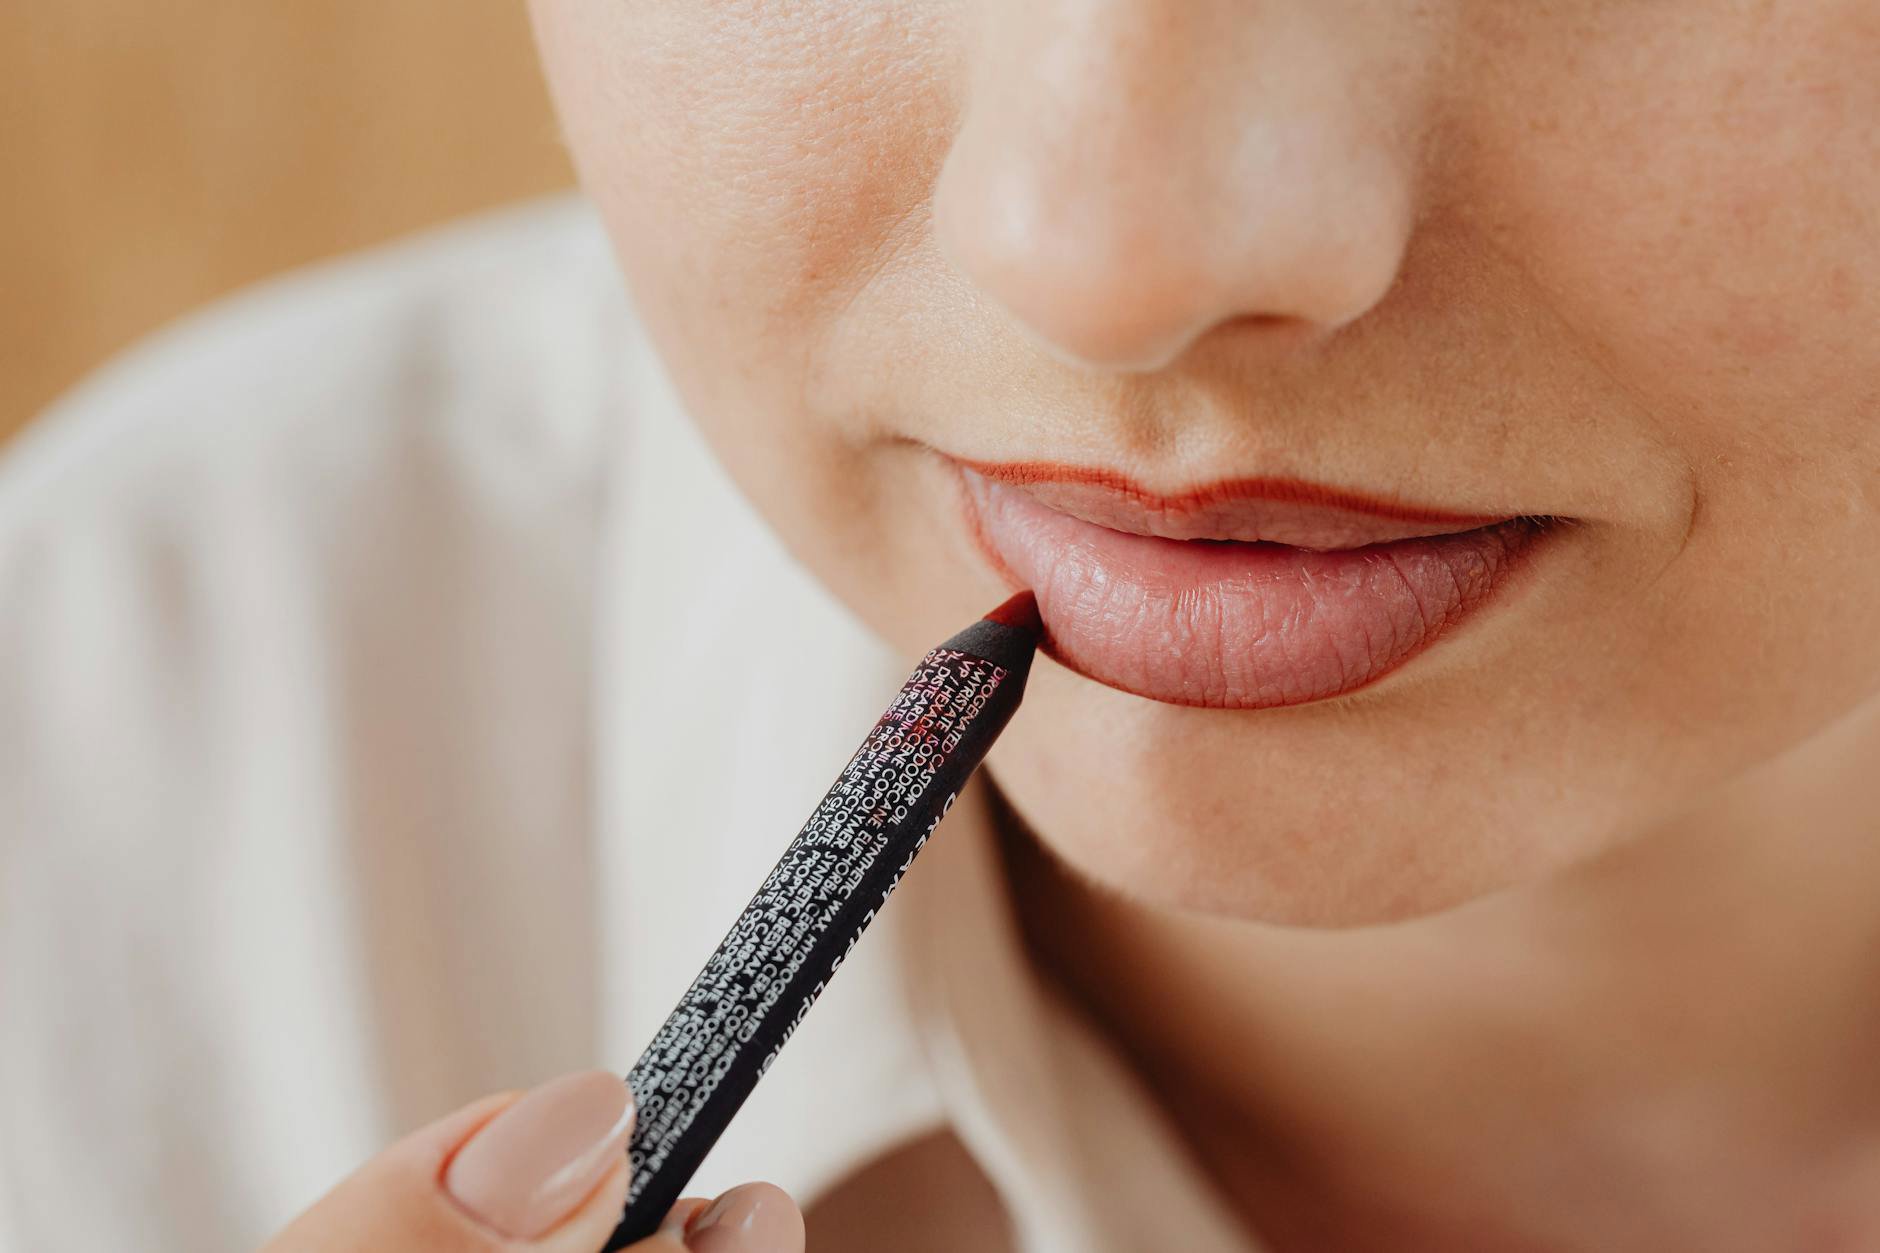
If you’ve ever tried a “classic” red and felt like you looked washed out—or like your teeth looked less white—undertone did that. I don’t pick reds by the name. I pick them by undertone, depth, and finish.
Undertone first. Blue-based reds (think cherry) make teeth look brighter and suit cool or neutral undertones. Orange-based reds (think tomato) pop on warm undertones and look stunning on deeper skin tones too, but they can emphasize yellow in teeth. Neutral reds sit in the middle and work when you can’t decide.
Depth matters more than people admit. If your skin is fair, a very deep oxblood can feel heavy fast. If your skin is deep, a light, bright red can look neon unless the rest of your makeup balances it. I like to match the “weight” of the red to the “weight” of your features: deeper reds for higher contrast (dark hair/eyes), brighter reds for lower contrast, and neutral reds for everyone who wants easy mode.
Finish decides comfort and maintenance. Here’s my blunt take:
- Matte bullet: easiest to touch up, can cling to dryness. Great for beginners who want control.
- Liquid matte: longest wear, highest risk of cracking. Best when you prep well.
- Satin/cream: most comfortable, most transfer. Best for “soft glam” and frequent reapplication.
- Sheer balm-lipstick: easiest to wear, least dramatic. Perfect if you fear commitment.
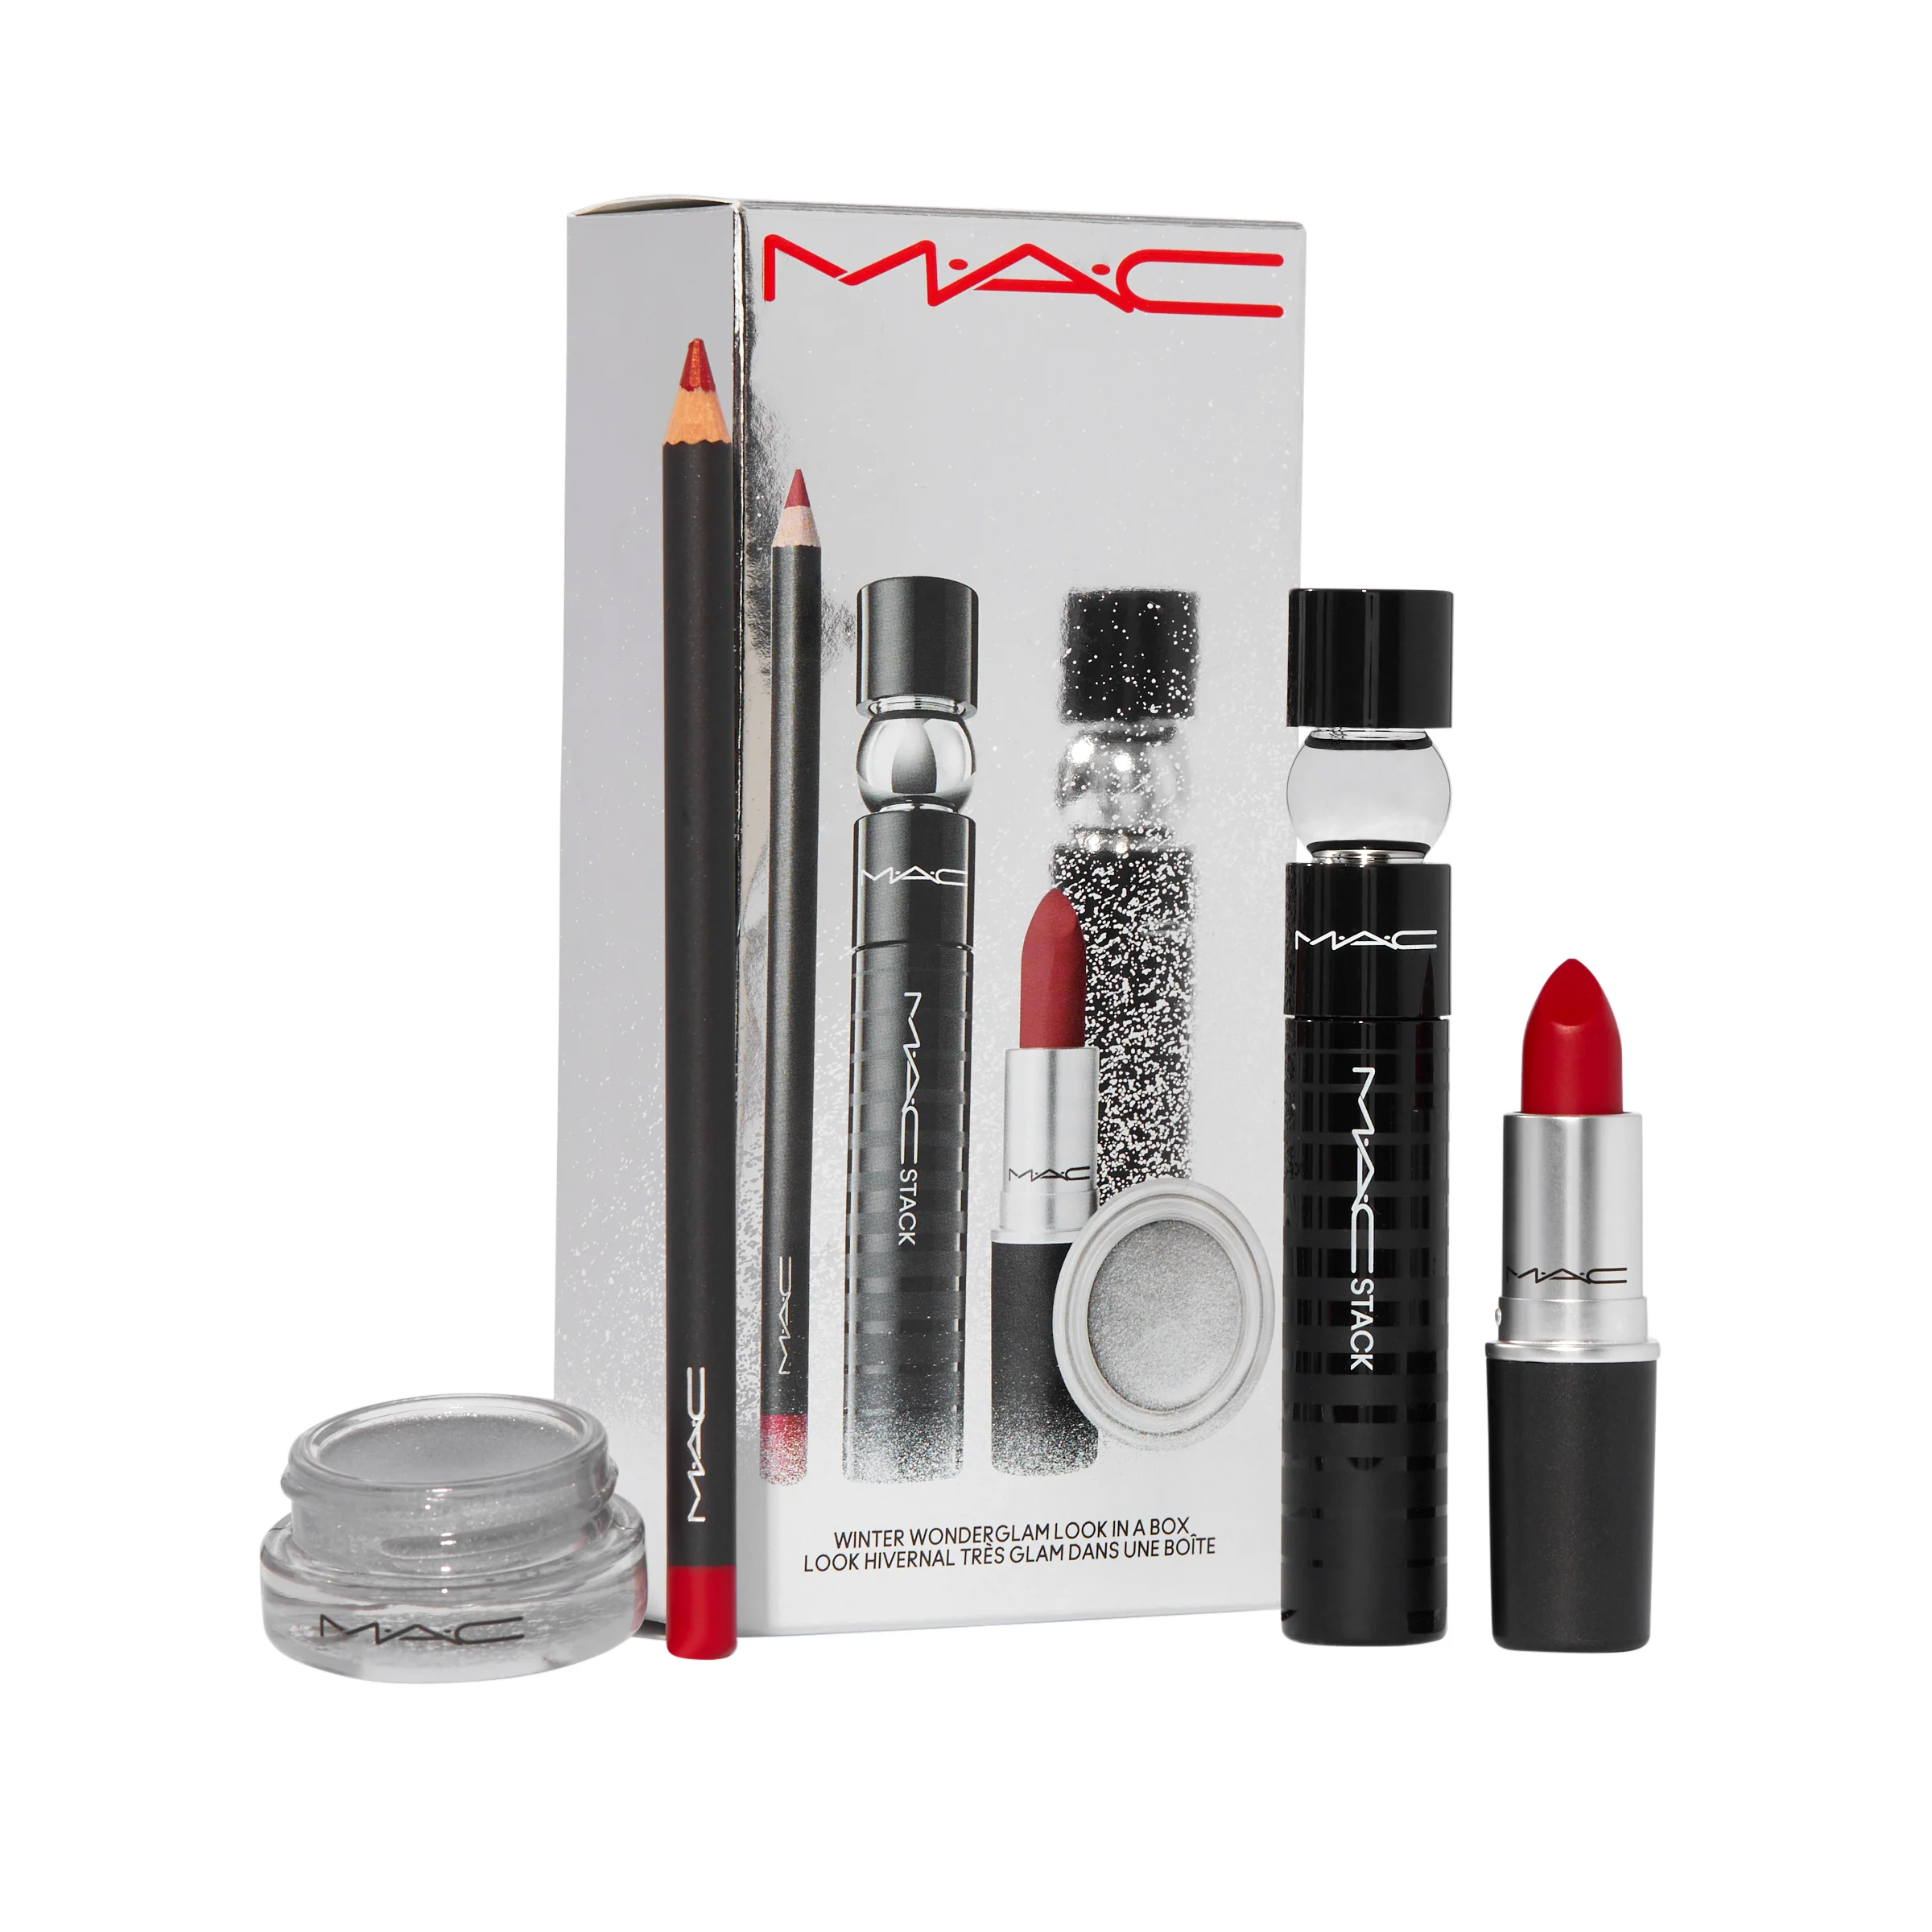
My “start here” reds I trust because they’re widely available and consistently reviewed: MAC Ruby Woo (classic blue-red matte), MAC Russian Red (deeper blue-red), and NYX Soft Matte Lip Cream in Amsterdam for a budget-friendly red that feels less harsh than many liquid mattes. For a creamy, wearable red, I like looking at Clinique lip options because they tend to prioritize comfort over punishment.
If you want to browse shade families fast, I use GlamGeek’s price tracking pages for brands like MAC and NYX to see which reds stay in rotation and which ones discount often.
My no-flake lip prep: treat it like skincare (because it is)
A red lip only looks “clean” when the lip surface looks smooth. That’s not a moral failing. It’s biology. Lips have no oil glands, so they dehydrate easily, and matte pigments cling to every dry patch.
I prep in two steps: soften, then seal. Softening means a thin layer of balm for five minutes while I do the rest of my face. Sealing means I blot, then add the tiniest amount back only where I need it. If you apply lipstick over a thick balm layer, you’ll get sliding and feathering. Every time.
For exfoliation, I skip aggressive scrubs. If your lips crack or sting, a scrub makes it worse. I prefer a warm washcloth for 10 seconds, then balm. If you need heavier-duty help, look for lip products with gentle humectants and occlusives. Plain petrolatum works. So does a lanolin-based option if you tolerate lanolin.
If your lips constantly peel, check your routine for common triggers: high-menthol “plumping” products, frequent long-wear mattes, and overuse of strong facial actives that migrate onto the lip line. Keep retinoids and acids away from the corners of your mouth. Your lipstick will thank you.
For shopping, I send readers to the Lip Balms & Creams category because it’s the fastest way to compare textures. Comfort matters more than hype here.
How I make red lipstick last through food (without crust)
Longevity comes from layers, not suffering.
Here’s my step-by-step that works for real life:
- Step 1: After balm prep, blot until lips feel almost bare.
- Step 2: Line the entire lip with a pencil close to your lipstick shade. Fill in the corners.
- Step 3: Apply lipstick from the center out. Press lips together once. Don’t rub.
- Step 4: Blot with one ply of tissue.
- Step 5: Add a second thin coat only where needed.
- Step 6: For extra lock, tap a tiny amount of translucent powder through tissue on the perimeter, not the whole lip.
That powder-through-tissue trick matters when you wear satin formulas that transfer. It also helps if you live in humidity or you talk a lot for work. (I do.)
If you hate lip liner, I still want you to use it for red. It’s not optional if you feather at the edges or if you have fine lines around the mouth. A clear liner can help, but I prefer a matching pencil because it fades more gracefully.
Cleanup makes the look. I sharpen the cupid’s bow with a tiny bit of concealer and a small brush. You don’t need a fancy brush set, but decent tools help. If you’re upgrading, start with one small lip brush from the Makeup Brushes & Applicators section and call it a day.
Budget vs. prestige: where to save and where to spend
I love a luxury lipstick moment. I also love paying rent. So here’s how I decide where to spend.
Spend on the shade you’ll repeat. If you’ve found your forever red and you wear it weekly, a classic like MAC can be worth it because the formula and shade consistency stay reliable. You can repurchase without stress.
Save on trends and experiments. Want to try an orange-red? A brick red? A glossy lacquer? That’s where I lean drugstore. Revolution and NYX often release wearable reds across finishes, and you won’t feel silly if you only wear it twice.
Save on lip tools. A good sharpener and a couple of pencils do more for your result than a designer tube. If you want a quick browse, look at Lipsticks and filter by finish, then cross-check availability at Target and Ulta. Ulta especially makes it easy to grab liner and lipstick in one trip.
Spend (sometimes) on base makeup. This surprises people. A bold lip looks sharper when your complexion looks even. You don’t need full coverage, but you do want a base that doesn’t break apart around the mouth. If you already own a reliable foundation like Estée Lauder Double Wear, use it strategically: thin layer around the center of the face, then set lightly. If you’re shopping drugstore, I follow the same rule: choose a base that sets predictably. GlamGeek’s price history can show when popular Liquid Foundations run sales, which helps if you’re building a kit slowly.
My verdict: splurge lipstick only when you’ve already proved you’ll use it. Otherwise, go budget and put your money into comfort products and a base that behaves.
The “anti-red-carpet” red lip: soft skin, simple eyes, real hair
Red-carpet coverage often pairs red lips with sculpted skin, false lashes, and perfect waves. That’s gorgeous, but it can feel like cosplay in daylight.
My favorite way to wear red in real life: clean skin, quiet eyes, brushed hair. The lip becomes the point, not one more thing competing for attention.
Here’s my easy pairing formula:
- Base: light-to-medium coverage, spot concealer, set only the T-zone.
- Cheeks: cream blush in a neutral rose or soft berry. Skip heavy bronzer if your red leans orange.
- Eyes: one matte taupe shadow, tightlined upper lash line, mascara.
- Brows: brushed up and lightly filled. No sharp blocky front.
If you love lashes, keep them wispy. If you wear liner, keep it thin. Red lipstick already reads as “done.”
And hair matters. If your hair frizzes by noon, your lip will feel less polished even if it’s perfect. I’m not asking for a blowout. I’m asking for one practical step: a smoothing cream or a light oil on the ends. If you deal with dryness, look at Moisturising & Nourishing Shampoos and Moisturising & Nourishing Conditioners and pick something your hair actually likes. If you already swear by Kérastase, great. If not, don’t feel pressured.
Red lipstick for different lip shapes and texture issues
Most “how to wear red” advice assumes full, symmetrical lips that never get dry. That’s not reality for many women.
If you have a thinner upper lip: line on your natural border everywhere except the cupid’s bow. Keep the cupid’s bow crisp and slightly inside your natural line. That avoids the obvious “overline mustache” effect. Add a tiny dab of lighter concealer right under the cupid’s bow to pop the shape.
If your lower lip is fuller than your upper: choose a slightly deeper red rather than a bright fire-engine shade. Brighter shades exaggerate volume differences. A deeper red balances the proportions.
If you have lip lines or texture: skip the driest liquid mattes. Go for a soft matte bullet or a satin, then use the powder-through-tissue trick only at the edges. Also, avoid metallic reds. Shimmer highlights texture.
If you get feathering around the mouth: use a pencil and set the perimeter with a tiny bit of powder. If you wear heavier skincare, let it settle before makeup. Rich Day Face Moisturisers can migrate and break down the lip line. I like to keep moisturizer slightly away from the corners of the mouth on red-lip days.
One more real-life fix: if your lipstick wears off in the inner rim after eating, don’t reapply everywhere. Reapply only the inner third of the lips, then press together once. Over-layering the outer edge makes it chunky fast.
Makeup that supports the lip: primers, SPF, and “don’t fight your skincare”
A lot of women try to solve lipstick problems with more lipstick. I’d rather solve them with the skin around the mouth.
Primer: you don’t need it everywhere. If you crease around the nose and mouth, a small amount of a smoothing primer just in that zone helps. Look in the Face Primers category and pick something silicone-based if you want blur. If you hate the feel, skip it and just set lightly.
SPF: yes, you should protect the area above the lip. That skin pigments easily. Use your usual SPF Protection Products and let it dry down fully before makeup. If your sunscreen stays tacky, it can cause your foundation to separate near the mouth, which then makes your lip edges look messy.
Skincare actives: if you use retinoids, acids, or strong vitamin C, keep them off the lip line. Migration causes irritation, and irritation causes peeling. If you love “hero ingredients,” keep them on the face where they belong and use a simple barrier-supporting moisturizer around the mouth at night.
My verdict: if your red lip keeps failing, stop blaming the lipstick first. Check your base, your SPF dry-down, and whether your skincare slides into the lip area.
What this means: wear the trend, keep your standards
Red-carpet beauty coverage can feel aspirational, but you can pull one useful idea from it: one strong feature beats ten fussy ones. A red lip works because it simplifies your choices. You don’t need a complicated eye look, and you don’t need a pile of contour.
Practically, I want you to do three things: pick the right undertone, prep like it’s skincare, and use a liner. Then decide if you want comfort (satin) or endurance (soft matte/liquid). Anything else is optional.
If you’re shopping, I’d rather you buy one red you’ll wear and one lip balm you’ll actually use than collect five trendy reds that punish your lips. GlamGeek’s price tracking helps you time purchases for staples, but the best “deal” still comes from using what you own.
Sign-off
Are you a blue-red girl, an orange-red girl, or do you live in brick-red territory—and what’s the one thing that always ruins a red lip for you: dryness, smudging, or shade regret?