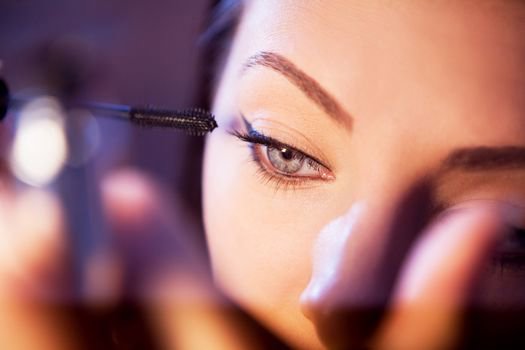
Micro-wing liner looks expensive because it reads as intentional. One tight flick, clean edge, no smudgy drama.
It also happens to be one of the easiest trends to overpay for. Our price tracker has watched “precision liner” launches climb, while drugstore formulas keep getting better.
So we’re committing to a take: micro-wing liner is a technique trend, not a product trend. If you can map the angle and lock the edge, you can get the look with a C$10-ish liner just as easily as a prestige pen.
Micro-wings work because they respect real-life faces. They lift without taking over the lid, they suit small or hooded eyes, and they don’t demand a full beat of shadow to look finished.
They also suit Canada’s day-to-day. Cold wind, indoor heating, watery eyes on commutes—big wings can crack, transfer, or smear. A micro-wing uses less product, so it has less to fail.
Across our merchant feed, we also see a pattern: liners rarely discount as deeply as complexion. That means “buying smarter” matters more than chasing the lowest price. Look for multipurpose picks (tightline + wing), shade versatility (soft black, deep brown), and formats that won’t dry out before you finish them.
What micro-wing liner actually is (and why it flatters so many eyes)
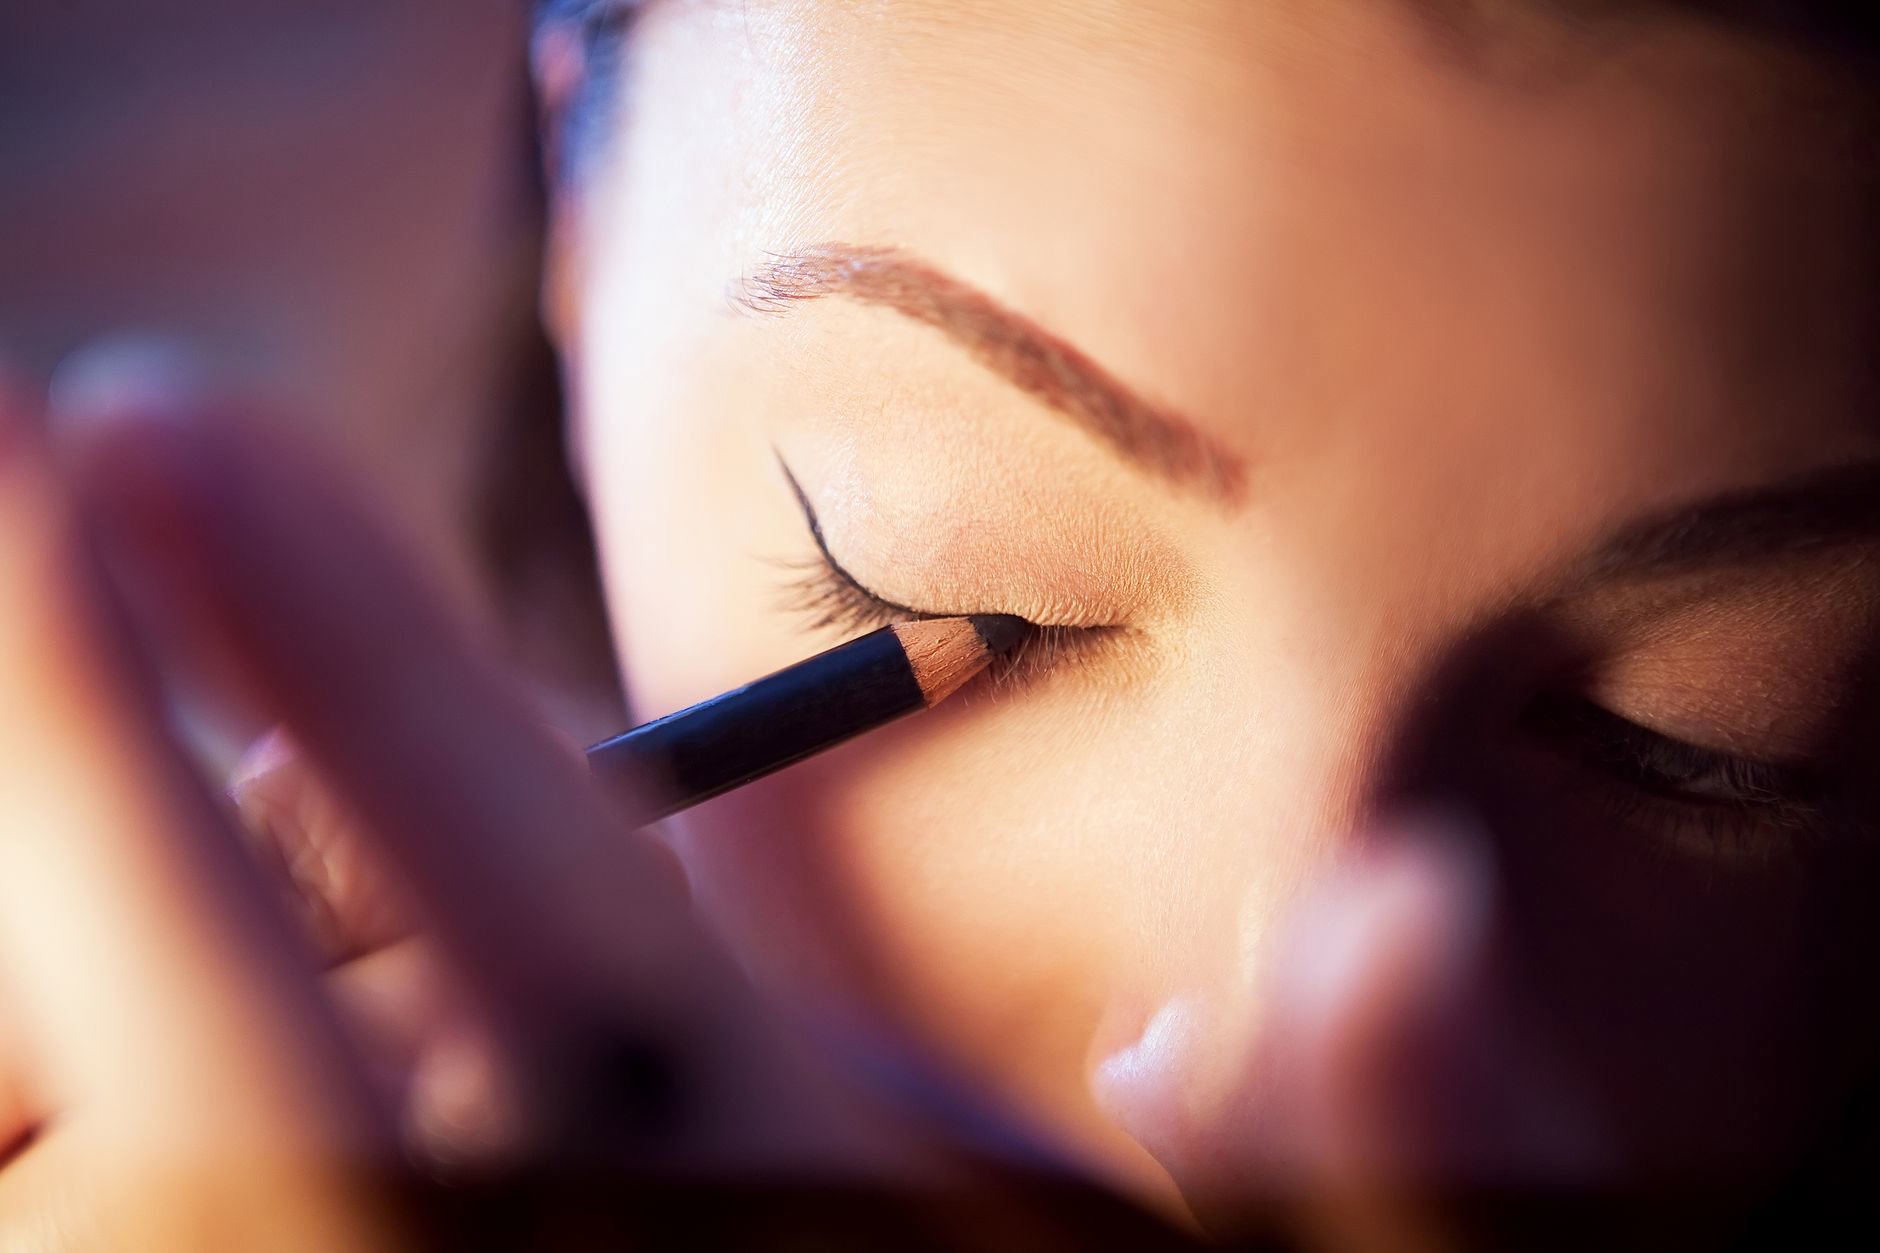
A micro-wing is a short, tapered extension of your upper lash line. Think 2–5 mm past the outer corner, with the thinnest possible base near the inner third.
The goal isn’t drama. The goal is structure. You create an outer-corner lift, define lashes, and keep the lid space visible. That last part matters if you have hooded lids or a smaller mobile lid.
Micro-wings also play well with modern base makeup. Heavy eyeliner can fight dewy skin or minimal concealer. A micro-wing sits neatly beside tinted moisturiser, spot concealing, and brushed-up brows—exactly the kind of quick routine many Canadian women default to during long winter mornings.
For shopping, think in categories rather than hype. A good micro-wing kit usually includes:
- A precise liner (felt tip pen, brush tip, or gel pencil).
- A smudge-resistant mascara to anchor the lash line.
- A small angled brush if you prefer gel or shadow as “liner.”
- A cotton swab + micellar water for edge cleanup.
If you need a browsing shortcut, our makeup section makes it easier to compare formats and retailers without bouncing between tabs.
Pick your weapon: pen vs pencil vs gel (Canada-friendly pros and cons)
Micro-wings reward control. The “best” liner depends on your lid texture, your tolerance for tugging, and how often your eyes water in wind.
Felt-tip or brush-tip pens give the crispest flick fast. They suit oily lids because you can lay down a thin film that dries quickly. The downside: pens can dry out in low-humidity indoor heating. Cap discipline matters, and so does storage.
Gel pencils suit dry or mature lids because they glide. They also work for tightlining (between lashes). The downside: many gel pencils stay movable for 20–60 seconds. That window helps you perfect, but it can transfer if you blink hard right away.
Pot gels or cream liners win on longevity and custom thickness. You can create the tiniest wing with a sharp angled brush. The downside: they take longer, and you need brush hygiene. Still, if you already own Makeup Brushes & Applicators, gel can be the most cost-effective route.
What we’d skip for true micro-wings: very soft kohl pencils. They smudge beautifully, but they rarely hold a sharp tail unless you set them with powder shadow.
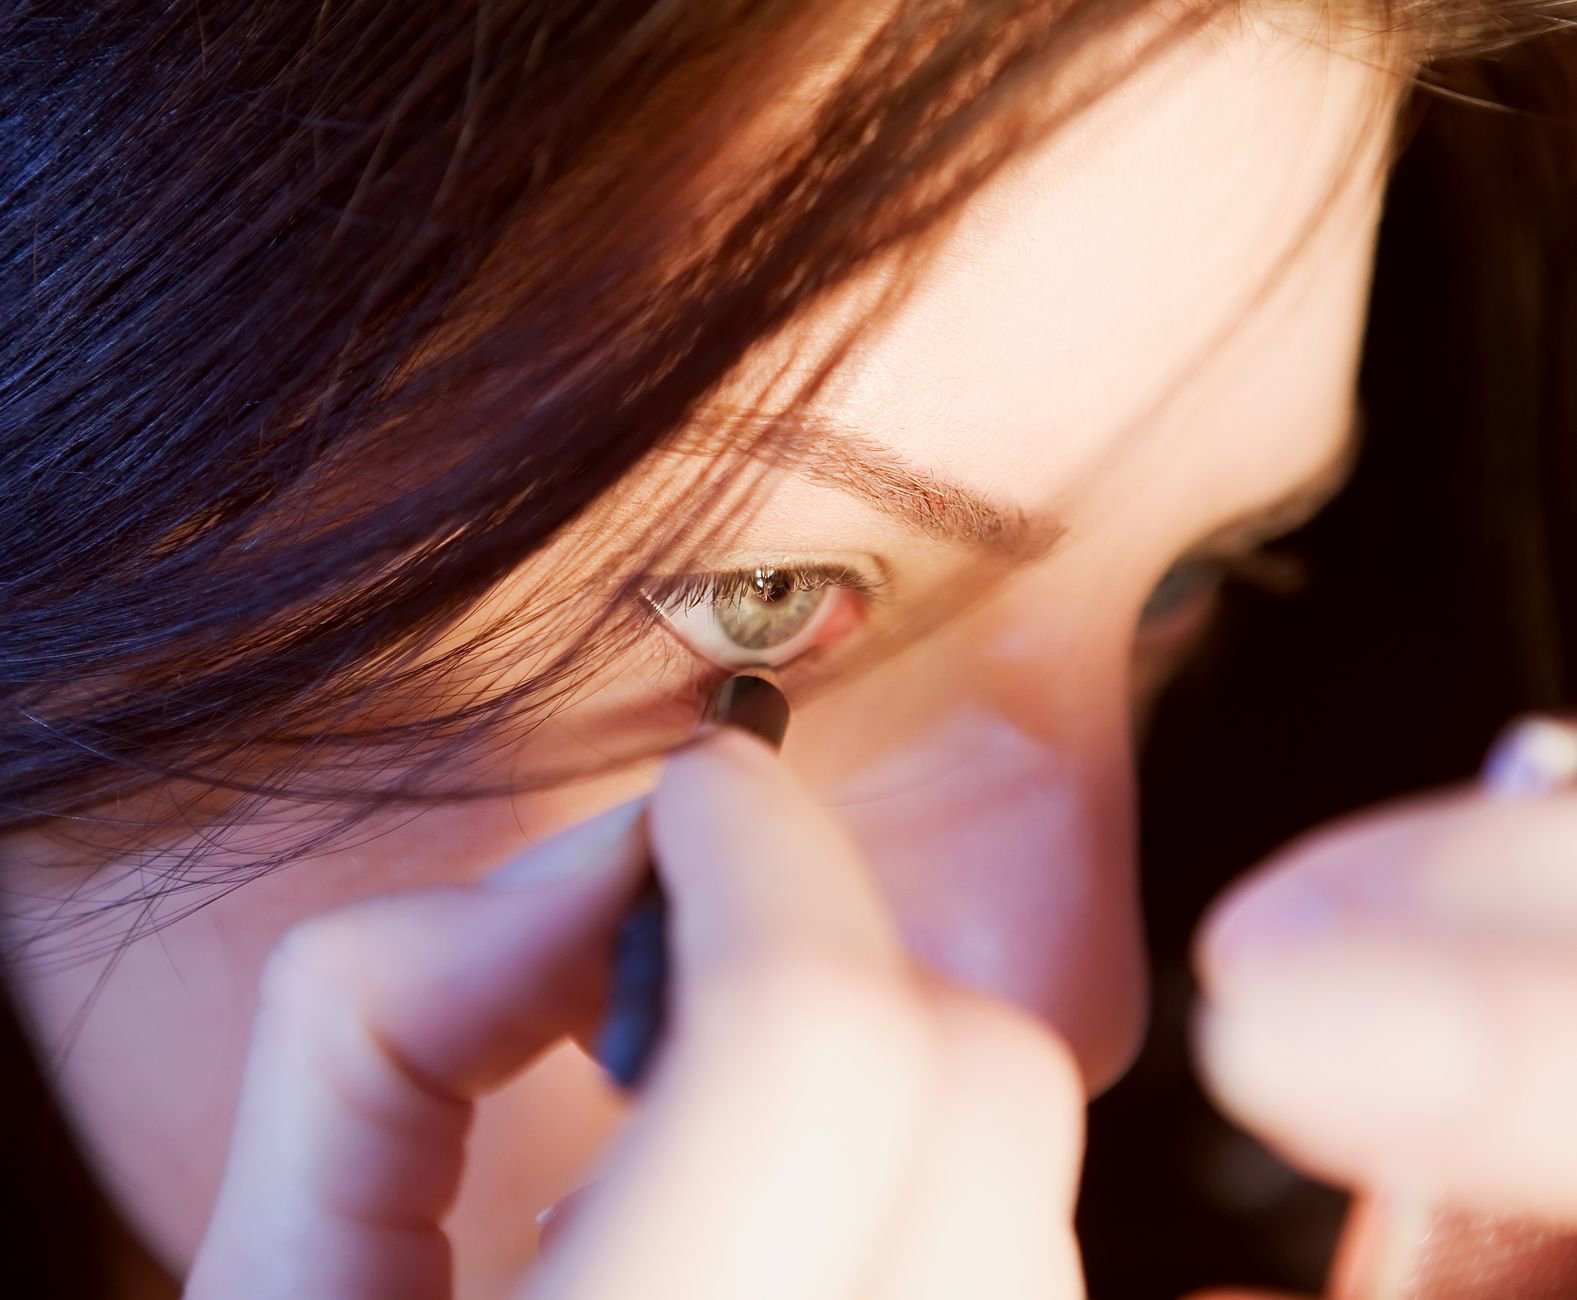
The 90-second micro-wing mapping method (no tape, no drama)
The fastest way to a clean micro-wing uses mapping, not “freehand bravery.” You create two tiny guide marks, then connect them.
Step 1: Start with a dry lid. If you use skincare, let it settle. If you use a rich eye cream, blot. In Canadian winters, many women layer heavier moisturiser, and liner hates slip.
Step 2: Tightline first. Use a pencil or a pen tip to press pigment between lashes. This makes the wing look intentional even if it stays tiny.
Step 3: Mark the tail angle. Look straight into the mirror, eyes relaxed. Place a dot where you want the wing to end. Aim toward the end of your brow, but keep it short.
Step 4: Mark the “lift point.” Place a second dot slightly above your lash line at the outer third, where you want the wing to meet the lid. This dot controls how lifted the wing looks.
Step 5: Connect dots with the lightest pressure. Use the side of the pen tip or the edge of an angled brush. Then fill the tiny triangle.
Step 6: Clean the underside edge. A pointed cotton swab and micellar water gives you that razor finish. This matters more than perfect symmetry.
If you want the soft-focus version, stamp a matte shadow over the liner with a small brush. It blurs micro mistakes but keeps the shape.
Cold, dry weather tricks: stop liner from cracking, transferring, or watering off
Canada’s winter combo—indoor heating plus outdoor cold—can make lids do two annoying things at once: dehydrate on the surface while producing more oil underneath. That’s when liner cracks or stamps onto the upper lid.
Use a thin primer layer, not a thick one. Too much primer pills under liner. A rice-grain amount, pressed on, works better than swiping.
Set only where you need it. If you have hooded lids, dust a touch of translucent powder or matte beige shadow on the fold area. Don’t powder the whole lid if you love a natural sheen.
Choose a softer black when eyes water. Deep brown or soft black hides minor fading better than inky jet black. It also looks more “day” under harsh winter light.
Try the “shadow seal” for pencils. Draw the micro-wing with pencil, then press a matching powder shadow over it. This creates a layered film that resists tearing.
Watch your SPF placement. Many facial SPFs migrate. Keep them off the lash line, especially if you use richer formulas from the SPF Protection Products category. Let SPF set before eye makeup.
Micro-wings shine here because they use less surface area. Less pigment means fewer chances for patchiness.
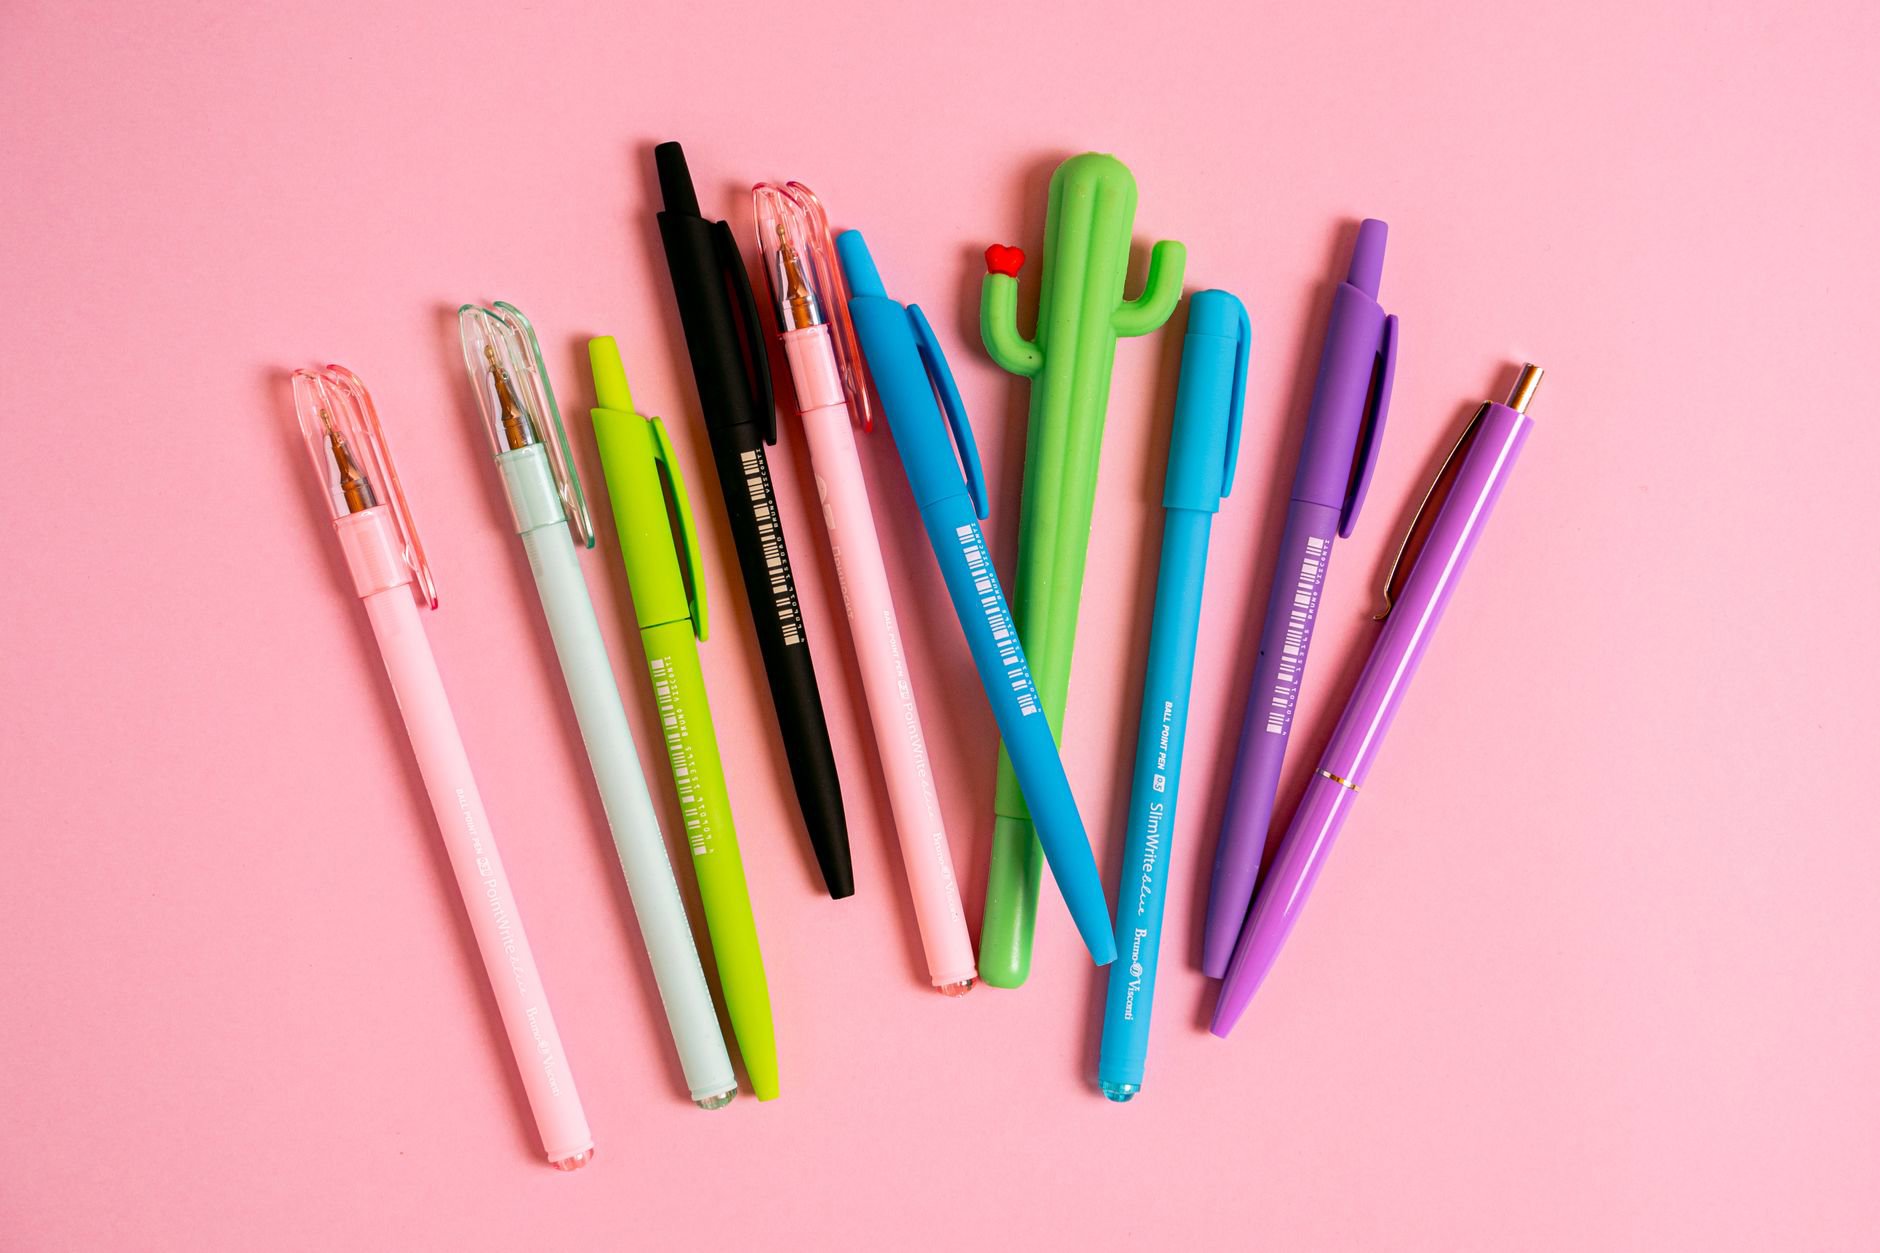
Drugstore picks that nail the look (and what to look for at Shoppers)
Canadian drugstores have quietly become the micro-wing sweet spot. Shoppers Drug Mart, Well.ca, and even grocery-adjacent beauty aisles carry liners with better brush tips than they used to.
Instead of naming one “perfect” pen, we’d shop by feature:
- Brush tip over stiff felt if you have textured lids. Brush tips flex with less skipping.
- Twist-up gel pencil if you want tightline + wing in one.
- Water-resistant claim if your eyes water in wind. Not every “waterproof” pen survives tears.
- Deep brown shade if you want forgiving fade and softer daytime definition.
Brands that usually offer strong drugstore liner options in Canada include L'Oréal, Garnier (more for micellar cleanup than liner itself), and Revolution for budget-friendly brushes and eye products. Availability varies by province and store size, so check stock online before you trek.
One more Canada-specific tip: watch for points events. Liners don’t always get big markdowns, but Shoppers’ points multipliers can bring the effective cost down without waiting for a rare clearance sticker.
Prestige options worth it (and when we’d still save your money)
Prestige liner earns its keep when it solves a real problem: skipping, transfer on hooded lids, or a pen that dries out too quickly.
If you want a higher-end pen, focus on tip engineering and film-former comfort. A good pen lays down a thin, flexible layer. That flexibility matters in dry indoor air because stiff films crack.
Sephora Canada carries several reliable formats across MAC, Clinique, and Charlotte Tilbury ranges, depending on current assortment. We’d still avoid paying extra for a liner that only offers “intense pigment” as its headline. Micro-wings need control more than opacity.
Where we’d tell you to save: if you only wear liner twice a month. Pens expire by drying out, not by being “used up.” In that case, a gel pencil you can cap tightly often gives better value.
Also consider the Sephora Collection lane when you want a mid-price option with predictable availability in Canada. It often hits the practical middle: decent tip, decent wear, and fewer import-style markups.
Micro-wing variations: hooded lids, mature lids, and glasses-friendly tweaks
Micro-wings adapt well, but the angle changes with your eye shape and how your lid folds when you smile.
Hooded lids: keep the wing tail more horizontal than you think. A steep upward flick can disappear into the fold. Map the tail with eyes open, then connect with minimal thickness at the outer third. Tightlining does most of the work.
Mature lids or textured skin: choose pencil or gel with a short angled brush. Use tiny stamping motions instead of dragging. Dragging catches texture and creates skips that look like “shaky hand,” even when your hand stays steady.
Downturned eyes: place the tail dot slightly above the outer corner, but keep it short. The lift comes from the underside edge staying clean, not from adding length.
Glasses wearers: go shorter and slightly thicker at the lash line. Frames can crop the flick, so definition at the lashes matters more than a long tail.
Want a softer editorial vibe? Swap black for deep taupe, then add mascara and a cream blush. Micro-wing plus blush reads polished fast, even with minimal base.
Make it last: removal, storage, and avoiding the “crusty pen” problem
Micro-wings look best when your liner behaves. Two practical habits keep liners usable longer in Canada’s dry indoor air.
Store pens tip-down or flat. Tip-up storage can starve the tip of ink, especially in winter. Flat storage balances saturation.
Cap immediately. Even a minute with the cap off can dry a brush tip. If you do your eye makeup in steps, cap between eyes.
For removal, don’t scrub. Use an oil-based remover or a saturated micellar pad, press for 10–15 seconds, then wipe. Scrubbing irritates the lash line and can make eyes water more the next day, which then ruins your liner again.
If you wear lash extensions or you avoid oils, use a gentle micellar and follow with a quick rinse. Just keep friction low. Your lashes will thank you.
And if your liner starts skipping, don’t force it on with pressure. Pressure makes micro-wings look thick and uneven. Replace it, or switch to a gel pot for a while.
What this means for your routine (and your wallet)
Micro-wing liner rewards precision, not price. Once you can map a tail and clean the underside edge, you can rotate between drugstore and prestige without losing the look.
For Canadian shopping, we’d focus on three practical moves: buy one reliable liner format you’ll actually finish, add a cleanup step (cotton swab + micellar), and plan for winter wear with light lid prep. Those habits beat chasing every “viral” pen drop.
If you want to build a small, high-utility kit, pair your liner with one dependable mascara and a neutral shadow for setting. That trio covers office days, dinners, and events without needing a full palette.
Which version of the micro-wing are you aiming for—barely-there lift, or a sharper little flick that reads from across the room? Tell us your eye shape and your go-to retailer in Canada, and we’ll point you toward the smartest format to shop.